Google SlidesのAPIをNode.jsで触ってみます。
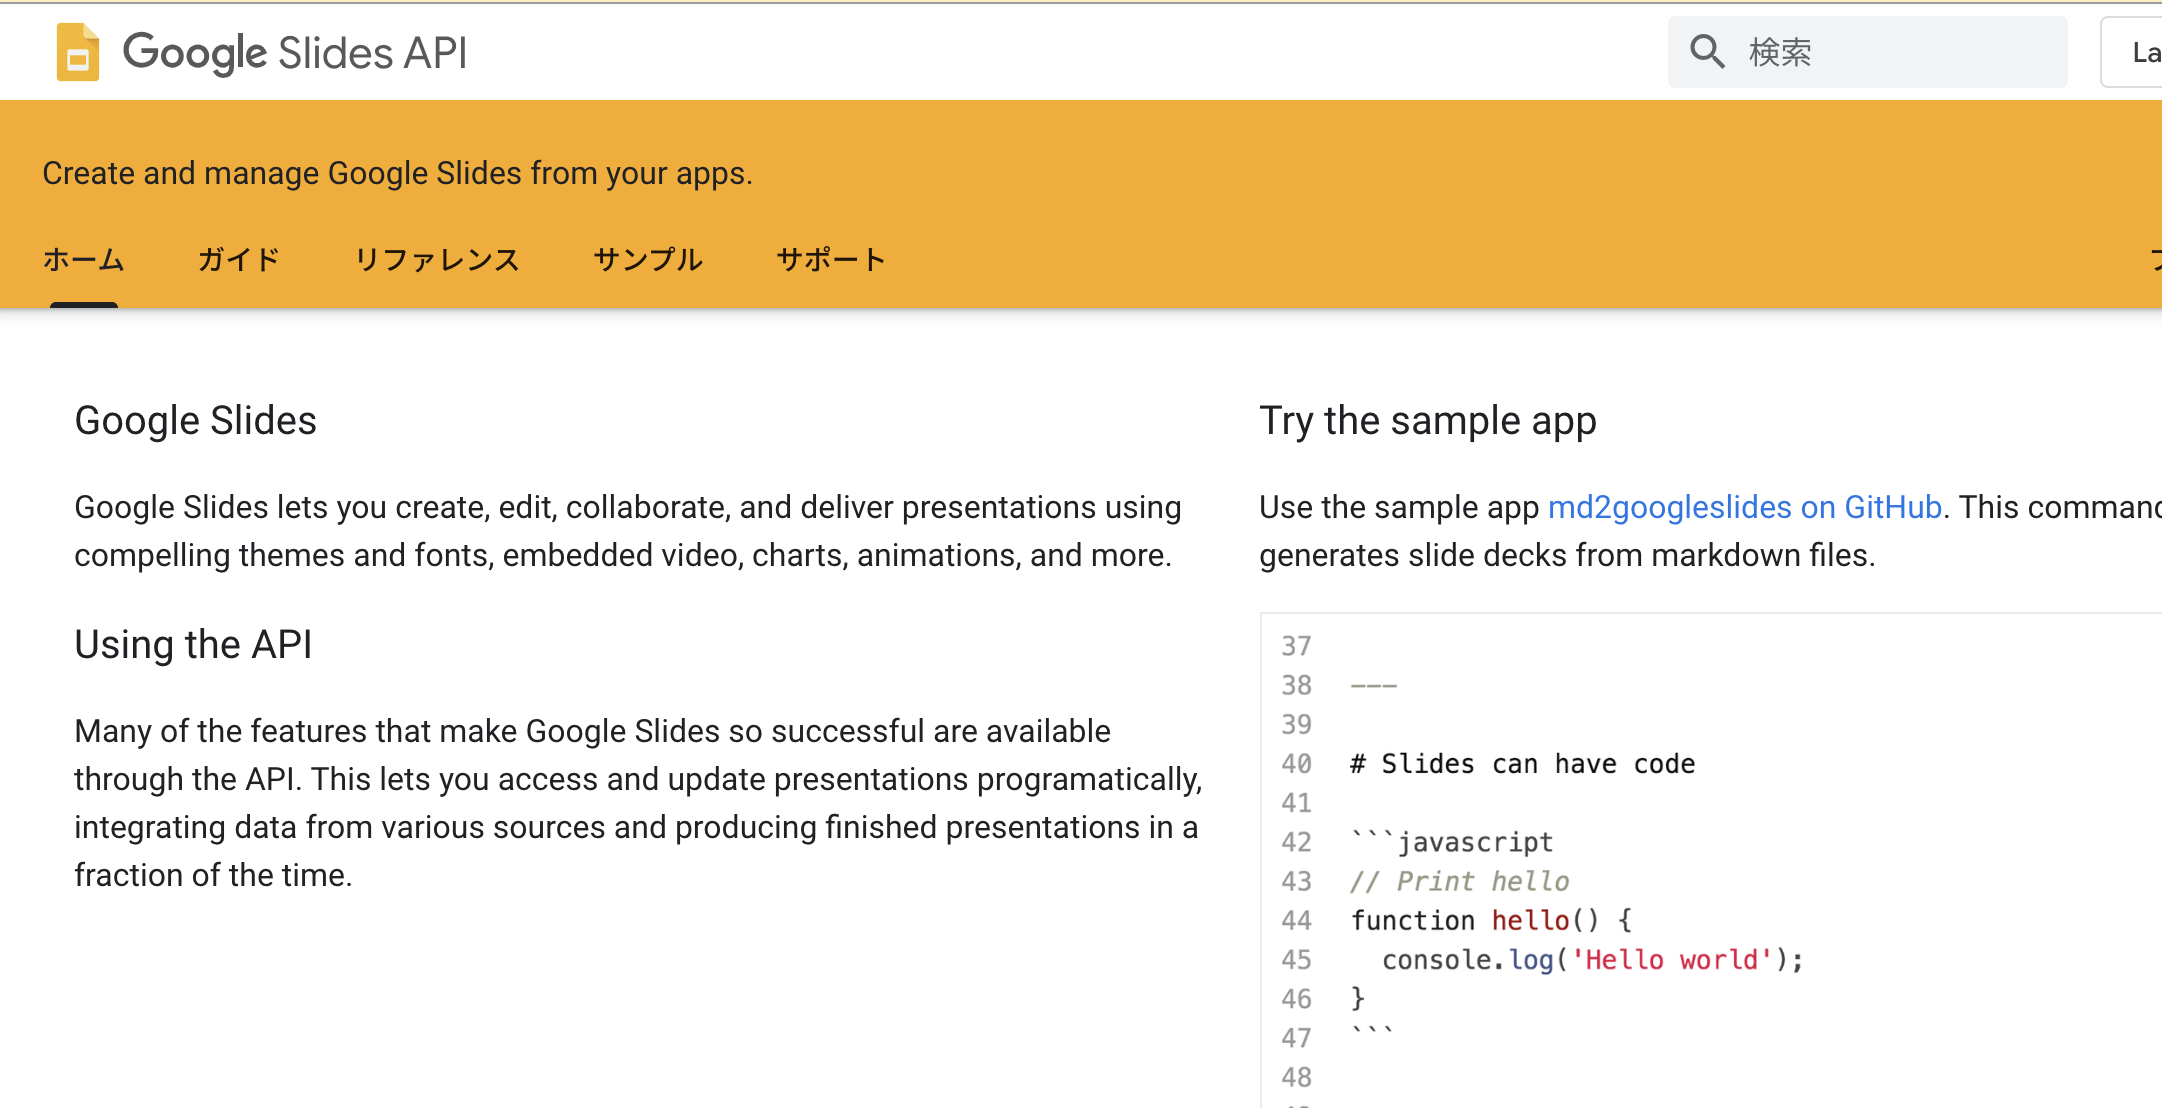
公式チュートリアルになぞりつつ試したメモ
です。
準備
Node.jsのバージョンは13.7.0です。
- 作業フォルダ作成
$ mkdir slidesapitest
$ cd slidesapitest
- 利用モジュールをインストール
$ npm init -y
$ npm i googleapis@39
-
app.jsファイルを作成
$ touch app.js
APIをオンにして、 credentials.jsonを作成
公式チュートリアルのEnable the Google Slides APIボタンを押して、APIを有効にし、credentials.jsonを作業フォルダのapp.jsと同じ階層に保存します。

ソースコード
app.jsの中身に以下をコピペ。 公式のままです。
app.js
const fs = require('fs');
const readline = require('readline');
const {google} = require('googleapis');

// If modifying these scopes, delete token.json.
const SCOPES = ['https://www.googleapis.com/auth/presentations.readonly'];
// The file token.json stores the user's access and refresh tokens, and is
// created automatically when the authorization flow completes for the first
// time.
const TOKEN_PATH = 'token.json';

// Load client secrets from a local file.
fs.readFile('credentials.json', (err, content) => {
  if (err) return console.log('Error loading client secret file:', err);
  // Authorize a client with credentials, then call the Google Slides API.
  authorize(JSON.parse(content), listSlides);
});

/**
 * Create an OAuth2 client with the given credentials, and then execute the
 * given callback function.
 * @param {Object} credentials The authorization client credentials.
 * @param {function} callback The callback to call with the authorized client.
 */
function authorize(credentials, callback) {
  const {client_secret, client_id, redirect_uris} = credentials.installed;
  const oAuth2Client = new google.auth.OAuth2(
      client_id, client_secret, redirect_uris[0]);

  // Check if we have previously stored a token.
  fs.readFile(TOKEN_PATH, (err, token) => {
    if (err) return getNewToken(oAuth2Client, callback);
    oAuth2Client.setCredentials(JSON.parse(token));
    callback(oAuth2Client);
  });
}

/**
 * Get and store new token after prompting for user authorization, and then
 * execute the given callback with the authorized OAuth2 client.
 * @param {google.auth.OAuth2} oAuth2Client The OAuth2 client to get token for.
 * @param {getEventsCallback} callback The callback for the authorized client.
 */
function getNewToken(oAuth2Client, callback) {
  const authUrl = oAuth2Client.generateAuthUrl({
    access_type: 'offline',
    scope: SCOPES,
  });
  console.log('Authorize this app by visiting this url:', authUrl);
  const rl = readline.createInterface({
    input: process.stdin,
    output: process.stdout,
  });
  rl.question('Enter the code from that page here: ', (code) => {
    rl.close();
    oAuth2Client.getToken(code, (err, token) => {
      if (err) return console.error('Error retrieving access token', err);
      oAuth2Client.setCredentials(token);
      // Store the token to disk for later program executions
      fs.writeFile(TOKEN_PATH, JSON.stringify(token), (err) => {
        if (err) return console.error(err);
        console.log('Token stored to', TOKEN_PATH);
      });
      callback(oAuth2Client);
    });
  });
}

/**
 * Prints the number of slides and elements in a sample presentation:
 * https://docs.google.com/presentation/d/1EAYk18WDjIG-zp_0vLm3CsfQh_i8eXc67Jo2O9C6Vuc/edit
 * @param {google.auth.OAuth2} auth The authenticated Google OAuth client.
 */
function listSlides(auth) {
  const slides = google.slides({version: 'v1', auth});
  slides.presentations.get({
    presentationId: '1EAYk18WDjIG-zp_0vLm3CsfQh_i8eXc67Jo2O9C6Vuc',
  }, (err, res) => {
    if (err) return console.log('The API returned an error: ' + err);
    const length = res.data.slides.length;
    console.log('The presentation contains %s slides:', length);
    res.data.slides.map((slide, i) => {
      console.log(`- Slide #${i + 1} contains ${slide.pageElements.length} elements.`);
    });
  });
}
アクセストークンの発行
app.jsを実行します。
$ node app.js
実行すると、こんな感じのURLが表示されます。
Authorize this app by visiting this url: https://accounts.google.com/o/oauth2/v2/auth?access_type=offline&scope=https%3A%2F%2Fwww.googleapis.com%2Fauth%2Fpresentations.readonly&response_type=code&client_id=xxxxxxxxxxxx.apps.googleusercontent.com&redirect_uri=urn%3Aietf%3Awg%3Aoauth%3A2.0%3Aoob
Enter the code from that page here: <ここにコードをペースト>
クリックするとブラウザ上で以下のようなコードが表示されるのでコピーします。

Enter the code from that page here: <ここにコードをペースト>の箇所にペーストします。
成功するとtoken.jsonというファイルが保存されて、以下のように元になってるスライドの情報が表示されます。
Token stored to token.json
The presentation contains 5 slides:
- Slide #1 contains 4 elements.
- Slide #2 contains 11 elements.
- Slide #3 contains 9 elements.
- Slide #4 contains 5 elements.
- Slide #5 contains 12 elements.
ソースコードの挙動など
ソースコード上で以下のような箇所がありますが、このプレゼンテーションIDでGoogle Slidesのプレゼンを指定します。
app.js
//省略
 slides.presentations.get({
    presentationId: '1EAYk18WDjIG-zp_0vLm3CsfQh_i8eXc67Jo2O9C6Vuc',
  }
//省略
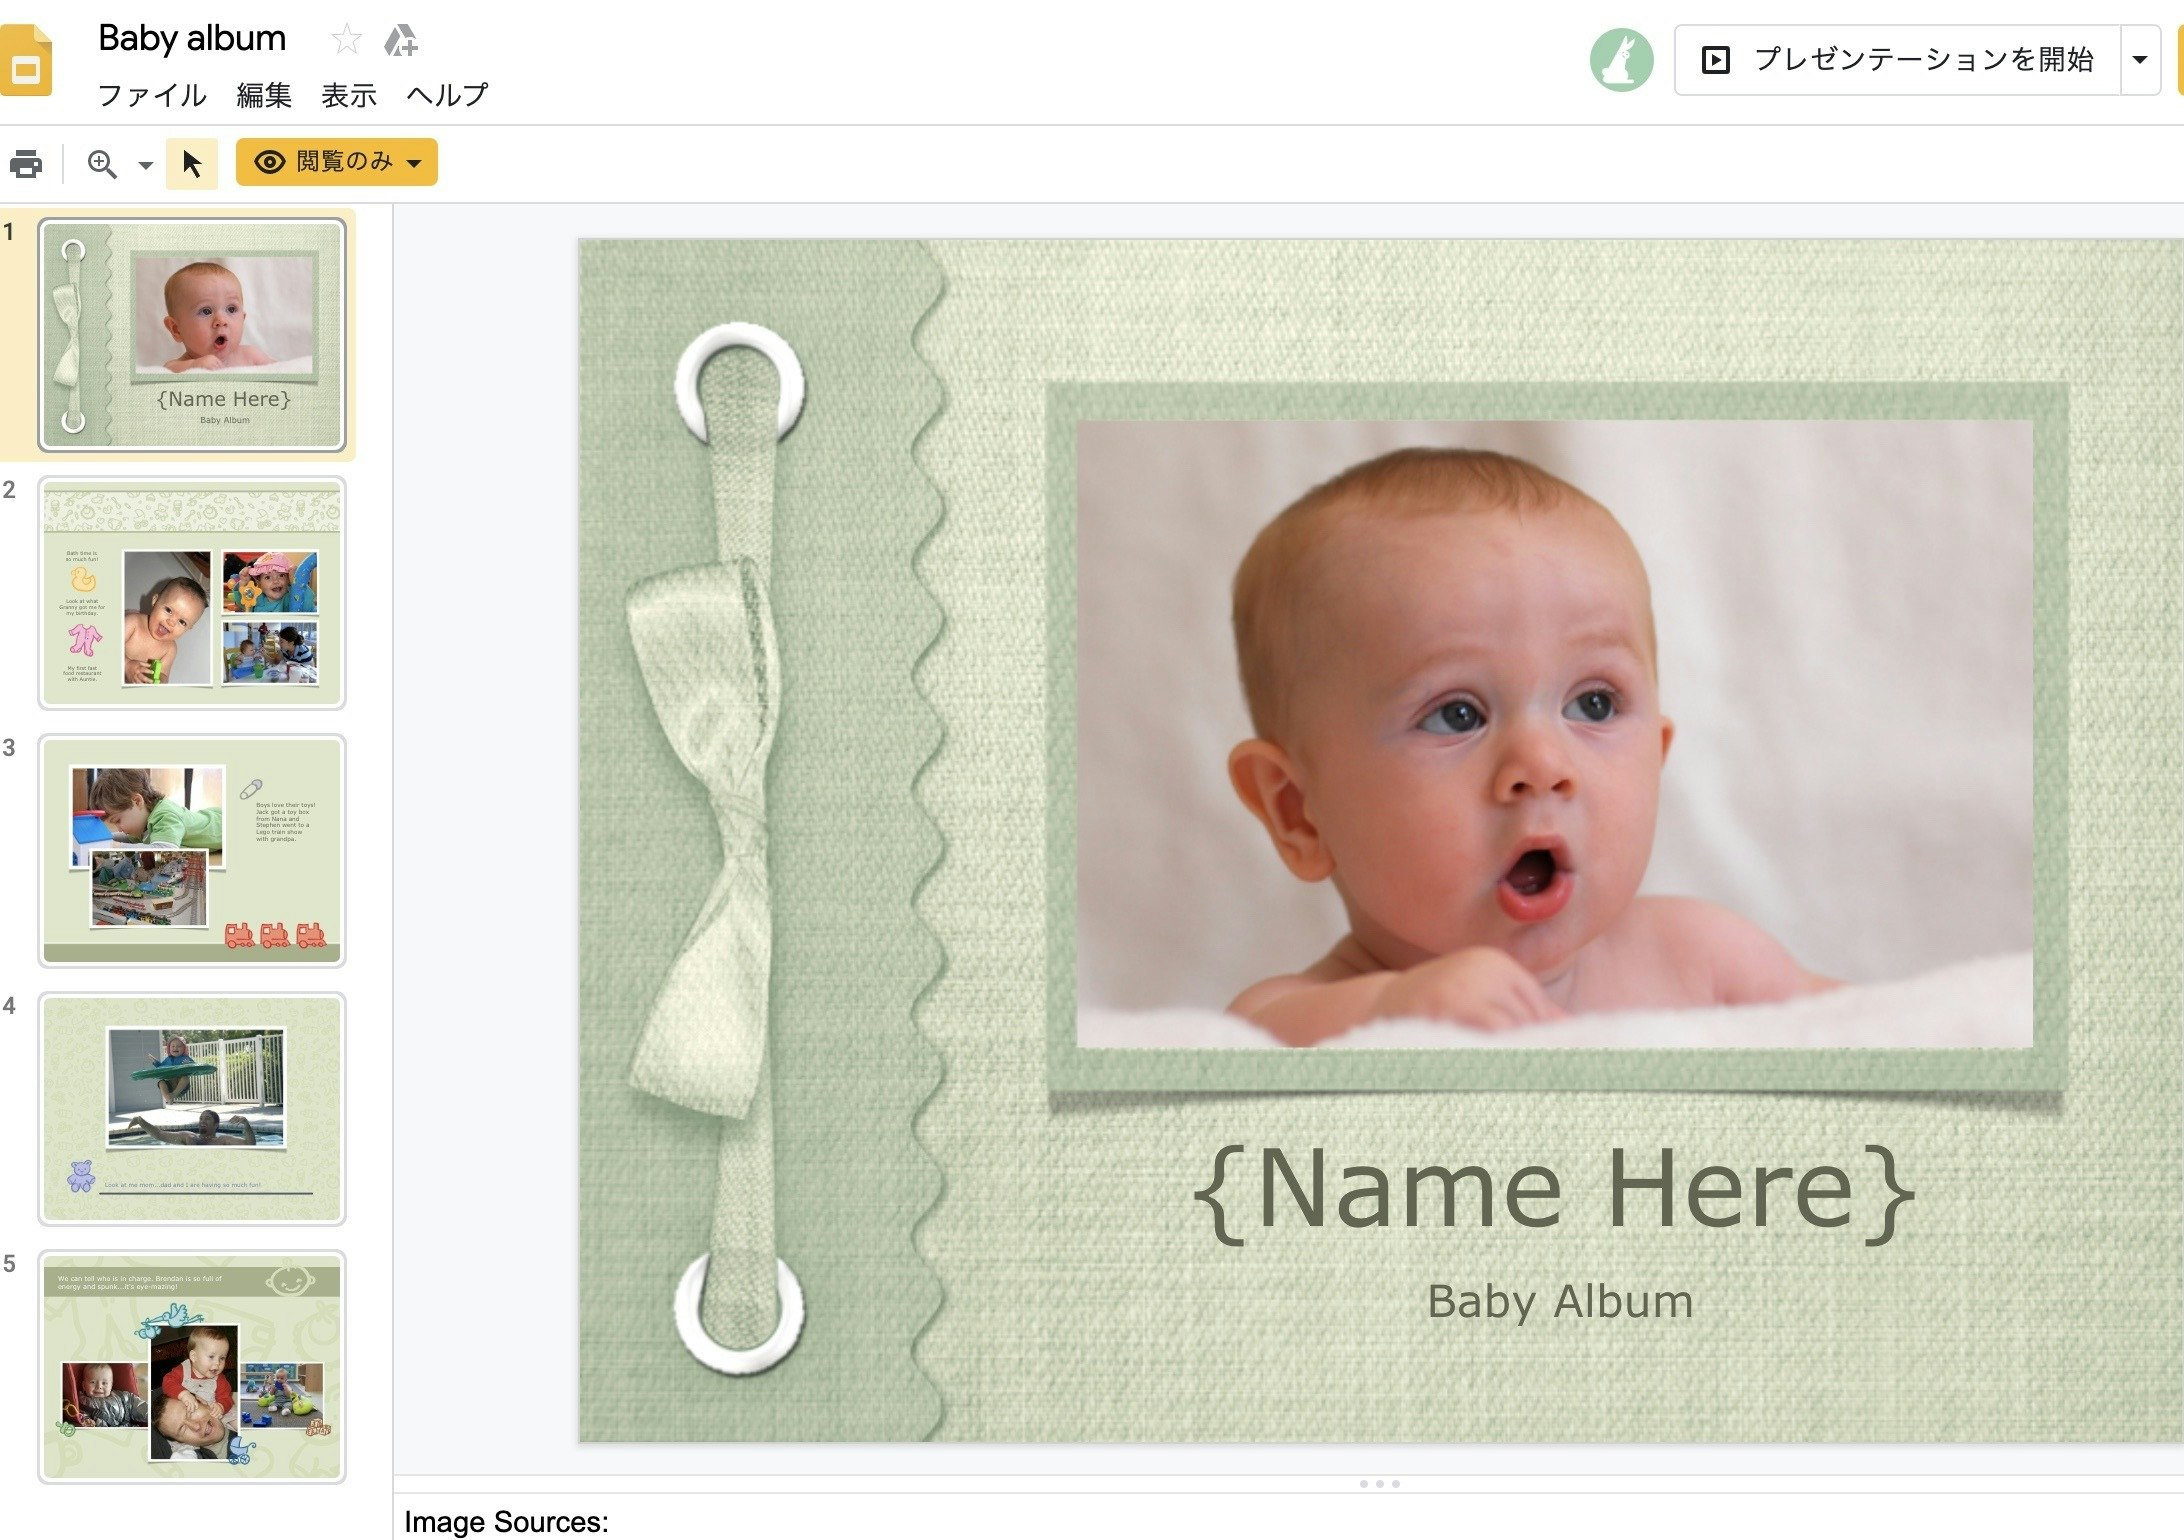
先ほど、app.jsを実行した時の表示はスライドの枚数と要素数を表示しています。
The presentation contains 5 slides:
- Slide #1 contains 4 elements.
- Slide #2 contains 11 elements.
- Slide #3 contains 9 elements.
- Slide #4 contains 5 elements.
- Slide #5 contains 12 elements.
所感
取り急ぎ、触ることが出来ました。
思ったより簡単です。
JSONをもっと深ぼっていくとテキスト情報も取れそうですね。
次回やってみます。