TL;DR
- ConohaのVMを使って,GitLabを立ち上げる手順を紹介します
- この記事では基本のサービス立ち上げを説明します
- HTTPSで運用します
- gitlab関連のコンテナを立ち上げるdocker-compose.ymlに若干手を入れます
- DNSで名前解決(VMのグローバルIPに名前を付ける)するためにドメインを取得する必要があります
- Let's Encryptなどで,当該ドメインのワイルドカード証明書(fullchain.pem, privkey.pem)を取得しておく必要もあります
GitLab概要
- 有名なGitリポジトリです.いくつかの利用方法,バージョンがあります.
- オープンソースのCommunity Edition(CE)
- 有償版のEnterprise Edition(EE)
- いろいろ機能が入っているomnibus package
- SaaS版GitLab.com
GitLab CEを自前サーバで運用する方針の設定
- Gitlab-CE Omnibus PackageをDockerコンテナで運用します
- 手順が比較的簡単なこと,わかりやすいこと,拡張しやすいことが理由です
- docker-compose.ymlで設定を記載しながら進めます
- ConohaのVMを使います
仮想マシンのセットアップ
ConhaでVPSを1台作成
- メモリをかなり消費するので,4core, 4GBのVPS(月額3,420円!費用負担が大きい!)のVMを作成します
- OSはCentOS7.6を使用しました(Docker運用なのでホストOSはあまり関係ないです)
VMのセットアップ
- ConohaのVMを使うための初期設定を行います
- sshコマンドでVMにrootでログインして作業を行います
- ツールのインストール
- 一般ユーザを作り,sudoersに追加します
- selinuxを無効化し,SSHのrootログイン禁止の手続きを行う
# 最初のアップデート,ツールのインストール
yum -y update
yum -y install dstat telnet wget zsh rsync \
               screen vim emacs emacs-el bind-utils \
               net-tools git jq nkf
# SELinuxの無効化
sed -ir "s/SELINUX=enforcing/SELINUX=disabled/g" /etc/selinux/config
setenforce 0

# ホスト名の設定(<hostname>, <domainname>は適当なものを設定)
hostnamectl set-hostname <hostname>.<domainname>
# ユーザの追加(<username>は適当なものを設定)
useradd -g users <username> -m
# ユーザパスワードの変更
passwd <username>
# sudoersに追加
sh -c "echo \"<username> ALL=(ALL) ALL\" >> /etc/sudoers"
# rootログイン禁止
sed -ir "s/PermitRootLogin yes/PermitRootLogin no/g" /etc/ssh/sshd_config
Docker環境のセットアップ
- docker環境のセットアップを行います.docker-composeもインストールします
- rootで作業を行います
yum -y install yum-utils device-mapper-persistent-data lvm2
yum-config-manager --add-repo https://download.docker.com/linux/centos/docker-ce.repo
yum -y install docker-ce
systemctl start docker
systemctl enable docker

curl -L https://github.com/docker/compose/releases/download/$(curl -sS https://api.github.com/repos/docker/compose/tags | jq ".[].name" | grep -v rc | grep -E '^"[0-9.]+"' | grep -oP '[0-9\.]+' | head -1)/docker-compose-`uname -s`-`uname -m` > /usr/local/bin/docker-compose
chmod 755 /usr/local/bin/docker-compose

# dockerコマンドの実行を作成したユーザに許可
usermod -aG docker <username>
systemctl restart docker
# <username>でログインし直すと,dockerコマンドが使えるようになっている
DNSの設定
- グローバルIPではなく,名前でアクセスできるようにします
- ドメインを適当なサービスで取得します
- 「お名前.comでドメインを取得してConoHaで公開するまで」などが参考になります
- 名前解決をConohaのNSに設定します
- Conohaサービスの「DNS」で,VMのグローバルIPに名前を設定します
- ドメインを適当なサービスで取得します
- 外部ネットワークから,名前でVMのIPが取得できることを確認します
- この記事では, gitlab.domainname と記載します
lets encryptでワイルドカード証明書を取得する
- 「Let's Encrypt (certbot) でワイルドカード証明書できた!」などを参考に, domainname でワイルドカード証明書を取得します
-
/etc/letsencrypt/live/<gitlab.domainname(サーバのFQDN)>にfullchain.pem, privkey.pemが設置されます
-
gitlab-ceを立ち上げる
- github sameersbn/docker-gitlabでdocker-compose.ymlが配布されているので,それを使用させてもらいます
- 特段の修正をしなくても,以下のコマンドでgitlabが立ち上がります
- 3つのコンテナが立ち上がります
- gitlab(rails)
- postgresql
- redis
-
/srv/docker/gitlabに不揮発ボリュームが作られているので,このディレクトリが残っていれば,docker-compose downしてもデータが消えません
- 3つのコンテナが立ち上がります
- ブラウザで,
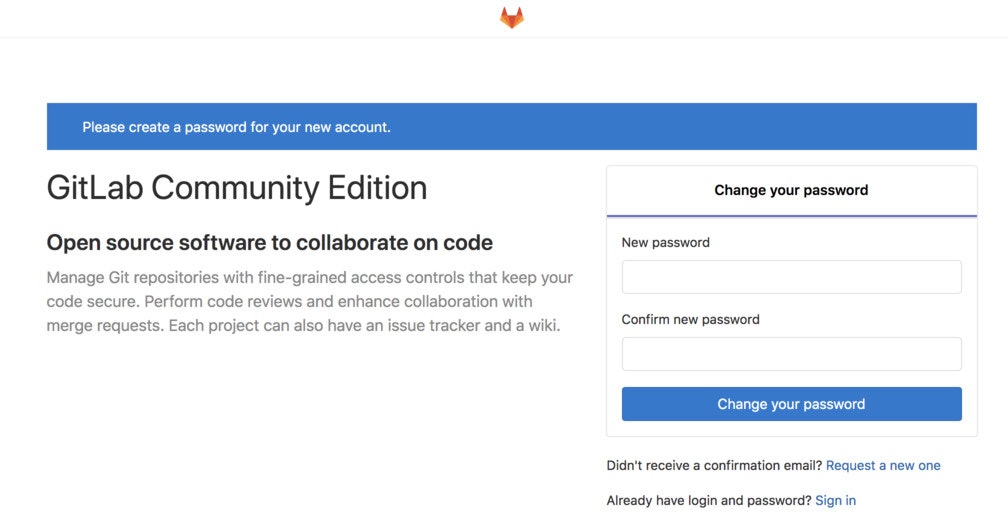
https://<VMのグローバルIPアドレス>:10080にアクセスすると,稼働中のgitlabにアクセスできます
mkdir gitlab && cd gitlab
wget https://raw.githubusercontent.com/sameersbn/docker-gitlab/master/docker-compose.yml

docker-compose up -d
httpsの有効化,リバースプロキシの設定
- lets encryptで取得した当該ドメインのfullchain.pem, privkey.pemを使用して,https対応します.
- 一度,
docker-compose downしてコンテナ群を止めた後,docker-compose.ymlを以下のように修正します - リバースプロキシとして,
revコンテナを作成します- ローカルディレクトリのnginx.conf(後述)を読み込み専用でマウントします
- letsencryptで得られたfullchain.pem, privkey.pemも同様にマウントします
- 証明書ファイルは,docker-compose.ymlと同じディレクトリに置いていることを想定しています.必要があれば変更してください
-
gitlabコンテナに渡す設定を修正します- gitlabにはリバースプロキシ経由でしかアクセスしないので,80/TCPをexpose(docker-compose内のネットワーク)のみ公開するよう変更します
-
GITLAB_HTTPSを有効化します -
GITLAB_PORTを10080から80に変更します
- 一度,
--- docker-compose.yml.orig	2019-05-10 08:58:29.233583600 +0900
+++ docker-compose.yml	2019-05-10 13:02:40.838618383 +0900
@@ -1,6 +1,18 @@
 version: '2'

 services:
+  rev:
+    image: nginx:1.15.8
+    restart: always
+    ports:
+      - "443:443"
+    volumes:
+      - ./nginx.conf:/etc/nginx/nginx.conf:ro
+      - ./fullchain.pem:/etc/nginx/fullchain.pem:ro
+      - ./privkey.pem:/etc/nginx/privkey.pem:ro
+    depends_on:
+      - gitlab
+
   redis:
     restart: always
     image: sameersbn/redis:4.0.9-1
@@ -27,8 +39,9 @@ services:
     - redis
     - postgresql
     ports:
-    - "10080:80"
     - "10022:22"
+    expose:
+    - "80"
     volumes:
     - /srv/docker/gitlab/gitlab:/home/git/data:Z
     environment:
@@ -47,11 +60,11 @@ services:
     - TZ=Asia/Kolkata
     - GITLAB_TIMEZONE=Kolkata

-    - GITLAB_HTTPS=false
+    - GITLAB_HTTPS=true
     - SSL_SELF_SIGNED=false

     - GITLAB_HOST=localhost
-    - GITLAB_PORT=10080
+    - GITLAB_PORT=80
     - GITLAB_SSH_PORT=10022
     - GITLAB_RELATIVE_URL_ROOT=
     - GITLAB_SECRETS_DB_KEY_BASE=long-and-random-alphanumeric-string
- 次に,docker-compose.ymlと同じディレクトリに,リバースプロキシ用の
nginx.confを作成します- serverディレクティブの
server_nameに,稼働予定のFQDNを記載します
- serverディレクティブの
user nginx;
worker_processes auto;
error_log /var/log/nginx/error.log;
pid /run/nginx.pid;

# Load dynamic modules. See /usr/share/nginx/README.dynamic.
include /usr/share/nginx/modules/*.conf;

events {
    worker_connections 1024;
}

http {
    log_format  main  '$remote_addr - $remote_user [$time_local] "$request" '
    '$status $body_bytes_sent "$http_referer" '
    '"$http_user_agent" "$http_x_forwarded_for"';

    access_log  /var/log/nginx/access.log  main;

    sendfile            on;
    tcp_nopush          on;
    tcp_nodelay         on;
    keepalive_timeout   65;
    types_hash_max_size 2048;
    client_max_body_size 8g;

    include             /etc/nginx/mime.types;
    default_type        application/octet-stream;

    # Load modular configuration files from the /etc/nginx/conf.d directory.
    # See http://nginx.org/en/docs/ngx_core_module.html#include
    # for more information.
    include /etc/nginx/conf.d/*.conf;

    server {
        listen 443 ssl;
        server_name <gitlab.domainname(サーバのFQDN)>;
        ssl_certificate /etc/nginx/fullchain.pem;
        ssl_certificate_key /etc/nginx/privkey.pem;

        keepalive_timeout  180;
        send_timeout 180;
        client_body_timeout 180;
        client_header_timeout 180;
        proxy_send_timeout 180;
        proxy_read_timeout 180;

        proxy_set_header    Host    $host;
        proxy_set_header    X-Real-IP    $remote_addr;
        proxy_set_header    X-Forwarded-Host       $host;
        proxy_set_header    X-Forwarded-Server    $host;
        proxy_set_header    X-Forwarded-For    $proxy_add_x_forwarded_for;

        location / {
            proxy_pass http://gitlab/;
        }
    }
}
-
docker-compose up -dでgitlabのコンテナ群を再度立ち上げます - 以降は,
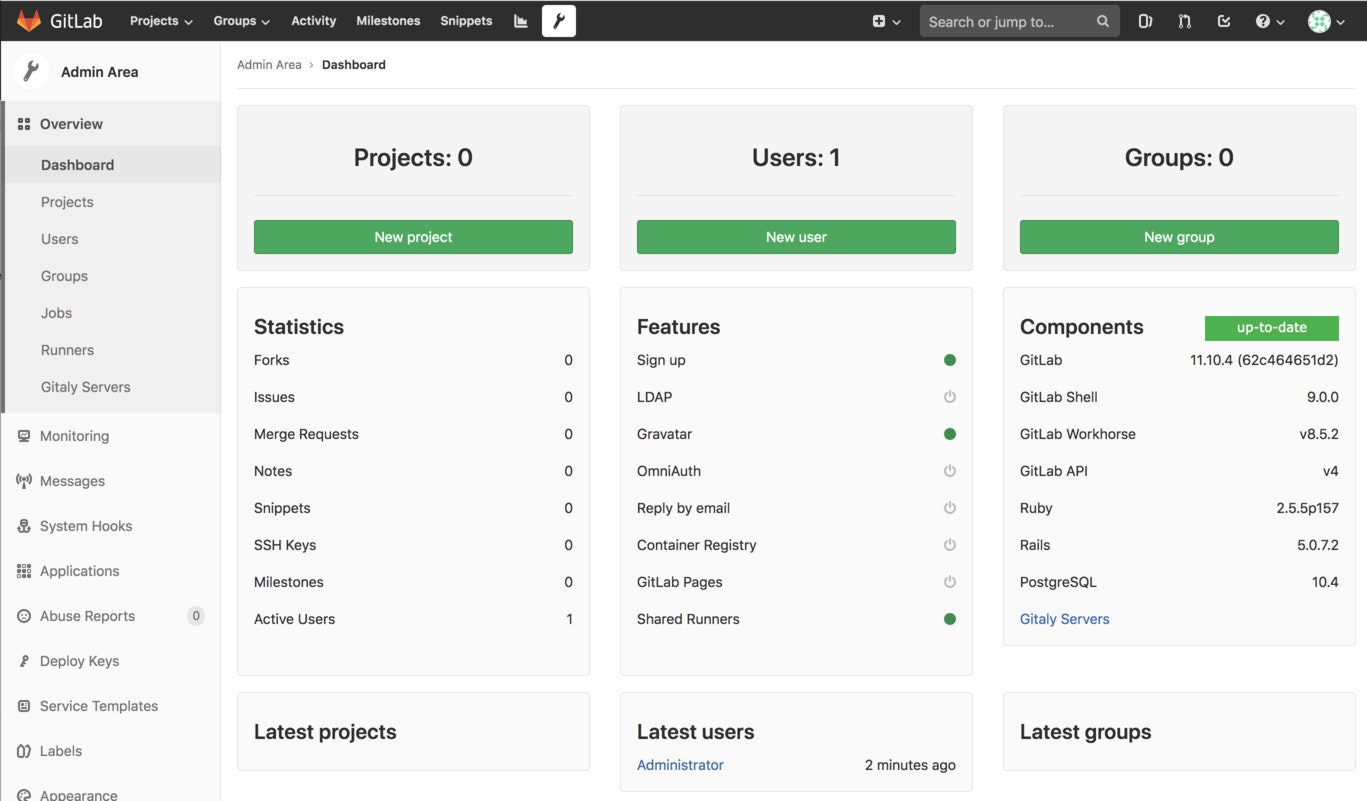
https://gitlab.domainnameで,gitlabにアクセスすることができます - rootログイン後に,ウインドウ上部のレンチアイコンをクリックすると,gitlabの状態を確認できます


