TL;DR
- SSOサービスKeycloakと,プロジェクトリポジトリGitLabを連携させる方法を説明します
- Keycloakが,Dockerコンテナで稼働している状況で進めます
- GitLab-CEのOmnibus Packageを使用します
- KeycloakをGrowiと連携する記事も参考にしてください
手順
- Keycloakで使用中のRealmに,gitlab用のClientを追加して連携します
- Realmは,登録されたユーザ,グループを共通に利用する複数のClientをまとめるものです
- Growiとの連携の記事で,Realmの作成を行っているので,参考にしてください
- GitLabにSAML認証の設定をします
KeycloakにGitLab用Clientを作成する
Clientの作成
- Keycloakの管理者コンソールにログインします
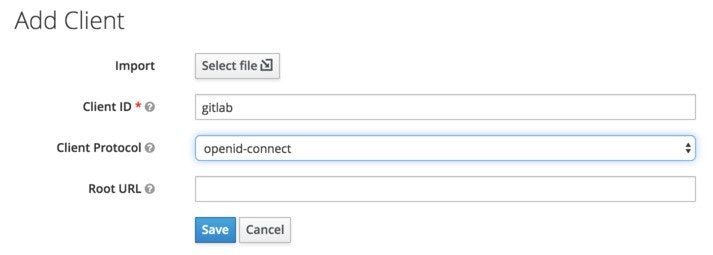
- GitLabと連携したいRelamを選び,"Clients"から"Create"をクリックします
- "Client ID"に適当な名前(この記事では"gitlab"にしました)を入力し,"Save"します
- 後述の説明にしたがって,各タブに設定をします
- Settingsタブ,Rolesタブ,Mappersタブで設定を記述します
Settigsタブ
- 表の通り設定します
- GitLabのホスト名,ドメイン名は,適切なものに変更してください
- 修正の必要がある項目と,ONにしている部分だけを抜粋しています
| 設定名 | 設定値 |
|---|---|
| Client ID | gitlab |
| Enabled | ON |
| Client Protocol | saml |
| Include AuthnStatement | ON |
| Sign Documents | ON |
| Sign Assertions | ON |
| Signature Algorithm | RSA_SHA256 |
| SAML Signature Key Name | KEY_ID |
| Canonicalization Method | EXCLUSIVE |
| Client Signature Required | ON |
| Force POST Binding | ON |
| Front Channel Logout | ON |
| NAME ID Format | persistent |
| Root URL | GitLabのURL(e.g. https://gitlab.example.com) |
| Valid Redirect URIs | GitLabのURL以下の領域 (e.g. https://gitlab.example.com/users/auth/saml/callback
|
| Master SAML Processing URL | ログイン後のコールバックURL (e.g. https://gitlab.example.com/users/auth/saml/callback) |
| IDP Initiated SSO URL Name | GitLabのFQDN(e.g. gitlab.example.com) |
- さらに,"Fine Grain SAML Endpoint Configuration"を展開して,以下の設定を行います
| 設定名 | 設定値 |
|---|---|
| Assertion Consumer Service POST Binding URL | ログイン後のコールバックURL (e.g. https://gitlab.example.com/users/auth/saml/callback) |
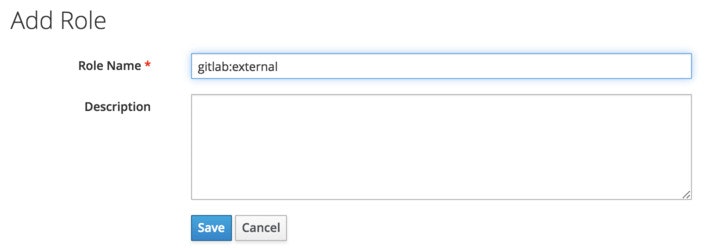
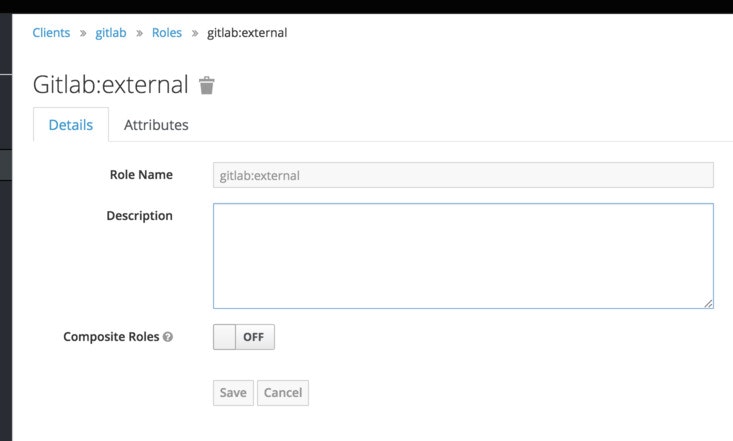
Rolesタブ
Mappersタブ
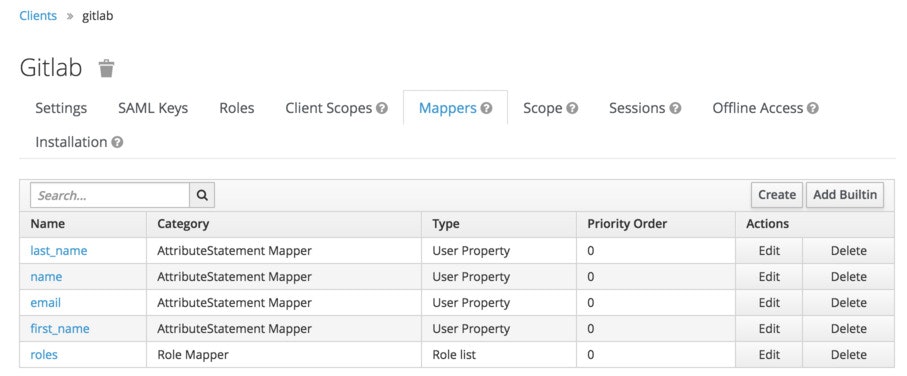
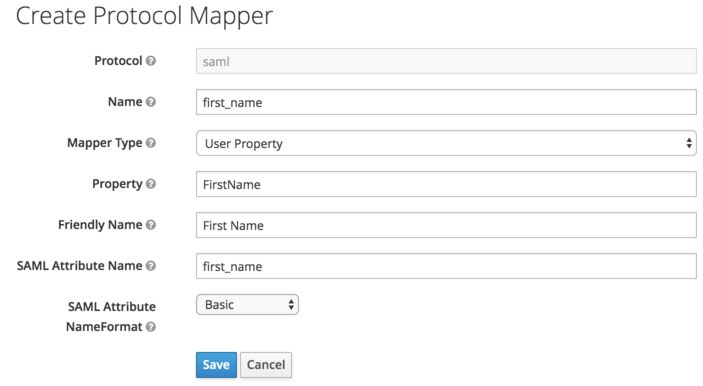
- Mappersタブで,GitLabのユーザ情報として必要な情報と,keycloakで管理しているユーザ情報を紐づけます
- "Create"ボタンをクリックして,以下の表の通り,マッピングする5つのエントリを追加します
| Name | Mapper Type | Property | Friendly Name | SAML Attribute Name | SAML Attribute NameFormat |
|---|---|---|---|---|---|
| name | User Property | Username | Username | name | Basic |
| User Property | Basic | ||||
| first_name | UserProperty | FirstName | First Name | first_name | Basic |
| last_name | UserProperty | LastName | Last Name | last_name | Basic |
| Name | Mapper Type | Role attribute name | Friendly Name | SAML Attribute NameFormat | Single Role Attribute |
|---|---|---|---|---|---|
| roles | Role list | roles | Roles | Basic | ON |
Gitlabの設定
IDP認証フィンガープリントの作成
- 以下のような,Realmを指定したURLにアクセスすると,Realmの情報を見ることができます
https://sso.example.com/auth/realms/dev/protocol/saml/descriptor
-
<dsig:X509Certificate>タグ内の,MII〜で始まる文字列をコピーします - 以下のようなgitlab-sso.pemファイルを作成します
-----BEGIN CERTIFICATE-----
<コピーした文字列>
-----END CERTIFICATE-----
-
opensslコマンドを使用して,フィンガープリントを計算します
openssl x509 -sha1 -fingerprint -noout -in gitlab-sso.pem
SHA1 Fingerprint=AA:BB:CC:DD:EE:AA:BB:CC:DD:EE:AA:BB:CC:DD:EE
-
SHA1 Fingerprint=に続く文字列をコピーします
docker-compose.yml
- Dockerhubにある,Gitlab-ceのOmnibus Packageを使い,docker-compose.ymlファイルを作成します
- ymlに直書きせず,envファイルなどに外出ししたほうが良いです
-
portsやvolumesディレクティブの値は,環境に応じて適当に変更してください
- environmentディレクティブに,SAMLの設定を追加します
- 注目点は,
gitlab_rails['omniauth_providers']内のargsキーの値です
version: '2'

services:

# ....<snip>.....
# リバースプロキシの設定など
# ....<snip>.....

  gitlab:
    restart: always
    image: gitlab/gitlab-ce:latest
    ports:
      - "10022:22"
    environment:
      GITLAB_OMNIBUS_CONFIG: |
        gitlab_rails['omniauth_enabled'] = true
        gitlab_rails['omniauth_allow_single_sign_on'] = ['saml']
        gitlab_rails['omniauth_block_auto_created_users'] = false

        gitlab_rails['omniauth_auto_link_saml_user'] = true
        gitlab_rails['omniauth_providers'] = [{
            name: 'saml',
            args: {
                assertion_consumer_service_url: 'https://gitlab.example.com/users/auth/saml/callback',
                idp_cert_fingerprint: 'AA:BB:CC:DD:EE:AA:BB:CC:DD:EE:AA:BB:CC:DD:EE:AA:BB:CC:DD:EE',
                idp_sso_target_url: 'https://sso.example.com/auth/realms/dev/protocol/saml/clients/gitlab.example.com',
                issuer: 'gitlab',
                name_identifier_format: 'urn:oasis:names:tc:SAML:2.0:nameid-format:persistent'
             },
             label: 'SAML Login' # optional label
         }]
    volumes:
      - ./srv/docker/gitlab/logs:/var/log/gitlab
      - ./srv/docker/gitlab/data:/var/opt/gitlab
コンテナの立ち上げと動作確認
-
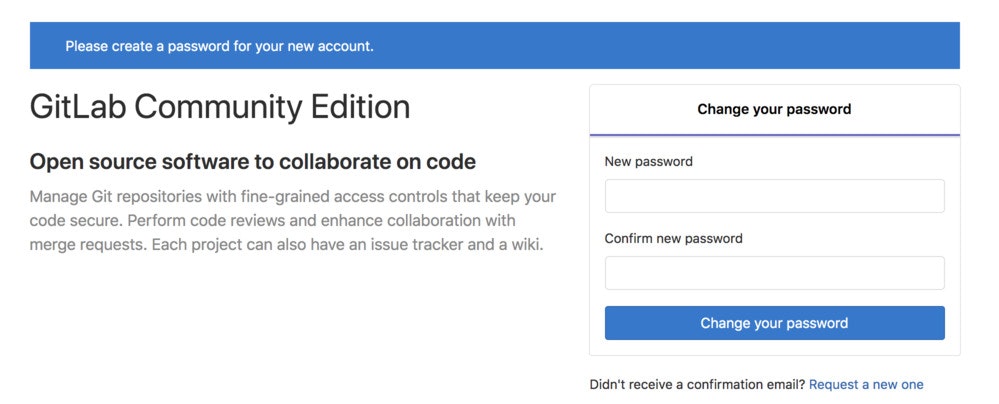
docker-compose up -dコマンドで,gitlabを立ち上げます - 立ち上がったら,
https://gitlab.example.com/にアクセスして,初期管理パスワードの変更画面が表示されることを確認します - 初期パスワードを変更すると,ログイン画面が現れることを確認します
*
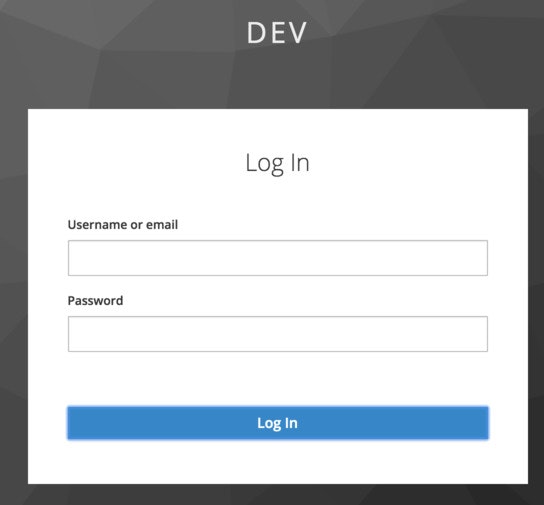
- "SAML Login"をクリックすると,Keycloakのログイン画面に遷移しますので,当該Realmに登録されたユーザでログインを試みます
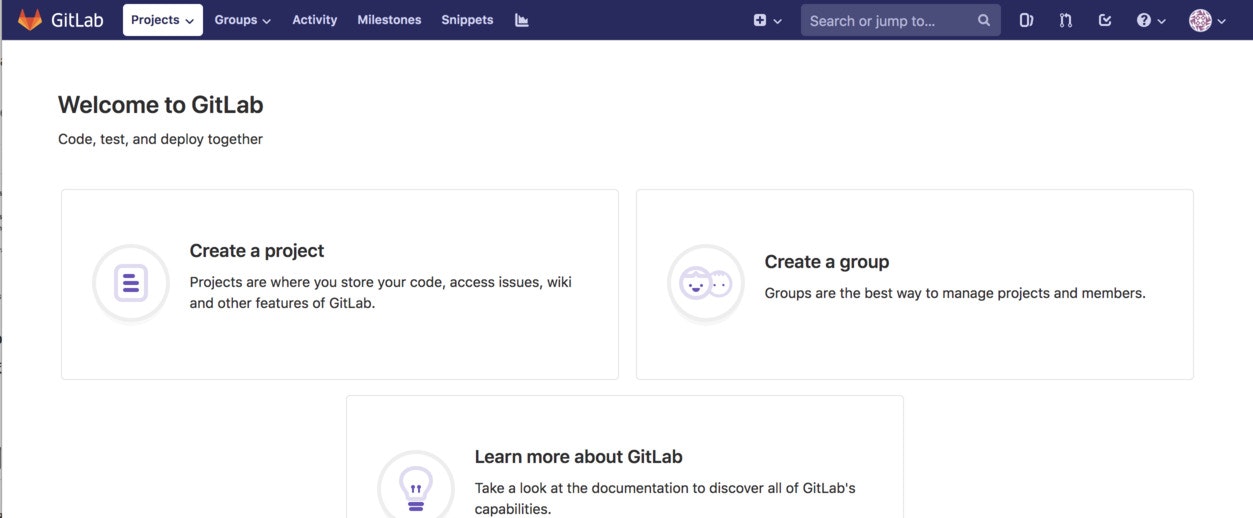
- GitLabにログインできれば成功です

