1.はじめに
新たに6つのAndroidStudio&Flutter&Firebase記事を書いている。以下は内容、
- 【Flutter/Dart】Firebaseを使おう
https://qiita.com/my_programming/private/7b3251701183ff59b97c - 【Flutter/Dart】Firebase Authenticationを使って認証アプリを作ろう
- 【Flutter/Dart】Firebase/Firestoreを使ったチャットアプリを作ろう
https://qiita.com/my_programming/private/ad0f7a5f7637a1a37842 - 【Flutter/Dart】Firebase/Firestoreを使ったToDoアプリを作ろう
https://qiita.com/my_programming/private/2da77f3a36bf120761c5 - 【Flutter/Dart】Firebase/HostingでWebアプリを外部公開しよう
https://qiita.com/my_programming/private/5950b7e27161dc9ec838 - 【Flutter/Dart】Firebase/Firestoreを使ったBlogアプリを作ろう
https://qiita.com/my_programming/private/6f8515dca825e55d0f07
Firebase AuthenticationはSDKを使用してモバイルアプリとの統合を非常に簡単にする事前構成済みのバックエンドサービスである。認証プロセスのためにバックエンドインフラを自作する必要はない。Firebaseは、Google、Facebook、GitHubなどの一般的なIDプロバイダーとの統合もサポートしている。Firebase AuthenticationをFlutterで実装する方法を説明する。
2.認証アプリを作ろう
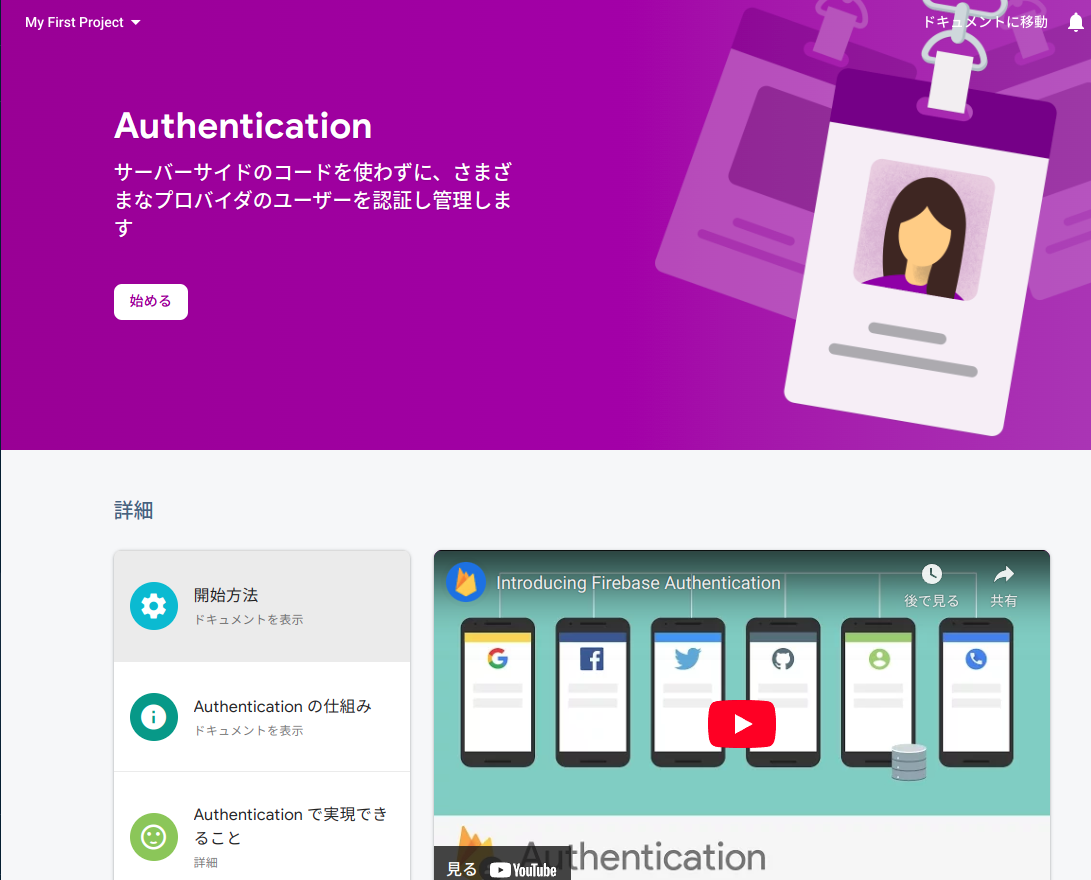
FirebaseプロジェクトからAuthenticationを選択する。

始めるを押す。
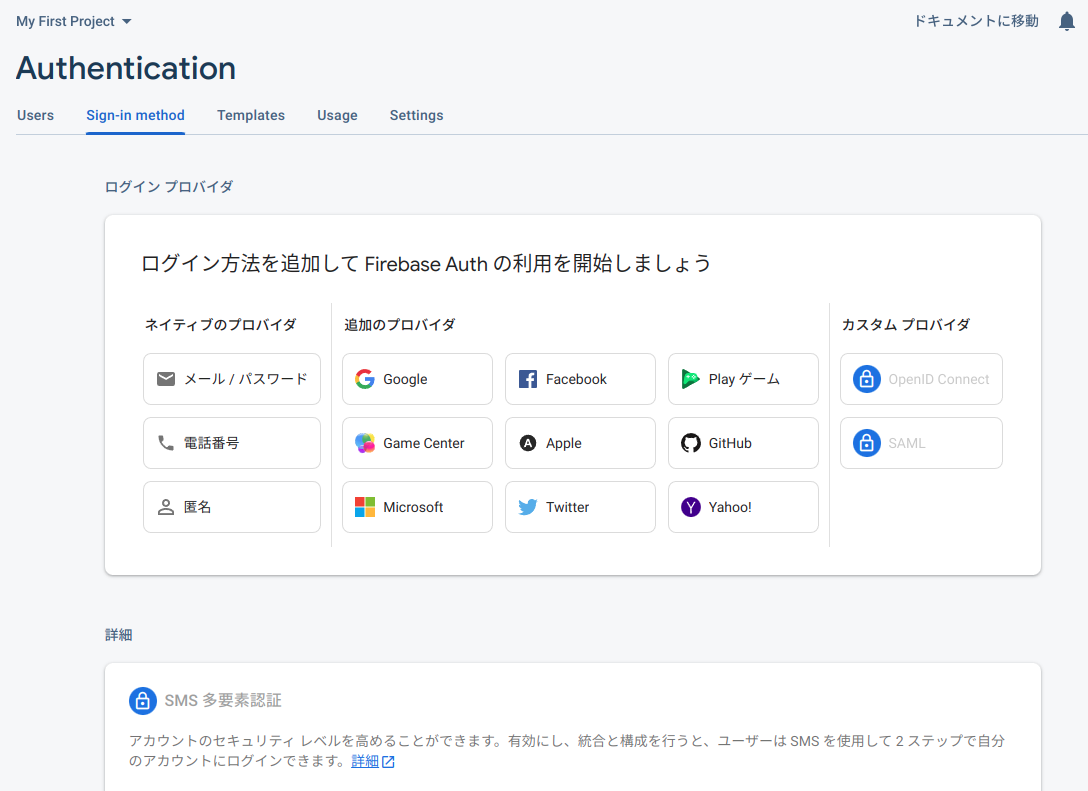
今回は例としてメールアドレスで認証することとしメール/パスワードを選択する。
メール/パスワードを有効にする。
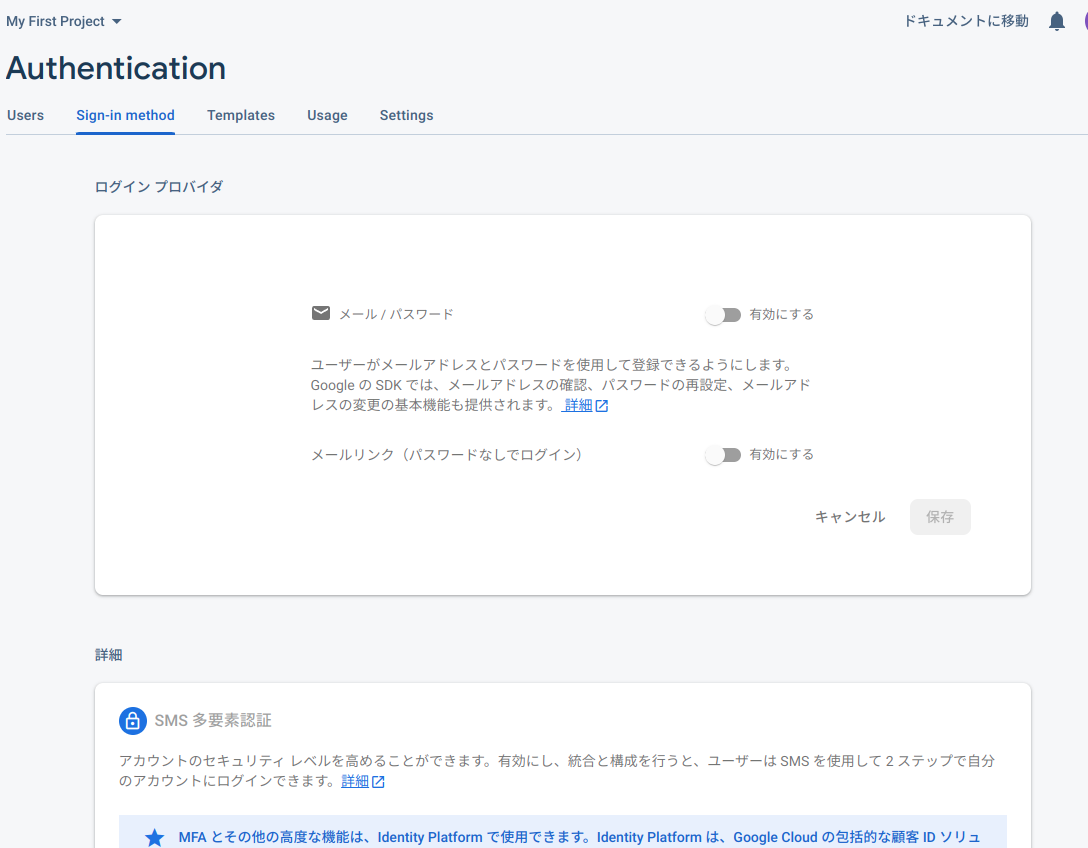
以下の画面が表示されることを確認する。

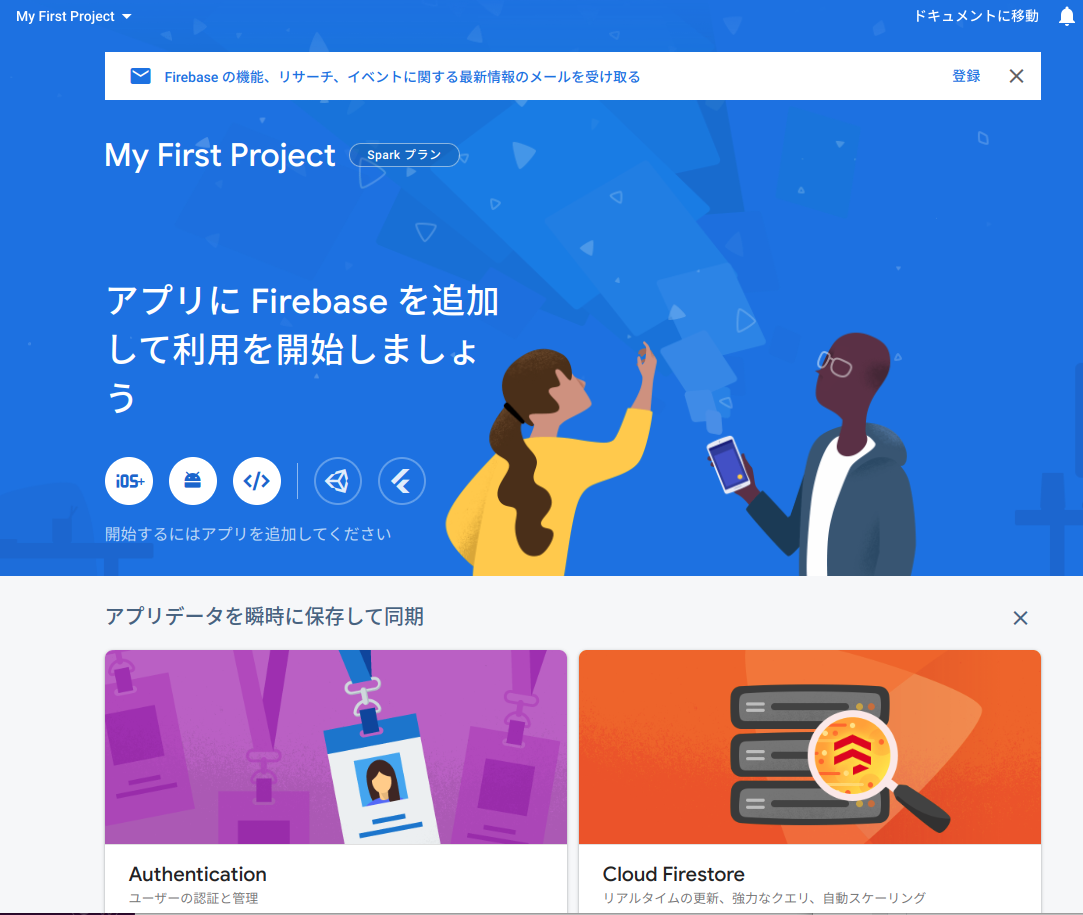
プロジェクトのトップ画面でアンドロイドマークを押す。
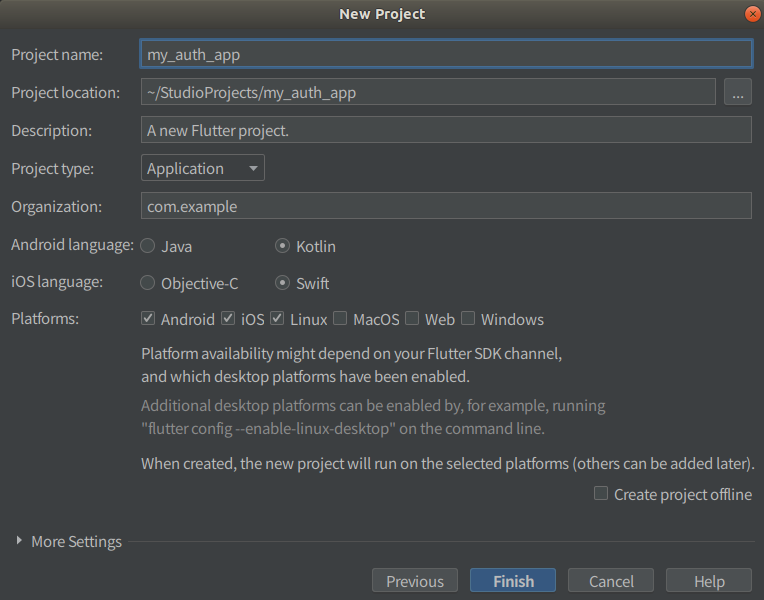
Flutterのプロジェクトを作成する。プロジェクト名を例としてmy_auth_appとする。
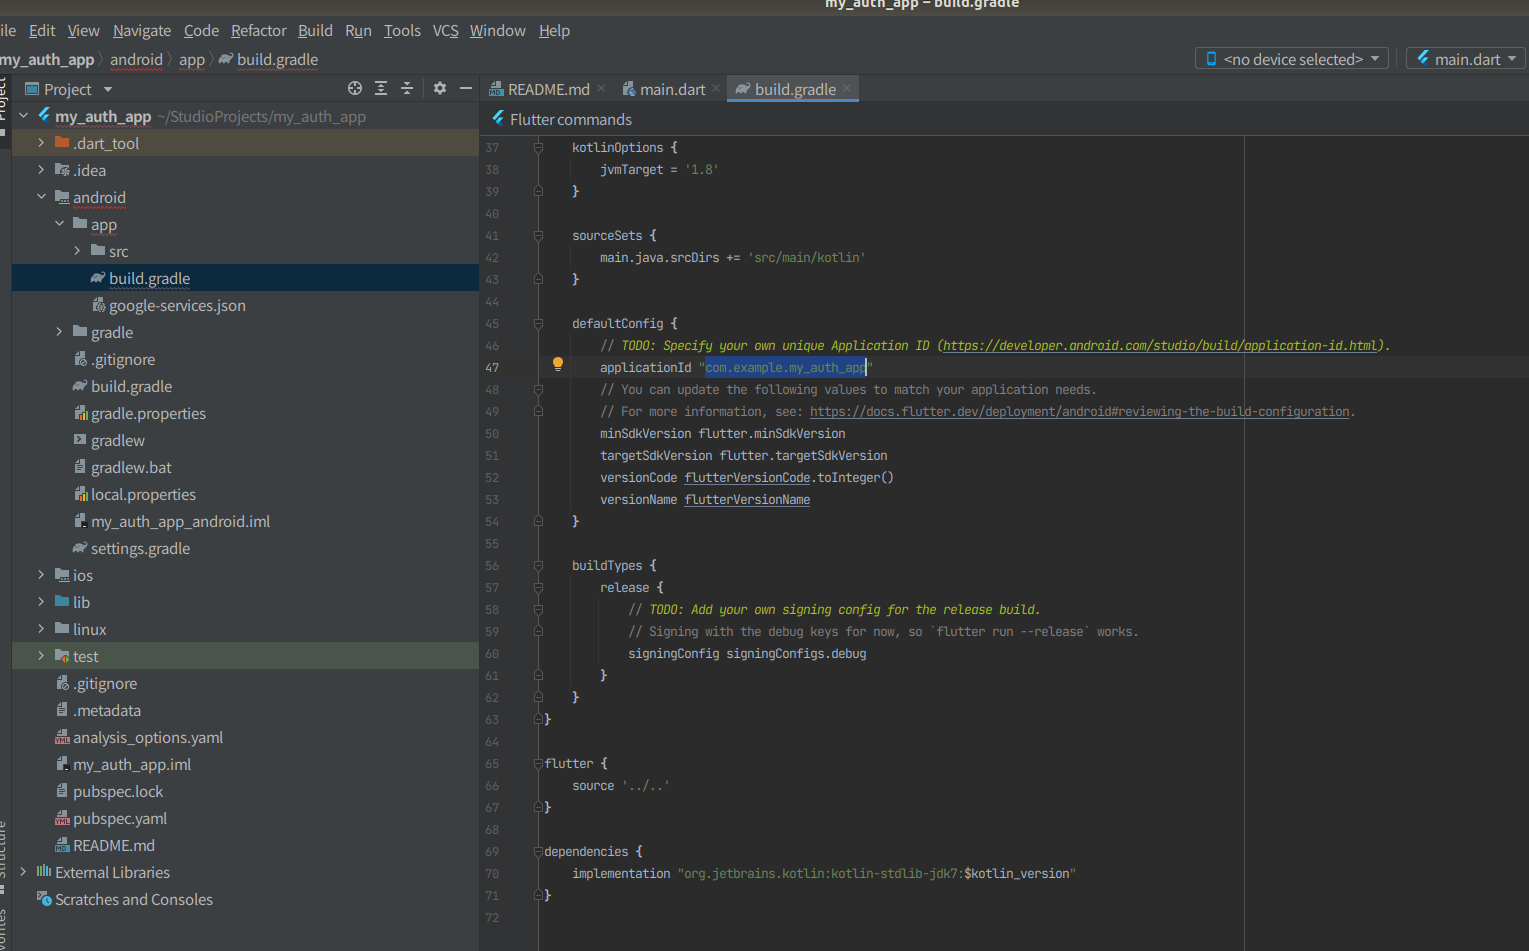
android/app/build.gradleのapplicationIdをコピーする。
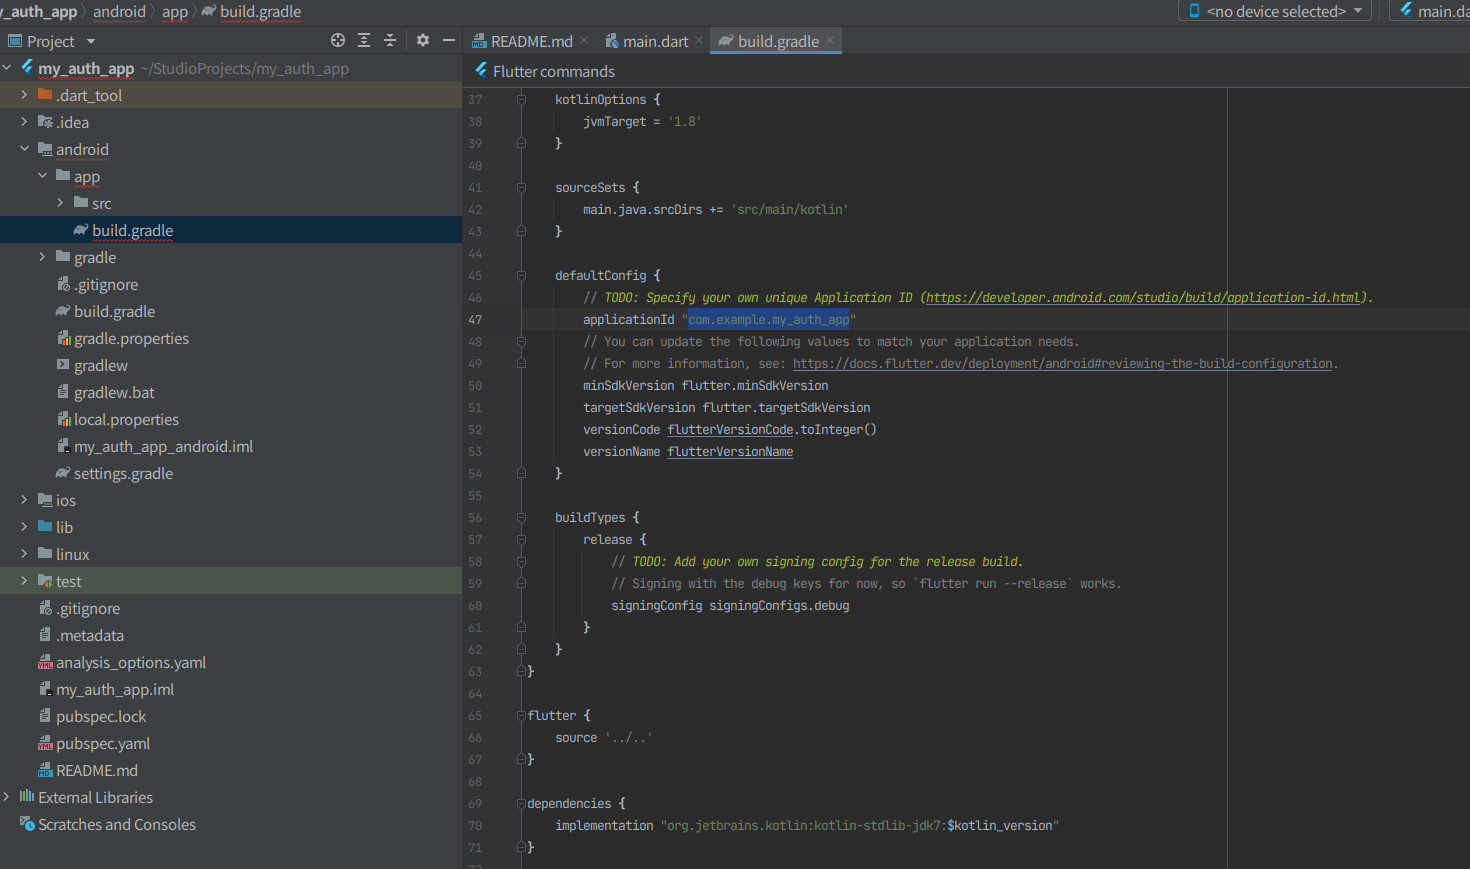
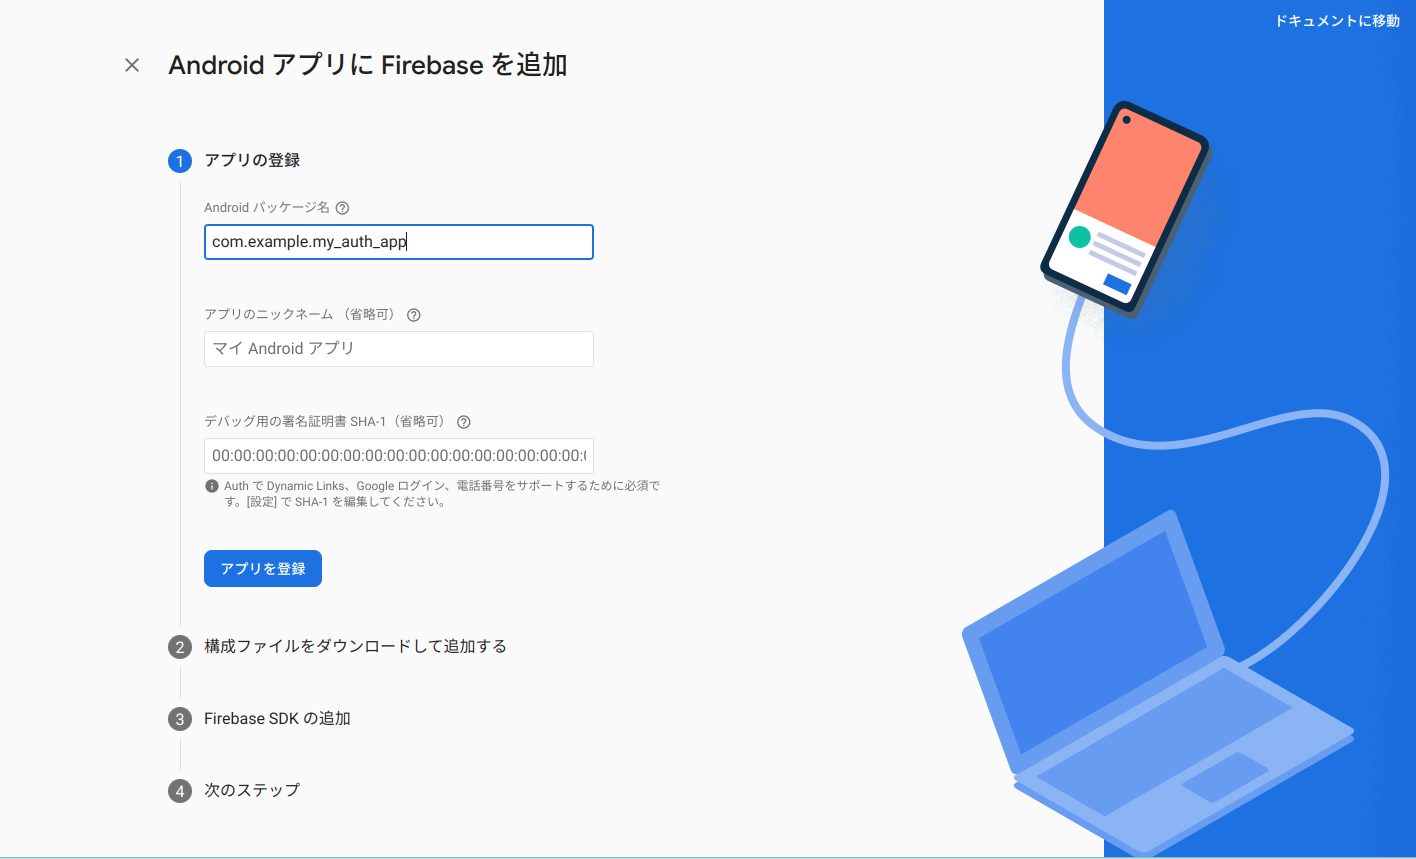
アプリを登録するためにapplicationIdをパッケージ名にペーストする。他は空欄のままでよくアプリを登録を押す。
構成ファイルgoogle-services.jsonをダウンロードする。
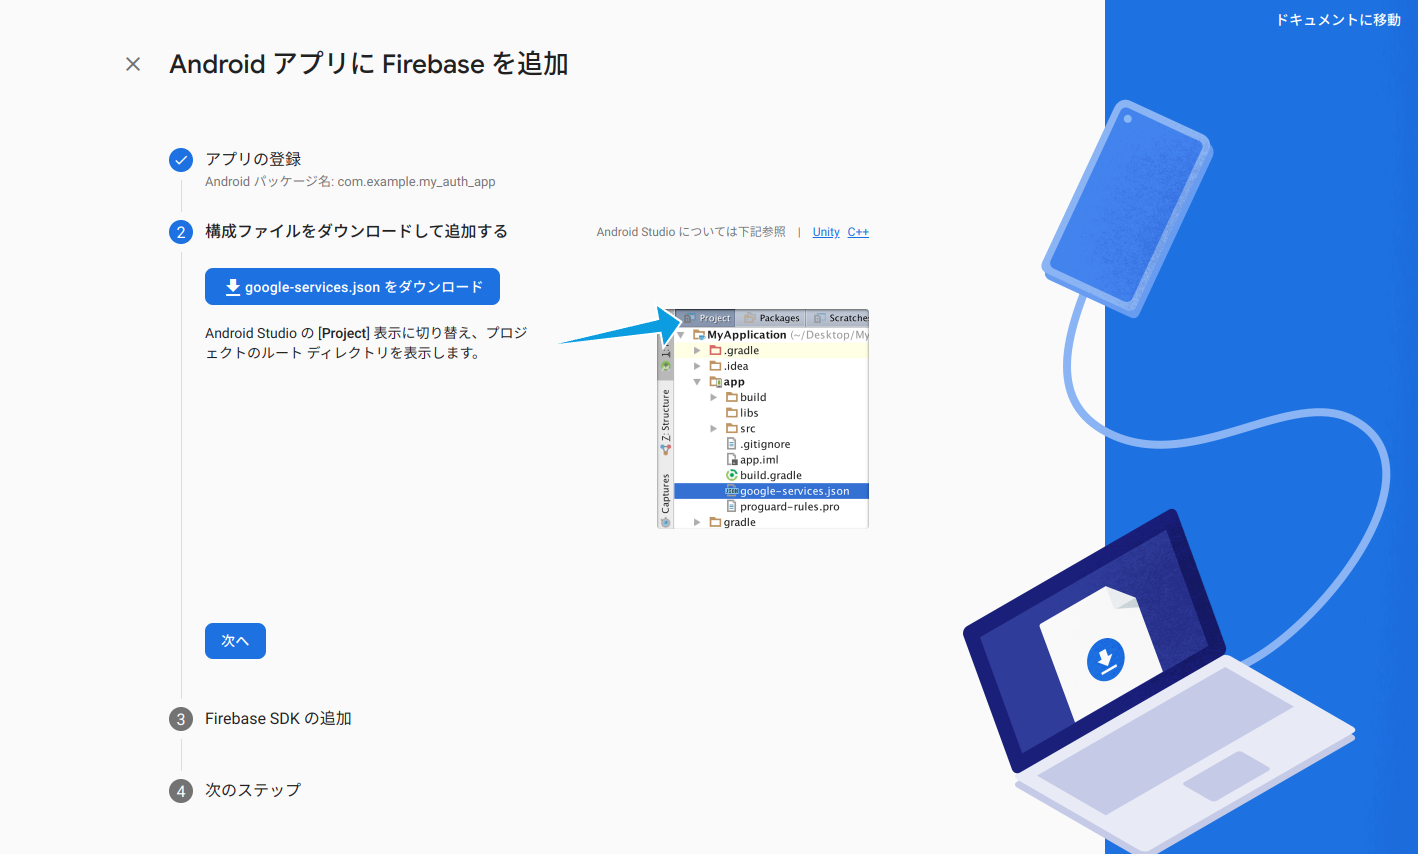
ダウンロードしたファイルをandroid/app/build.gradleと同じフォルダに置く。
Firebase SDKを追加するために中段にあるclasspathをコピーする。
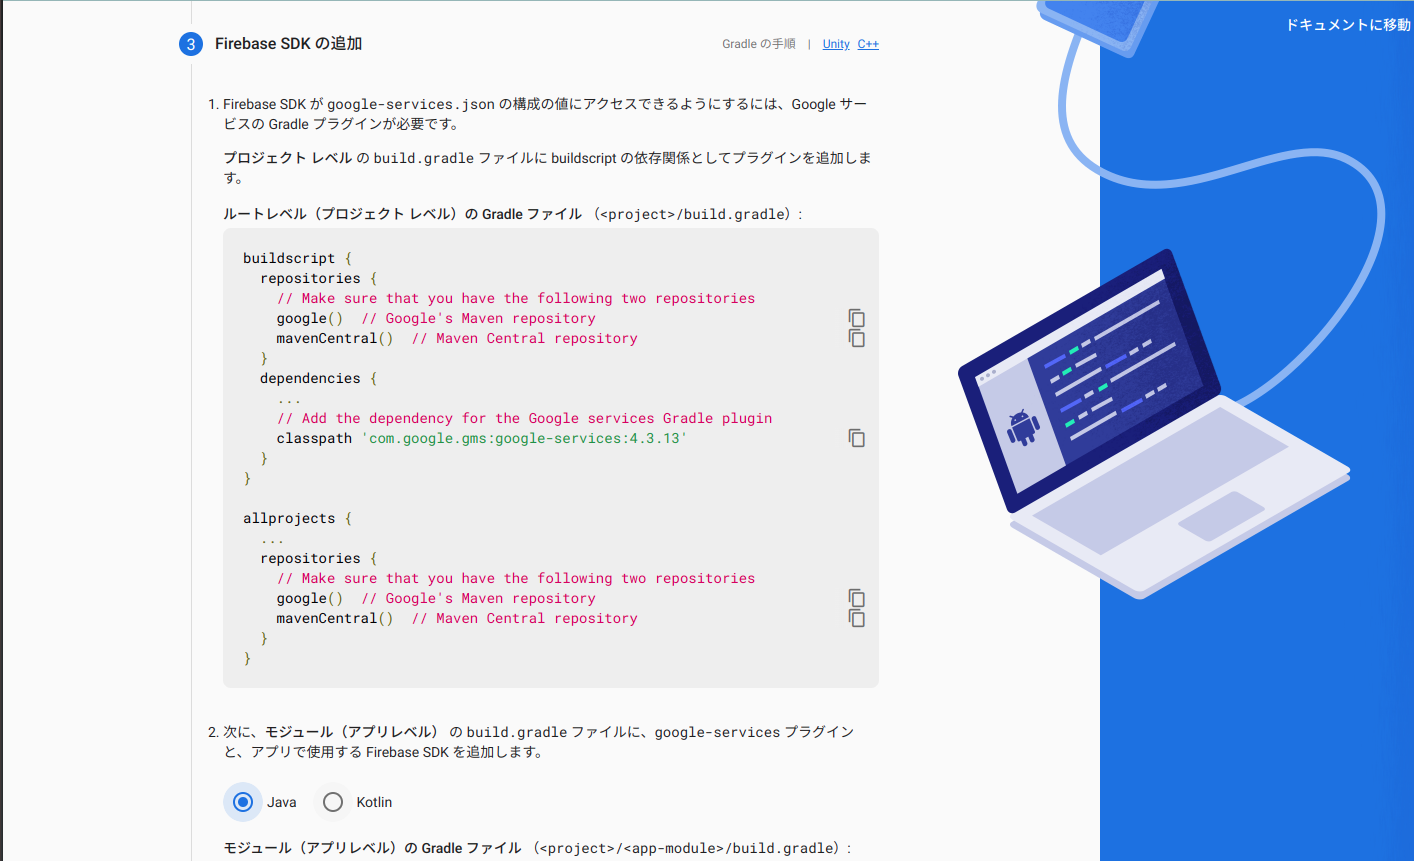
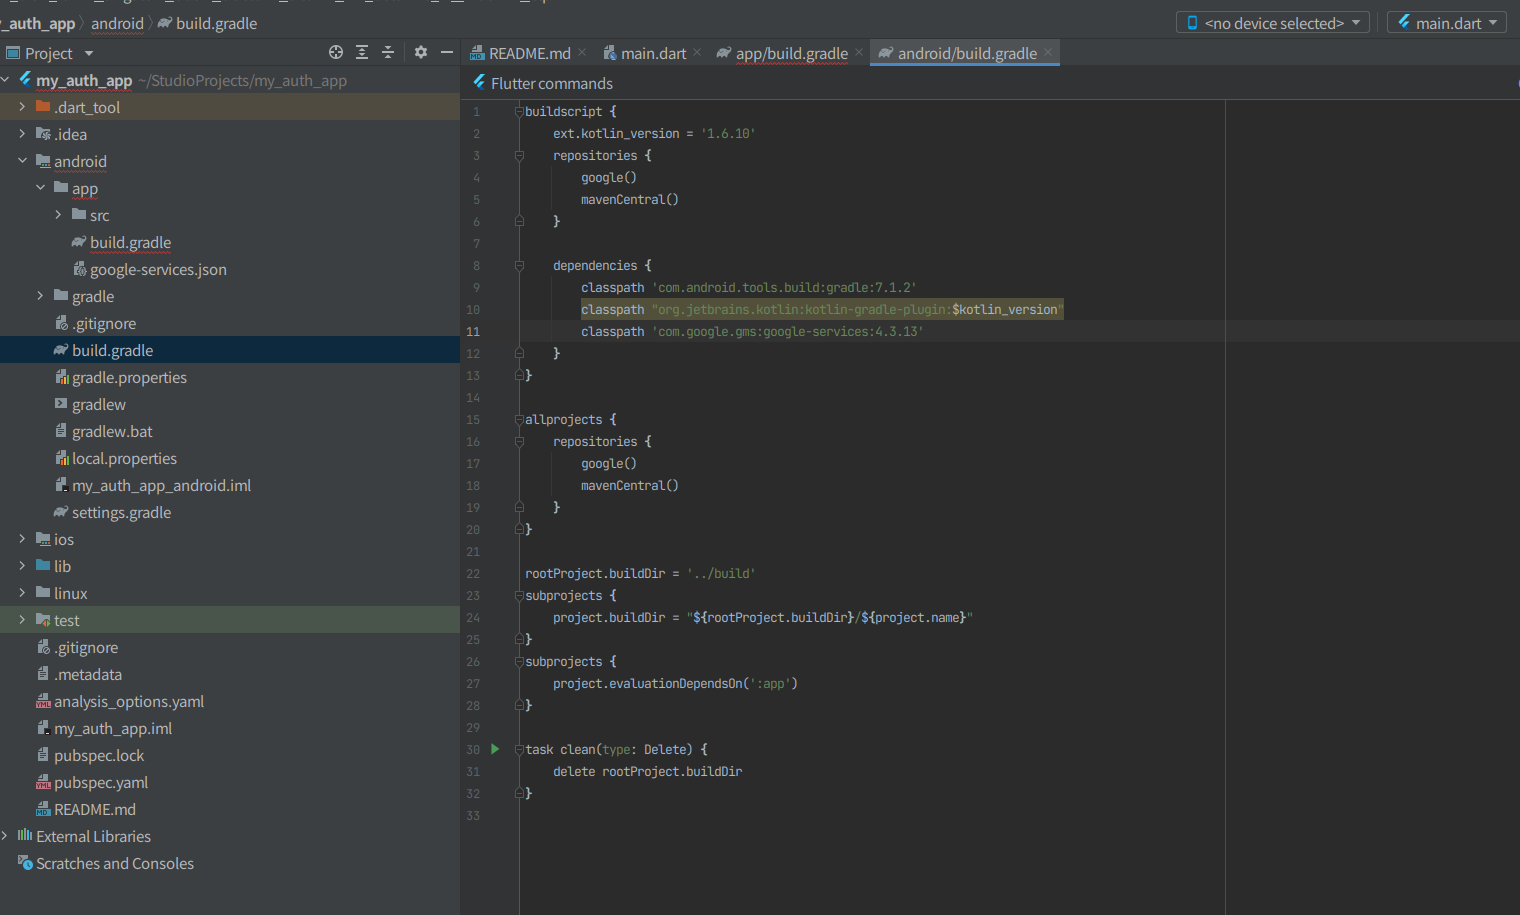
classpathをandroid/build.gradleの中にコピーする。
2つ目のidをコピーする。
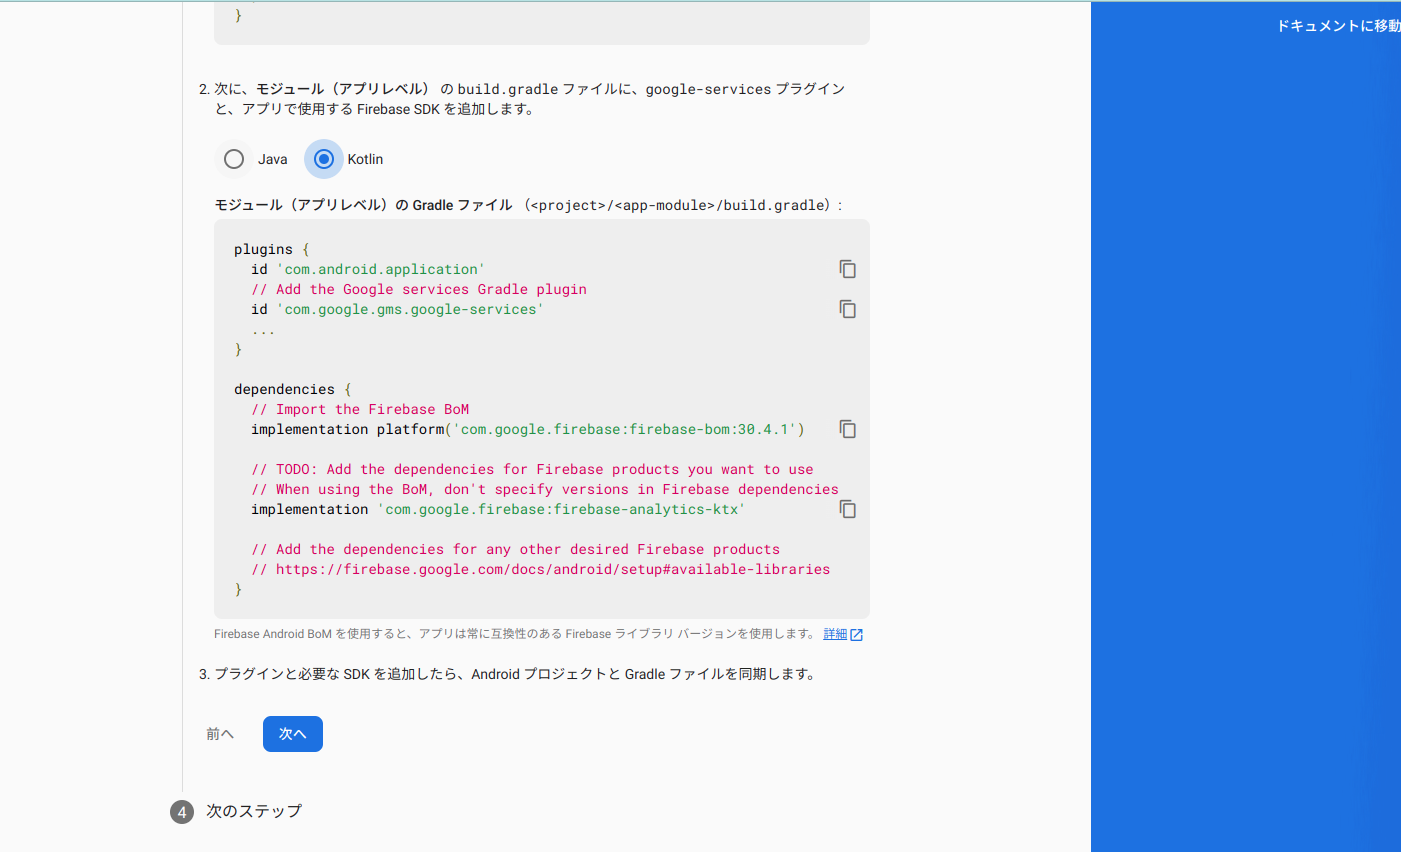
android/app/build.gradleにidをペーストしてapply plugin: 'com.google.gms.google-services'の通りに書き換える。

同様にdependenciesの中のimplementationの2行をコピーしてandroid/app/build.gradleにペーストする。

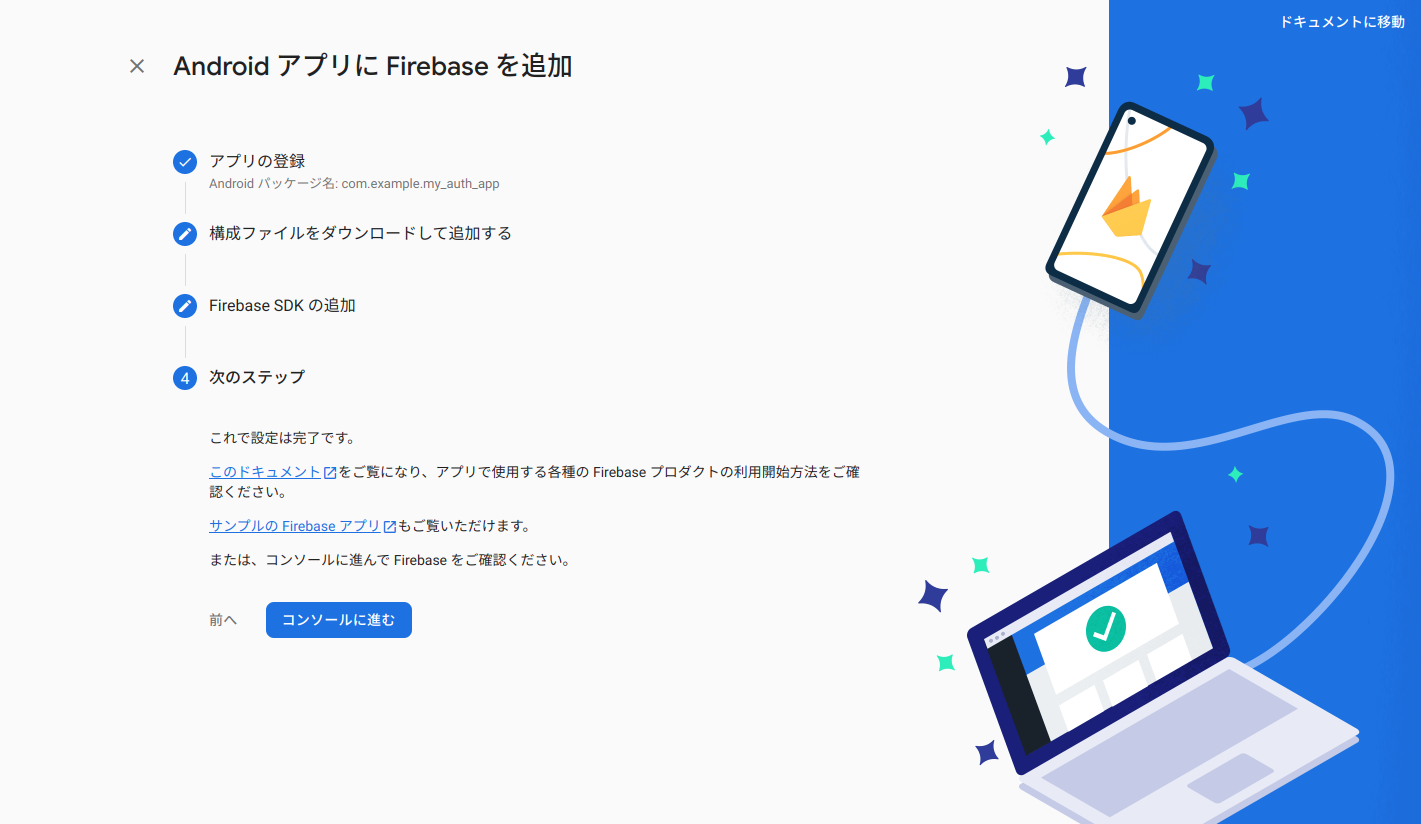
FirebaseのSDKを追加にて次へを押してアプリへのFirebaseの追加を完了する。
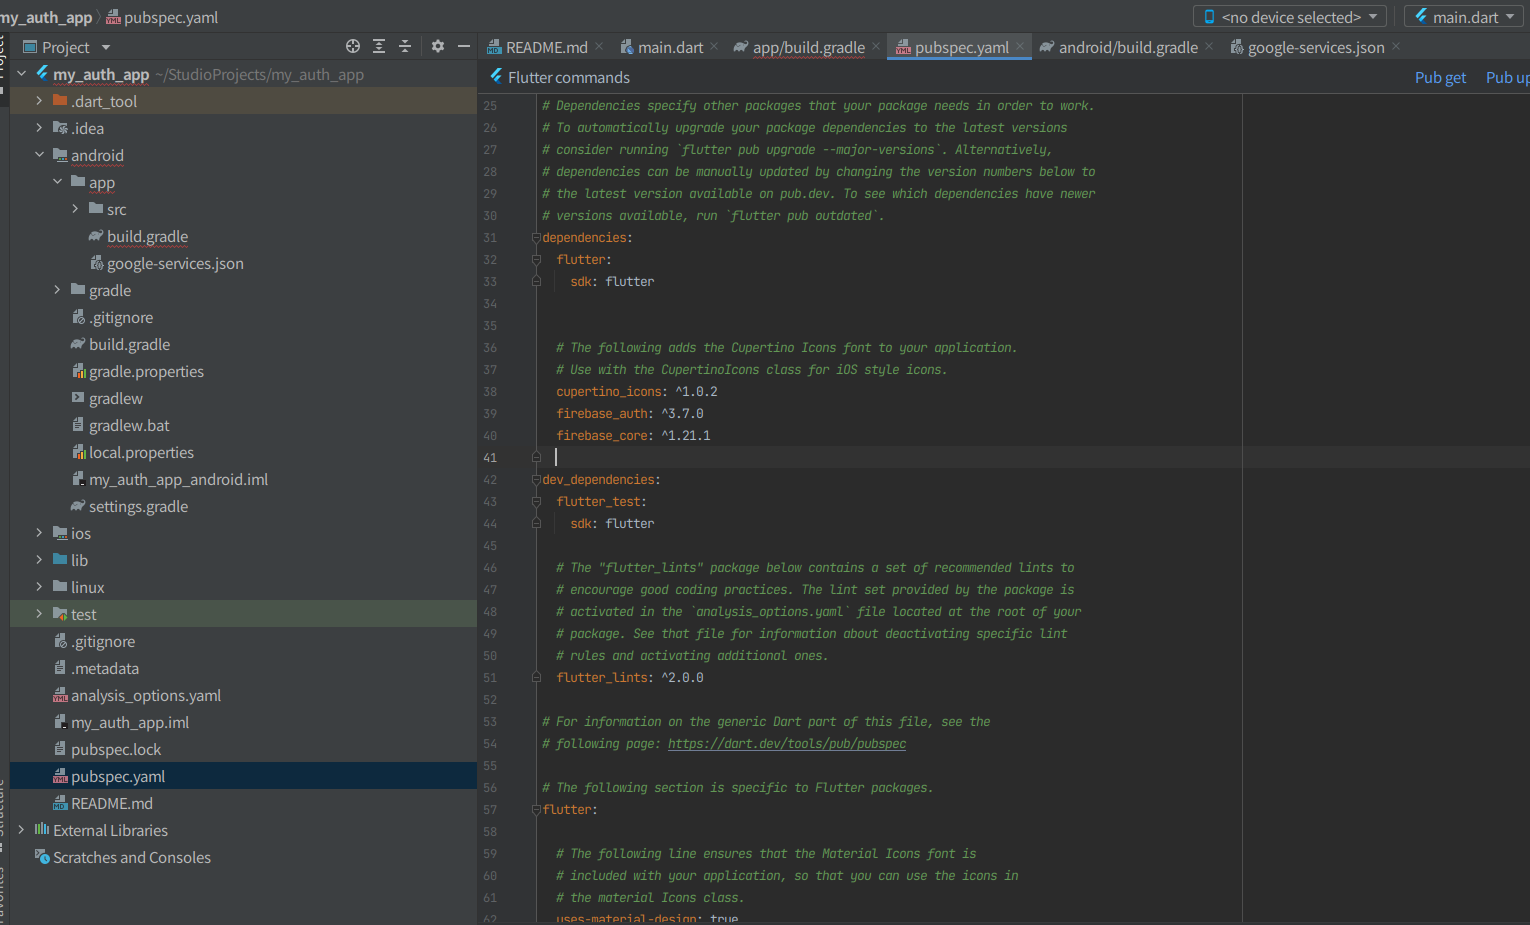
2つのパッケージをdart packageで検索、コピーしたバージョン情報をpubspec.yamlにペースト、右上のPub getを押す。
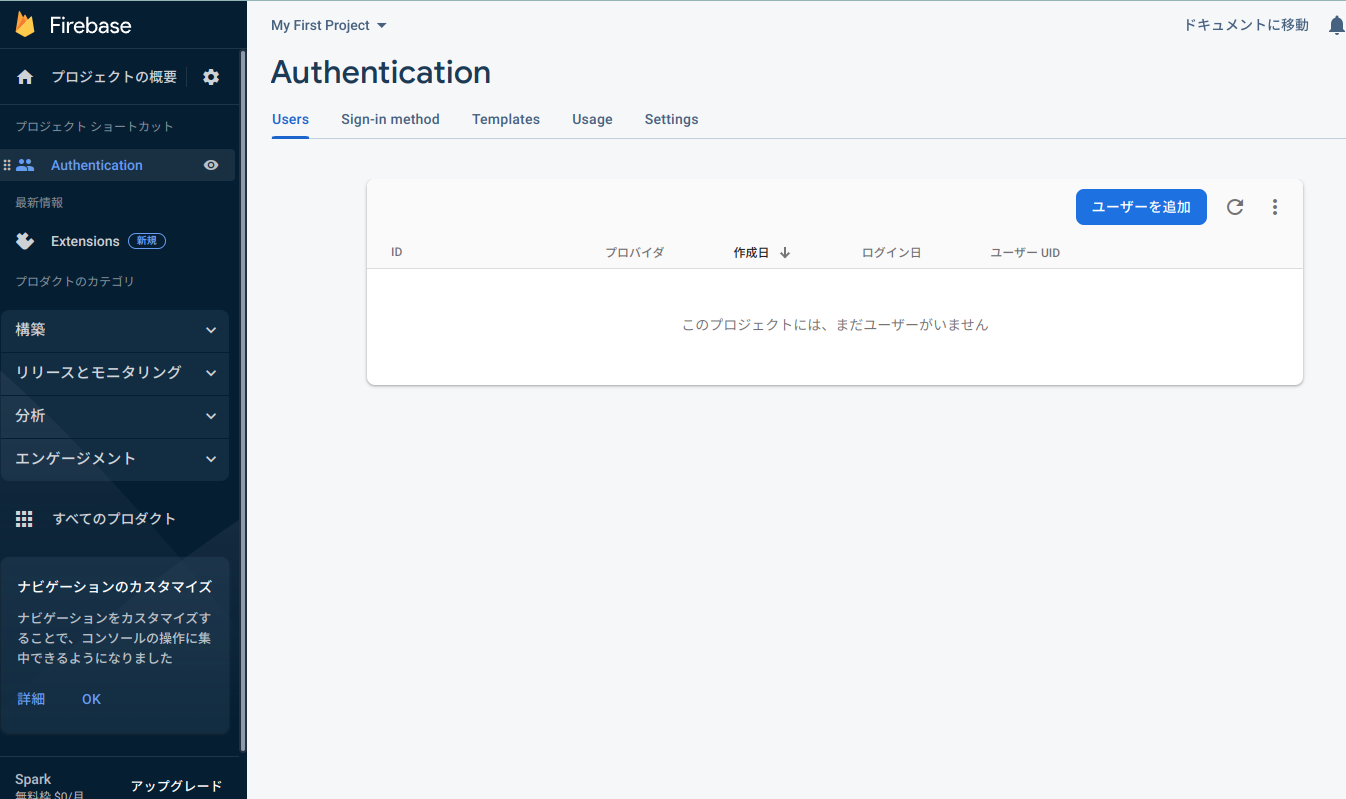
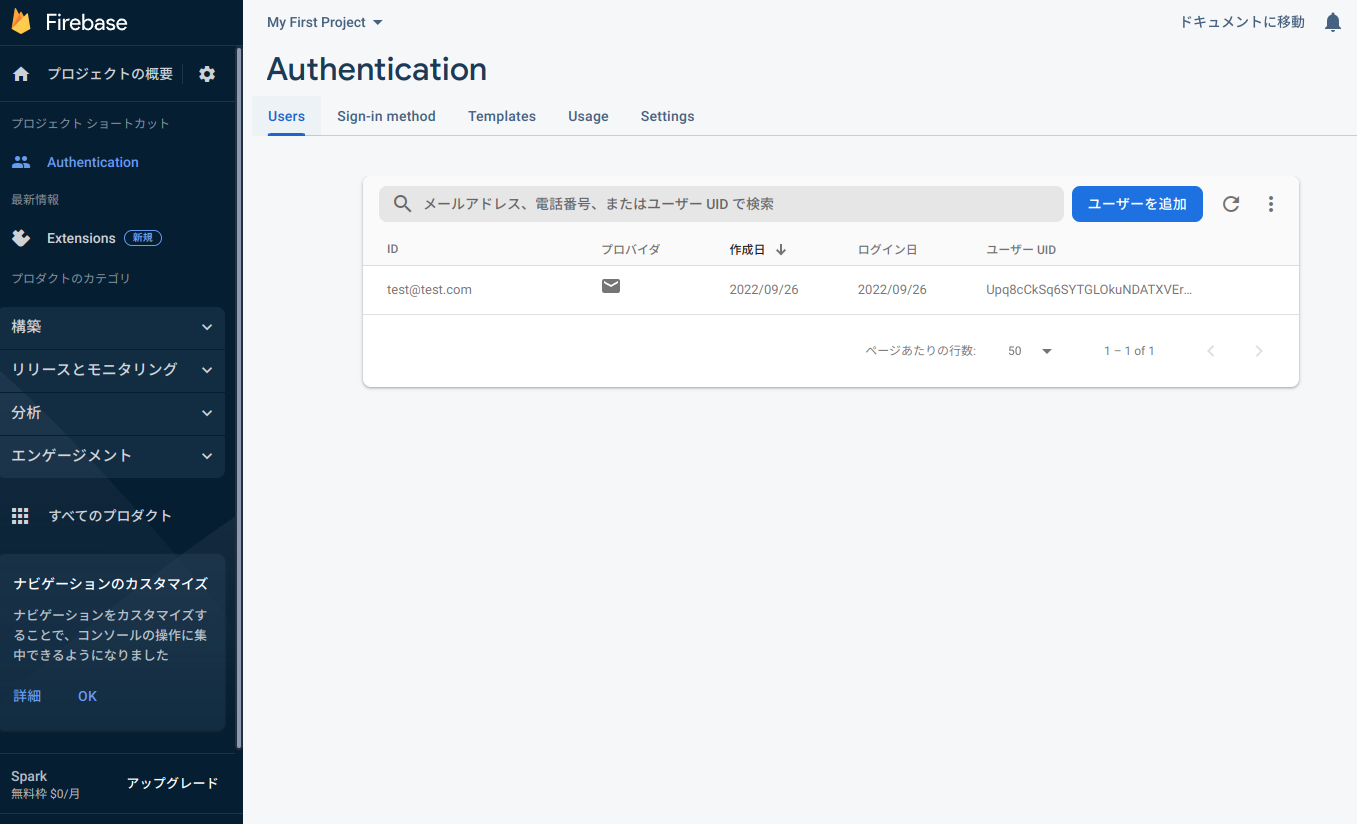
AuthenticationのUsersタブを開いて下部の様な画面になっていることを確認する。この後、アプリから登録した認証情報が画面に表示される様に様になる。
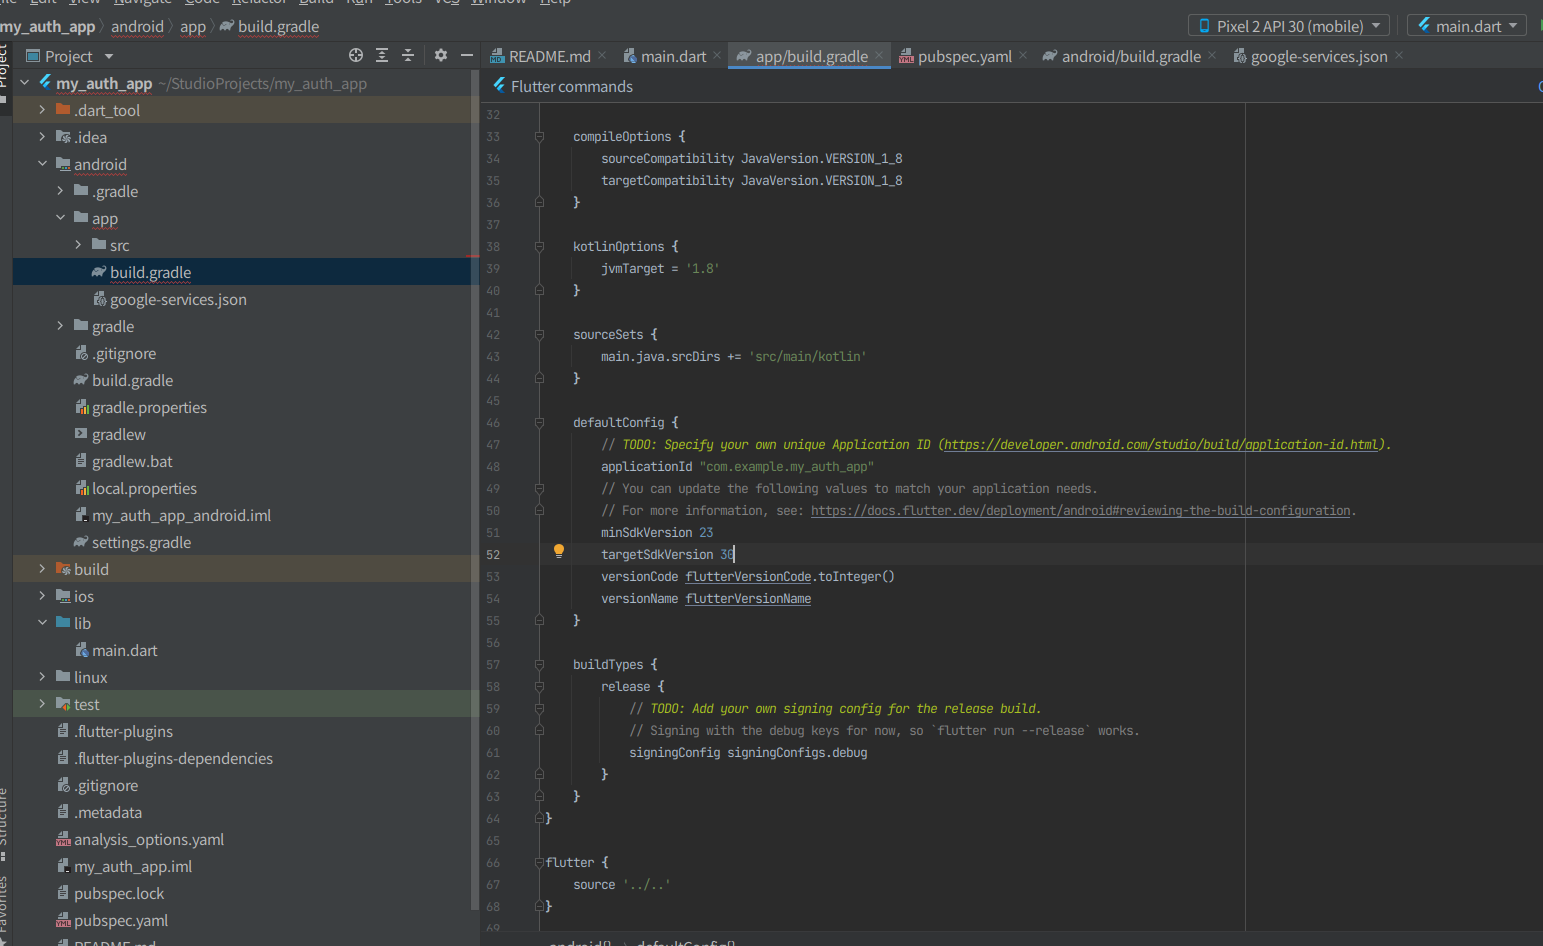
android/app/build.gradleのminSdkVersionを23に、targetSdkVersionを30に変更する。アプリを作成する時期に応じてこれらの数字は増えていく。最適な数字についてはアプリをビルドするときにヒントとして推奨値をAndroid Studioが教えてくれる。
lib/main.dartに認証用のコードを記述。
まず、import文でパッケージを読み込む。
import 'package:firebase_auth/firebase_auth.dart';
import 'package:firebase_core/firebase_core.dart';
import 'package:flutter/material.dart';
FlutterでFirebaseのパッケージを使用する前にFirebase.initializeApp()を呼び出す必要がある。以下のコマンドはFirebaseのバージョンが古いと記述が異なる。
WidgetsFlutterBinding.ensureInitialized();
await Firebase.initializeApp();
MyAppというStatelessWidgetを呼び出す。
Future<void> main() async {
  WidgetsFlutterBinding.ensureInitialized();
  await Firebase.initializeApp();
  runApp(new MyApp());
}
StatelessWidgetからAuthAppPageという名前のStatefulWidgetを呼び出す。
class MyApp extends StatelessWidget {
  @override
  Widget build(BuildContext context) {
    return MaterialApp(
      title: 'Firebase_Auth_App',
      theme: ThemeData(
        primarySwatch: Colors.red,
      ),
      home: const AuthAppPage(title: 'Firebase_Auth_App'),
    );
  }
}
以下にコアとなるユーザー登録とログイン確認のコードを記述する。
class AuthAppPage extends StatefulWidget {
  const AuthAppPage({Key? key, required this.title}) : super(key: key);
  final String title;
  @override
  State<AuthAppPage> createState() => _AuthAppPageState();
}

class _AuthAppPageState extends State<AuthAppPage> {
  // Registration Field Email Address
  String registerUserEmail = "";
  // Registration Field Password
  String registerUserPassword = "";
  // Login field email address
  String loginUserEmail = "";
  // Login field password (login)
  String loginUserPassword = "";
  // View information about registration and login
  String DebugText = "";

  @override
  Widget build(BuildContext context) {
    return Scaffold(
      body: Center(
        child: Container(
          padding: EdgeInsets.all(10),
          child: Column(
            children: <Widget>[
              TextFormField(
                // Set labels for text input
                decoration: InputDecoration(labelText: "Mail Address"),
                onChanged: (String value) {
                  setState(() {
                    registerUserEmail = value;
                  });
                },
              ),
              TextFormField(
                decoration: InputDecoration(labelText: "6 character long Password"),
                // Mask not to show password
                obscureText: true,
                onChanged: (String value) {
                  setState(() {
                    registerUserPassword = value;
                  });
                },
              ),
              const SizedBox(height: 1),
              ElevatedButton(
                onPressed: () async {
                  try {
                    // User Registration
                    final FirebaseAuth auth = FirebaseAuth.instance;
                    final UserCredential result =
                    await auth.createUserWithEmailAndPassword(
                      email: registerUserEmail,
                      password: registerUserPassword,
                    );
                    // Registered User Information
                    final User user = result.user!;
                    setState(() {
                      DebugText = "Register OK:${user.email}";
                    });
                  } catch (e) {
                    // Failed User Information
                    setState(() {
                      DebugText = "Register Fail:${e.toString()}";
                    });
                  }
                },
                child: Text("User Registration"),
              ),

              const SizedBox(height: 1),
              TextFormField(
                decoration: InputDecoration(labelText: "Mail Address"),
                onChanged: (String value) {
                  setState(() {
                    loginUserEmail = value;
                  });
                },
              ),
              TextFormField(
                decoration: InputDecoration(labelText: "Password"),
                obscureText: true,
                onChanged: (String value) {
                  setState(() {
                    loginUserPassword = value;
                  });
                },
              ),
              const SizedBox(height: 1),
              ElevatedButton(
                onPressed: () async {
                  try {
                    // Try login
                    final FirebaseAuth auth = FirebaseAuth.instance;
                    final UserCredential result =
                    await auth.signInWithEmailAndPassword(
                      email: loginUserEmail,
                      password: loginUserPassword,
                    );
                    // Succeeded to login
                    final User user = result.user!;
                    setState(() {
                      DebugText = "Succeeded to Login:${user.email}";
                    });
                  } catch (e) {
                    // Failed to login
                    setState(() {
                      DebugText = "Failed to Login:${e.toString()}";
                    });
                  }
                },
                child: Text("Login"),
              ),
              const SizedBox(height: 8),
              Text(DebugText),
            ],
          ),
        ),
      ),
    );
  }
}
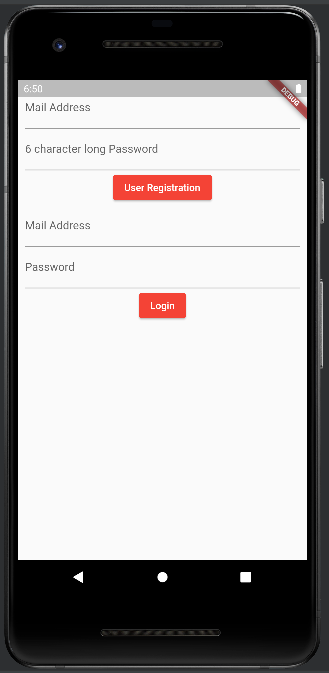
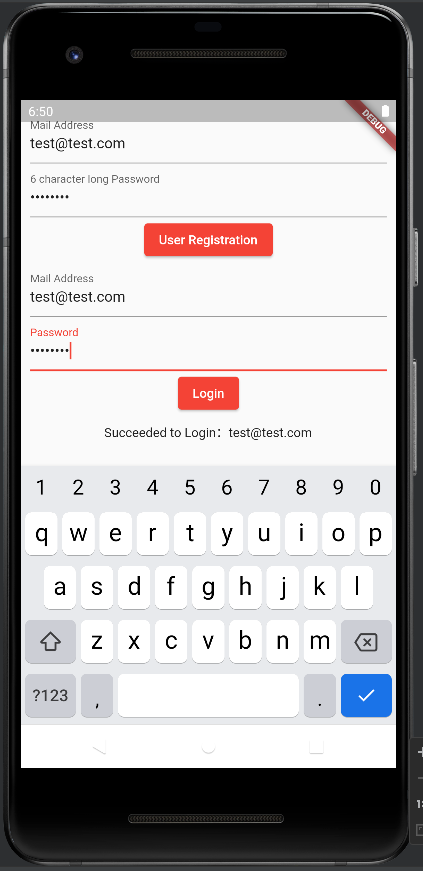
アプリを実行すると以下の画面が表示される。上2つのテキスト欄がユーザー登録用、下2つのテキスト欄がログイン確認用である。以下にユーザー登録とログインで幾つかのステータスをデバッグ用ステータスバーで確認できるので以下に紹介する。
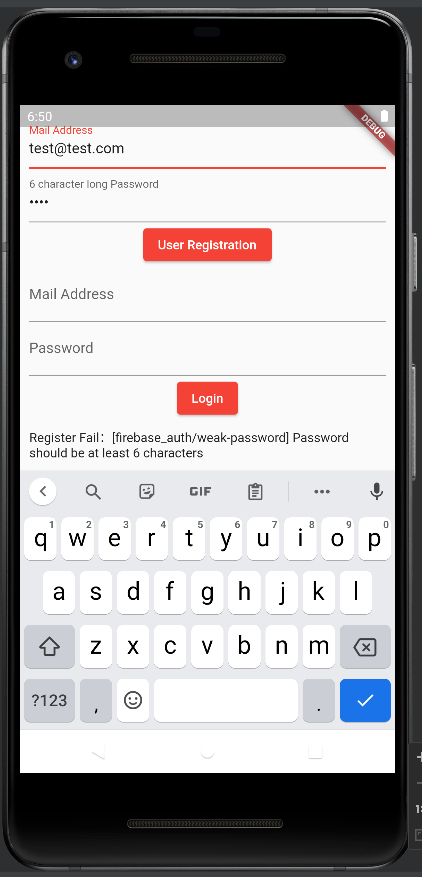
まずユーザー登録用のテキスト欄にメールアドレスを記入。次にパスワードを記入。パスワードが6文字以下だとデバッグ用ステータスバーに6文字以上の記入を求めるエラー文が表示される。
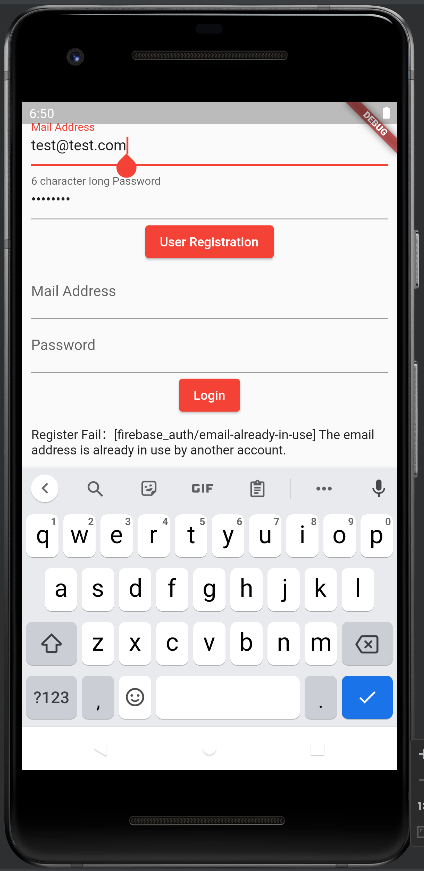
メールアドレスが既に存在している場合はデバッグ用ステータスバーに既に同じユーザーメールアドレスが存在するエラー文が表示される。
まだ未登録のユーザーメールアドレス、6文字以上のパスワードを記入してUser Registrationボタンを押す。
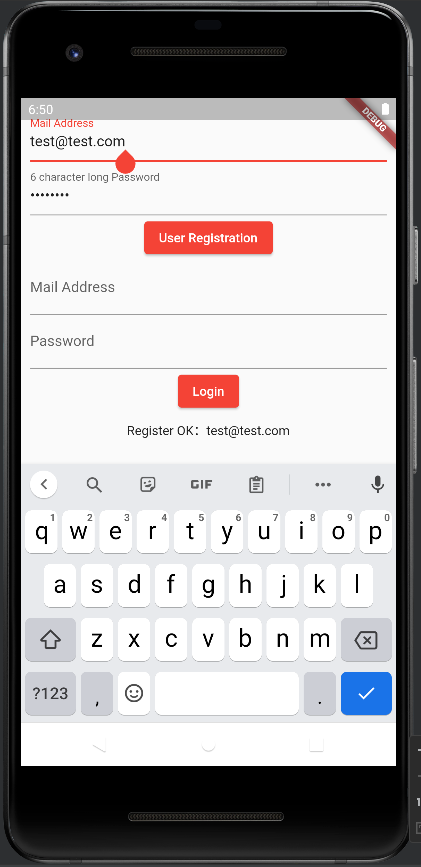
Firebaseにユーザータブを開くと、登録したユーザー情報が追加されていることを確認できる
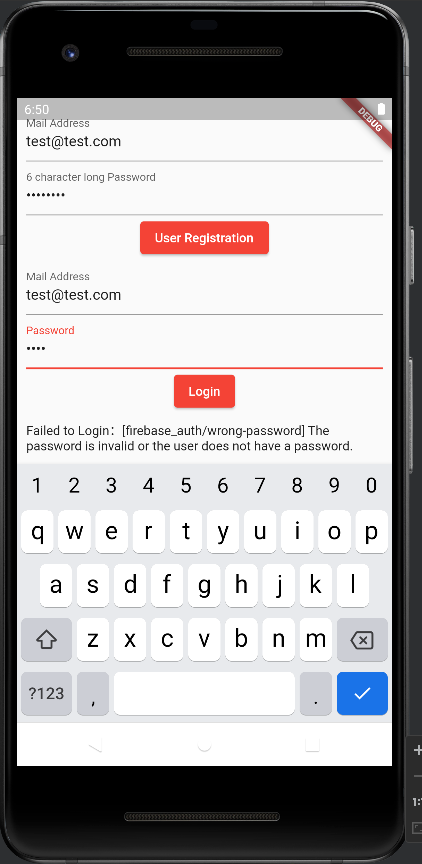
正しくないパスワードでログインしようとするデバッグ用ステータスバーにユーザー情報が間違っているというエラー文が表示される。
正しいユーザー情報でログインするとデバッグ用ステータスバーにSucceededの文字が表示される。
3.まとめ
Firebase AuthenticationをFlutterで実装する方法を学んだ。