ついにパブリックプレビューが公開されました。
以下に設定方法が公開されていますが、まだ英語版しかないので、作業メモがてら手順を公開します。
Enable passwordless sign in for Azure AD (preview)
なお、今回のセキュリティキーはYubikeyを利用しています。
STEP1: Azure AD テナントで FIDO 設定を有効化する
まずは Azure AD テナント側で FIDO キーを利用できるように設定する必要があります
1. Azure ポータルにサインインする
Azure ポータルにサインインします
https://portal.azure.com/
2. ユーザー設定からプレビュー機能の利用を許可する
まずは、ユーザーにプレビュー機能の利用を許可する必要があります。
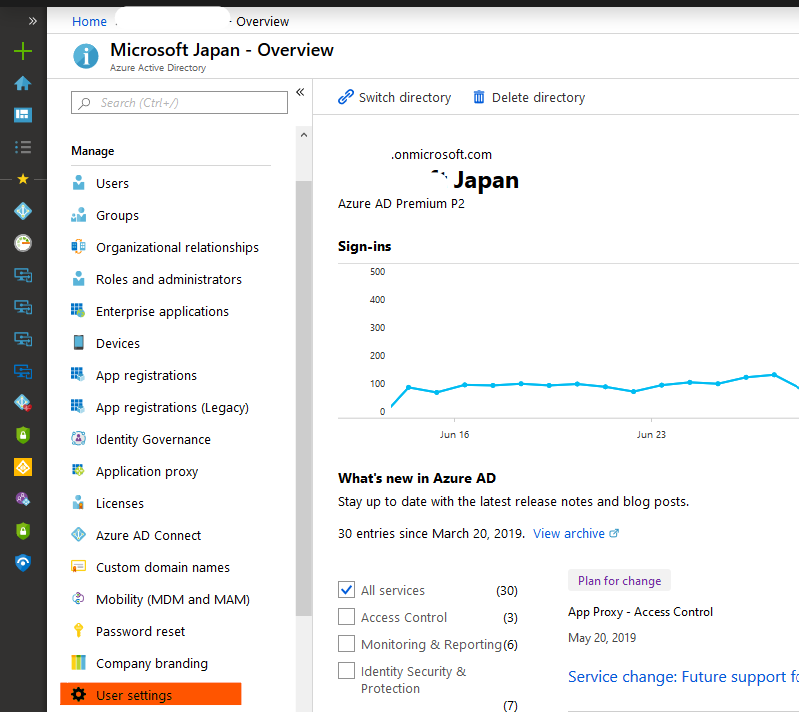
ポータルにサインインしたら以下をたどります。
[Azure Active Directory]
->[Manage]
->[User Settings]
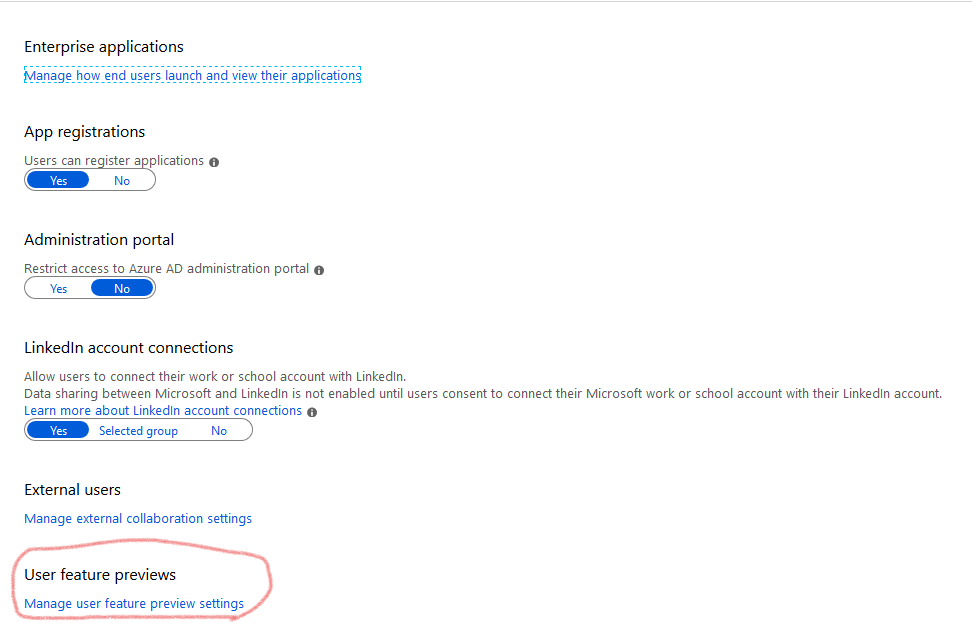
それから、ユーザー設定の下の方にある Manage User feature preview settings をクリックします。
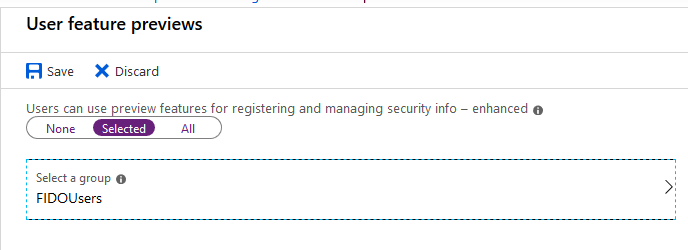
Users can use preview features for registering and managing security info – enhanced を構成します。
全員対象でよければ [All] を一部のユーザーのみ許可する場合は [Selected] から対象とするグループを指定します。
3. FIDO ポリシーを有効化する
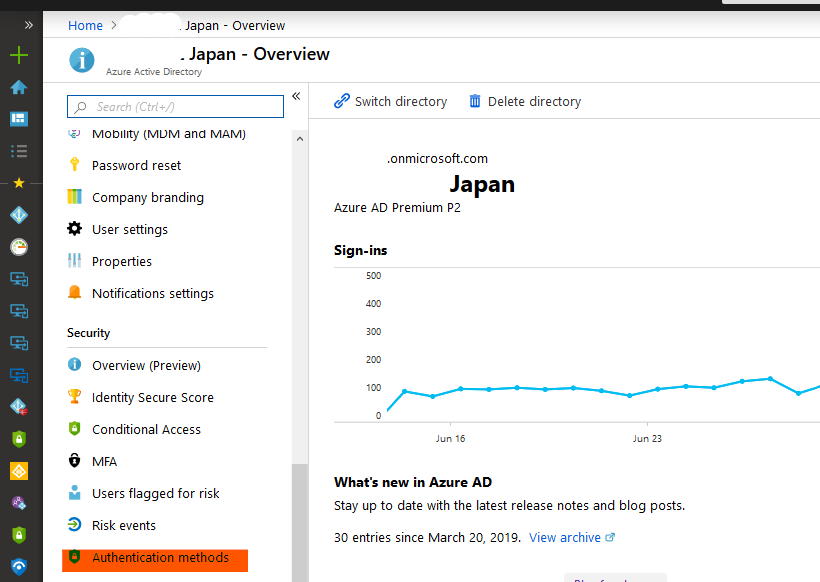
次に FIDO ポリシーを有効化します。Azure ポータルから以下をたどります
[Azure Active Directory]
->[Securiy]
->[Authentication methods]
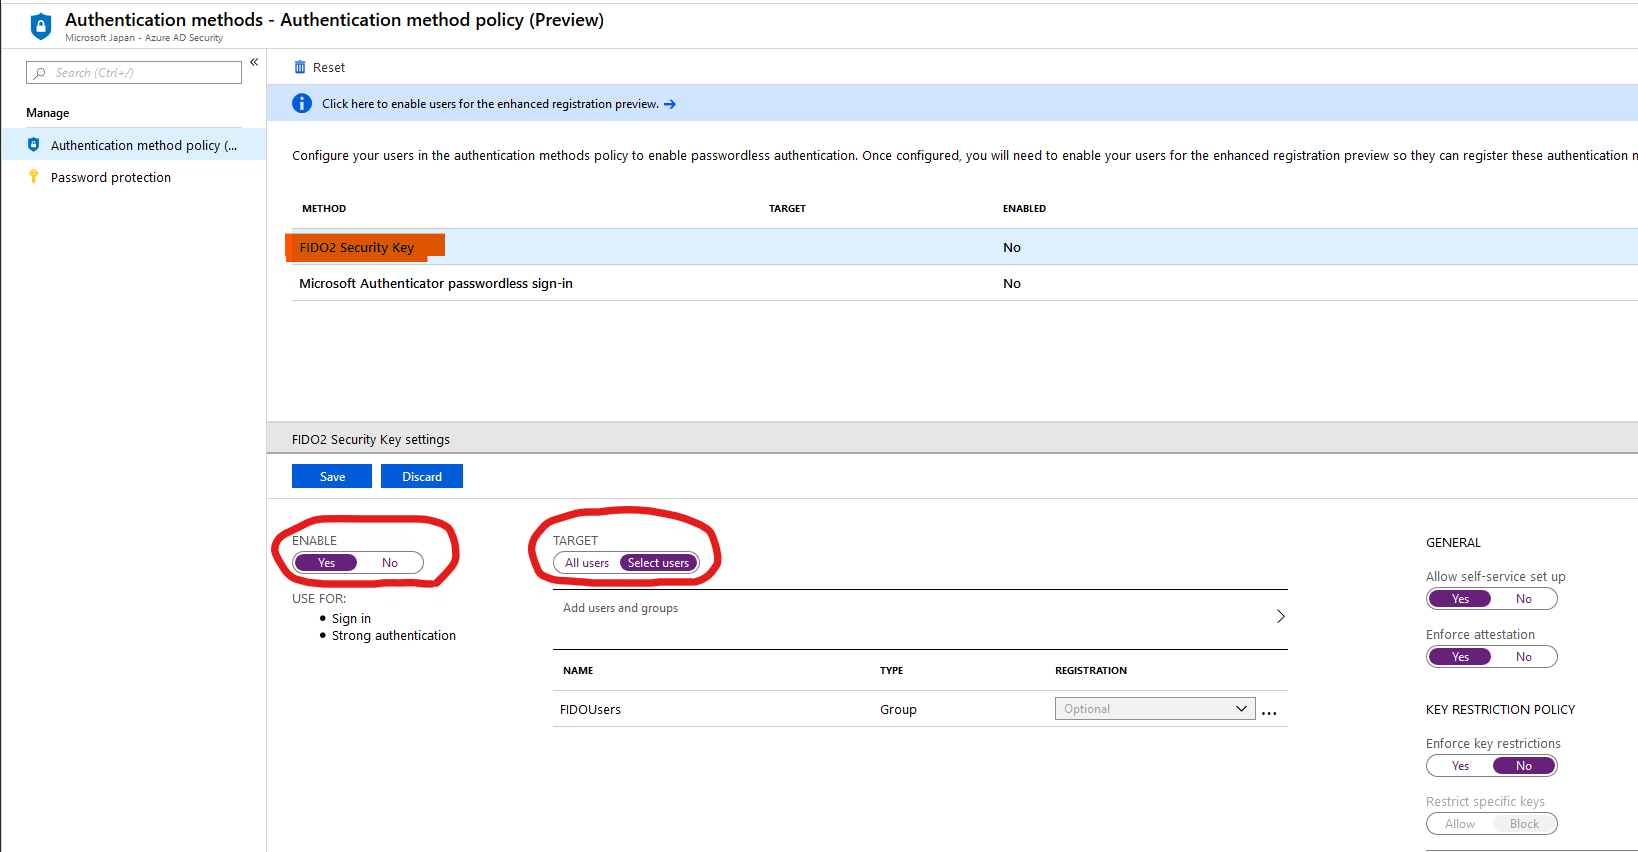
そのあと、Authentication method policy (Preview) から FIDO2 Security Policy を選択すると画面下部に詳細設定が表示されます。
細かい設定がいろいろとありますが、とりあえず利用するために [ENABLE] を Yes に、[TARGET] に対象とするユーザーを指定します。設定が終わったら [SAVE] します。
STEP2: 対象ユーザーで FIDO キーを登録する
今度はユーザー側で FIDO キーを登録します。これ以降の作業は Edge が対応ブラウザのようなので、現状 Edge を利用してください(2019/07/14現在)
他の FIDO / WebAuthn 対応ブラウザでも早く作業可能になってほしい。
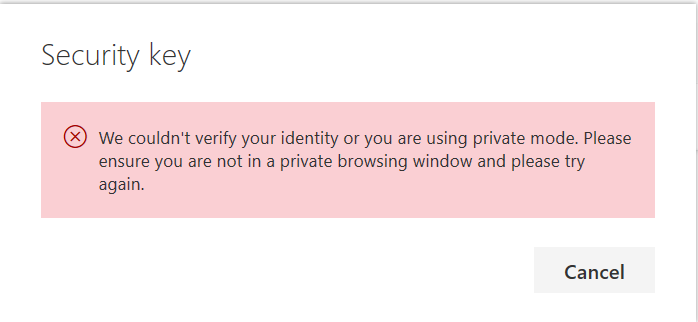
また、InPrivate モードで作業すると途中で失敗するので注意。
1 対象ユーザーでマイプロファイルにアクセスします。
以下から直接アクセスできます
https://myprofile.microsoft.com
2. セキュリティ情報を追加する
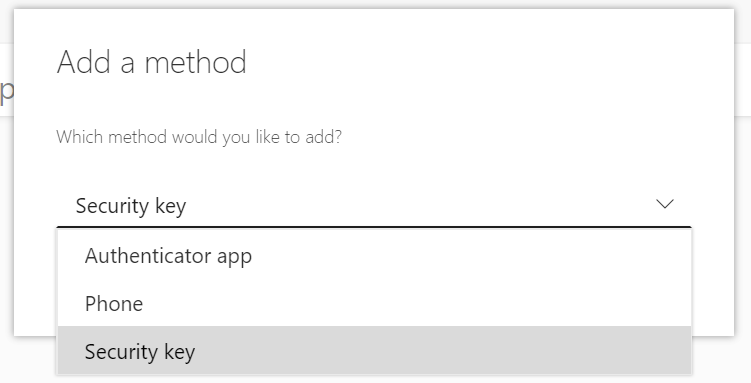
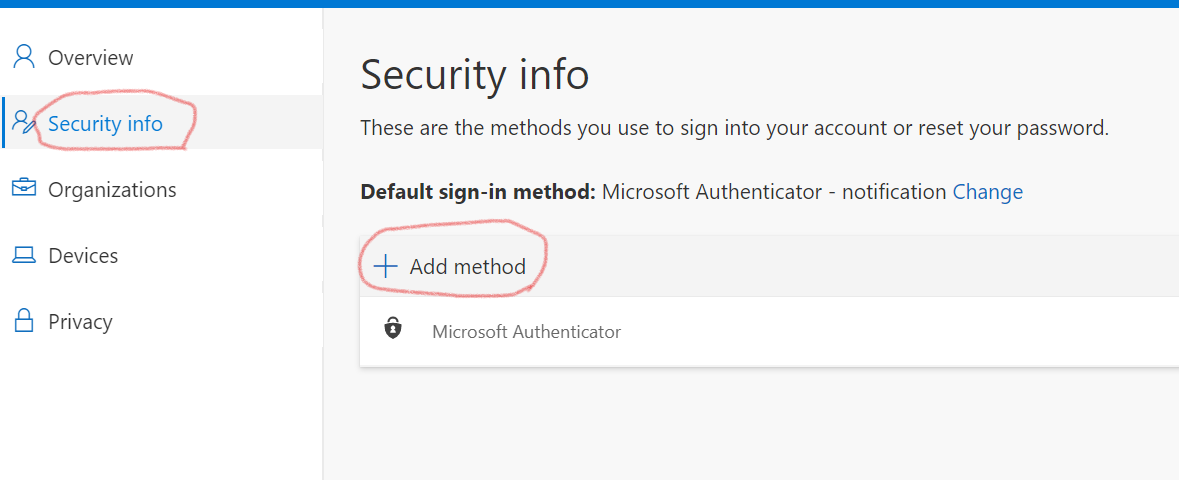
左側のメニューから [Security Info] を選択し、[+ Add method] します
3.追加するメソッドから Security Key を選択します。
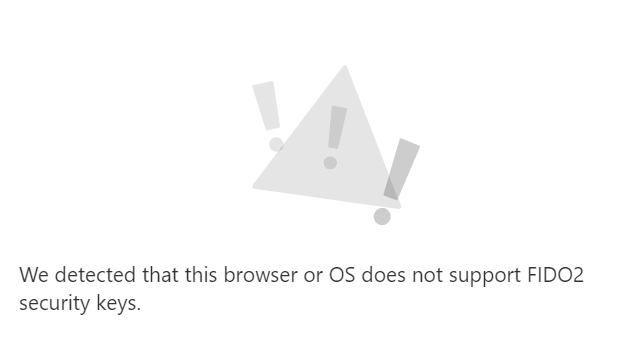
なお、対応していないブラウザを利用しているとエラーがでます。
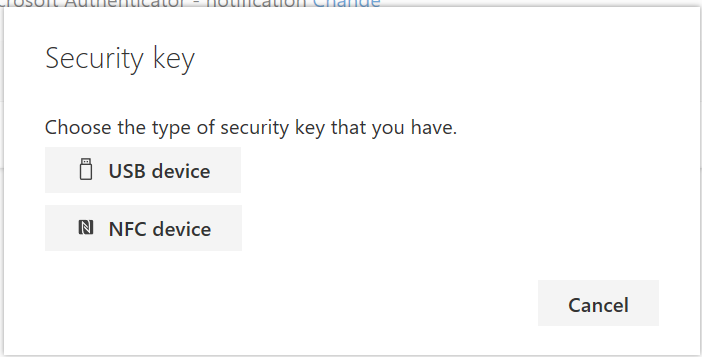
4. 追加するキーの種類を選択します。
今回の Yubikey では USB device となります。
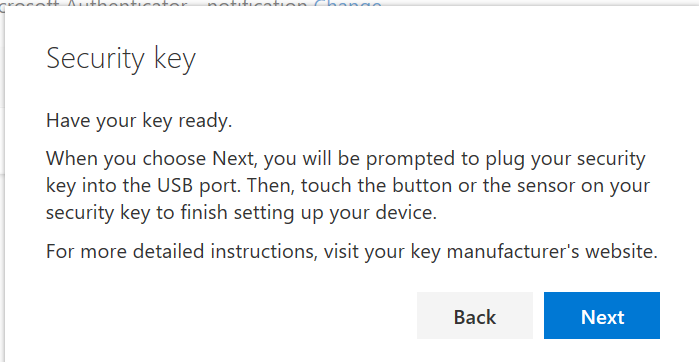
ウィザードが進むので、Next を選択します。
なお、InPrivate モードだとここで失敗します。くっそ。
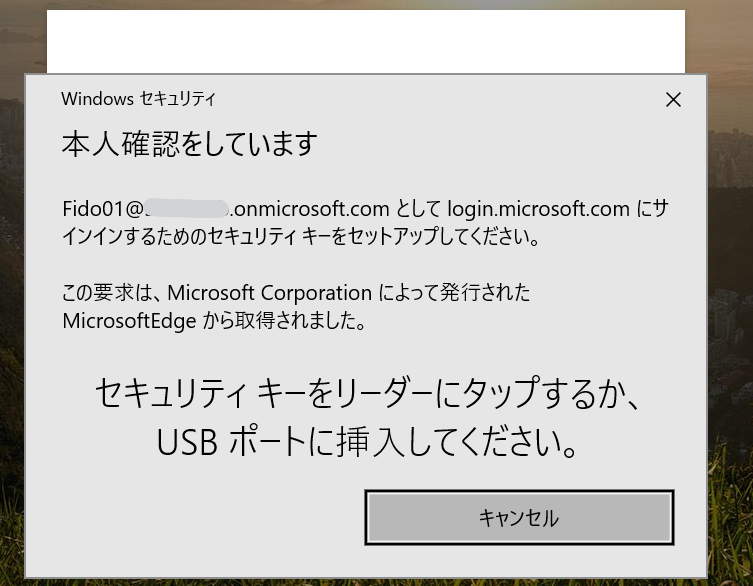
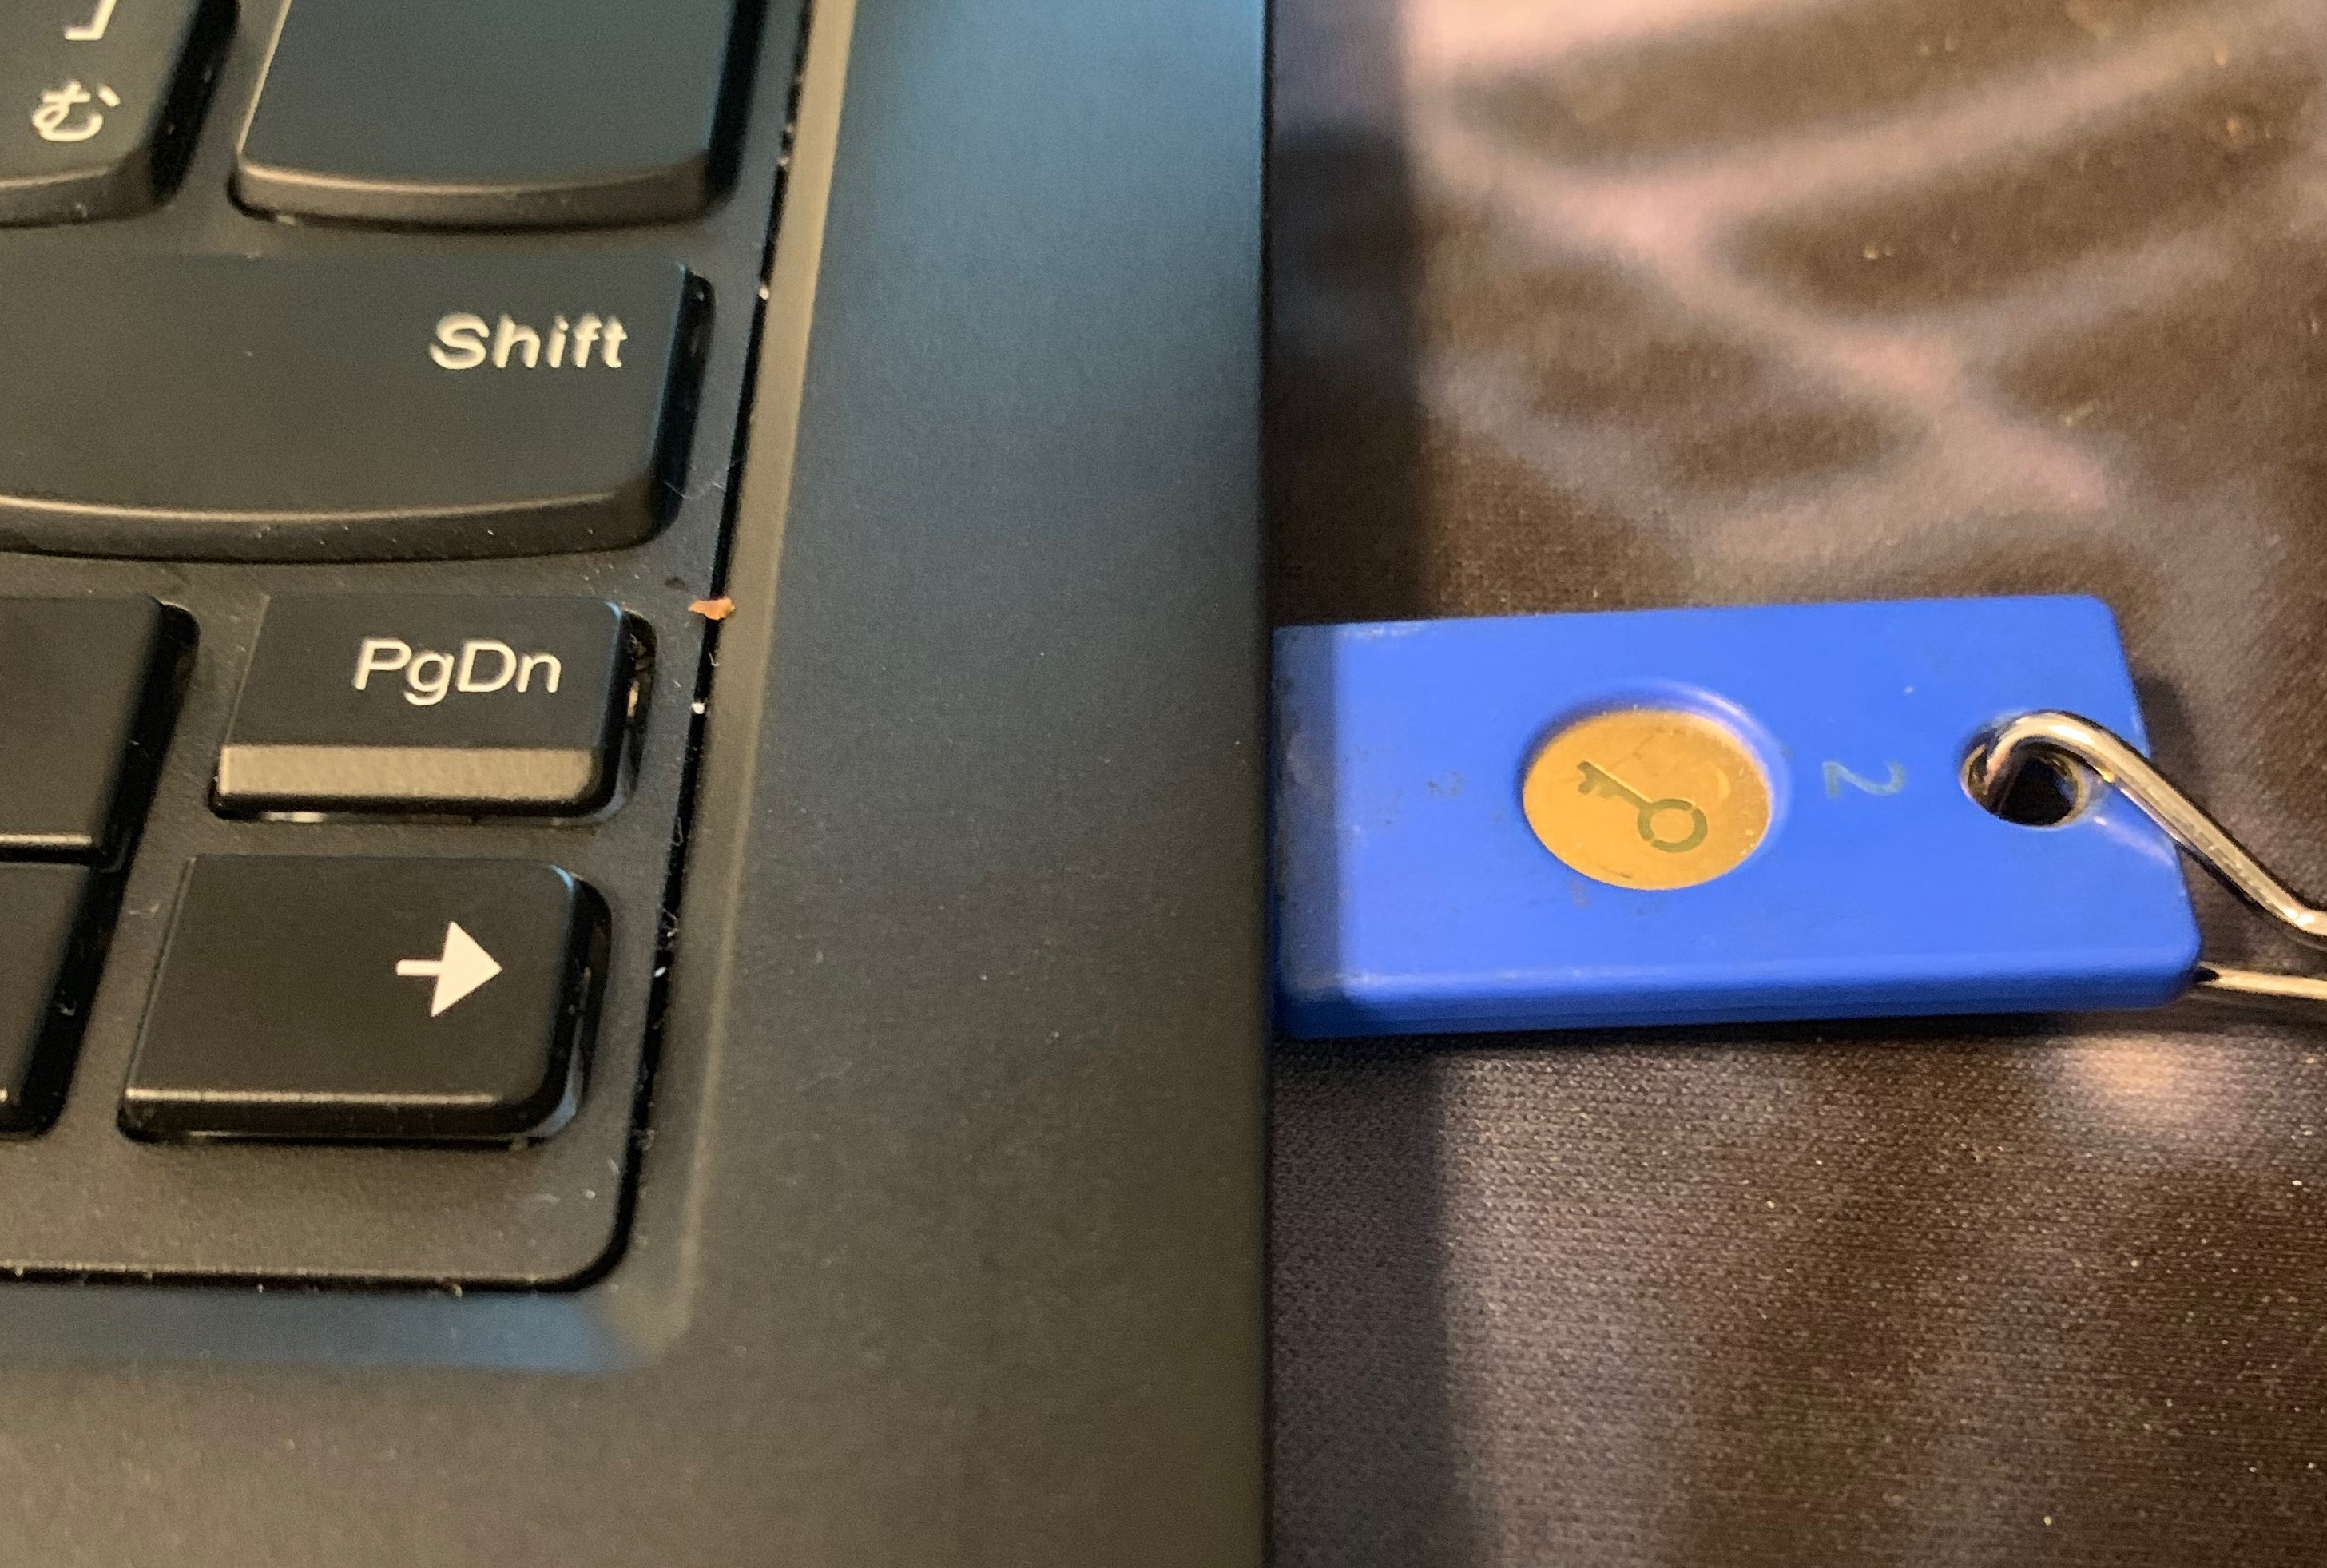
5. セキュリティーキーを挿入します。
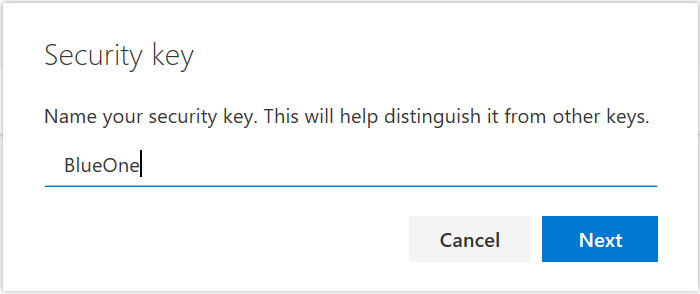
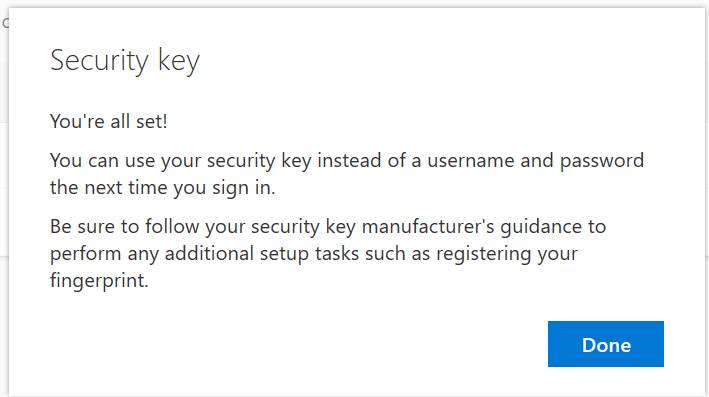
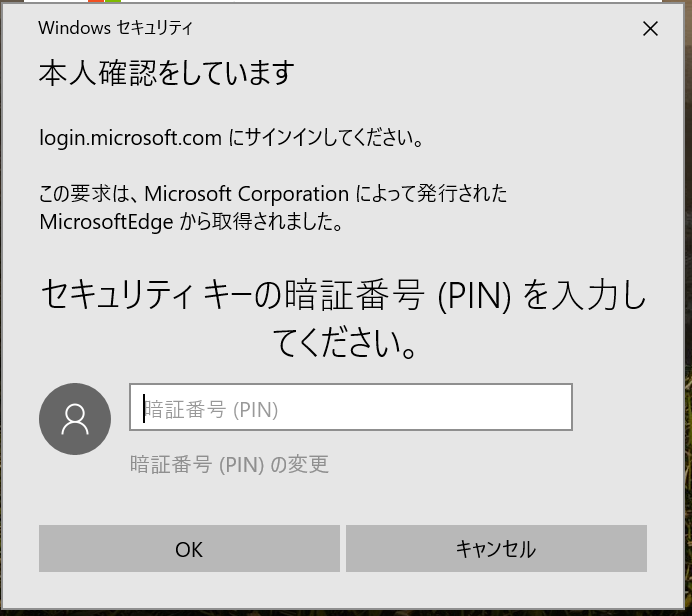
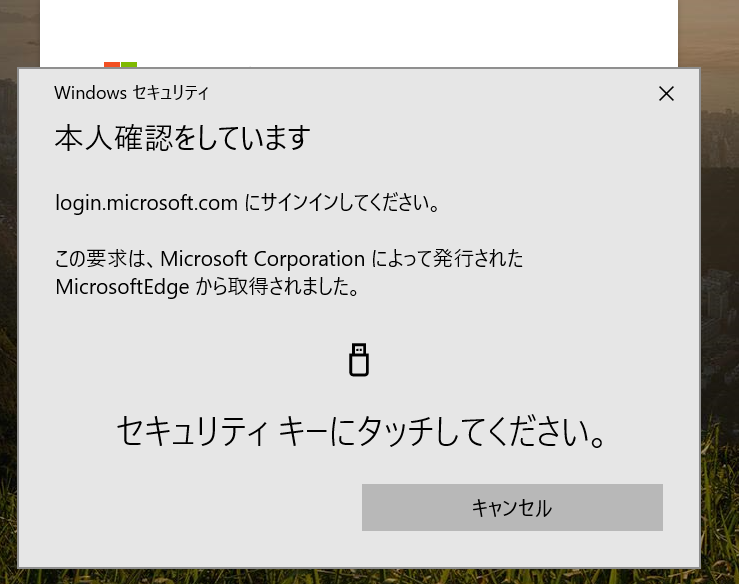
そのあと、設定次第でPIN の入力と金属部分へのタッチが求められます。それらの確認に成功すると、Key に名前を付けて完了です。
STEP3: Security Key でサインインする
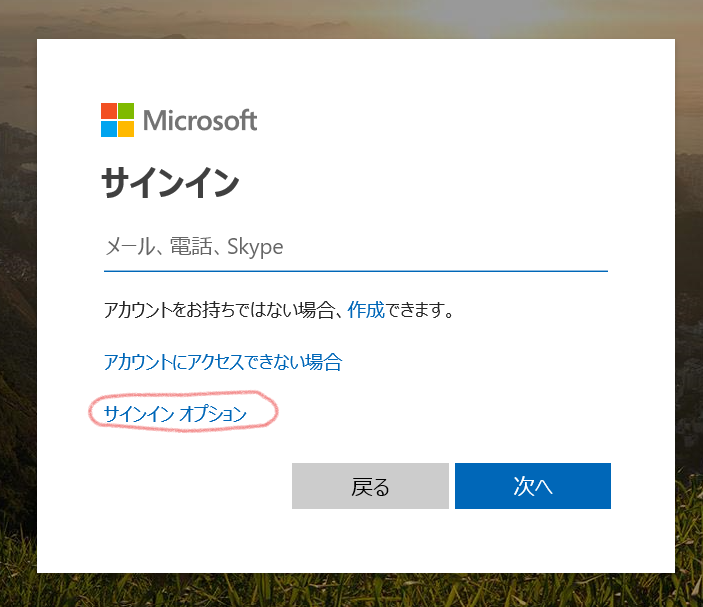
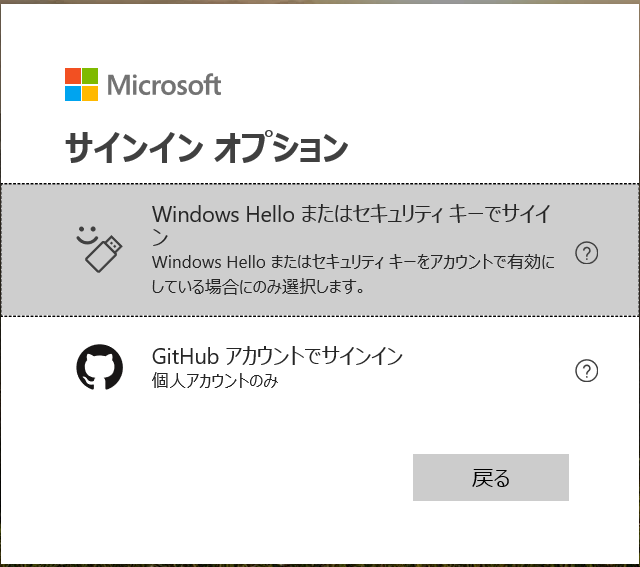
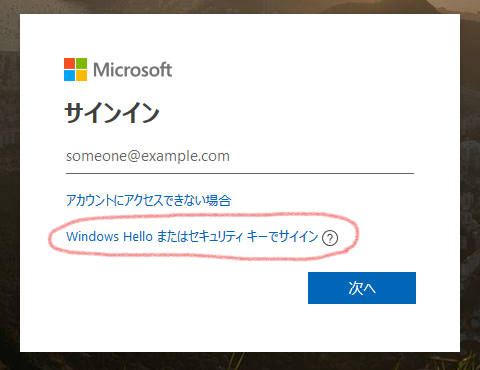
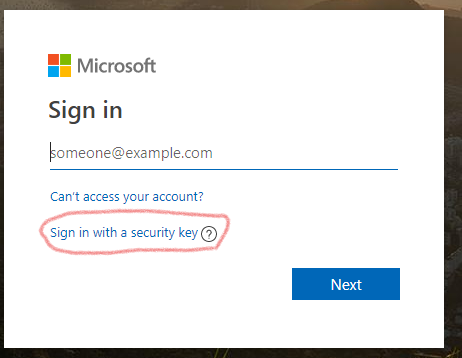
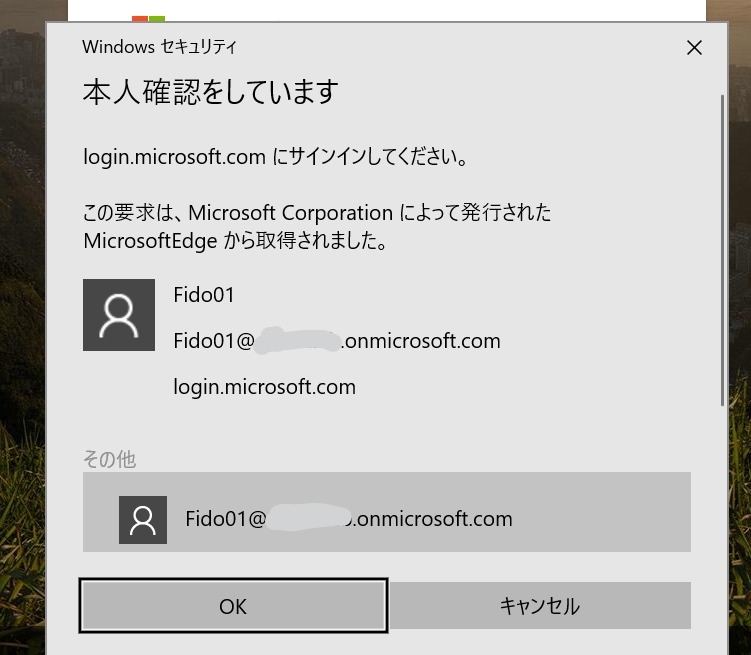
対応しているブラウザでサインイン(例:Office 365)を行います。とりあえず、Edge と Firefox は対応しているようです。Chrome はまだのよう(2019/07/14 現在)
そして微妙に表示がブラウザによって違う
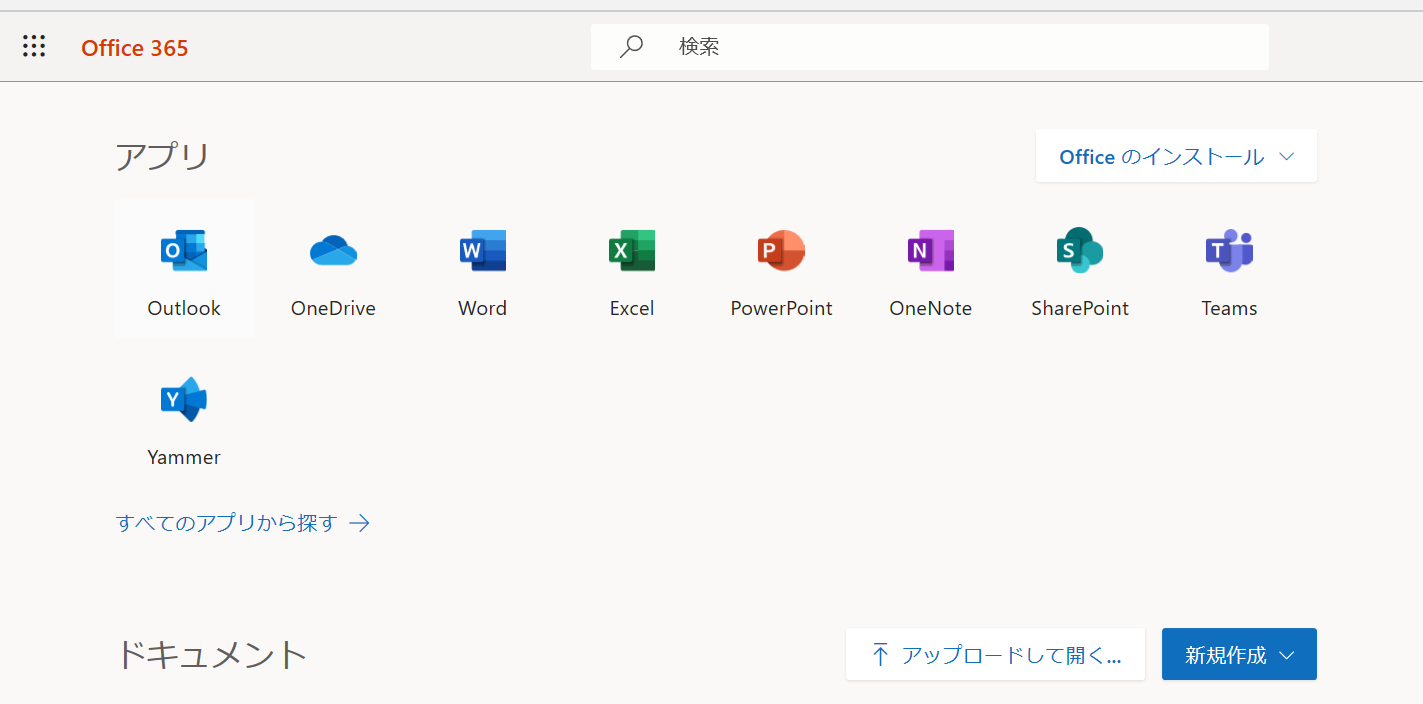
無事サインイン完了!
以上で、テナントでの FIDOキー有効化とブラウザサインインまでは完了です。改めて Windows 10 のサインインも別途作成予定
作成しました。(2019/07/15)
Azure AD で FIDO キーでサインインする2 (WIndows 10 設定~デスクトップ サインイン)
