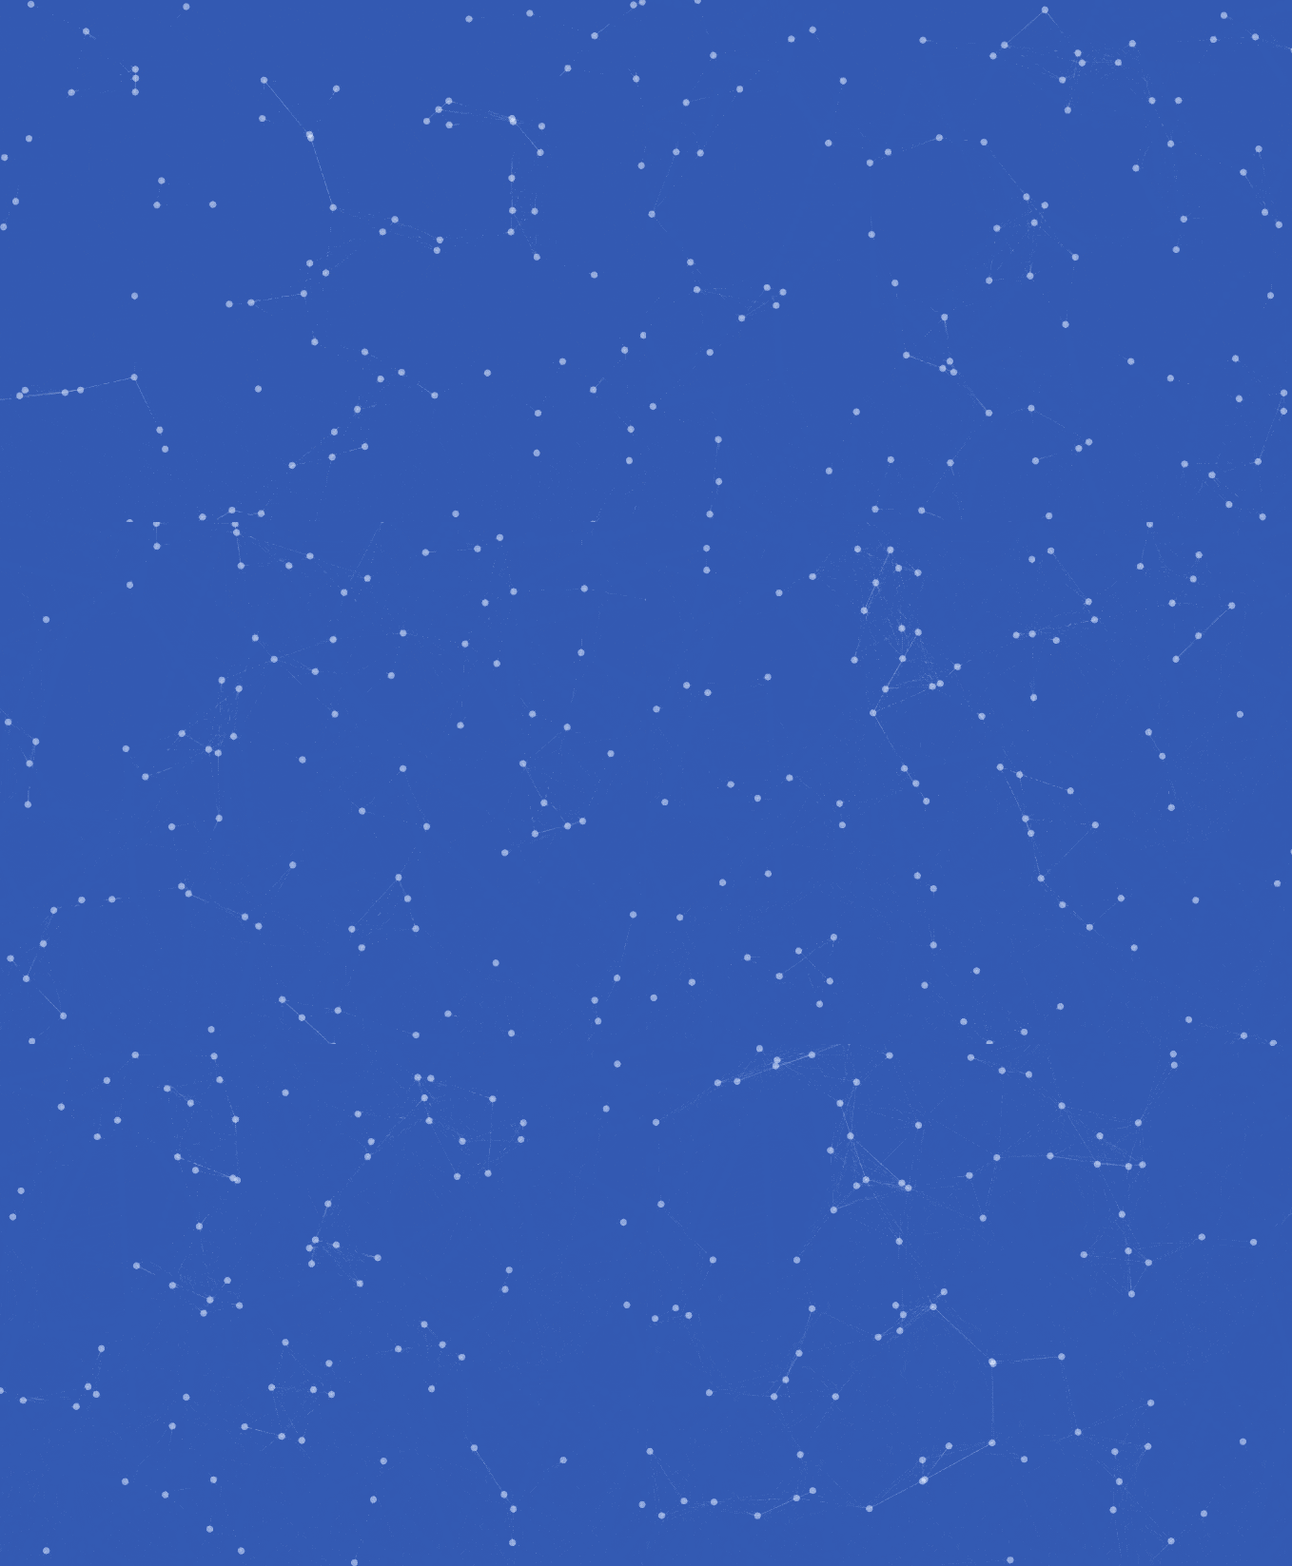
ラインで結ばれたパーティクルの実装の仕方を紹介します。ちょっと言葉でうまく説明できないので、画像をみてみましょう。
Webサービス系とか情報、未来を連想させるイメージとしてよく背景に設定されていたりしますよね。
コード
https://editor.p5js.org/mtoutside/sketches/sEhRVPhl
実装のポイント
今回はパーティクルを表示させるためクラスを使います。コンストラクターのほか4つの関数を持ちます。
- update -> 描画を更新する
- draw -> 描画する
- edge -> 境界線の判定
- checkParticles -> パーティクル同士の距離を計算して、パーティクル同士が一定距離近づいたらラインで結ぶ
コード
particle.js
const particles = [];
function setup() {
  createCanvas(window.innerWidth, window.innerHeight);

  const particlesLength = Math.floor(window.innerWidth / 10);

  for(let i = 0; i < particlesLength; i++) {
    particles.push(new Particle());
  }
}

function draw() {
  background(50, 90, 180);
  particles.forEach((p, index) => {
    p.update();
    p.draw();
    p.checkParticles(particles.slice(index));
  });

}

/*
 * パーティクルクラス
 */
class Particle {
 constructor() {
   this.pos = createVector(random(width), random(height)); // 画面上のランダムの位置を初期ポジションに設定
   this.vel = createVector(random(-3, 3), random(-3, 3));  // -3 ~ 3 の値でパーティクルが動く速度を設定
   this.size = 10; // パーティクルのサイズ
 }

 update() {
   this.pos.add(this.vel); // パーティクルの位置に速度を足す
   this.edge();
 }

 draw() {
   noStroke();
   fill('rgba(255, 255, 255, 0.5)');
   circle(this.pos.x, this.pos.y, this.size);
 }

 // 境界線判定
 edge() {
   // 画面の左右端までいったら進む方向を反転
   if(this.pos.x < 0 || this.pos.x > width) {
     this.vel.x *= -1;
   }
   // 画面の上下端までいったら進む方向を反転
   if(this.pos.y < 0 || this.pos.y > height) {
     this.vel.y *= -1;
   }
 }

 checkParticles() {
    particles.forEach(particle => {
      // 自分の位置と他のパーティクルとの距離を求める
      const d = dist(this.pos.x, this.pos.y, particle.pos.x, particle.pos.y);

      // 他のパーティクルとの距離が120以下ならラインで結ぶ
      if (d < 120) {
        stroke('rgba(255, 255, 255, 0.1)');
        line(this.pos.x, this.pos.y, particle.pos.x, particle.pos.y);
      }
    });
  }
}
