概要
- VirtualBoxにて、Raspberry Pi Desktop(2017-11-16-rpd-x86-stretch版) を入れたときのメモ
-
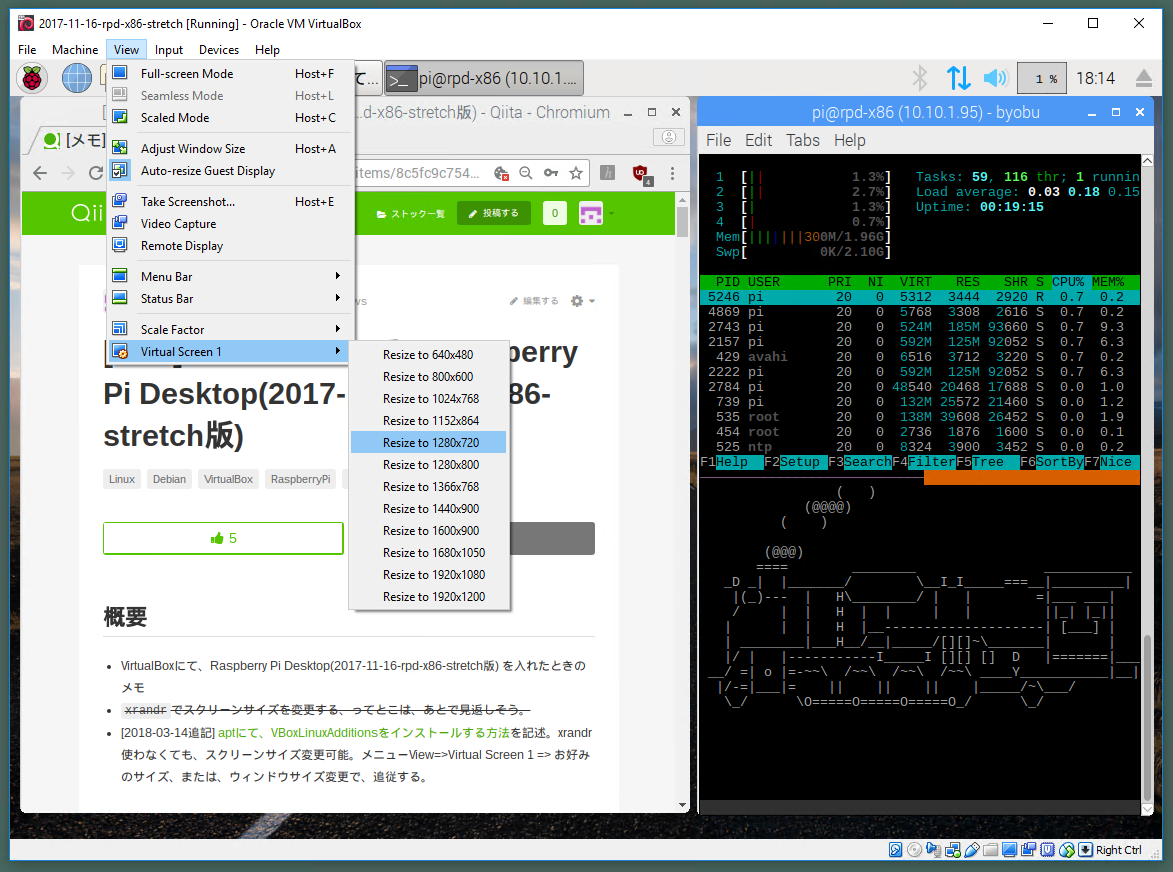
xrandrでスクリーンサイズを変更する、ってとこは、あとで見返しそう。
=>[2018-03-14追記] VBoxLinuxAdditionsをインストール後、再起動で、サイズ変更可能(になったのかな??)。xrandr使わなくても、スクリーンサイズ変更可能。 - [2018-03-14追記] aptにて、VBoxLinuxAdditionsをインストールする方法を記述。メニューView=>Virtual Screen 1 => お好みのサイズ、または、ウィンドウサイズ変更で、追従する。
環境
- ホストOS: Windows 10 (1709) x64
- VirtualBox v5.2.4 + Extension Pack
- ゲストOS: DEBIAN STRETCH WITH RASPBERRY PI DESKTOP
The Raspberry Pi Desktop OS for PC and Mac - based on Debian Stretch
↑ここから、2017-11-16-rpd-x86-stretch.isoをダウンロードしておく。
手順
VirtualBoxのインストール
# Chocolateyで、コマンドラインからインストールする。
-
cmd.exe(Command Prompt) を管理者で開く。
-
コピペ
install_chocolatey
@"%SystemRoot%\System32\WindowsPowerShell\v1.0\powershell.exe" -NoProfile -InputFormat None -ExecutionPolicy Bypass -Command "iex ((New-Object System.Net.WebClient).DownloadString('https://chocolatey.org/install.ps1'))" && SET "PATH=%PATH%;%ALLUSERSPROFILE%\chocolatey\bin"
3. コピペ

    ```bat:virtualboxとgitとchocolateyのGUIをインストール(お好みで)
cinst -y virtualbox git chocolateygui
- ExtensionPackも一緒に入るハズ.
- git for windowsは、git bash から、sshなど使用する、カト...
Virtual Machine(仮想機)作成
-
VirtualBox起動
-
仮想機作成 Menu: Machine > New (Create Virtual Machine)

-
name and operating system
Name: 2017-11-16-rpd-x86-stretch
Type: Linux
Version: Debian (64-bit)

-
Memory size

-
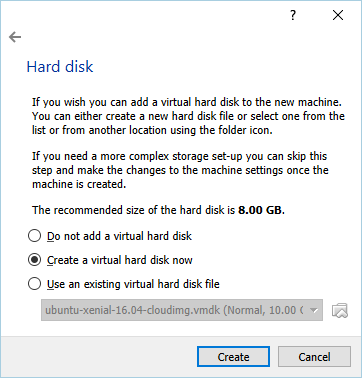
Hard disk
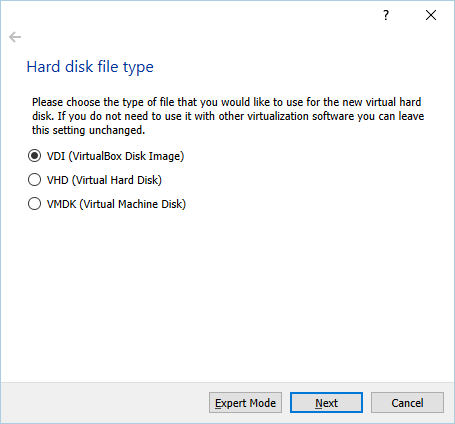
- Hard disk file type
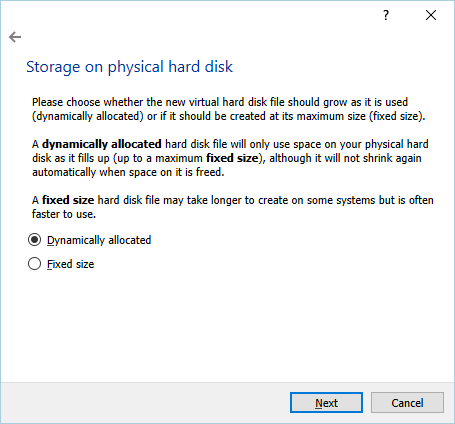
- Storage on physical hard disk
固定か、可変か、お好みで。
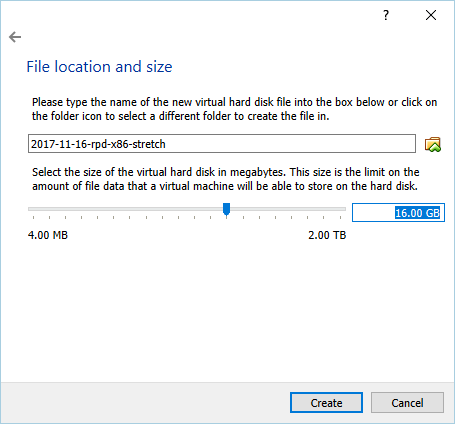
- File locat ion and size
16GBにしてみた。(お好みで)
- Hard disk file type
-
仮想機の設定
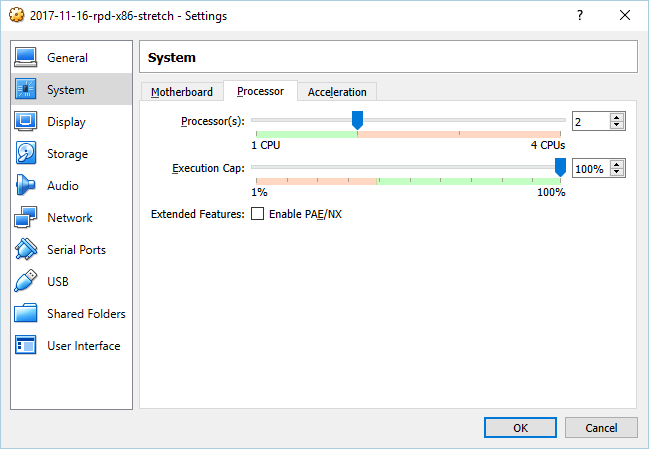
- 作った仮想マシンをクリックして、Settingボタンを押す

- System > Processor : 2個に
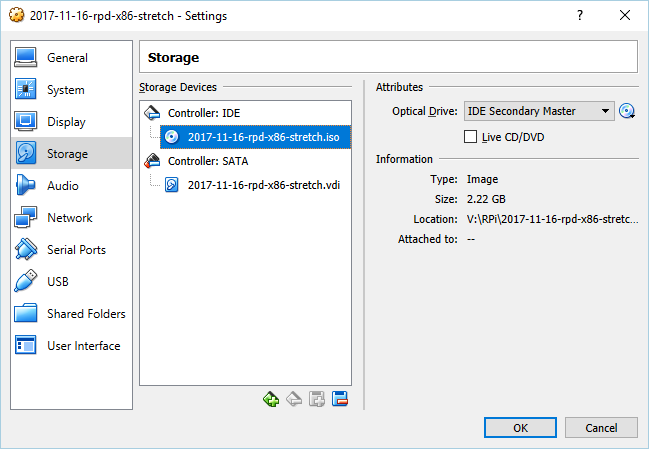
- Storage: CDイメージを選択
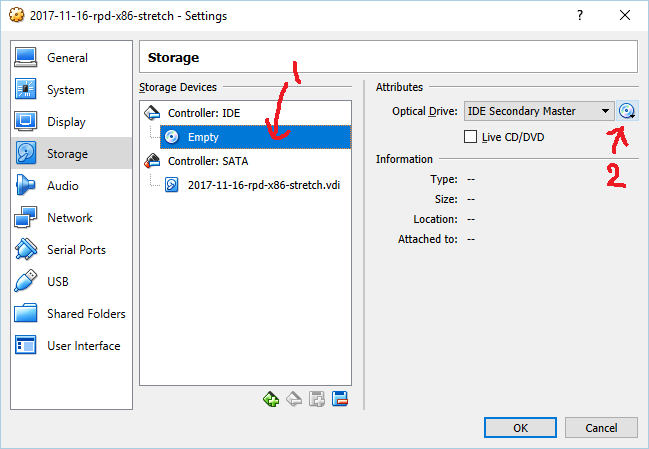
- Choose Virtual Optical Disk File...にて、2017-11-16-rpd-x86-stretch.isoを選択
- Network > Adapter 1で、ホスト機からSSHできるように、Portforwadingの設定をする (ホスト127.0.01の2222/33389をゲスト10.0.2.15のSSH22/RDP3389へ、飛ばす)
- [Port Forwarding]ボタンを押す

- 設定を入力

- [Port Forwarding]ボタンを押す
- 作った仮想マシンをクリックして、Settingボタンを押す
仮想機へのインストール・設定
Raspberry Pi Desktop(x86)のインストール
-
仮想機スタート
-
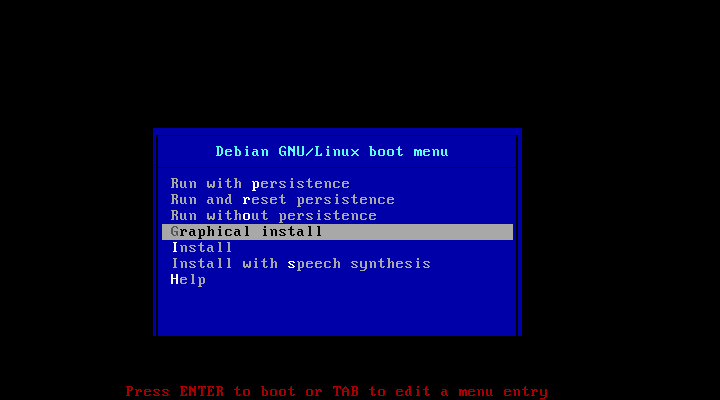
"Graphical install"を↑ ↓ で選んで、[Enter]を押す
-
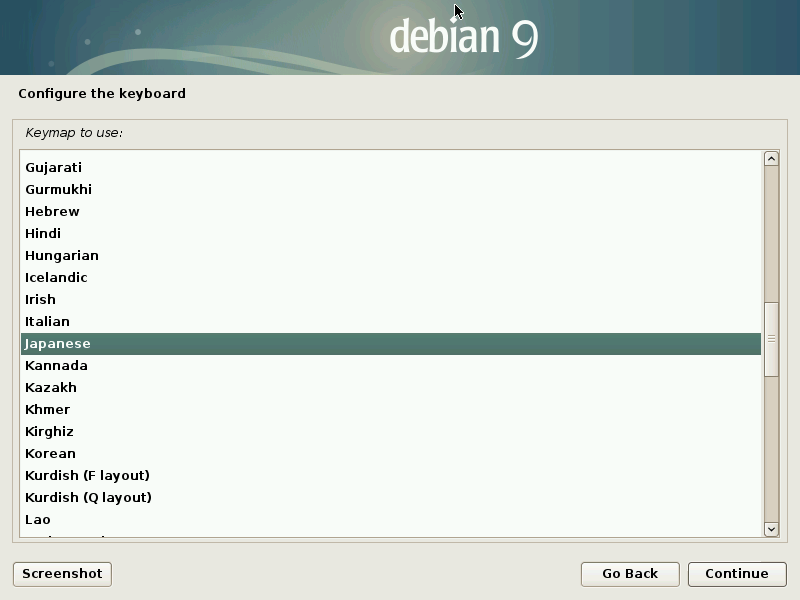
キーボード選択 (ちなみに、101キーは、US? ... American Englishは一番上にある)
-
パーティション設定
- ディスク全体使用:
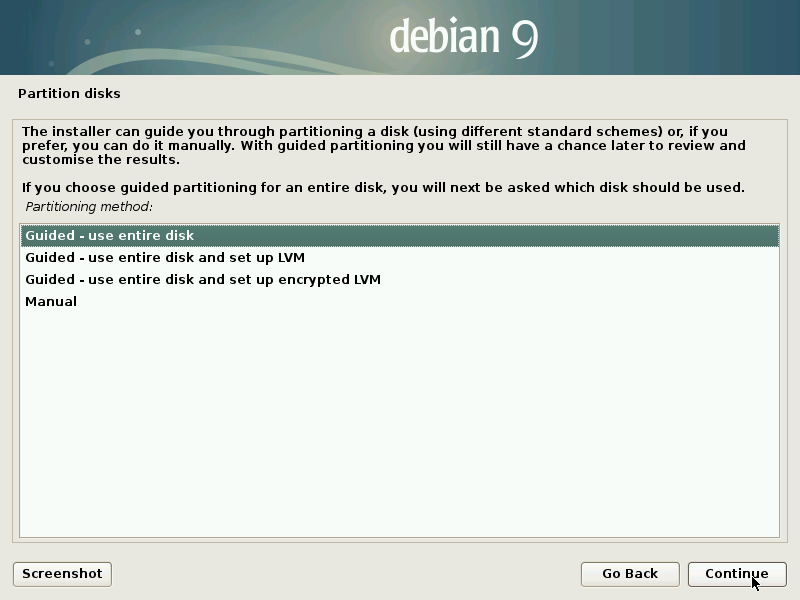
- ディスク選択:
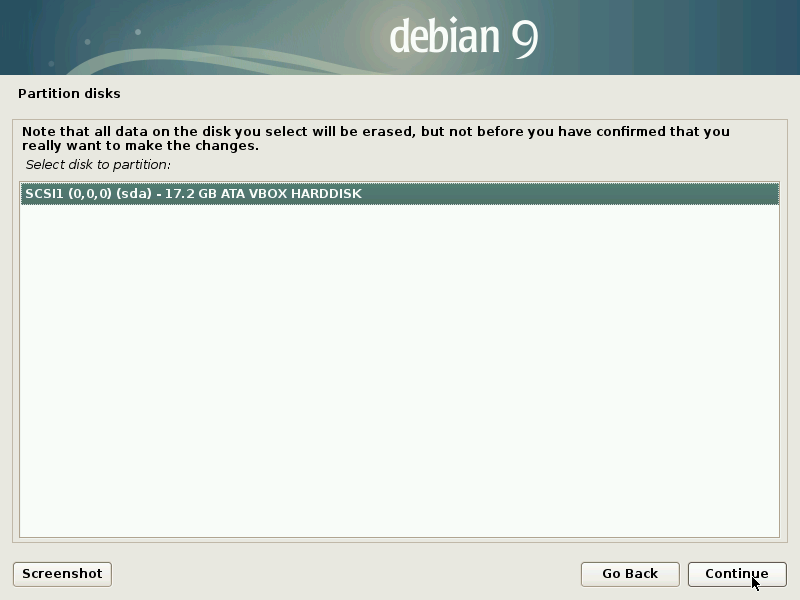
- 1パーティションで:
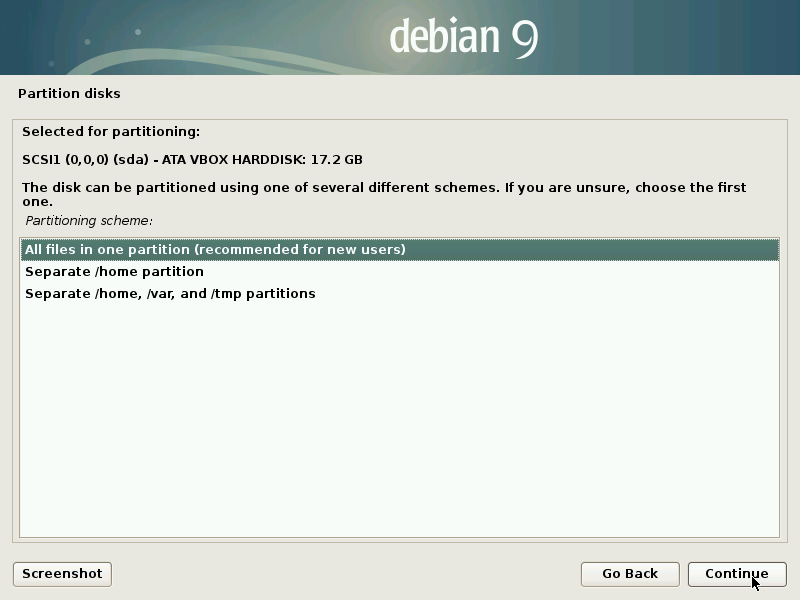
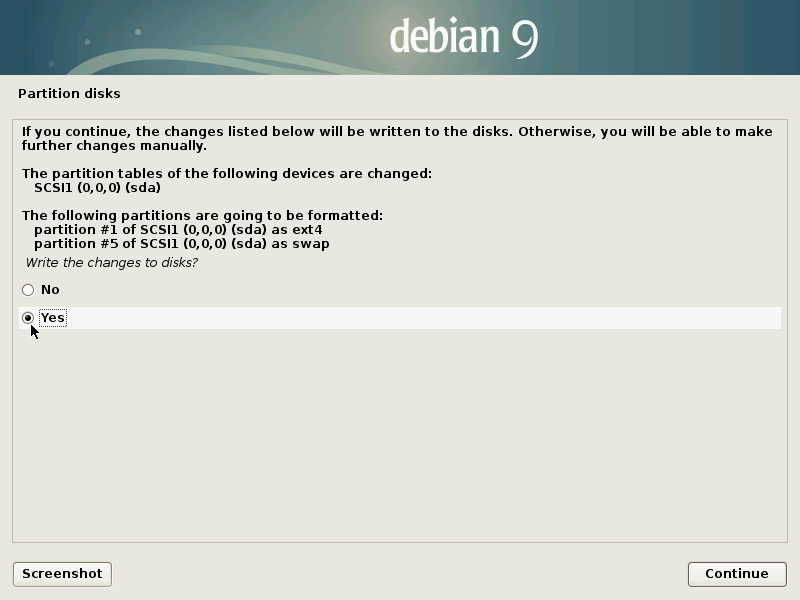
- 確認:
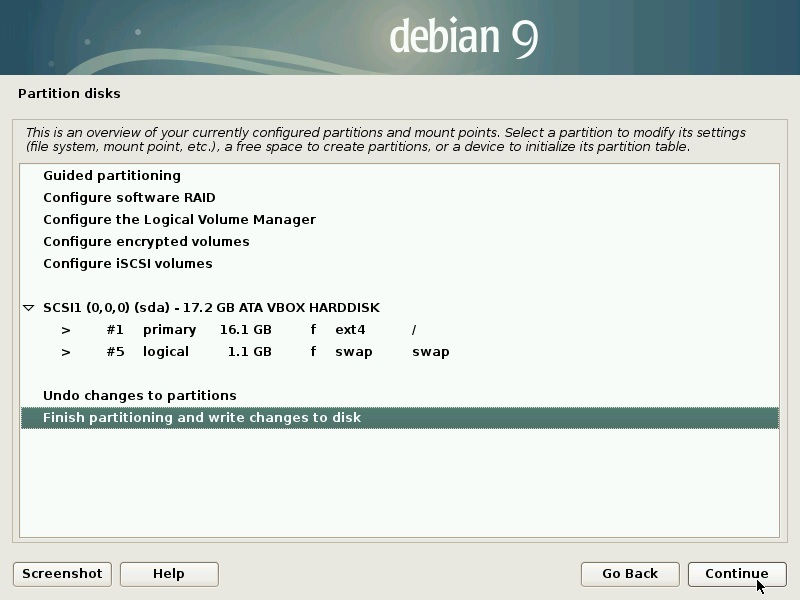
- Yesを選択:
- ディスク全体使用:
-
待つ: パーティションが設定されて、インストールが進む
-
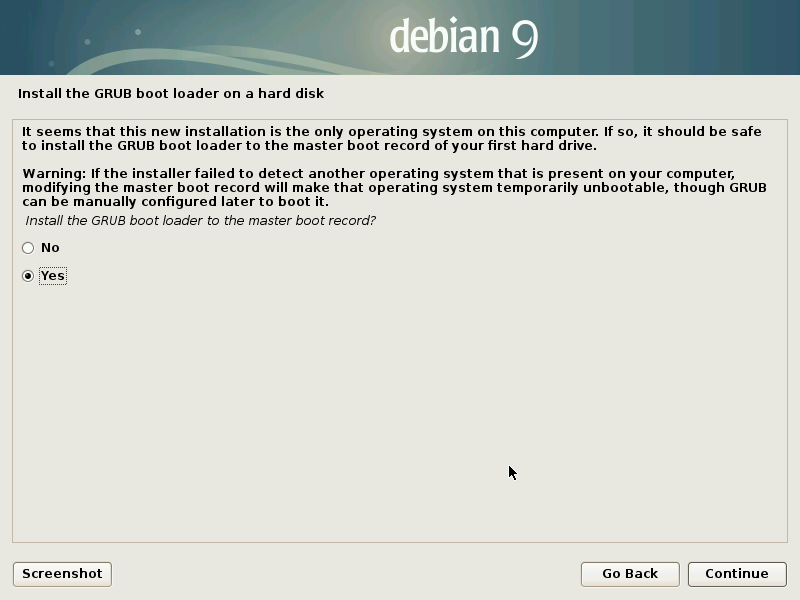
ブートローダー(GRUB)の設定
- Yesを選択:
-
/dev/sdaを選択:
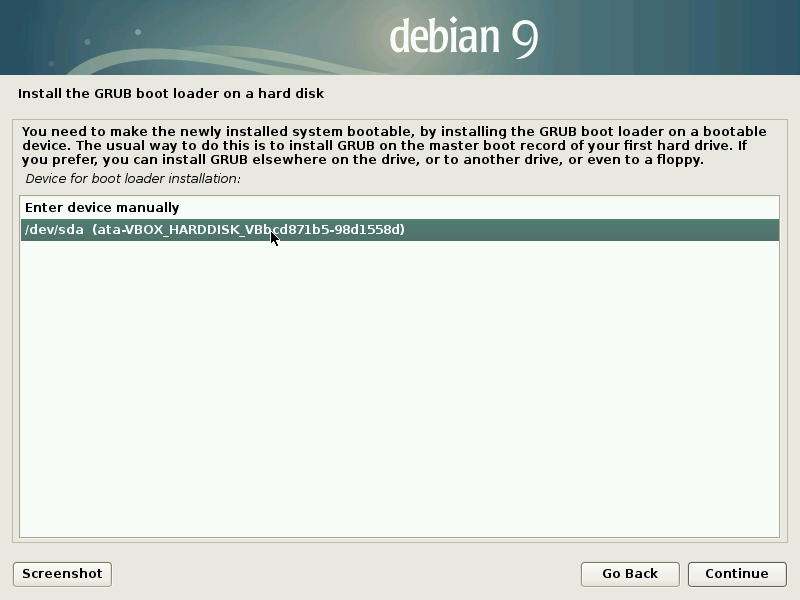
- Yesを選択:
-
"Finish the installation"
Continueを押す。

- 待つ:
=> インストール終了。おつかれさま(ここからスタートなんだけど..)
初期設定(パッケージ更新など)
-
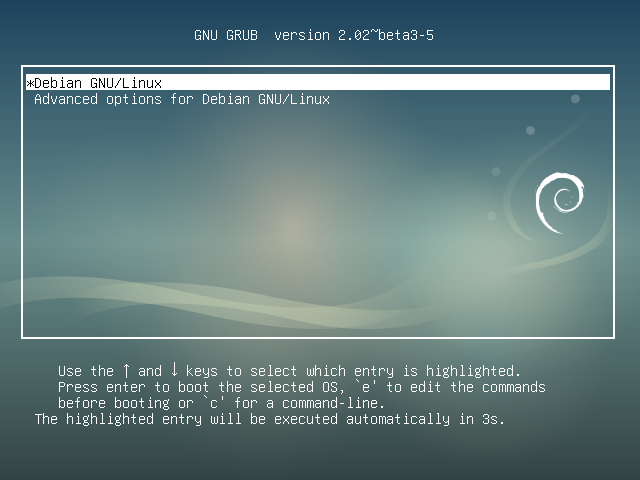
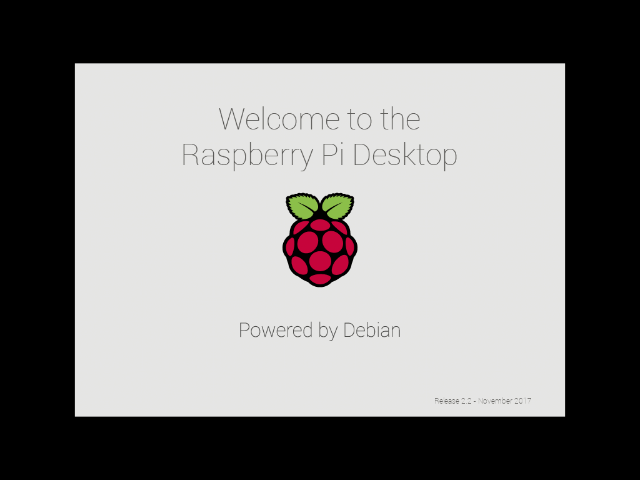
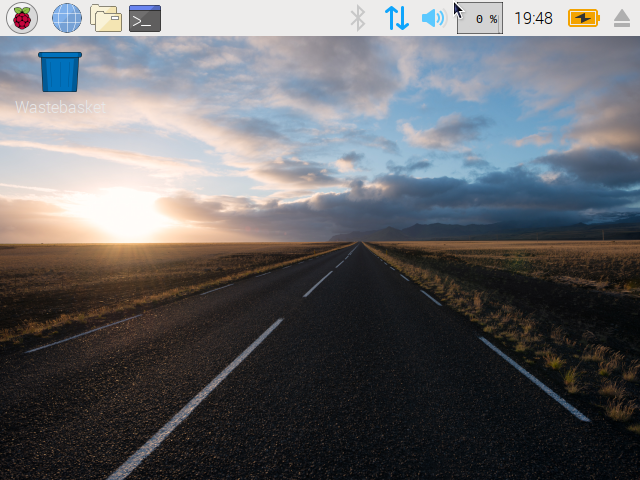
無事インストールされていると、こんな画面が出る:
- GRUB
- スプラッシュ画面:
- デスクトップ画面:
- GRUB
-
パッケージ更新
sudo sh -c 'apt update && apt upgrade -y && reboot'
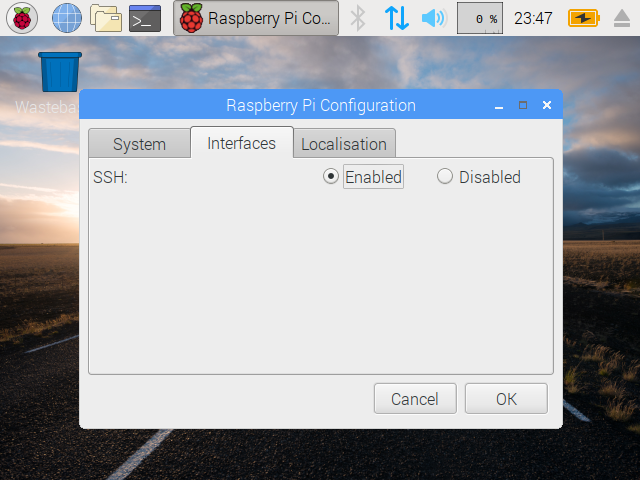
- ssh有効化(お好みで)
    - コマンドライン

        ```bash
sudo systemctl enable ssh
sudo systemctl restart ssh
- GUIで
VBoxLinuxAdditionsのインストール
aptでインストール場合(おすすめ)
[2018-3-14追記]
echo 'deb http://ftp.debian.org/debian stretch-backports main contrib' | sudo tee /etc/apt/sources.list.d/stretch-backports.list \
  && sudo apt-get update \
  && sudo apt-get install -y virtualbox-guest-dkms virtualbox-guest-utils virtualbox-guest-x11 \
  && sudo reboot
参考: How to install VirtualBox Guest Additions in a Debian virtual machine
Guest Additions CDimage使用(以前、記述してあった方法。こっちでもOK)
- ディスク挿入:
VirtualBoxのMenu: Devices > Insert Guest Additions CD Images... - 仮想機内でターミナルを開いて、コマンド実行:
sudo bash /media/cdrom/VBoxLinuxAdditions.run - 待つ
- 一応、再起動:
sudo reboot

その他
-
コマンドラインから、スクリーンサイズ変更
ターミナルを開いて
xrandr -s 1024x768
画面が複数ある場合は、--outputなどを使う
xrandr --output VGA-1 --mode 1366x768
使える解像度リストは、オプションなしで.
xrandr
<!--


-->
<!--
Network: Adapter 2を追加。Bridged Adapterで、ホスト側の有線のEthernetアダプタを選択


-->