遅れました🙇♂️
AI Agent on AWS Advent Calendar 2025の20日の投稿です
Bedrock AgentCoreはプログラミング言語やフレームワークに依存しない素敵なサービスとなっております。ただ、公式ドキュメントやSDKはPython優先で整備されているのでTypeScriptでの実現方法がわからない🙀
Mastraの実行結果をAgentCore Observabilityに送信する方法を調べましたので、御覧ください。
採用したアーキテクチャ
- AIエージェントフレームワーク:Mastra(※v1のベータバージョン)
- Webフレームワーク:Hono
- Bedrock Agentcore Runtime、Observability
Mastraは2026年1月にv1をリリースする予定があるようです。一足早く新しいバージョンを使ってみたかったので@beta版を使用してます
手順
プロジェクトを新規作成
参考ドキュメント:https://mastra.ai/guides/v1/getting-started/hono
まずはHonoでプロジェクトを新規作成します。
npm create hono@latest mastra-hono -- --template nodejs --install --pm npm
cd mastra-hono
続いてMastraを追加します。beta版を使用します。ウィザードは全部Yで回答します。
npx mastra@beta init
サンプルエージェントが追加されます。
src/mastra/
├── agents
│   └── weather-agent.ts
├── index.ts
├── tools
│   └── weather-tool.ts
└── workflows
    └── weather-workflow.ts
HonoとMastraをつなぐアダプターを追加します。
(後々見返すと、この手順いらないかも?)
npm install @mastra/hono@beta
この状態でnpm run devは実行できるのですが、npm run buildでエラーが発生します。
ちょっとしたことなのでこのタイミングで修正しておきます。(拡張子を指定してるかどうかです)
- import { weatherTool } from '../tools/weather-tool';
+ import { weatherTool } from '../tools/weather-tool.js';
- import { weatherWorkflow } from './workflows/weather-workflow';
- import { weatherAgent } from './agents/weather-agent';
+ import { weatherWorkflow } from './workflows/weather-workflow.js';
+ import { weatherAgent } from './agents/weather-agent.js';
Bedrockを呼び出すように修正
今の状態ではOpenAIのAPIを呼び出す様になっています。Bedrockを呼び出すように修正しましょう。
MastraではAI SDKが使えます。
参考ドキュメント:https://ai-sdk.dev/providers/ai-sdk-providers/amazon-bedrock
AI SDKのBedrockプロバイダーを追加します。
npm install @ai-sdk/amazon-bedrock @aws-sdk/credential-providers
Bedrockのモデルを使うように修正します。
+ import { createAmazonBedrock } from '@ai-sdk/amazon-bedrock';
+ import { fromNodeProviderChain } from '@aws-sdk/credential-providers';

~中略~

-   model: 'openai/gpt-4o',
+   model: createAmazonBedrock({
+     region: 'ap-northeast-1',
+     credentialProvider: fromNodeProviderChain()
+   })("openai.gpt-oss-120b-1:0"),
Bedrock AgentCore Runtimeで必要なAPIを追加
Pythonの場合はAgentCore SDKを使う場合は意識しないのですが、AgentCore Runtimeでは以下の2つのAPIが必要です。
-
/invocationsPOST -
/pingGET
最近、WebSocket対応のため/wsが追加されましたがこれはオプションです
/invocationsでweather-agentを呼び出すように実装します。また、ポート番号もAgentCore Runtimeの使用に合わせ、8080に変更します。
  import { serve } from '@hono/node-server'
  import { Hono } from 'hono'
+ import { mastra } from './mastra/index.js'

  const app = new Hono()

- app.get('/', (c) => {
-   return c.text('Hello Hono!')
- })

+ app.get('/ping', (c) => {
+   return c.json({
+     status: 'Healthy',
+     time_of_last_update: Math.floor(Date.now() / 1000)
+   })
+ })
+
+ app.post('/invocations', async(c) => {
+   const body = await c.req.json();
+   const agent = mastra.getAgent('weatherAgent')
+   const response = await agent.generate(body.messages);
+
+   return c.text(response.text)
+ })

  serve({
    fetch: app.fetch,
-   port: 3000
+   port: 8080
  }, (info) => {
    console.log(`Server is running on http://localhost:${info.port}`)
  })
ここまでで起動して呼び出せる状態になりました。
npm run dev
Server is running on http://localhost:8080
cURLで呼び出してみましょう。エージェントは天気を取得するツールがあり、都市を指定すると天気を教えてくれます。
「What is the weather like in Tokyo?(東京の天気はどうですか?)」
curl -X POST http://localhost:8080/invocations \
  -H "Content-Type: application/json" \
  -d "{\"messages\":[{\"role\":\"user\",\"content\":\"What is the weather like in Tokyo?\"}]}"
It’s a pleasant, mild day—great for outdoor activities or a stroll around the city. Let me know if you’d like a forecast or activity suggestions!**Current weather in Tokyo**

- **Temperature:** 15 °C (59 °F)
- **Condition:** Light drizzle
- **Humidity:** 90 %
- **Wind:** 7 km/h (4 mph) with gusts up to 32 km/h from the west

It’s cool and damp, so you might want to carry an umbrella or a light rain jacket if you head outside. Let me know if you’d like a short‑term forecast or activity ideas for this weather!
Observability機能を追加
さて、いよいよ本題のObservabilityです。
Pythonの手順の場合にインストールする「aws-opentelemetry-distro」ですが、これは「AWS Distro for OpenTelemetry 」というものです。
これのJavaScript版を使用します。
ざっくり、こんな使い方になります。
npm install @aws/aws-distro-opentelemetry-node-autoinstrumentation

export NODE_OPTIONS="--require @aws/aws-distro-opentelemetry-node-autoinstrumentation/register"
node app.js
AWS Distro for OpenTelemetryやOpenTelemetryについてはこちらが詳しいです。
OpenTelemetry Collector の中身と種類を知ろう
https://aws.amazon.com/jp/builders-flash/202503/opentelemetry-collector/
そしてMastra側ですが、OpenTelemetryへ対応するために「OpenTelemetry Bridge」の追加が必要です。(OpenTelemetry Bridgeは執筆時点でexperimental扱いです)
参考:https://mastra.ai/docs/v1/observability/tracing/bridges/otel
多分、こんな感じになってるんだと思います。
[Mastra] -> [OpenTelemetry Bridge] -> [AWS Distro for OpenTelemetry] -> [CloudWatch / X-Ray]
では実装を進めていきます。
まず、必要なライブラリーを追加します。
npm install \
  @aws/aws-distro-opentelemetry-node-autoinstrumentation \
  @opentelemetry/exporter-trace-otlp-proto \
  @mastra/otel-exporter@beta \
  @mastra/otel-bridge@beta
Mastraの設定を修正します。
+ import { OtelBridge } from '@mastra/otel-bridge';

    observability: new Observability({
      // Enables DefaultExporter and CloudExporter for tracing
-      default: { enabled: true },
+     configs: {
+       default: {
+         serviceName: 'weather-agent',
+         bridge: new OtelBridge(),
+       }
+     }
    }),
package.jsonのscriptを修正し、NODE_OPTIONSの指定を追加します。
-   "dev": "tsx watch src/index.ts",
+   "dev": "NODE_OPTIONS=\"--require @aws/aws-distro-opentelemetry-node-autoinstrumentation/register\" tsx watch src/index.ts",
    "build": "tsc",
-   "start": "node dist/index.js"
+   "start": "NODE_OPTIONS=\"--require @aws/aws-distro-opentelemetry-node-autoinstrumentation/register\" node dist/index.js"
CloudWatchの設定変更
AgentCore Observabilityの事前準備として、CloudWatchの設定を変更します。(リージョンごとに1回だけ必要です)
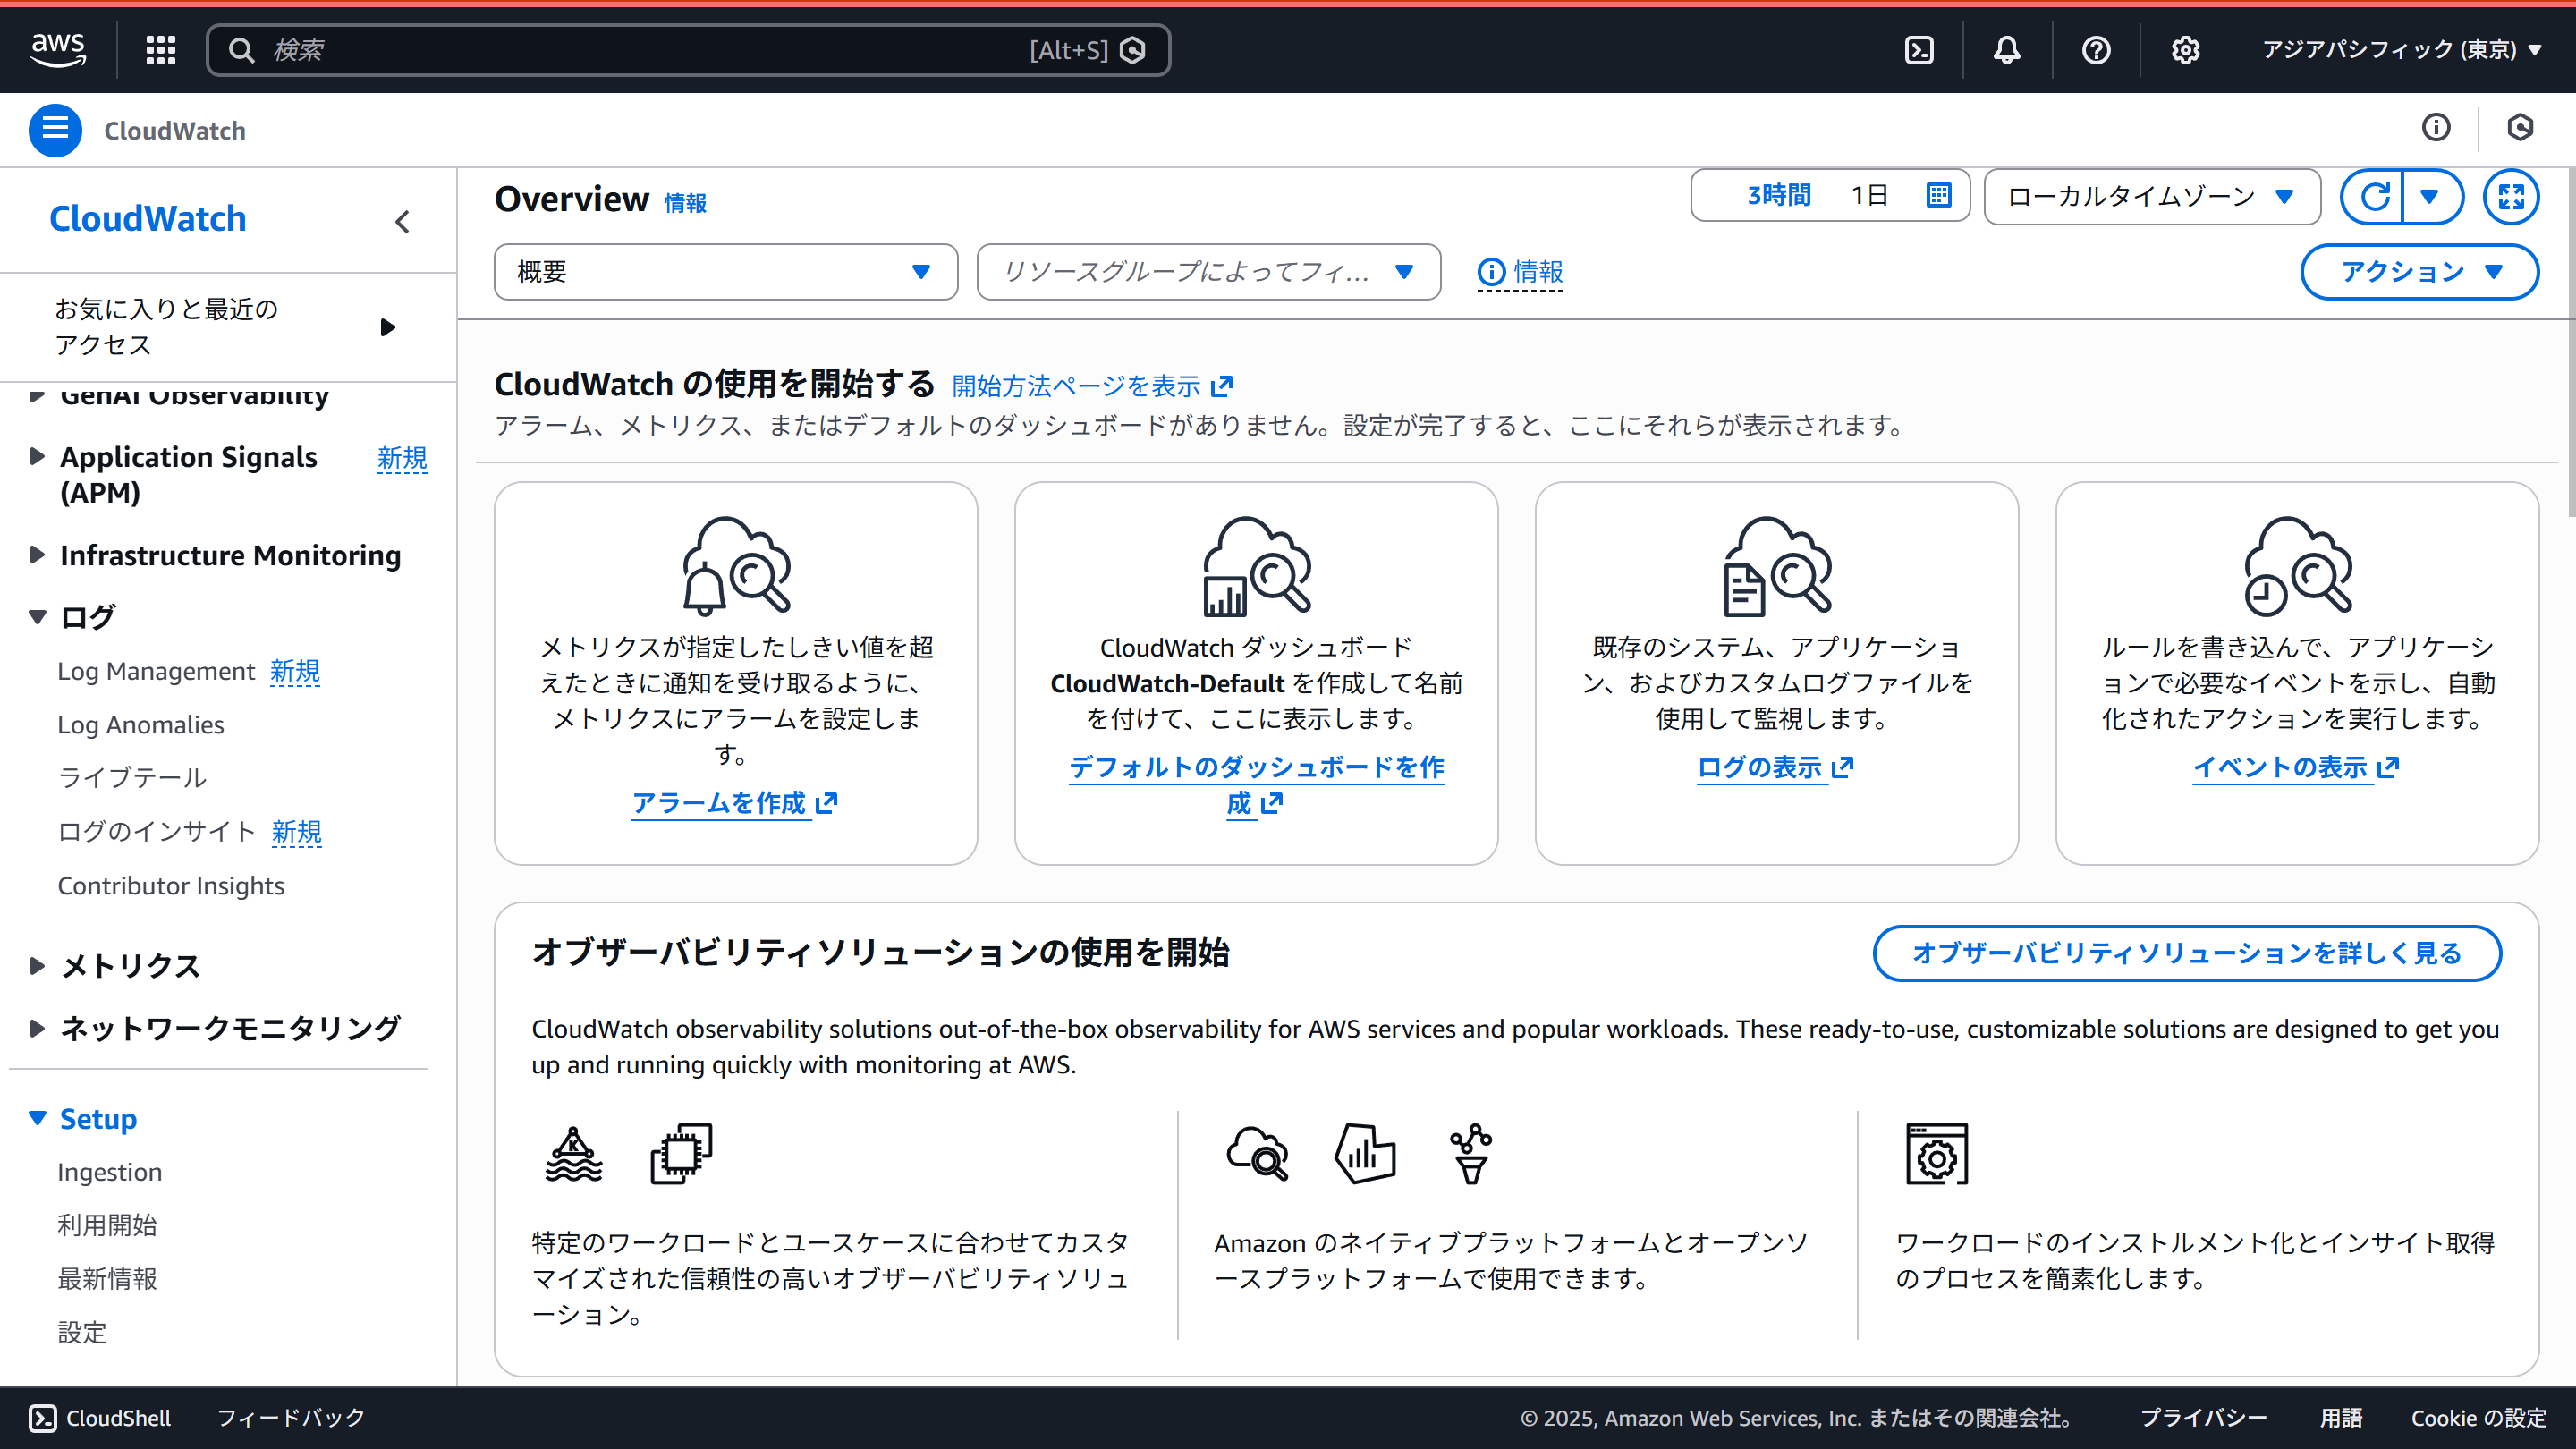
CloudWatchの画面の左メニュー最下部の「Setup」の中の「設定」を選択します。
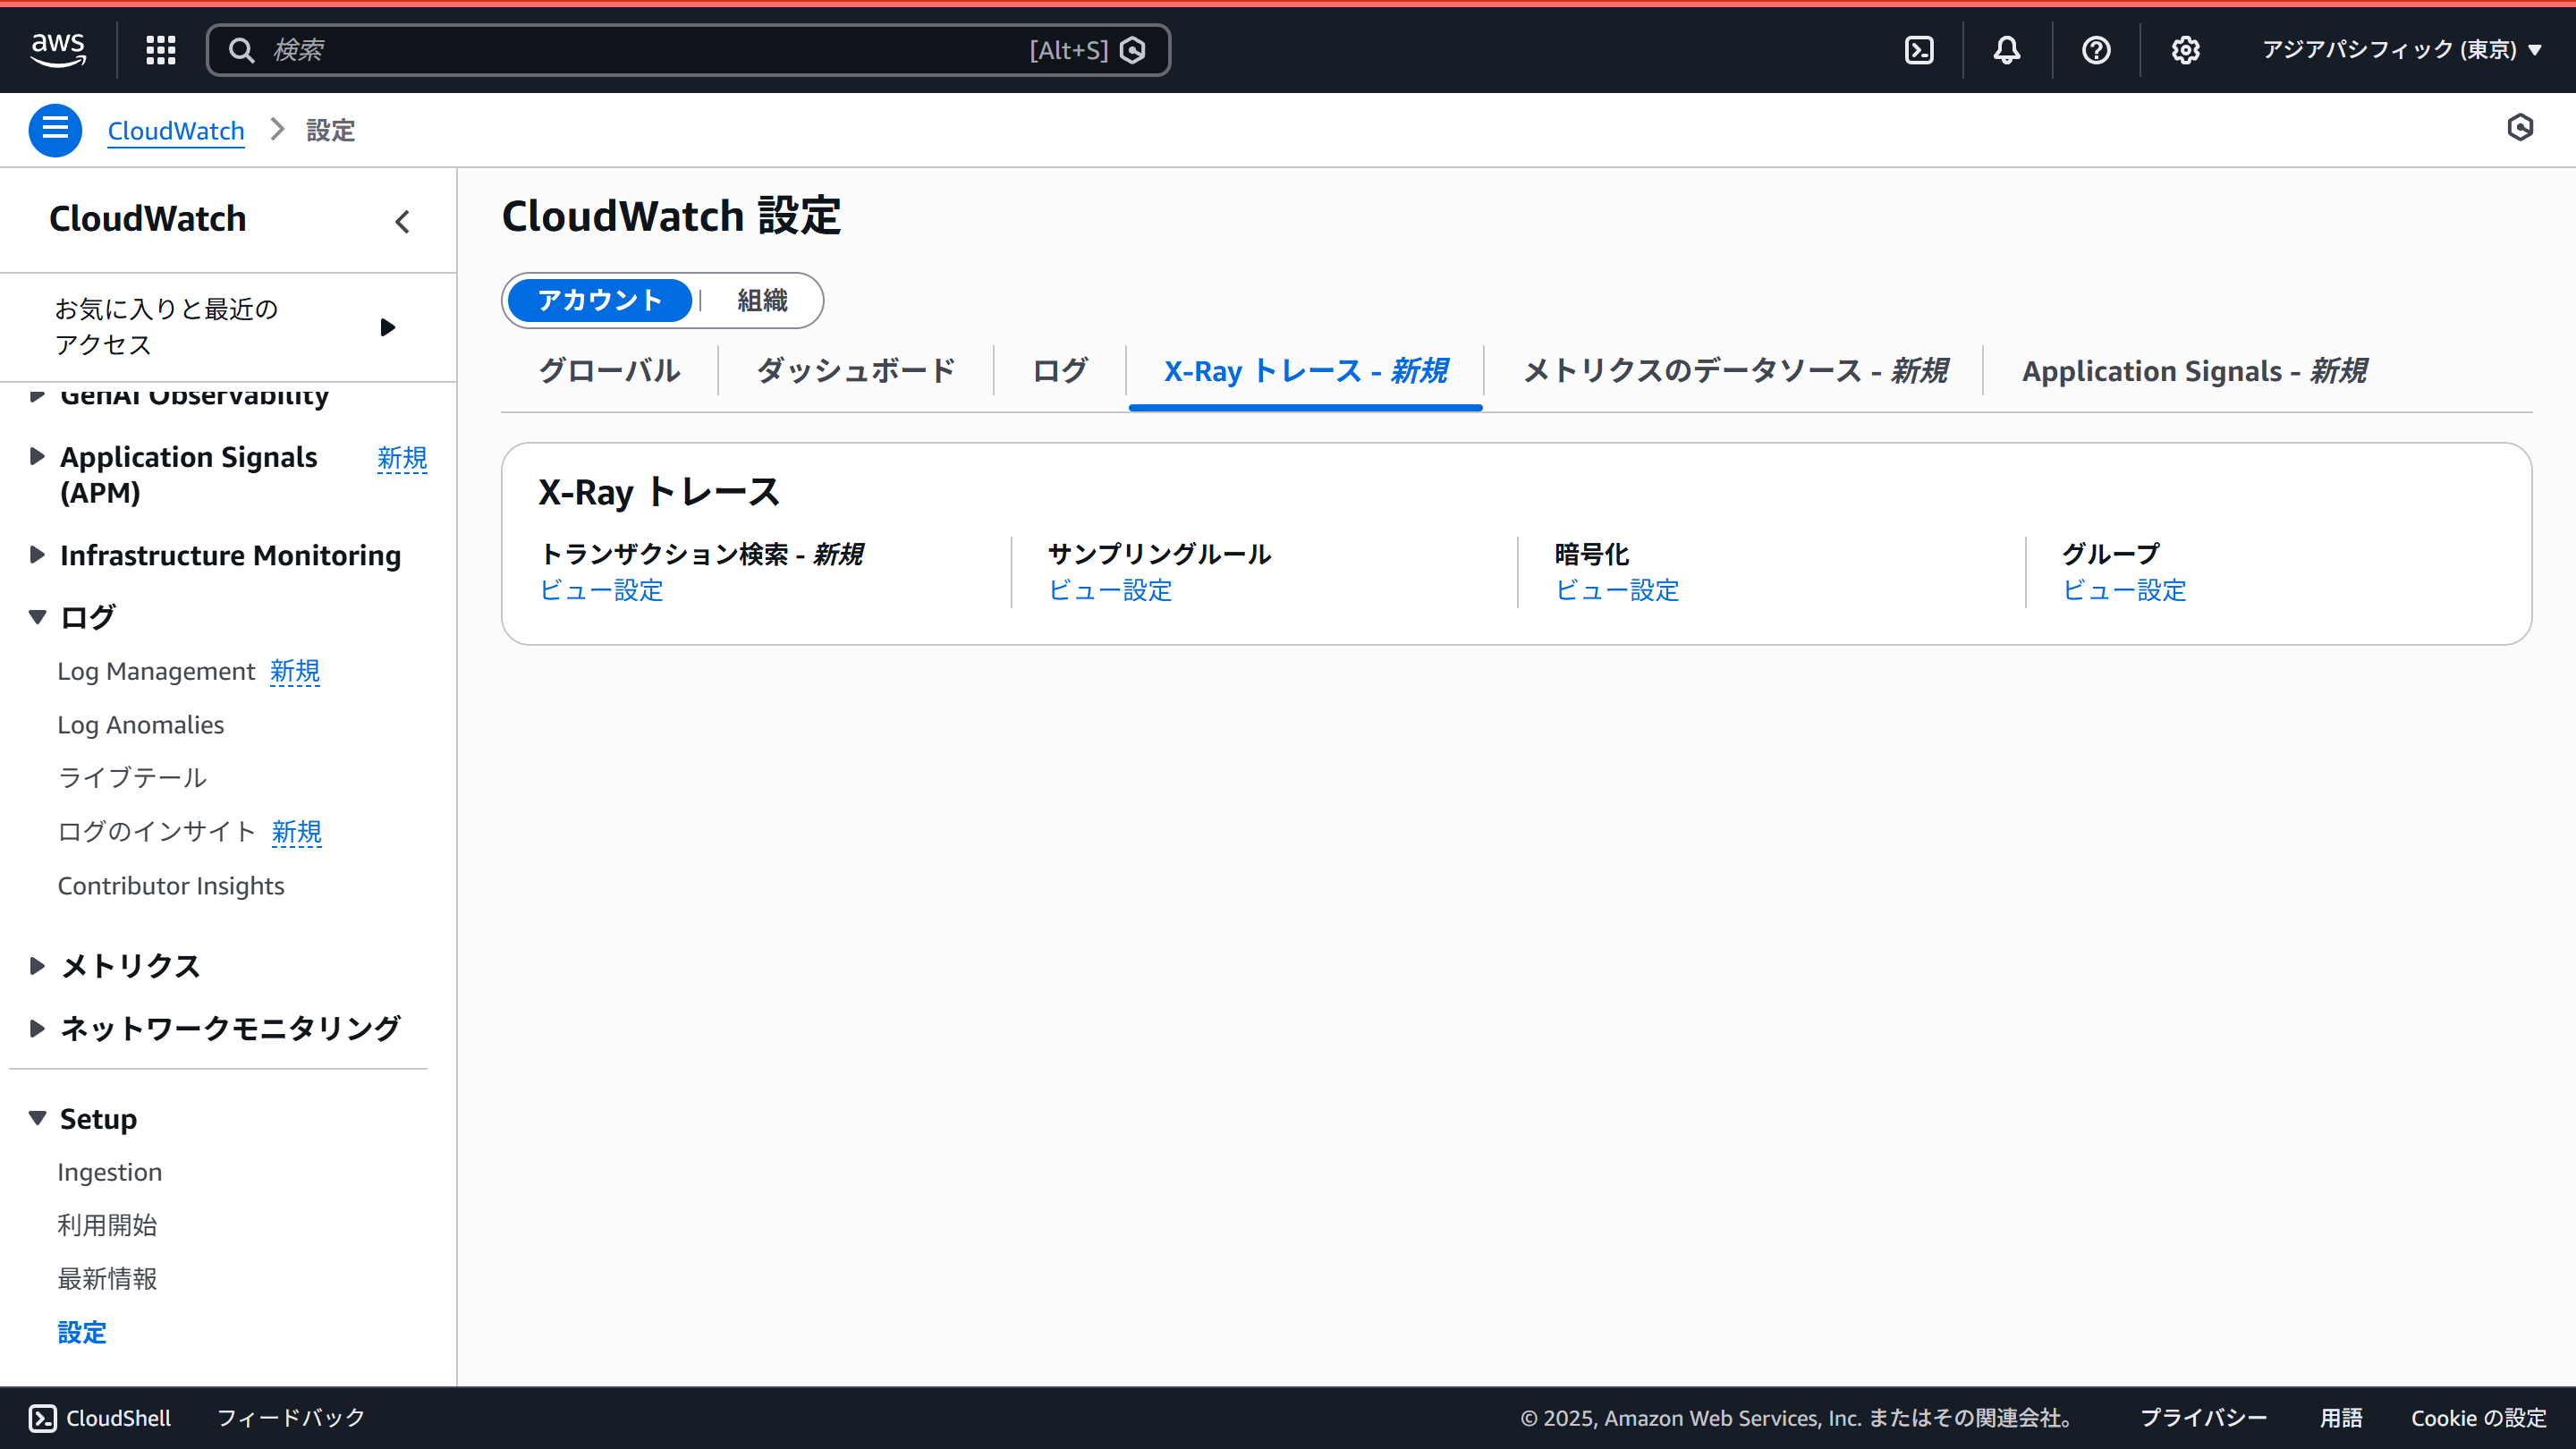
「X-Rayトレース」タブにある「トランザクション検索」の「ビュー設定」をクリックします。
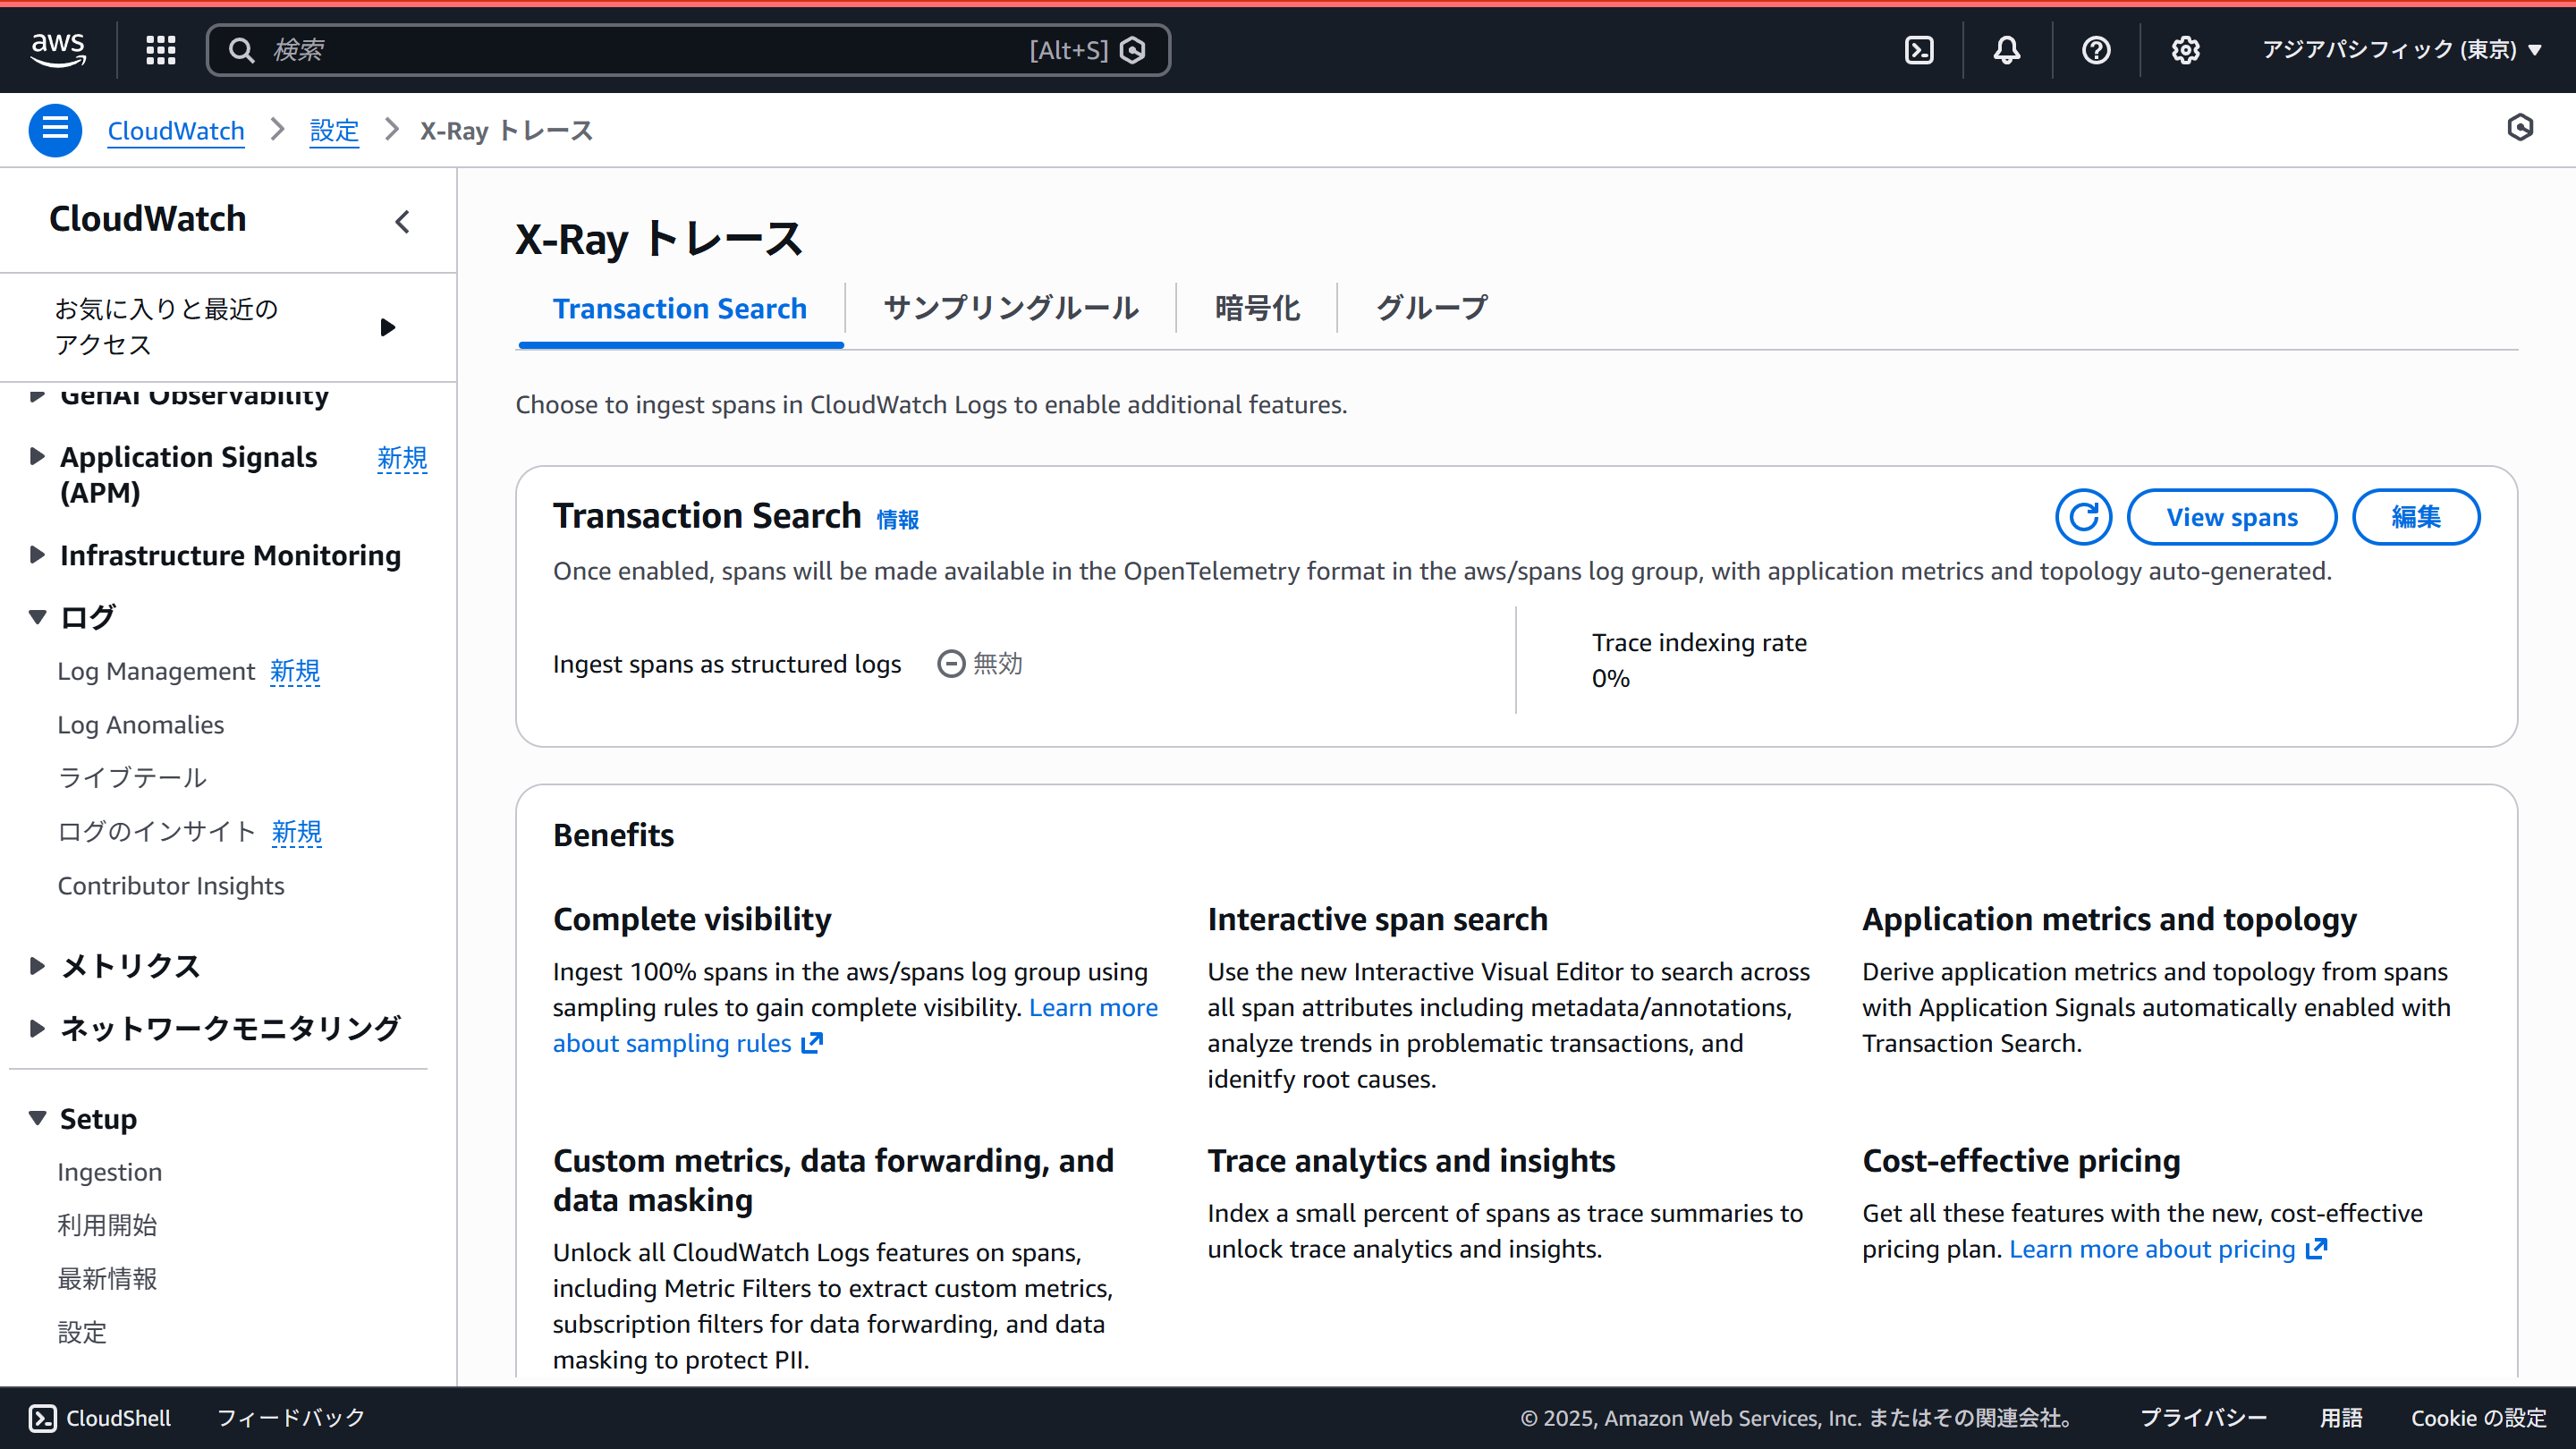
Transaction Searchのところの「編集」からTransaction Searchを有効にします。
Observabilityの動作確認(ローカル)
ローカル環境でエージェントを動かしAgentCore Observabilityで確認してみましょう。
ローカルの場合、いくつか環境変数のセットが必要です。
export AWS_REGION=$(aws configure get region)

export AGENT_OBSERVABILITY_ENABLED=true
export OTEL_RESOURCE_ATTRIBUTES=service.name=weather-agent,aws.log.group.names=/aws/bedrock-agentcore/runtimes/weather-agent,cloud.resource_id=AgentEndpointArn:weather-agent
export OTEL_EXPORTER_OTLP_LOGS_HEADERS=x-aws-log-group=/aws/bedrock-agentcore/runtimes/weather-agent,x-aws-log-stream=runtime-logs,x-aws-metric-namespace=bedrock-agentcore

export OTEL_TRACES_EXPORTER=otlp
export OTEL_EXPORTER_OTLP_TRACES_PROTOCOL=http/protobuf
export OTEL_EXPORTER_OTLP_TRACES_ENDPOINT=https://xray.${AWS_REGION}.amazonaws.com/v1/traces

export OTEL_LOGS_EXPORTER=otlp
export OTEL_EXPORTER_OTLP_LOGS_PROTOCOL=http/protobuf
export OTEL_EXPORTER_OTLP_LOGS_ENDPOINT=https://logs.${AWS_REGION}.amazonaws.com/v1/logs
環境変数をセットした状態で、npm run devでサーバーを起動します。そして、cURLでアクセスし、トレース情報を生成します。
curl -X POST http://localhost:8080/invocations \
  -H "Content-Type: application/json" \
  -d "{\"messages\":[{\"role\":\"user\",\"content\":\"What is the weather like in Tokyo?\"}]}"
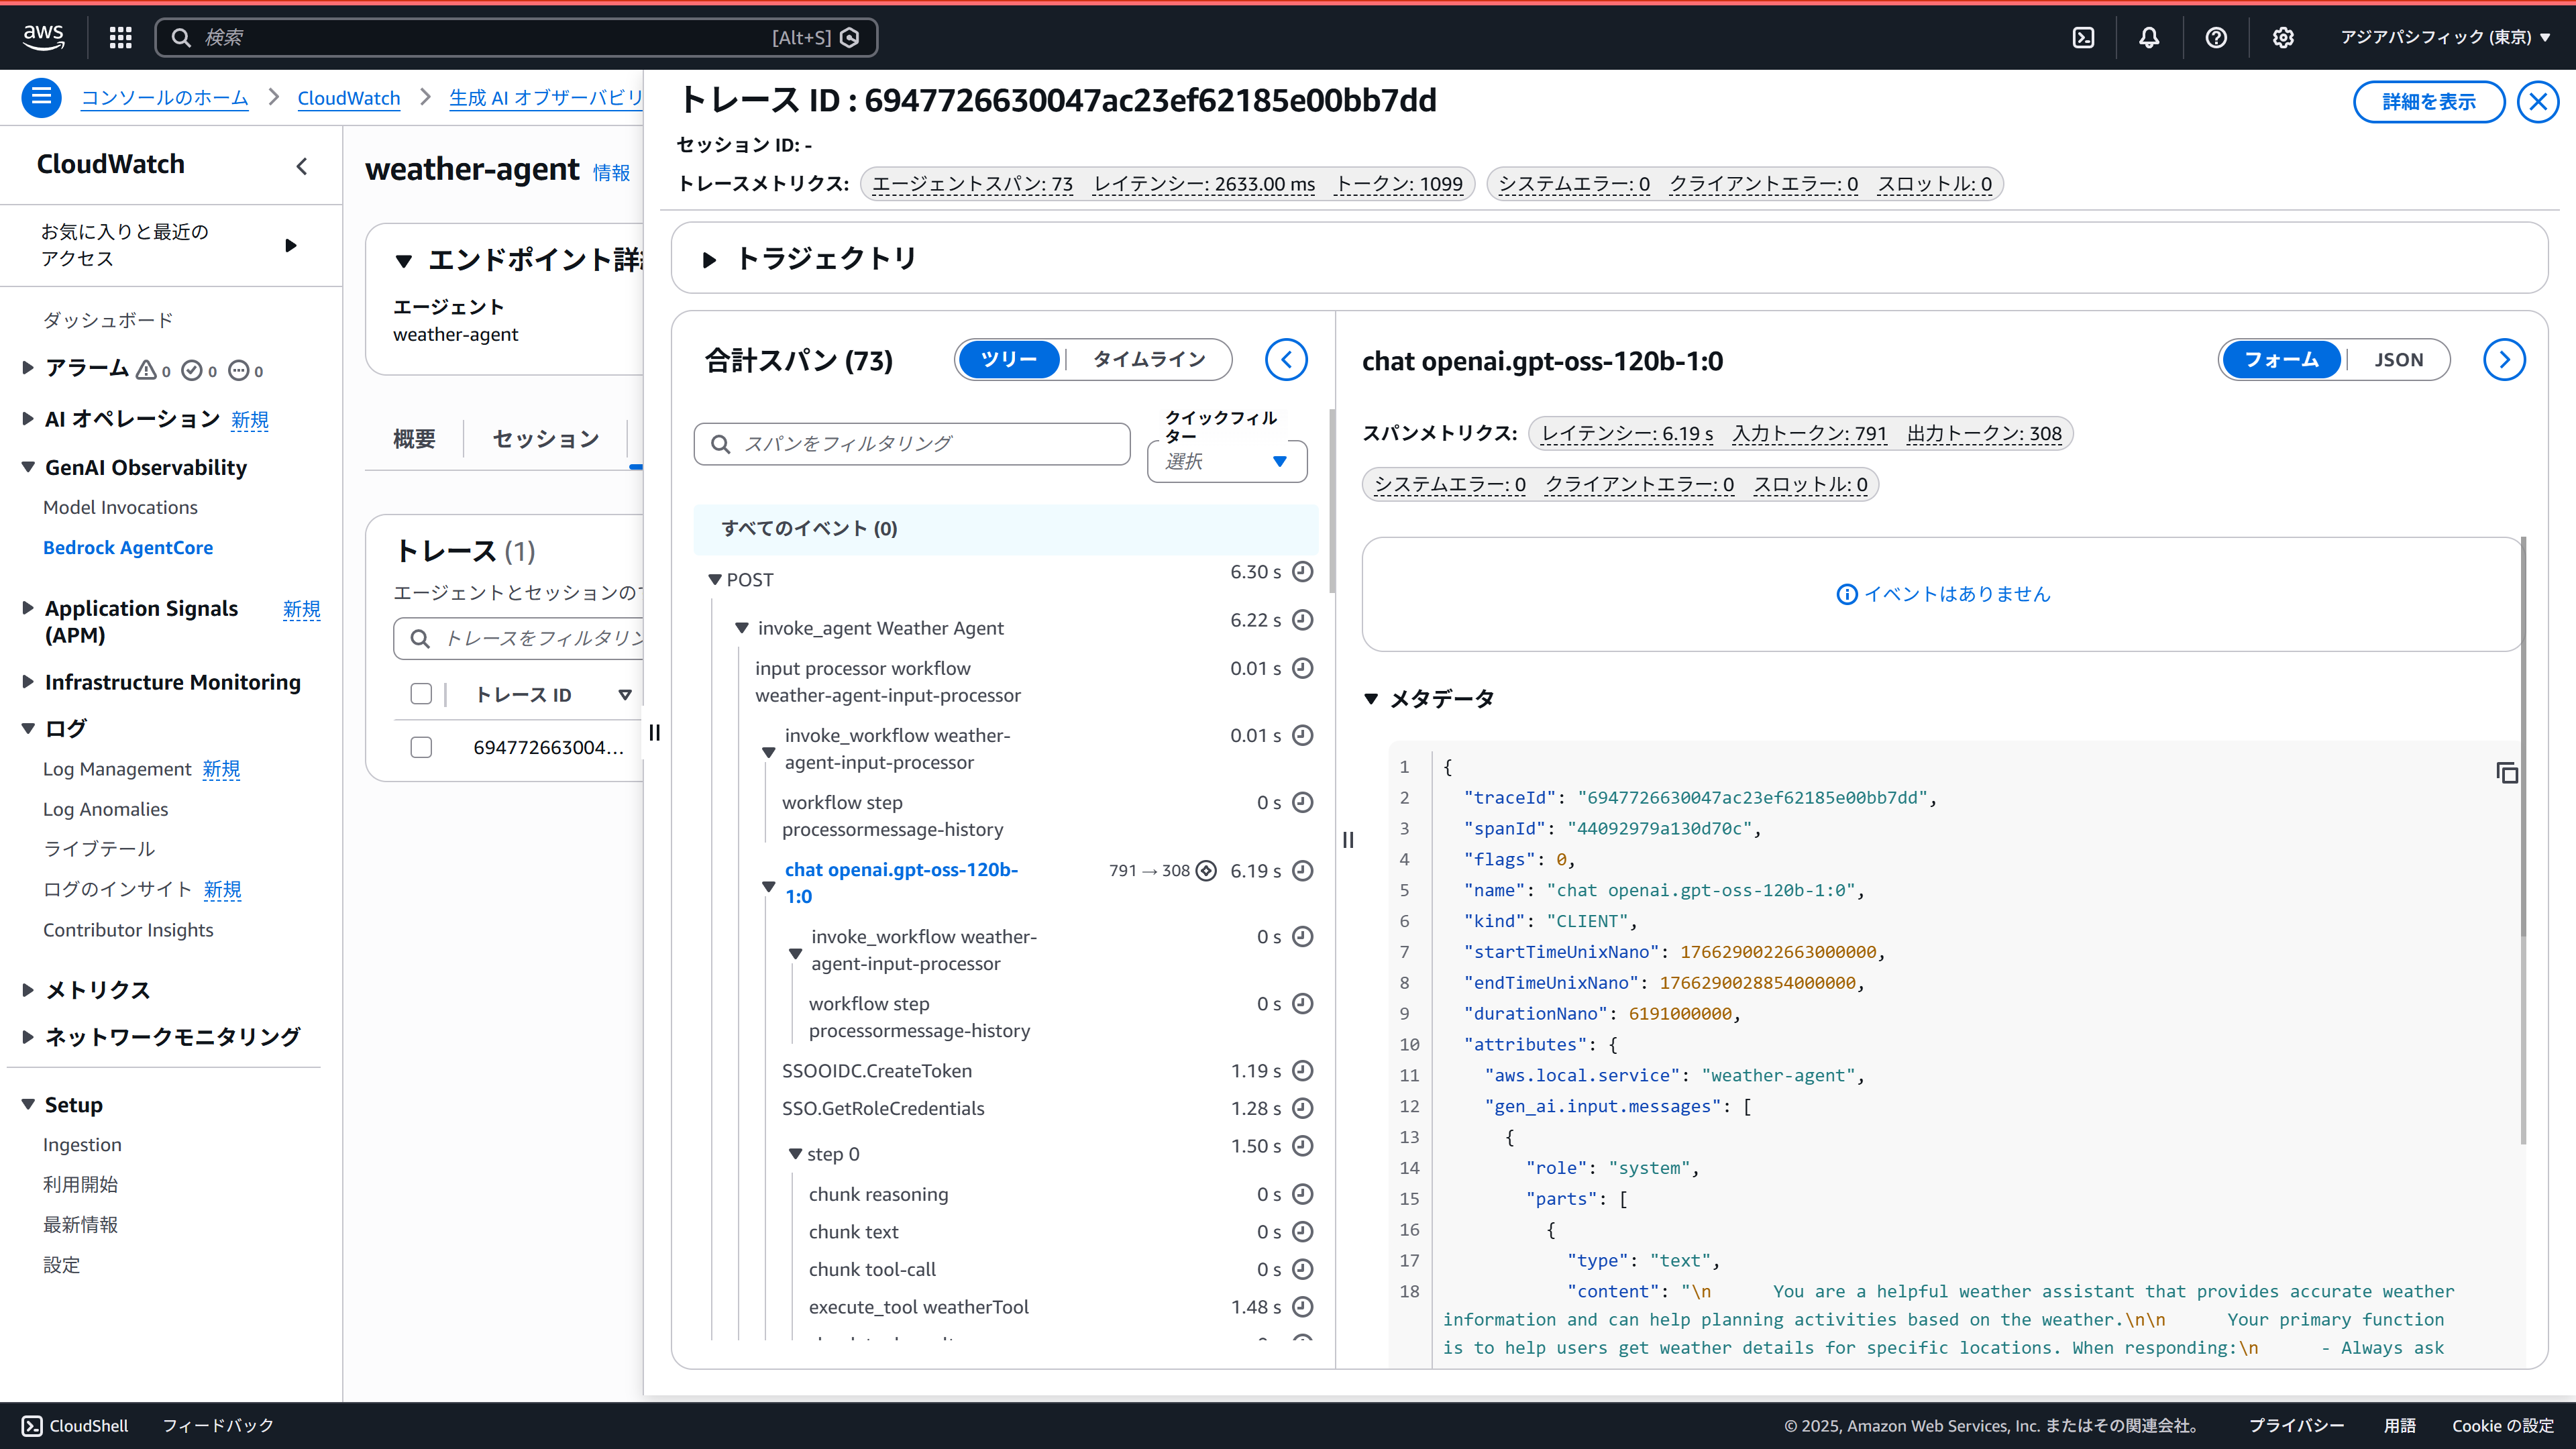
CloudWatchの画面を見てみます。左メニューの「GenAI Observability」にある「Bedrock AgentCore」を選択します。一番下の「エージェント」のところに届いているようですね。
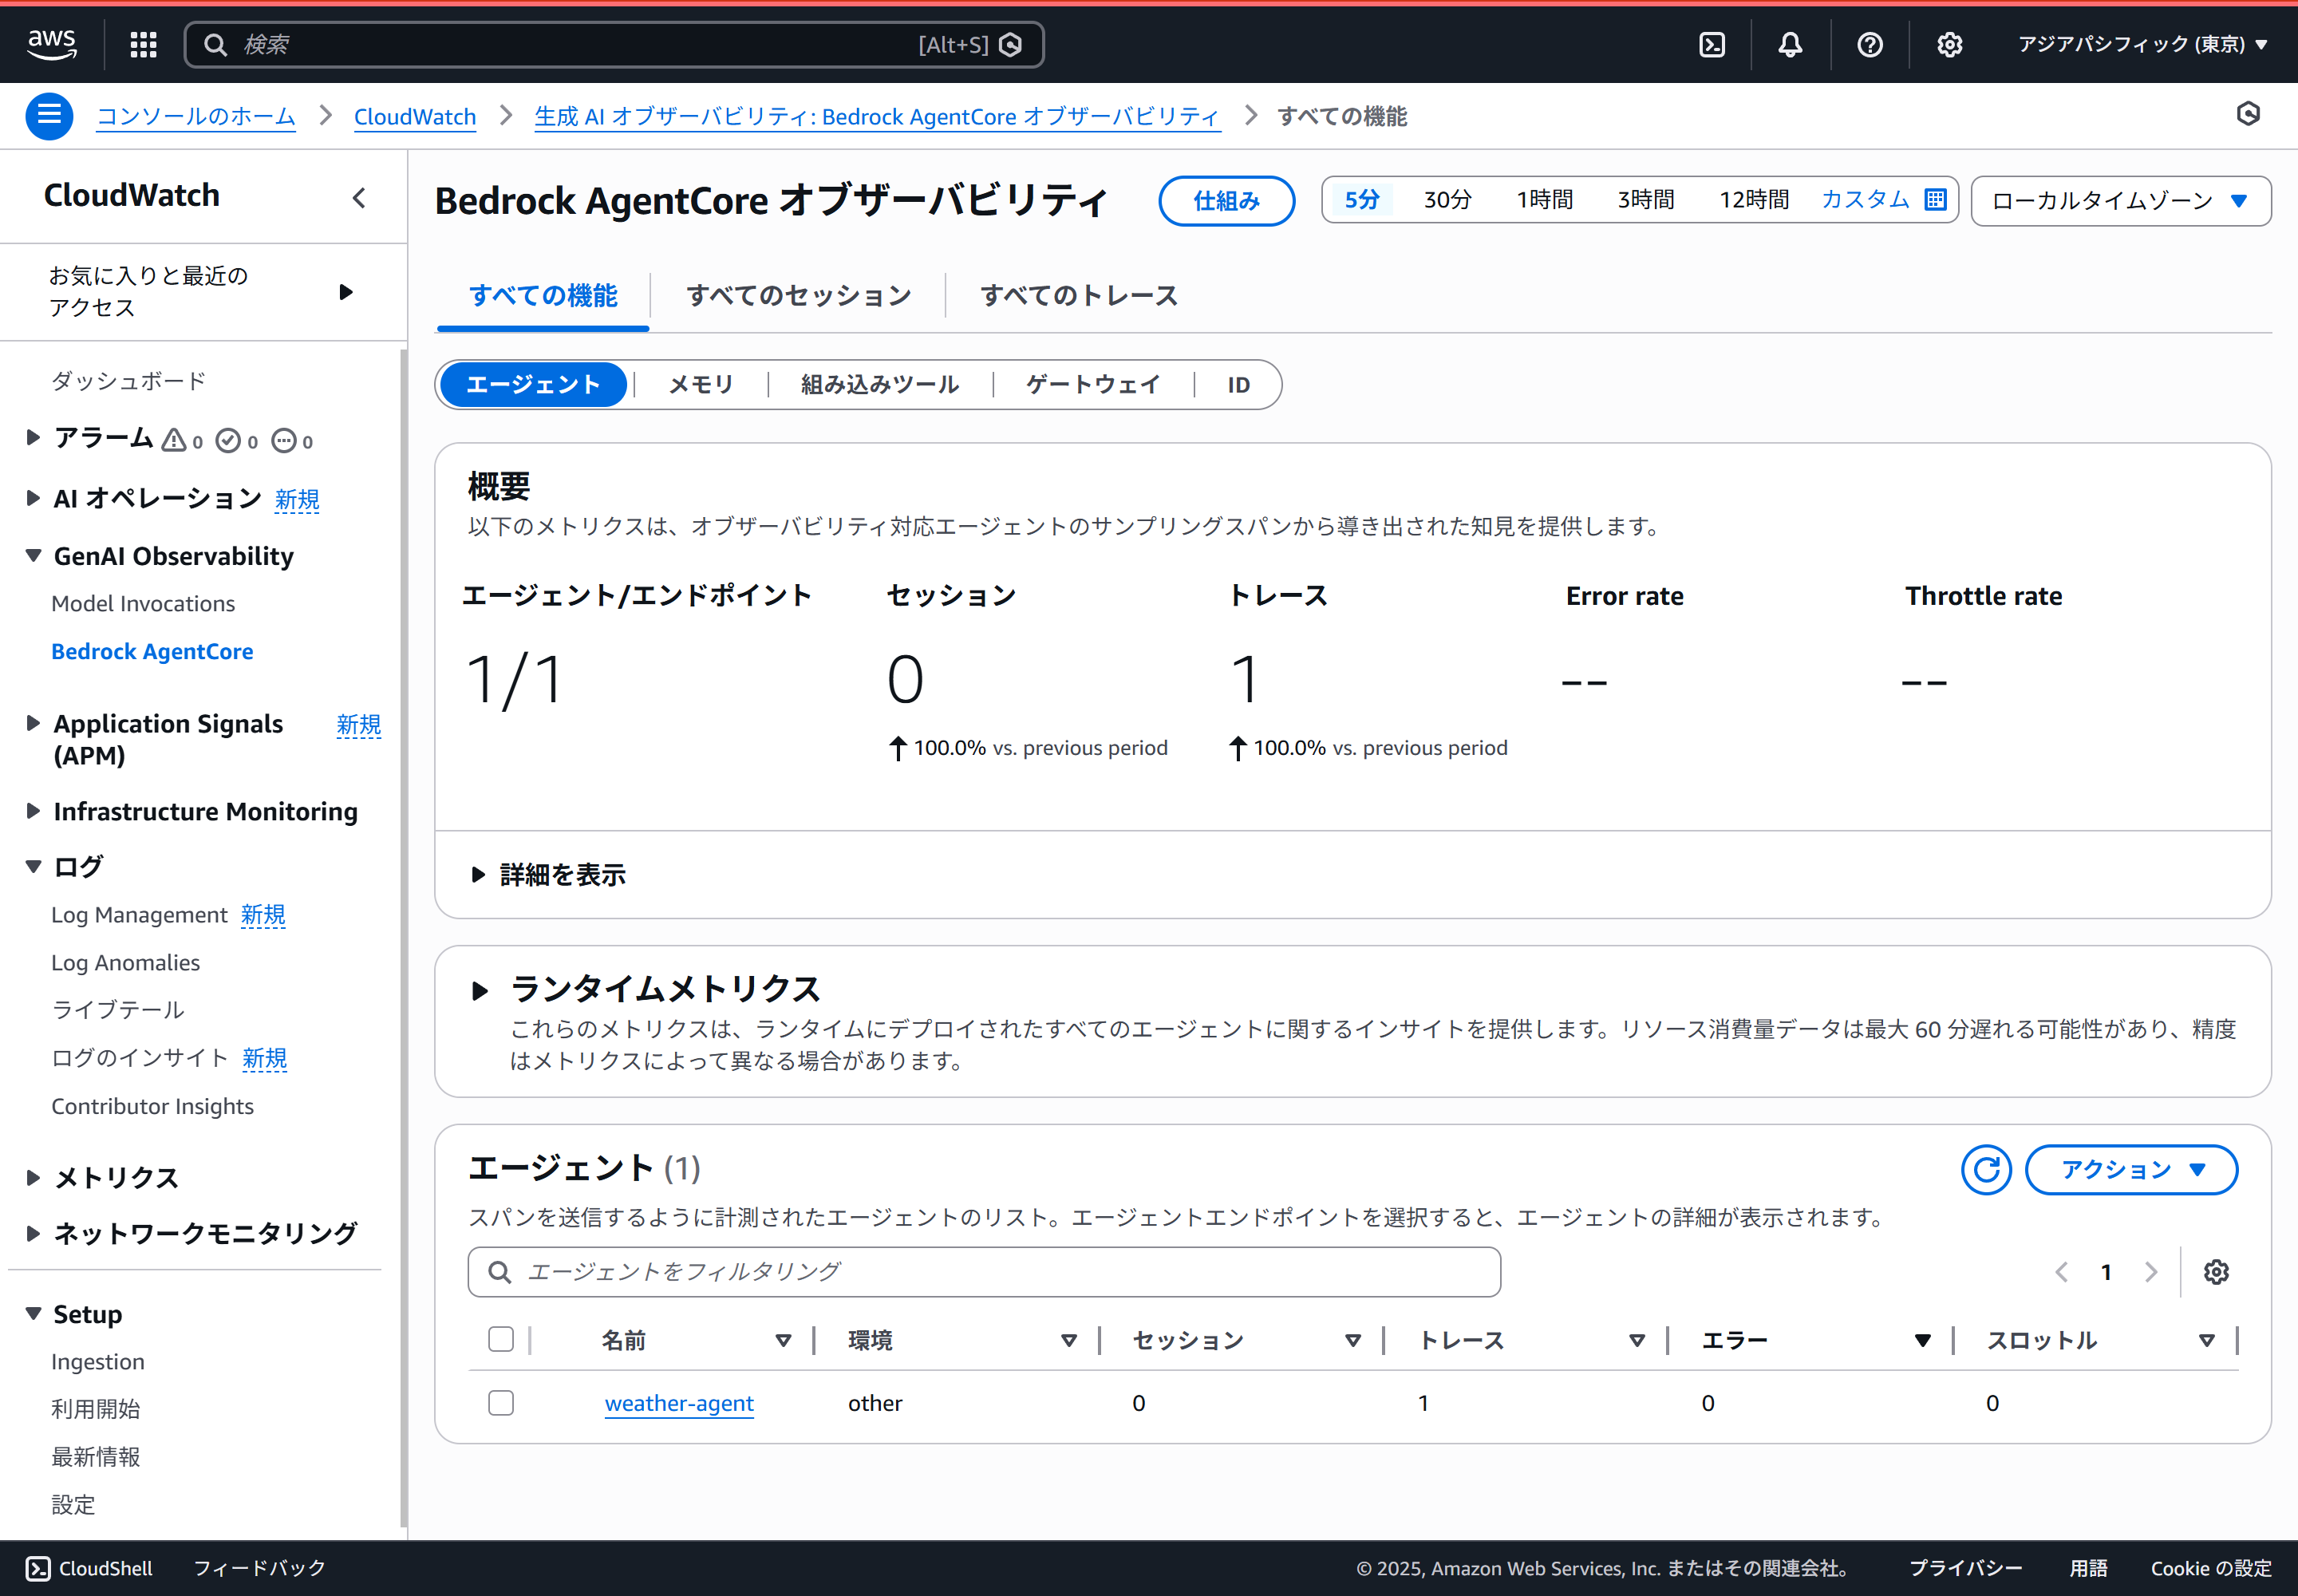
めでたく、こんな感じでトレースが確認できます。
AgentCore Runtimeへのデプロイ
エージェントができたのでAgentCore Runtimeへデプロイしましょう。
AgentCore Runtimeへのデプロイはコンテナで行いますので、Dockerfileを作成します。
# Build stage
FROM --platform=linux/arm64 node:22-slim AS builder

WORKDIR /app

COPY package*.json tsconfig.json ./
RUN npm ci

COPY src ./src
RUN npx tsc

# Production stage
FROM --platform=linux/arm64 node:22-slim

WORKDIR /app

COPY package*.json ./
RUN npm ci

COPY --from=builder /app/dist ./dist

EXPOSE 8080
ENV NODE_ENV=production

CMD ["npm", "start"]
コンテナイメージをビルドしてECRにプッシュします。
export ACCOUNT_ID=$(aws sts get-caller-identity --query Account --output text)
export AWS_REGION=$(aws configure get region)
export AGENT_NAME=mastra-hono

docker buildx create --use

aws ecr create-repository --repository-name ${AGENT_NAME} --region ${AWS_REGION}
aws ecr get-login-password --region ${AWS_REGION} | docker login --username AWS --password-stdin ${ACCOUNT_ID}.dkr.ecr.${AWS_REGION}.amazonaws.com

docker buildx build --platform linux/arm64 -t ${ACCOUNT_ID}.dkr.ecr.${AWS_REGION}.amazonaws.com/${AGENT_NAME}:latest --push .
AgentCore Runtimeの画面でエージェントを作成します。(すいません、画面キャプチャを取り忘れました。。いい感じにレッツトライ)
Observabilityの動作確認(AgentCore Runtime)
エージェントが作成できたらサンドボックスから実行してみます。
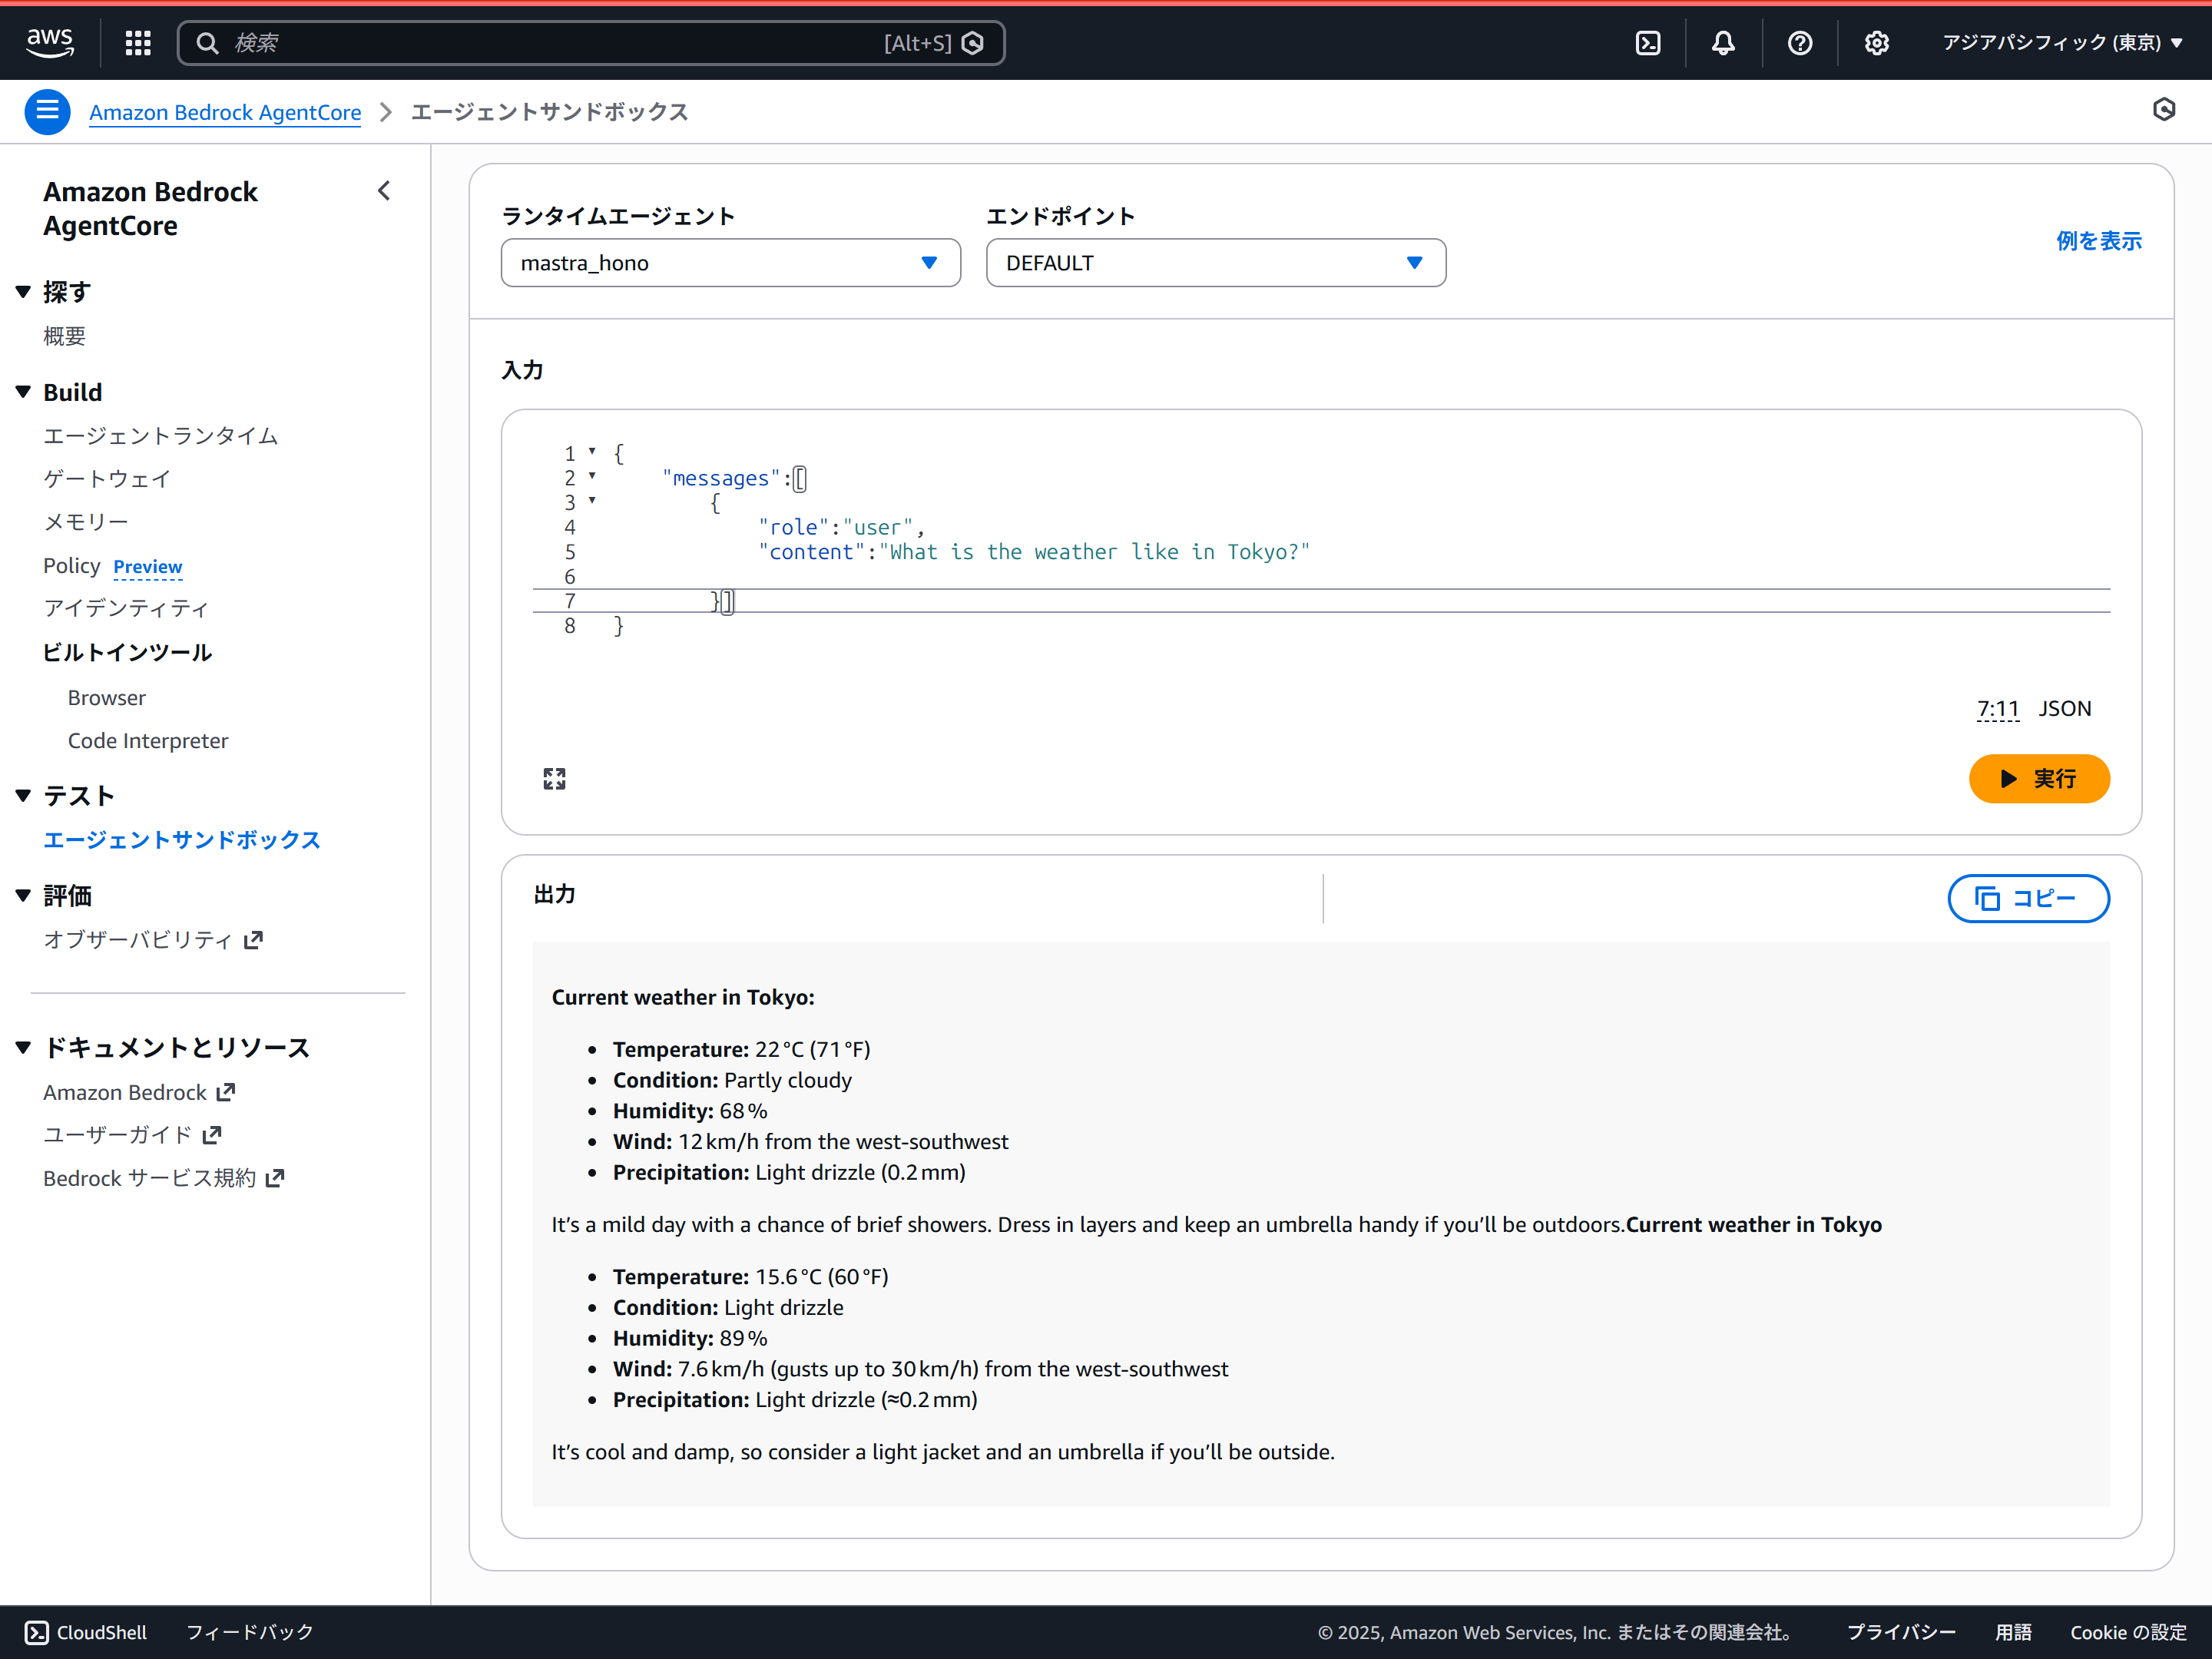
ローカル実行と同様、トレースが確認できます。
AgentCore Runtimeでの動作時には環境変数のセットは不要なようです。AgentCoreがいい感じにやってくれてるのでしょうか?
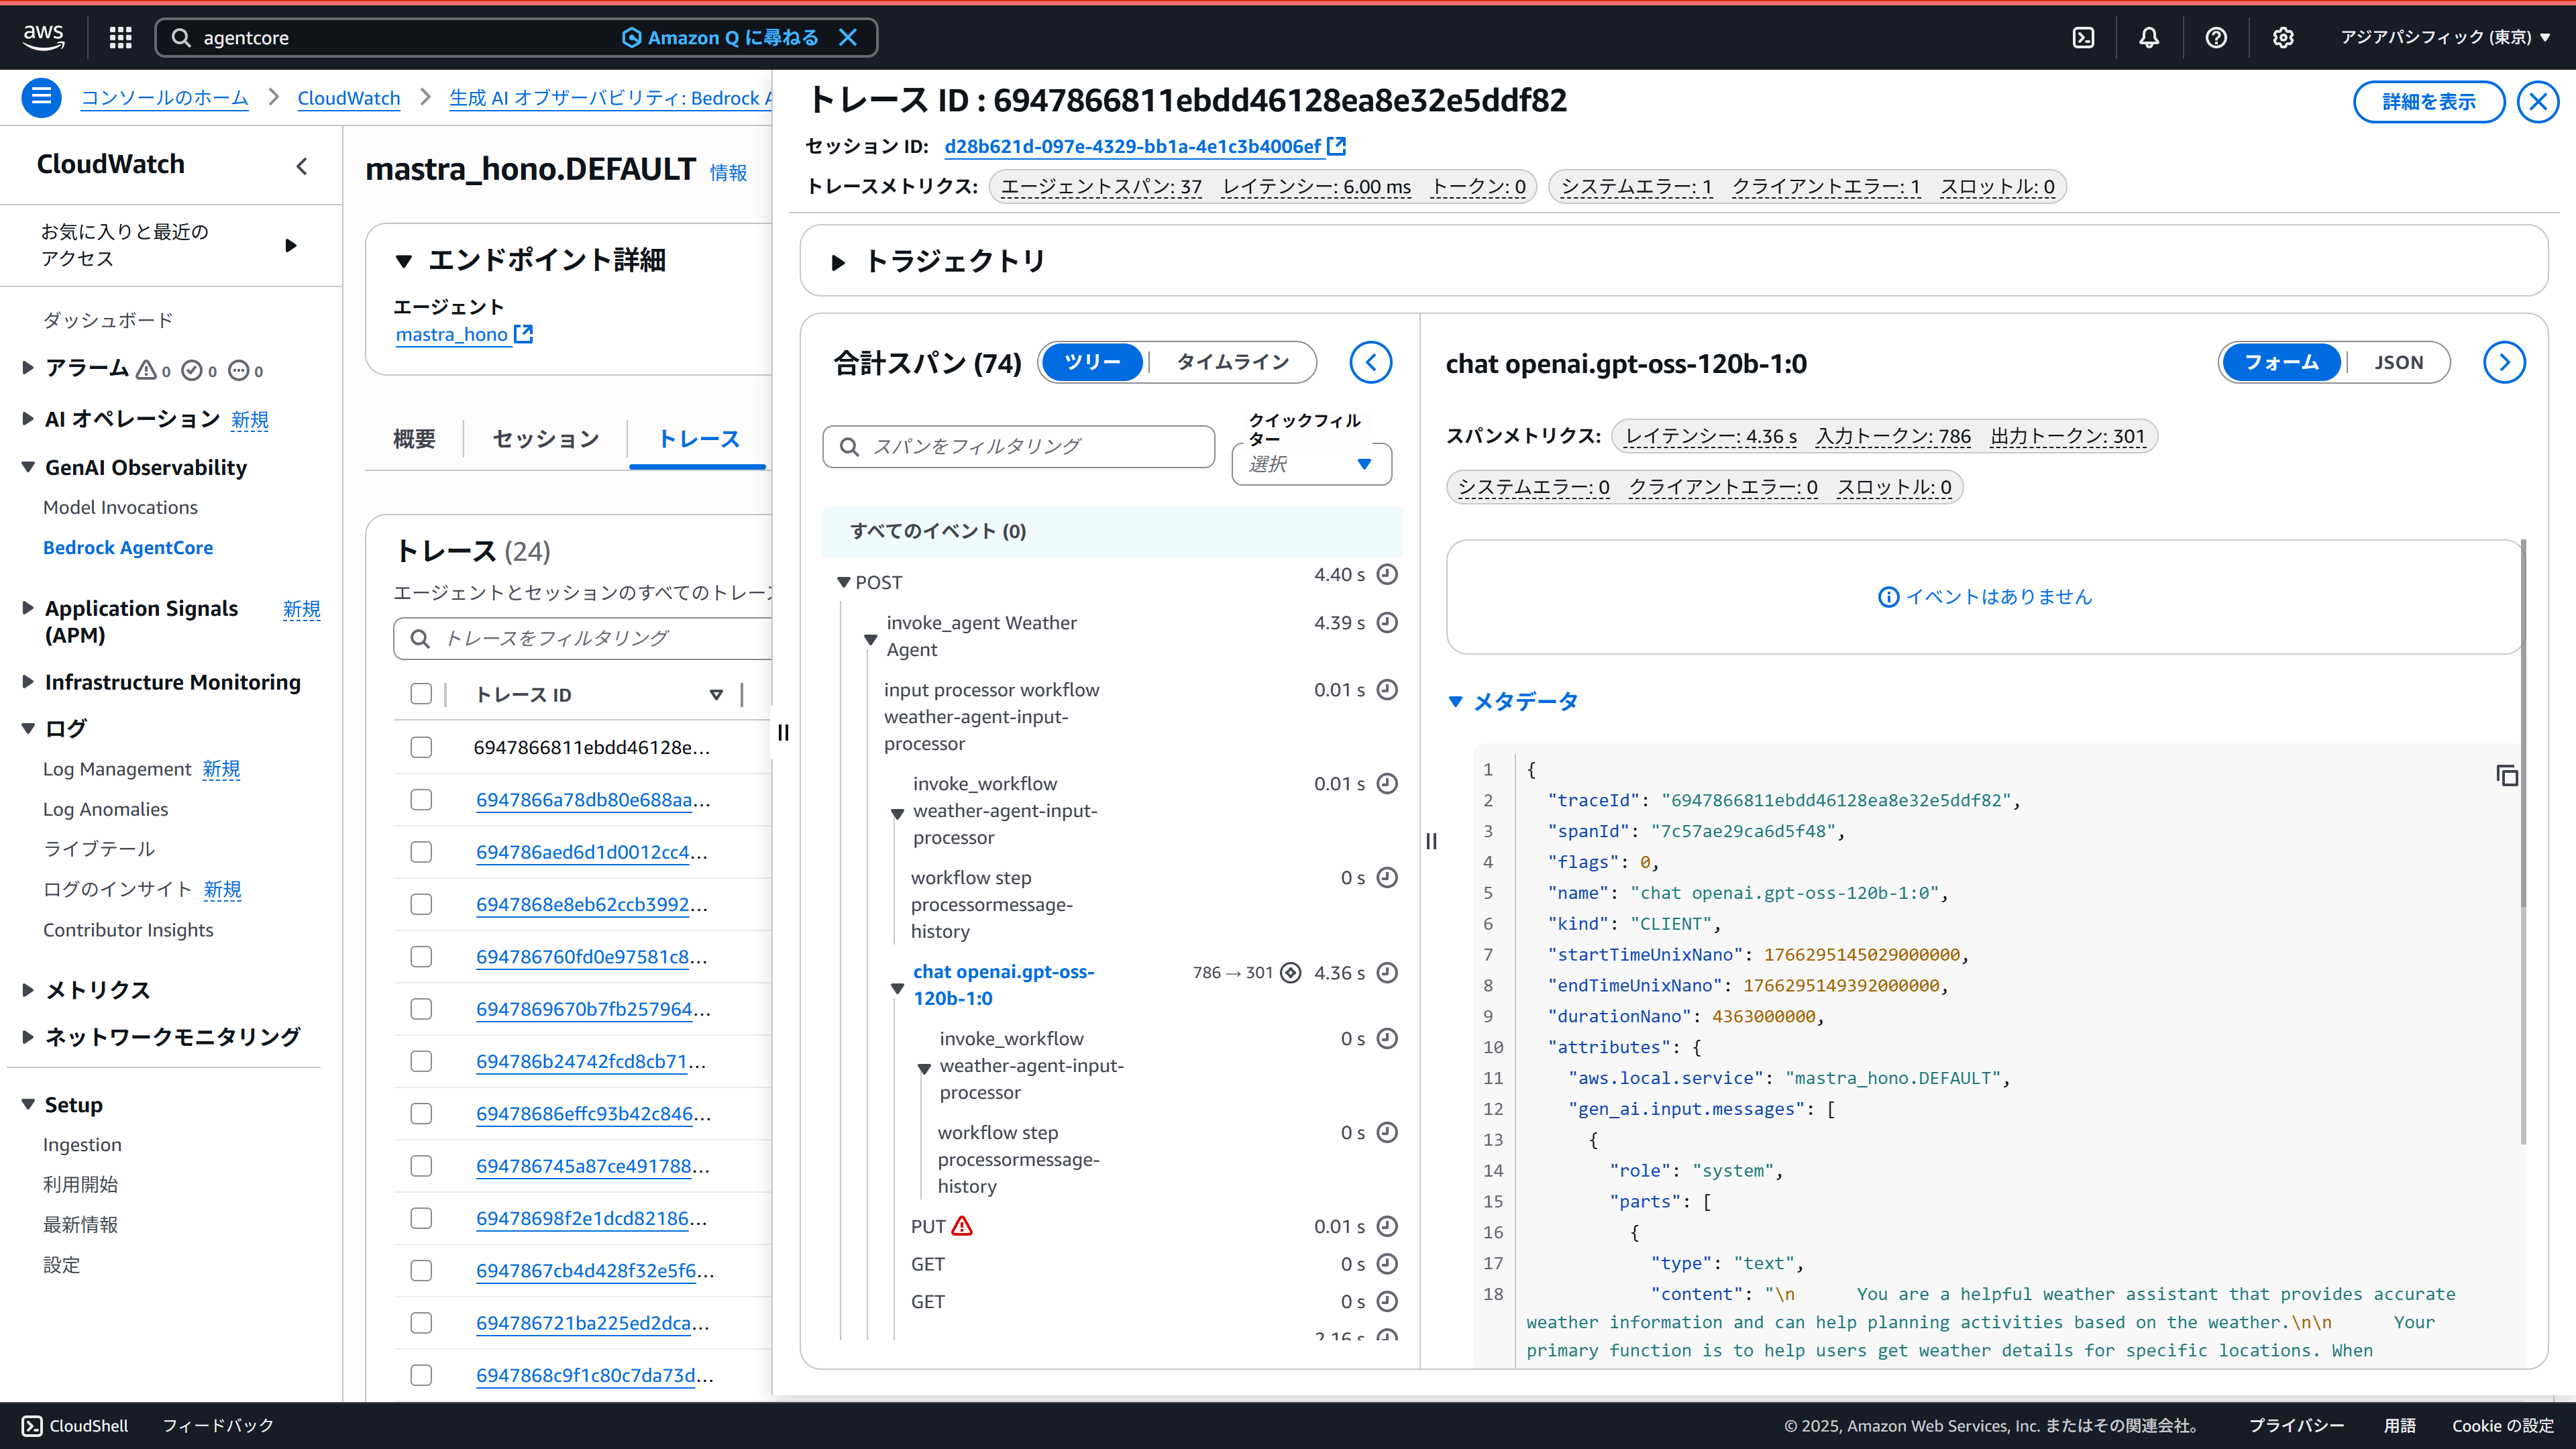
AgentCore Runtimeの環境では定期的に/pingが呼ばれるのですが、これもトレースとして取得されます。どうにか抑制したいのですが、どうしたらいいかわかりません…
あと、トレースはAgentCore Observabilityに届いてるのですが、見た目が、ちょっと変な気がします。(イベントがなく、メタデータのJSONを直接見ないといけない感じになってる)これもどうしたらいいかわかりません…