Python Tweepyを使ってツイートを自動化
はじめに
Tweepyインストール、OAuth認証の詳細は以下の投稿を参考にしてください
Python Tweepyを使ってキーワードを含むツイートを取得
概要
自動ツイートには Cloud Functions と Cloud Scheduler を使う
1分毎にCloud Functionsを実行し対象があれば自動ツイートを行う
ツイートしたい時間、投稿はCSVで管理する
tweepy インストール
Twitter API の操作はtweepyが便利、是非使おう。
$ pip install tweepy
OAuth 認証
Twitter API を操作するには OAuth認証が必要
Developerサイトで取得したAPI KEYを使い認証を行う。
import tweepy


# 取得したAPI KEY、TOKENを入力
API_KEY = ""
API_SECRET_KEY = ""
ACCESS_TOKEN = ""
ACCESS_TOKEN_SECRET = ""


def twitter_api() -> tweepy.API:
    auth = tweepy.OAuthHandler(API_KEY, API_SECRET_KEY)
    auth.set_access_token(ACCESS_TOKEN, ACCESS_TOKEN_SECRET)
    return tweepy.API(auth)
ツイート
def tweet(event, context):

    api = twitter_api()

    try:
        api.update_status(
            status="今日も1日頑張るぞい #週末ハッカソン https://weekend-hackathon.connpass.com/event/203873/",
        )
        time.sleep(4)
    except tweepy.TweepError as e:
        print(f"tweet_failure: {e.reason}")
実行結果

メディア付きツイート
def tweet(event, context):

    api = twitter_api()

    try:
        api.update_with_media(
            status="今日も1日頑張るぞい #週末ハッカソン https://weekend-hackathon.connpass.com/event/203873/",
            filename="./toyscreation.png",
        )
        time.sleep(4)
    except tweepy.TweepError as e:
        print(f"tweet_failure: {e.reason}")
実行結果

複数画像付きツイート
def tweet(event, context):

    api = twitter_api()

    try:
        file_names = ["./marron1.jpg", "./marron2.jpg"]
        media_ids = []
        for filename in file_names:
            res = api.media_upload(filename)
            media_ids.append(res.media_id)

        api.update_status(
            status="今日も1日頑張るぞい #週末ハッカソン \nhttps://weekend-hackathon.connpass.com/event/203873/",
            media_ids=media_ids
        )
        time.sleep(4)
    except tweepy.TweepError as e:
        print(f"tweet_failure: {e.reason}")
実行結果

CSV管理
ツイートしたい時間、投稿はCSVで管理する
run_time ... 投稿時間
start_at ... 開始期間
end_at ... 終了期間
weekday ... 投稿週(0:日曜〜6:土曜)
message ... 投稿内容
filename ... 投稿画像(カンマ区切りで複数)
下記の例では2021-01-01から2022-01-01の間、毎週、21:30にツイートを行う
run_time,start_at,end_at,weekday,message,filename
21:30,2021-01-01,2022-01-01,"'0123456","今日も1日頑張るぞい #週末ハッカソン \nhttps://weekend-hackathon.connpass.com/event/203873/",
21:30,2021-01-01,2022-01-01,"'0123456","マロン画像","./marron1.jpg,./marron2.jpg"
PandasでCSVデータ取得し条件で絞り込み
ループしてツイートを実行する
def tweet(event, context):

    # CSV取得
    tweet_df = pd.read_csv(
        os.getcwd() + "/tweet.csv",
        thousands=",",
        engine="python",
        encoding="UTF-8",
        index_col=False,
    )

    now = datetime.now()
    weekday = now.weekday()
    run_time = now.strftime("%H:%M")

    tweet_df["start_at"] = pd.to_datetime(tweet_df["start_at"])
    tweet_df["end_at"] = pd.to_datetime(tweet_df["end_at"])
    tweet_df = tweet_df[
        (now >= tweet_df["start_at"])
        & (tweet_df["end_at"] >= now)
        & (tweet_df["weekday"].str.contains(str(weekday)))
        & (tweet_df["run_time"] == run_time)
    ]

    api = twitter_api()

    try:

        for _, row in tweet_df.iterrows():

            if pd.isnull(row["filename"]):
                api.update_status(
                    status=row["message"].replace("\\n", "\n"),
                )
                print(f"tweet_success: {row['message']}")
            else:
                file_names = row["filename"].split(",")
                media_ids = []
                for filename in file_names:
                    res = api.media_upload(filename)
                    media_ids.append(res.media_id)

                api.update_status(
                    status=row["message"].replace("\\n", "\n"), media_ids=media_ids
                )
                print(f"tweet_success: {row['message']}")

            time.sleep(4)
    except tweepy.TweepError as e:
        print(f"tweet_failure: {e.reason}")
Cloud Functions 登録
作成したスクリプトをCloud Functionsに登録
詳細はこちらを参考 → Cloud Functions Pythonを使ったローカル開発環境とデプロイ方法
$ gcloud functions deploy tweet --timeout=300 --entry-point=tweet --source=./functions/tweet \
--runtime python37 --trigger-topic tweet_action --allow-unauthenticated --set-env-vars TZ=Asia/Tokyo
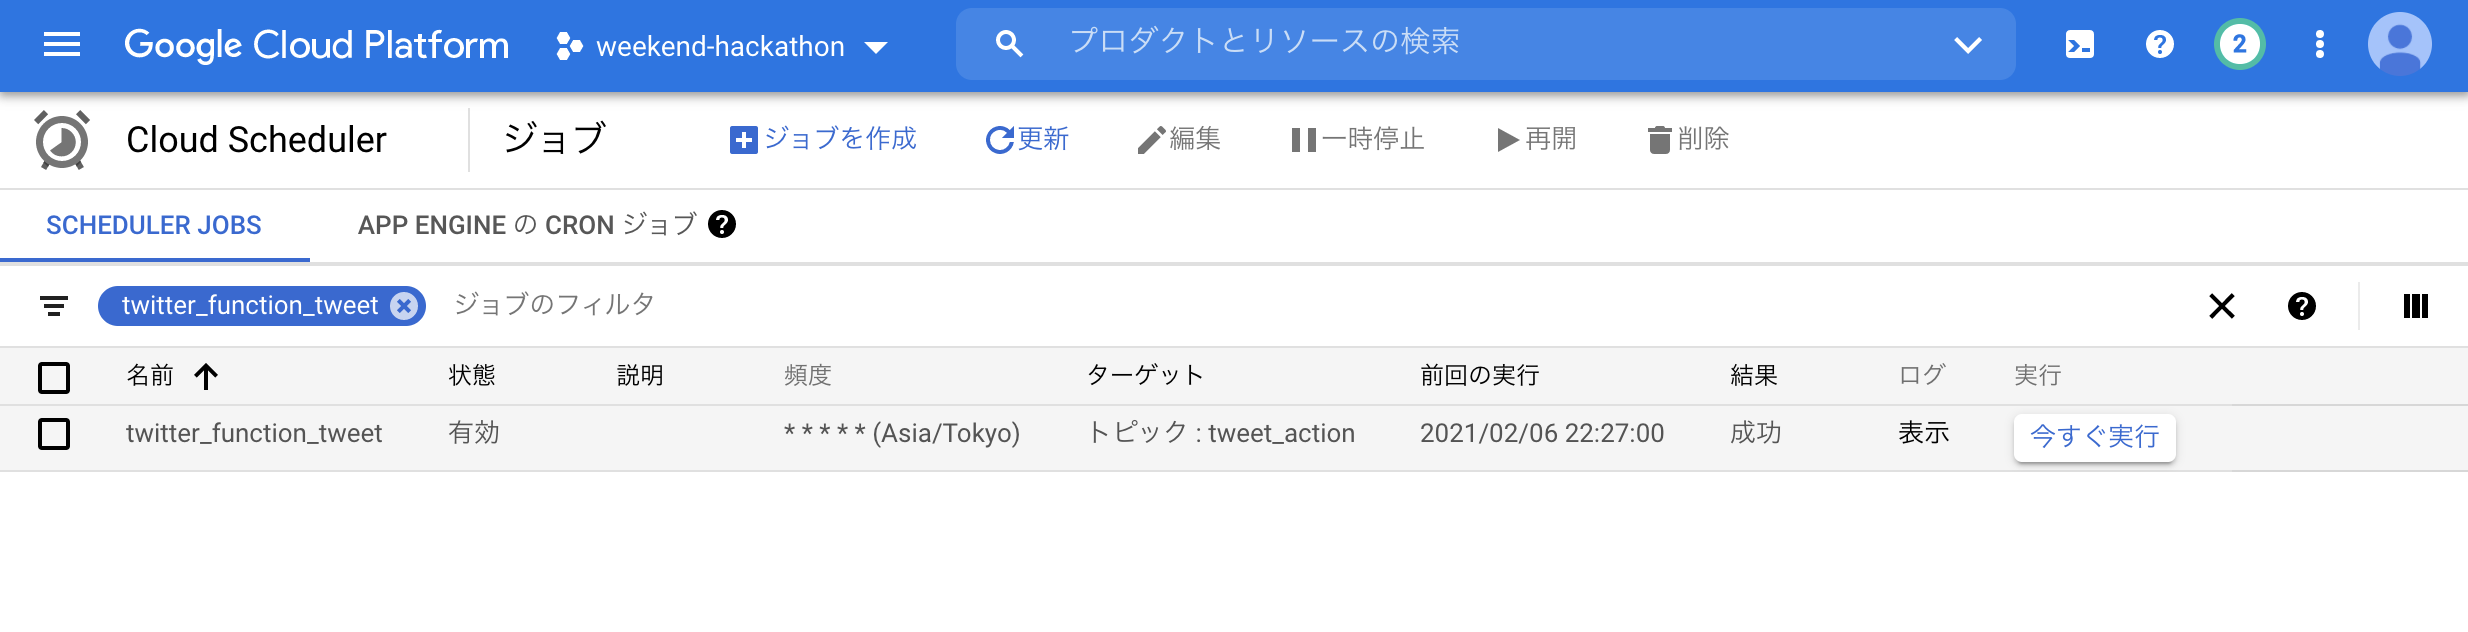
Cloud Scheduler 登録
コンソールから登録したFunctionsを1分置きに実行
詳細はこちらを参考 → Google cloud scheduler で Functionsを定期実行する
CSV管理した投稿時間でツイートされれば完了
実行結果

シンプルですが定期的に投稿したいメッセージがある場合に有効活用できるのではないでしょうか![]()
いいね!と思ったら LGTM お願いします ![]()
![]()
![]()
【PR】週末ハッカソンというイベントやってます! → https://weekend-hackathon.toyscreation.jp/about/