2017/6/15 update
サンプルプログラムで使用しているエンドポイント
api.projectoxford.ai
は2017/6/12より順次廃止となります。
実装の際には
https://westus.api.cognitive.microsoft.com/emotion/v1.0/recognize
といった新たなエンドポイントの使用を行ってください。
エンドポイントはAzureポータルから確認できます。
HoloLensの登場により、外部環境のすべてがシステムのアウトプット領域になりました。
これは同時に外部環境のすべてがインプット領域になったということでもあります。
外部環境を認識・解析し、アプリケーション側のINPUTとすれば、よりユーザーに寄り添ったアプリケーションの作成が可能となるでしょう。
この外部環境解析を行うために、Microsoft AzureのCognitive ServicesをHoloLensで使ってみたいと思います。
今回はEmotion APIを使用してみます。
Unity側のみで実装されていますので、UWP力の無い方でも実装可能です。
環境
OS:Windows 10 CreatersUpdate
Unity:5.6.0f3
HoloToolkit:1.5.5.0
完成イメージ
https://t.co/eeZIjoWxT1
— morio@6/25~米国 (@morio36) 2017年6月14日
のunity-emotion-demoをHoloLens用に手直しして実行した様子。 pic.twitter.com/lbLB2oa4Jz
0.事前準備
本サンプルを試すためには、Azureのアカウントが必要です。
また、Emotion APIのサブスクリプションも必要となります。
2017年6月時点では無償プランがありますので、
下記の方の記事を参考にアカウント作成、サブスクリプション作成を行ってください。
人工知能パーツ Microsoft Cognitive Services を使った表情分析アプリを作ろう![サブスクリプション準備編] 2017年6月版
1.サンプルを取得~解凍~配置
下記のgithubからサンプルをダウンロードしてください。
https://github.com/misslivirose/unity-cognitive-services-demos
そして\unity-cognitive-services-demos-master
の中の
unity-emotion-demo
を切り取ってローカルドライブの上層のほうに移動してください。
そうしないとパスが長すぎてVisualStudioでのビルド時に高確率でエラーが出ます。
サンプルのスクリプトはおおよそ下記のような責務で実装されています。
- FaceObject.cs Emotion APIが返してくるFace情報を取り扱うための構造体です。顔の位置や表情の分析値を保持します。
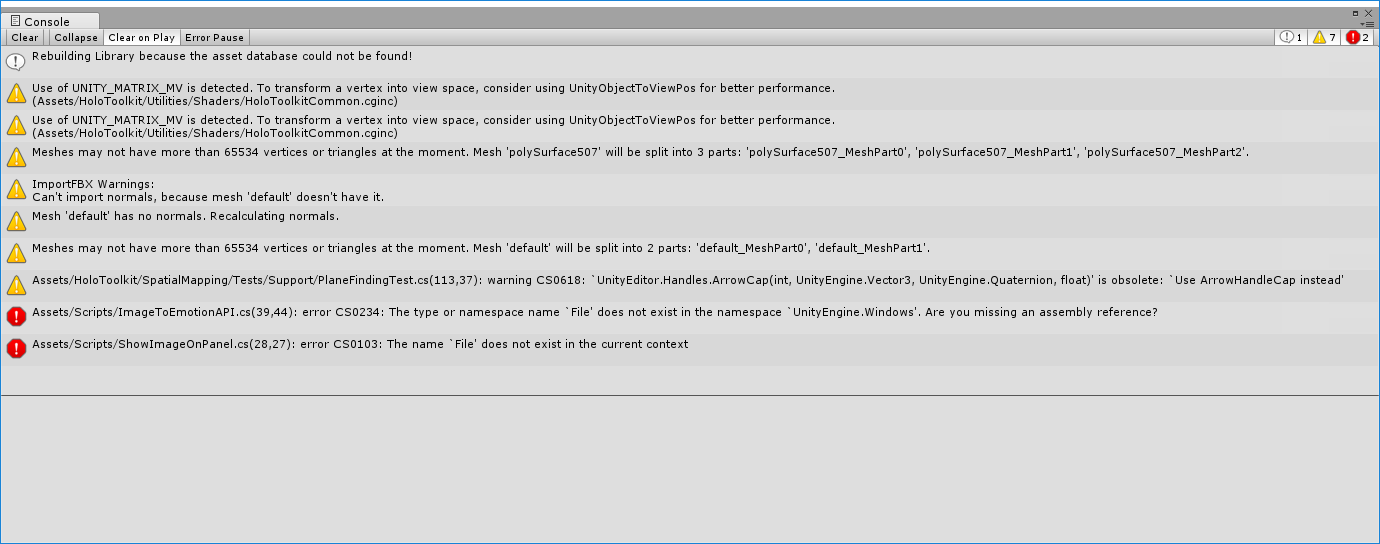
- ImageToEmotionAPI.cs AzureのAPIをコールするメインロジックです。今回はここにHoloLens用のロジックを追記していきます。
- ParseEmotionResponse.cs FaceObjectのリストを保持する構造体です。
- ShowImageOnPanel.cs Unity上のパネルに対してStreamingAssetsから画像を貼り付けるスクリプトです。
2.実装
※当記事の最後にgithubのサンプルコードもつけていますので、そちらもご覧ください。
プロジェクトを開くとコンパイルエラーが出てますが、Build SettingsからWindows StoreにSwitch Pratformすると直ります。
- APIキーの設定 まず、Emotion APIのキーをEMOTIONKEYに設定する必要があります。 0.事前準備で作成したEmotion APIのアクセスキーをImageToEmotionAPI.csの10行目にコピペしてください。
- Input/Output実装 で、どういう意図なのかはわからないのですが、 このgithub上のサンプルは「for HoloLens」と謳われているのに、なぜかHoloLens用のInput/Outputなど一切実装されていません。 なのでエアタップの設定周りから整備していく必要があります。 **※キーボードでPキー押下するとサンプル画像を読み込み、Spaceキー押下でAPIコールしますのでCognitive Servicesとの接続確認はこの時点で可能です。ただし、コンソールにしか結果は出力されません。**
- HoloToolkit入れ替え さらに、このサンプルのHoloToolkitはバージョンが古く、我々がよく知っているHoloToolkitではありません。。 なので、思い切って一度Asset/HoloToolkitを削除してしまいましょう。  そして代わりにHoloToolkit-Unity-v1.5.5.0.unitypackageをインポートしてください。  <HoloToolkit-Unity-v1.5.5.0.unitypackageのありか> https://github.com/Microsoft/HoloToolkit-Unity/blob/v1.5.5.0/External/Unitypackages/HoloToolkit-Unity-v1.5.5.0.unitypackage ※2017年6月時点で1.5.7.0までバージョンが進んでいますが、個人的に動作確認が取れていないため1.5.5.0を使用します。
- Input追加
InputManagerプレファブとBasicCursolプレファブをヒエラルキーに追加します。


- Output再配置 EmotionManagersのフィールド「Image Frame Object」の参照がはがれているので、再度ヒエラルキーからアタッチします。 
- エアタップ実装
エアタップを検知し、画像を読み込んでAPIをコールする部分を実装します。
ImageToEmotionAPI.csの継承元にIInputClickHandlerを追加し、using句を追加、さらにOnInputClickedを実装してください。panelやtextも操作できるようフィールドに追加します。
ImageToEmotionAPI.cs
using UnityEngine; using System.Collections; using System.IO; using UnityEngine.Networking; using System; using System.Collections.Generic; using HoloToolkit.Unity.InputModule; using UnityEngine.UI; public class ImageToEmotionAPI : MonoBehaviour, IInputClickHandler { string EMOTIONKEY = "EMOTIONKEY"; // replace with your Emotion API Key string emotionURL = "https://api.projectoxford.ai/emotion/v1.0/recognize"; public string fileName { get; private set; } string responseData; private ShowImageOnPanel panel; //サンプルに対して追加 public Text text; //サンプルに対して追加 // Use this for initialization void Start () { fileName = Path.Combine(Application.streamingAssetsPath, "myphoto.jpeg"); // Replace with your file InputManager.Instance.PushFallbackInputHandler(gameObject); //サンプルに対して追加 panel = gameObject.GetComponent<ShowImageOnPanel>(); //サンプルに対して追加 } // Update is called once per frame void Update () { // This will be called with your specific input mechanism if(Input.GetKeyDown(KeyCode.Space)) { StartCoroutine(GetEmotionFromImages()); } } /// <summary> /// Get emotion data from the Cognitive Services Emotion API /// Stores the response into the responseData string /// </summary> /// <returns> IEnumerator - needs to be called in a Coroutine </returns> IEnumerator GetEmotionFromImages() { byte[] bytes = UnityEngine.Windows.File.ReadAllBytes(fileName); var headers = new Dictionary<string, string>() { { "Ocp-Apim-Subscription-Key", EMOTIONKEY }, { "Content-Type", "application/octet-stream" } }; WWW www = new WWW(emotionURL, bytes, headers); yield return www; responseData = www.text; // Save the response as JSON string Debug.Log(responseData); GetComponent<ParseEmotionResponse>().ParseJSONData(responseData); text.text = responseData; //mori } public void OnInputClicked(InputEventData eventData) //サンプルに対して追加 { panel.DisplayImage(); StartCoroutine(GetEmotionFromImages()); } } - 画像表示部分の実装
ShowImageOnPanel.csのDisplayImage()のアクセスレベルをpublicに修正します。
※正直、このへんかなり無理やり感が拭えません。。
ShowImageOnPanel.cs
public void DisplayImage() //サンプルに対して修正 { Texture2D imageTxtr = new Texture2D(2, 2); string fileName = gameObject.GetComponent<ImageToEmotionAPI>().fileName; byte[] fileData = File.ReadAllBytes(fileName); imageTxtr.LoadImage(fileData); ImageFrameObject.GetComponent<Renderer>().material.mainTexture = imageTxtr; } - テキスト出力実装
今のままだとコンソールにしか結果が出力されませんので、HoloLens上でテキスト出力できるよう修正します。ヒエラルキーからCanvas→Image→Textを追加し、下記のようなイメージで配置してください。同時にImageFrameもCanvas配下に配置しなおします。

CanvasにはBillBoradとTagalongをアタッチしておきましょう。
追加したTextオブジェクトはImageToEmotionAPIから操作できるよう、publicフィールドにアタッチしておきます。 - Bulid Settings HoloLens用のビルド設定を行います。Scene、Project、Capabilityを設定してください。 InterNetClientのCapabilityは必須です。 
- コンパイルエラー修正
ビルドしてみると、JSONTemplates.csでコンパイルエラーが出るので明示的にFieldInfo[]にキャストします。
JSONTemplates
public static partial class JSONTemplates {
  static readonly HashSet<object> touched = new HashSet<object>();

  public static JSONObject TOJSON(object obj) {   //For a generic guess
    if(touched.Add(obj)) {
      JSONObject result = JSONObject.obj;
      //Fields
      FieldInfo[] fieldinfo = (FieldInfo[])obj.GetType().GetFields(); //サンプルに対して修正
以上でUnity側の設定は完了です。Visual Studioでビルド&実機へデプロイし、動作を確認してください。
画像を別の物に差し替えたり、戻り値のJSONを変換してオブジェクト配置したり、いろいろな派生形が考えられます!
トライしてみてください!
ソースコード
下記にアップしていますので、必要に応じてご参照ください。
https://github.com/haveagit/HoloLens-Emotion-Demo
次回はComputer Vision APIのサンプルを実装します!