AWSのIoT Coreに接続するためには、証明書が必須と思っていましたが、カスタム認証を使うと、ユーザー名とパスワードで認証ができます。
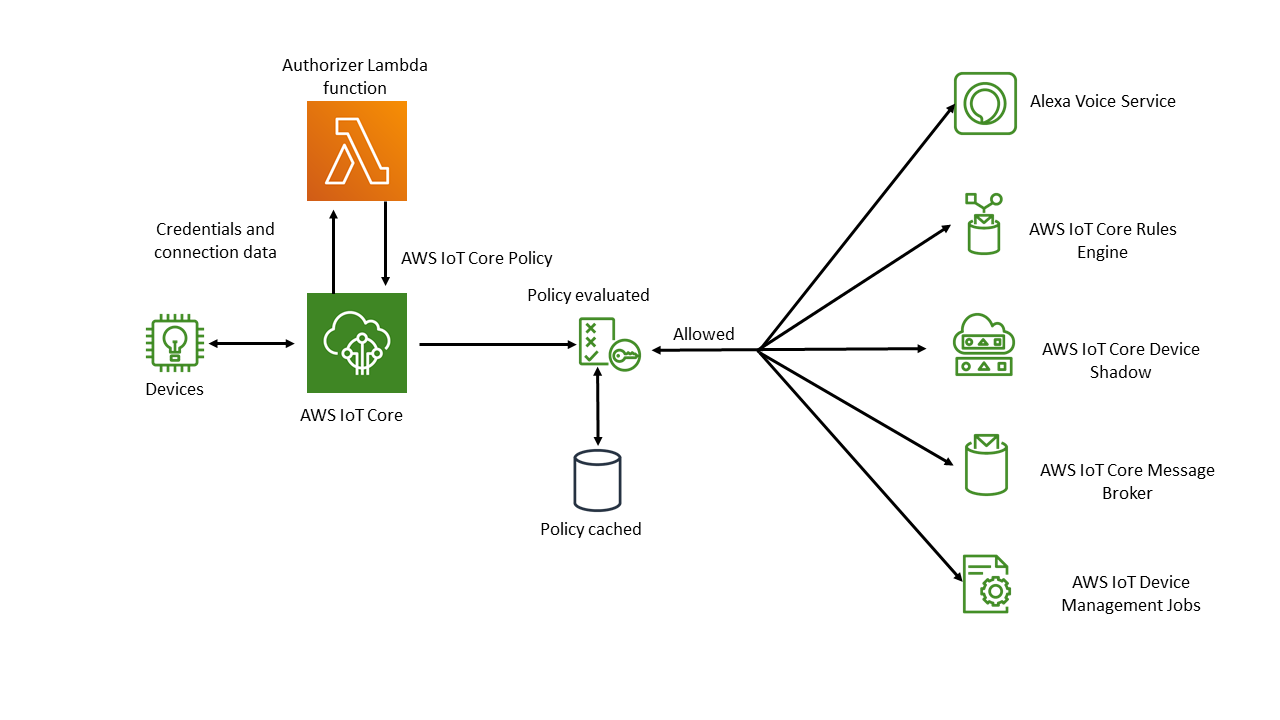
証明書を使った認証は、IoT Coreが自動でやってくれますが、ユーザー名とパスワードによる認証の場合は、認証用のLambdaを作成して認証を行います。
MQTT接続で行う場合には以下の制約があります。
- 接続ポートはMQTTSの8883ではなく443である必要がある
- ALPN拡張に
MQTTの値を指定する必要がある
オーソライザーを呼び出すには、MQTT とカスタム認証を使用して AWS IoT Core に接続するデバイスがポート 443 に接続する必要があります。また、mqtt の値を持つ Application Layer Protocol Negotiation (ALPN) TLS 拡張と、AWS IoT Core データエンドポイントのホスト名を持つ Server Name Indication (SNI) 拡張を渡す必要があります。
手順
カスタム認証用のLambdaの作成
公式ドキュメントのサンプルをそのまま使ってみます。
この例では、パスワードがtestだったら認証OKとなっています。
LambdaにはBase64エンコードされたパスワードが渡されるのでエンコードして使用します。
// A simple Lambda function for an authorizer. It demonstrates
// how to parse an MQTT password and generate a response.

exports.handler = function(event, context, callback) {
    var uname = event.protocolData.mqtt.username;
    var pwd = event.protocolData.mqtt.password;
    var buff = new Buffer(pwd, 'base64');
    var passwd = buff.toString('ascii');
    switch (passwd) {
        case 'test':
            callback(null, generateAuthResponse(passwd, 'Allow'));
        default:
            callback(null, generateAuthResponse(passwd, 'Deny'));
    }
};

// Helper function to generate the authorization response.
var generateAuthResponse = function(token, effect) {
    var authResponse = {};
    authResponse.isAuthenticated = true;
    authResponse.principalId = 'TEST123';

    var policyDocument = {};
    policyDocument.Version = '2012-10-17';
    policyDocument.Statement = [];
    var publishStatement = {};
    var connectStatement = {};
    connectStatement.Action = ["iot:Connect"];
    connectStatement.Effect = effect;
    connectStatement.Resource = ["arn:aws:iot:us-east-1:123456789012:client/myClientName"];
    publishStatement.Action = ["iot:Publish"];
    publishStatement.Effect = effect;
    publishStatement.Resource = ["arn:aws:iot:us-east-1:123456789012:topic/telemetry/myClientName"];
    policyDocument.Statement[0] = connectStatement;
    policyDocument.Statement[1] = publishStatement;
    authResponse.policyDocuments = [policyDocument];
    authResponse.disconnectAfterInSeconds = 3600;
    authResponse.refreshAfterInSeconds = 300;

    return authResponse;
}
認証がOKだった場合に、IoTポリシーを返却します。この例ではこのようなポリシーが返却されます。
クライアントIDがmyClientNameでのiot:Connectと、telemetry/myClientNameトピックへのiot:Publishが許可されます。
{
    "Version": "2012-10-17",
    "Statement": [
        {
            "Action": [
                "iot:Connect"
            ],
            "Effect": "Allow",
            "Resource": [
                "arn:aws:iot:us-east-1:123456789012:client/myClientName"
            ]
        },
        {
            "Action": [
                "iot:Publish"
            ],
            "Effect": "Allow",
            "Resource": [
                "arn:aws:iot:us-east-1:123456789012:topic/telemetry/myClientName"
            ]
        }
    ]
}
カスタムオーソライザーの登録
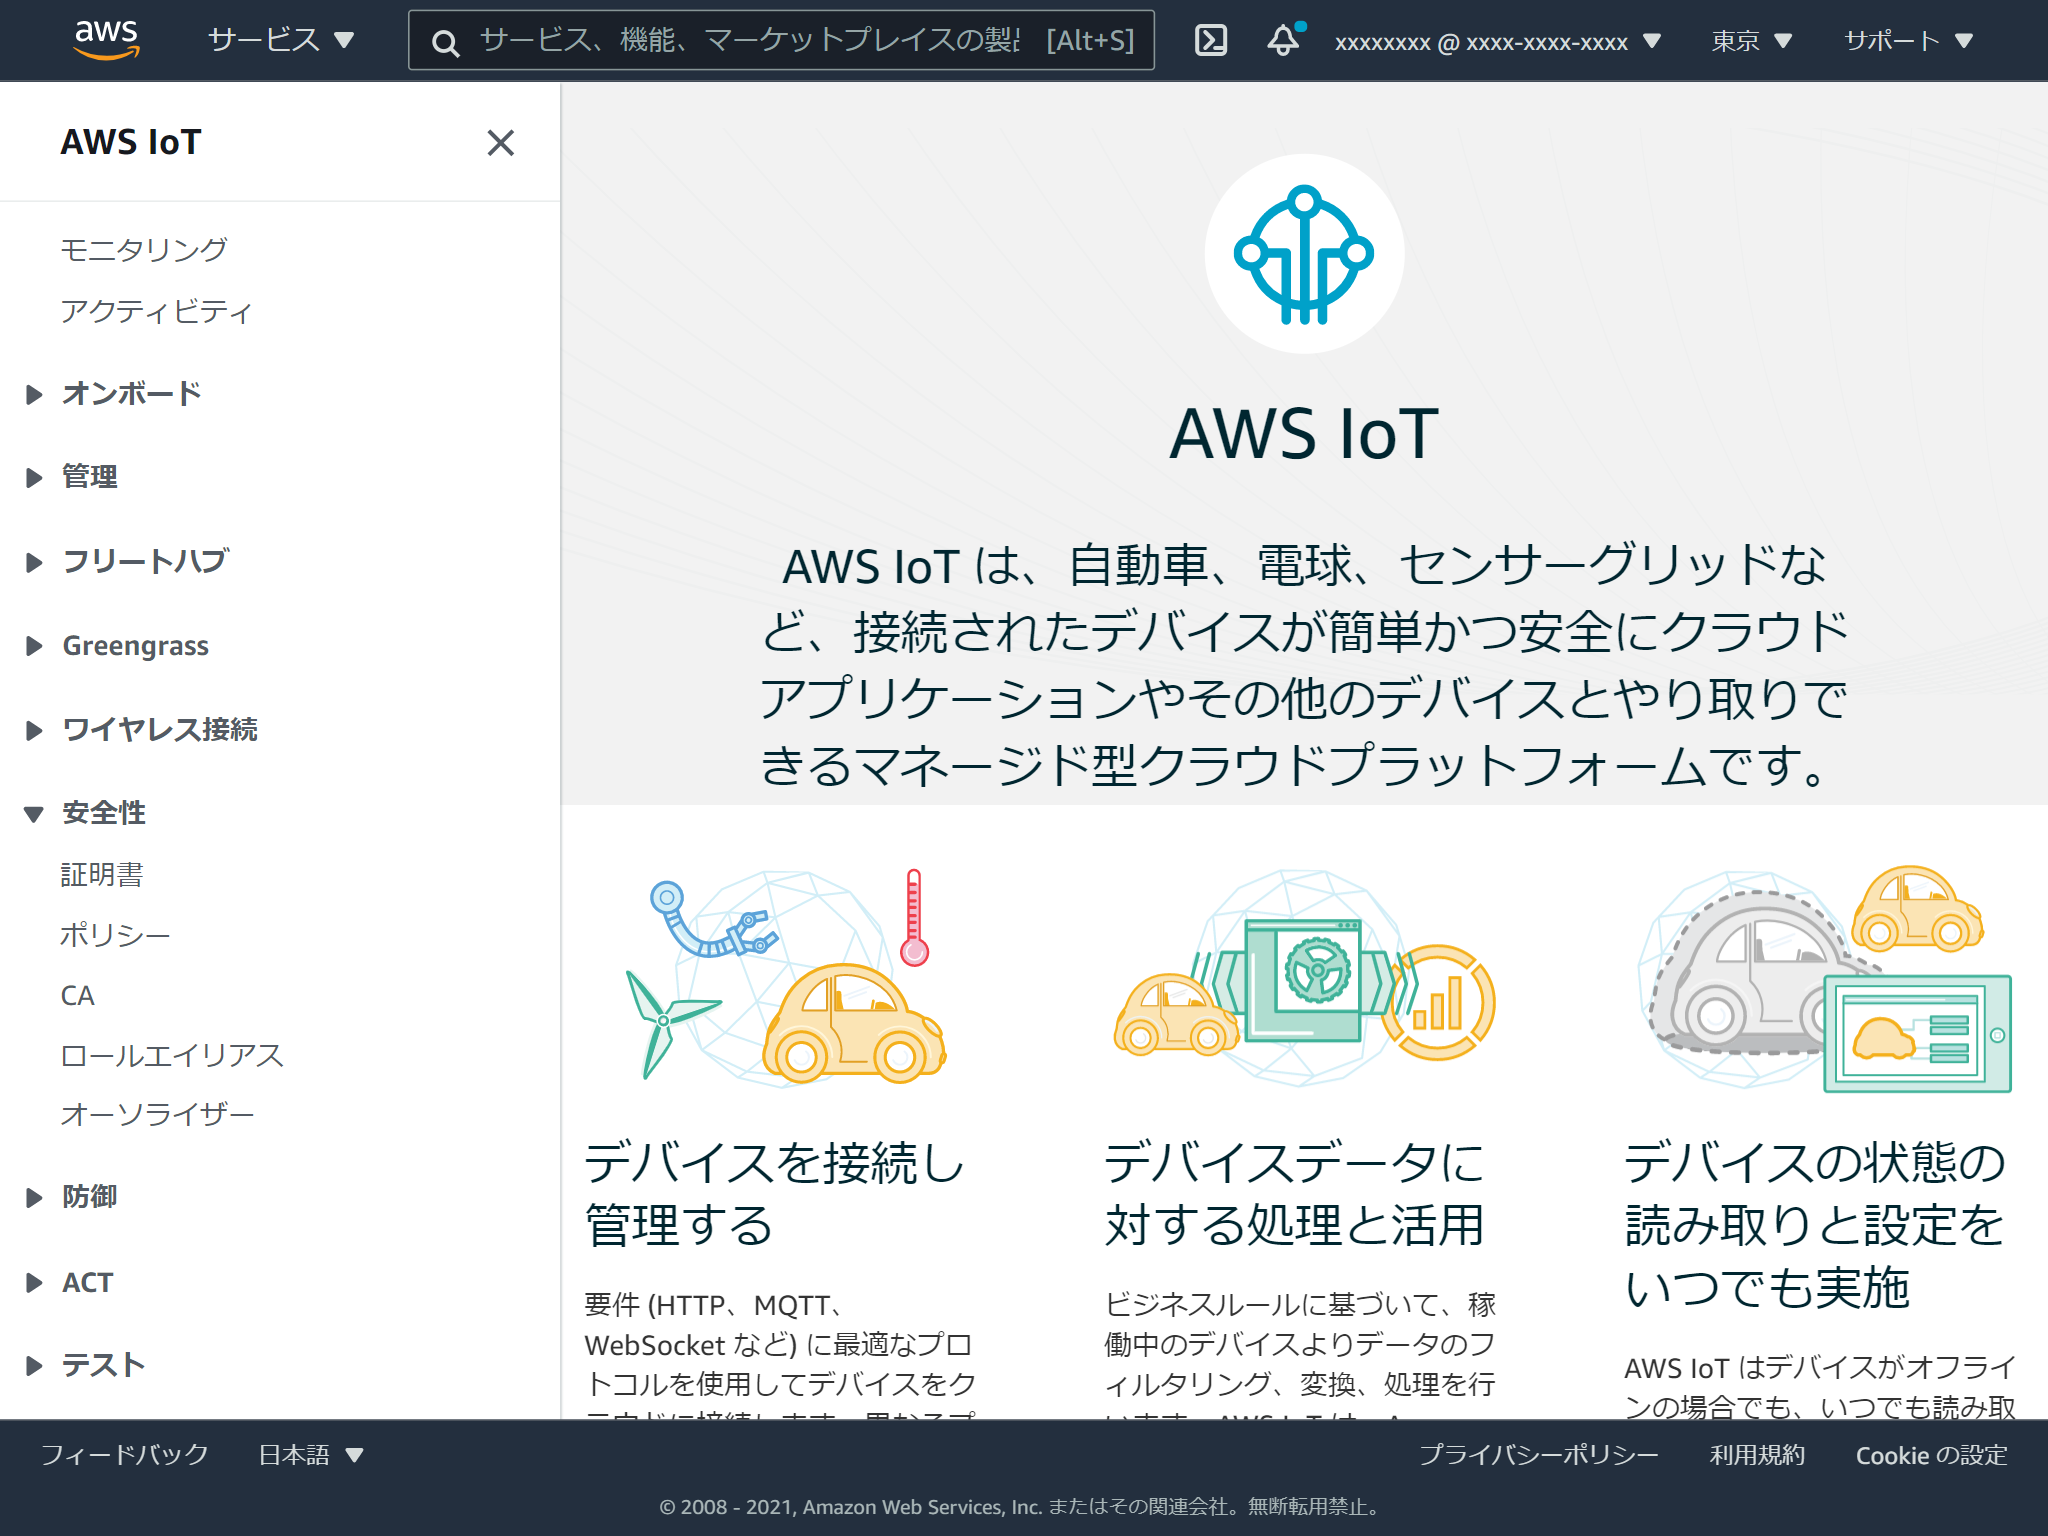
IoT Coreのマネジメントコンソールを開き、左メニューのオーソライザーを選択します。
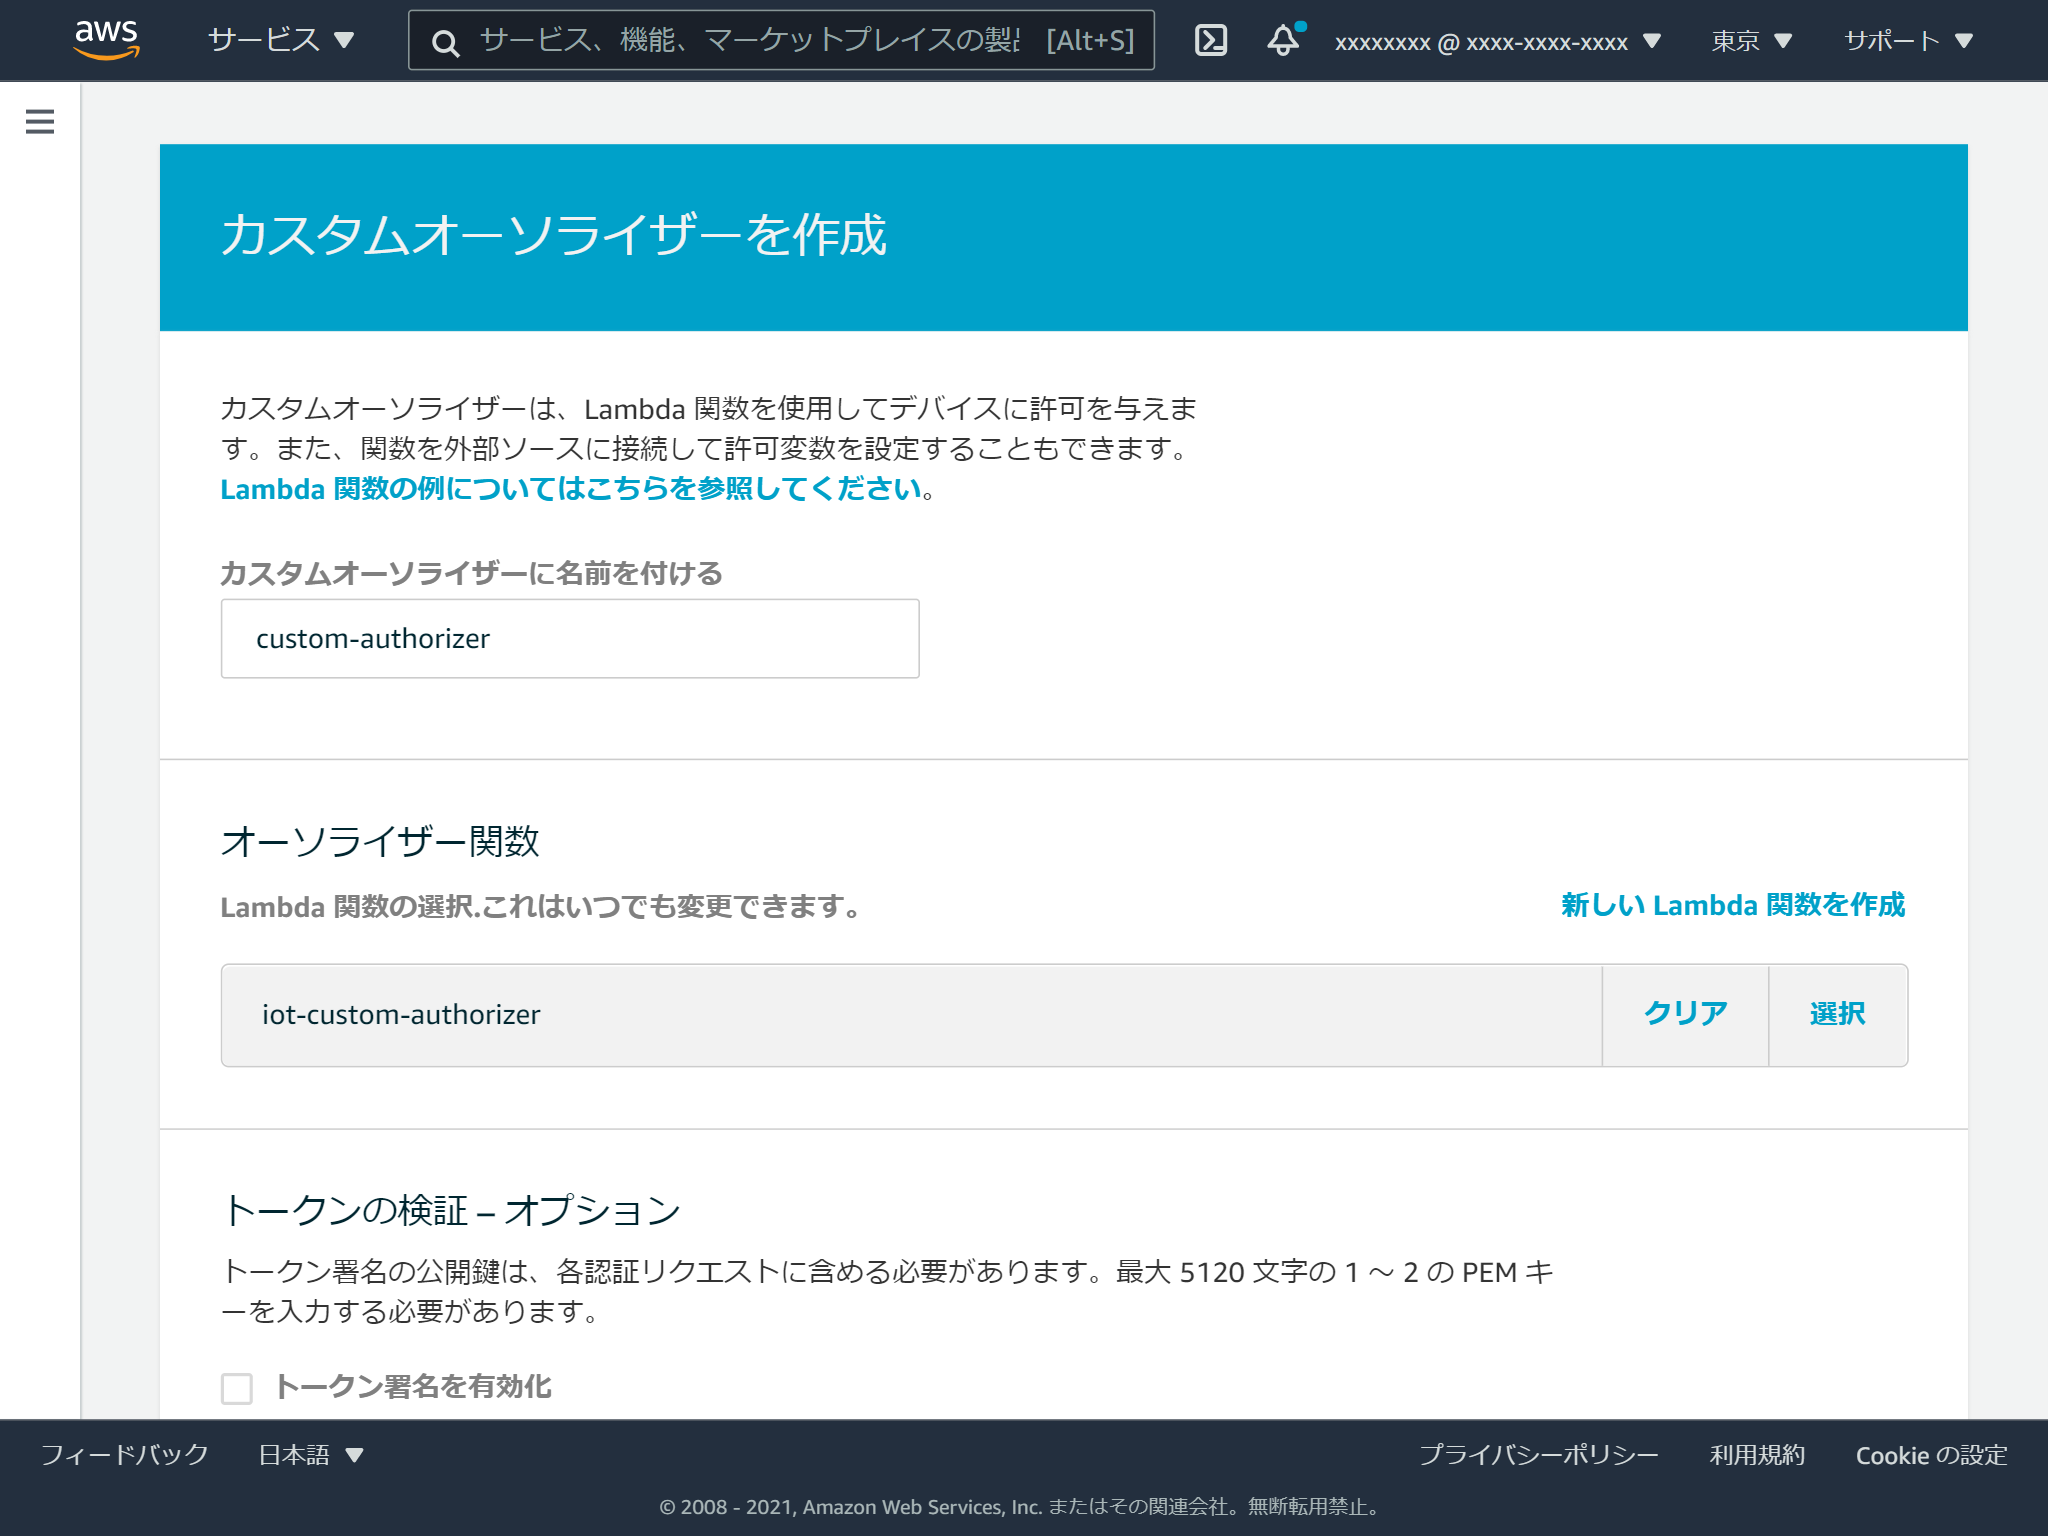
作成ボタンをクリックします。
名前をつけて、先程作成したLambdaを選択します。
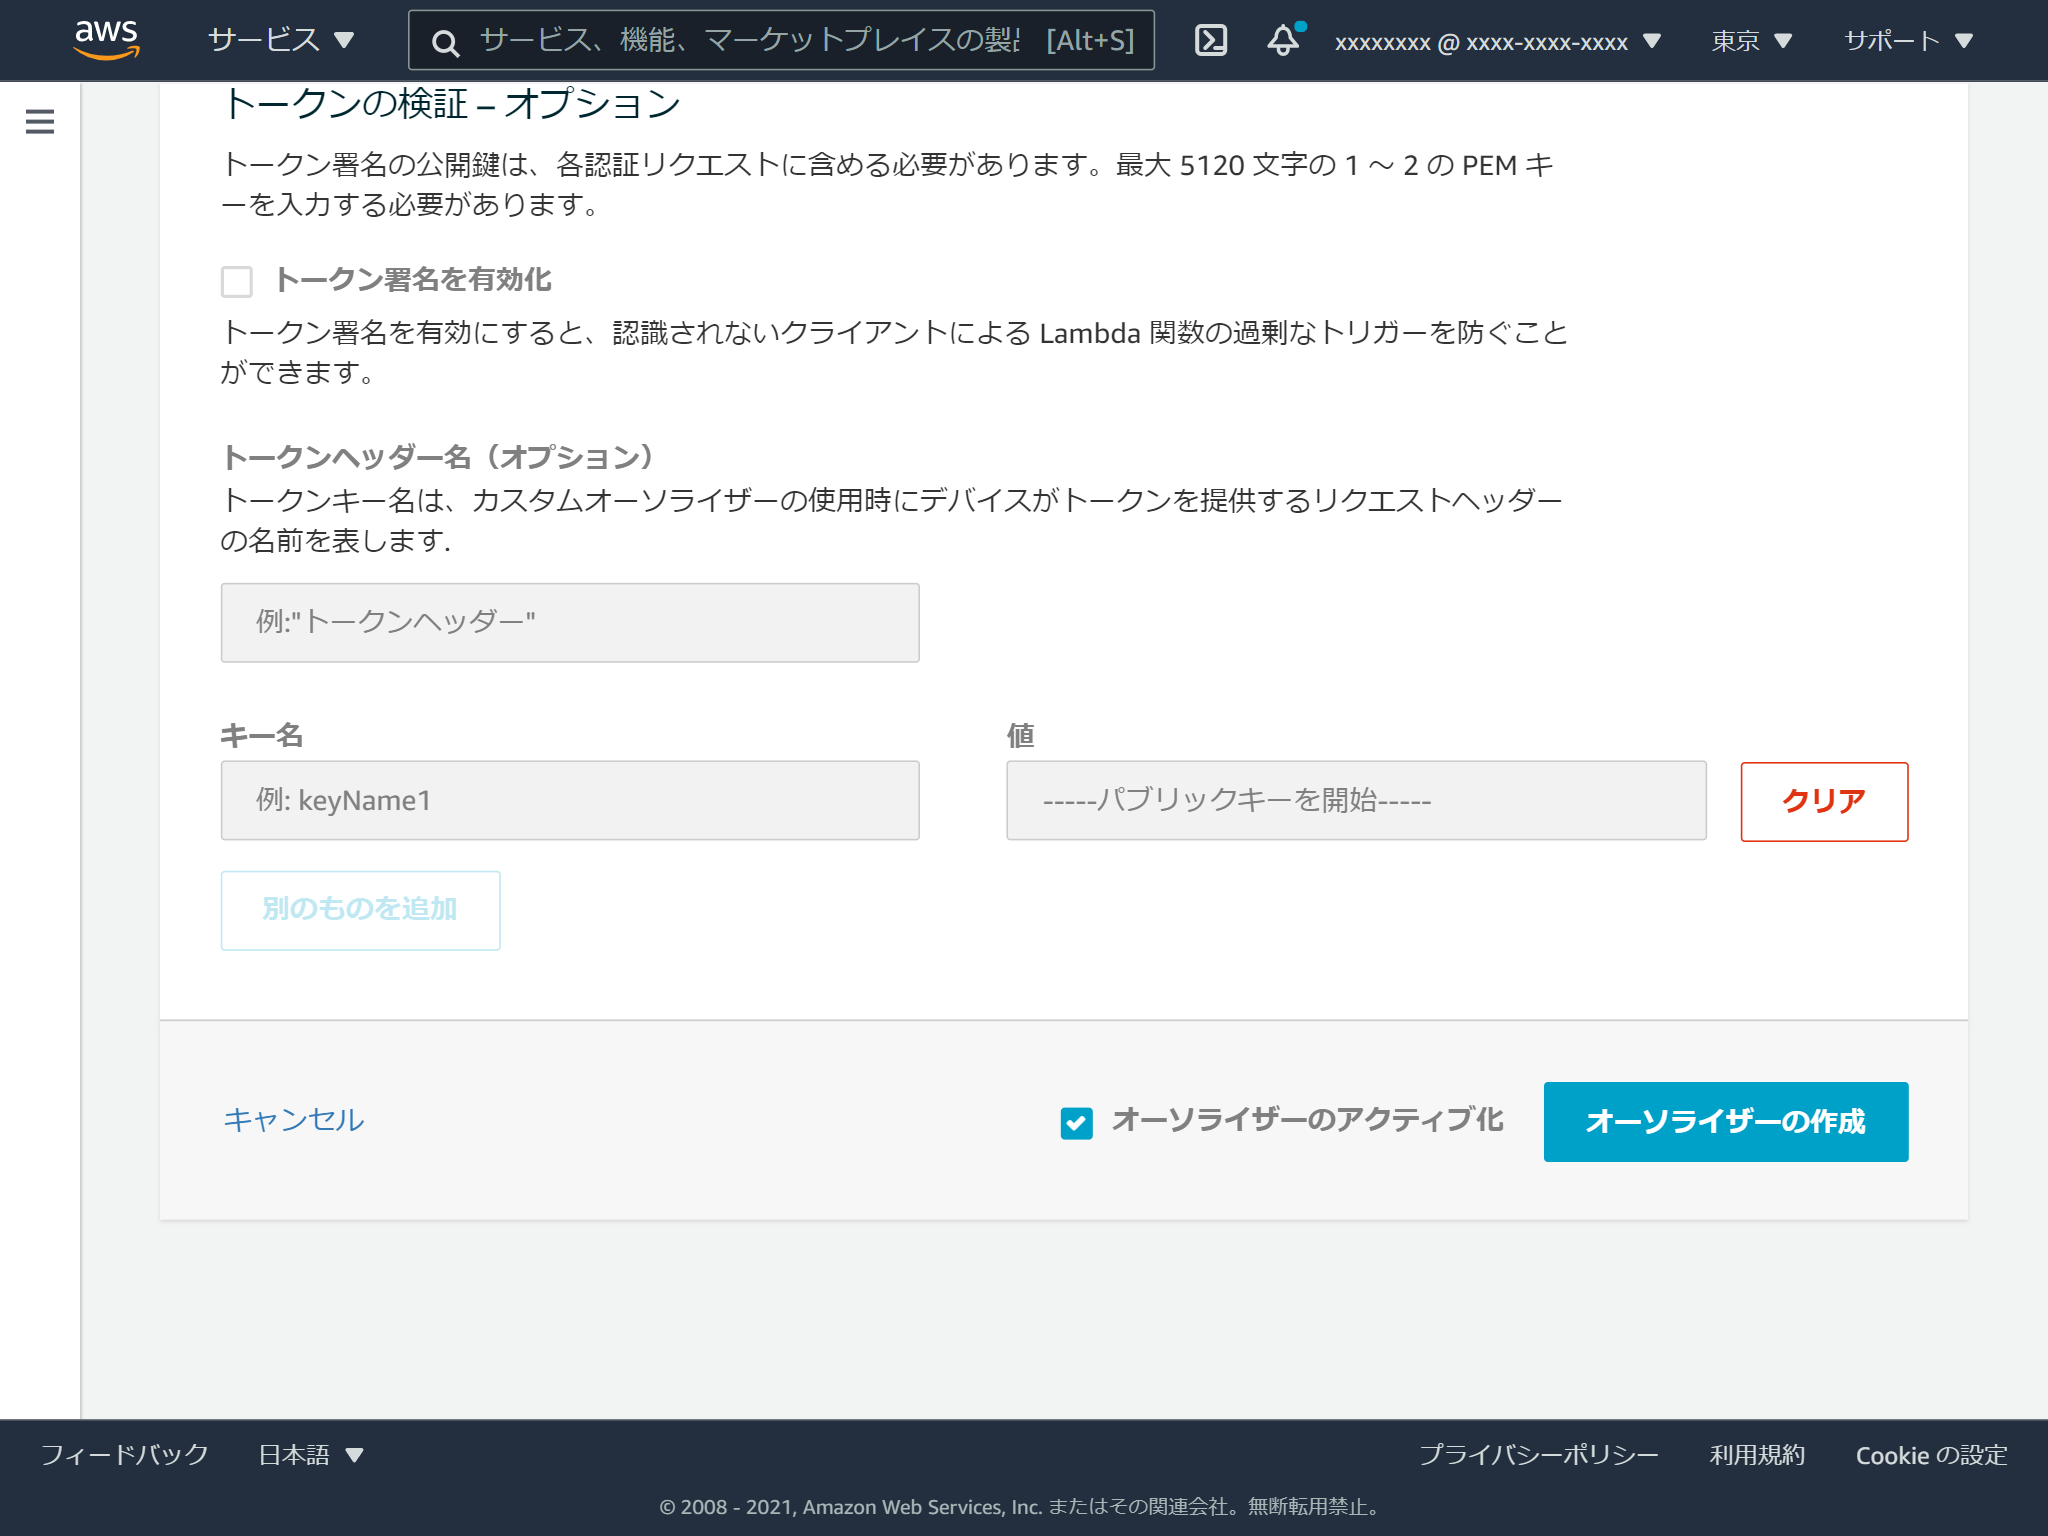
トークンの検証は今回は有効にはせず、オーソライザーのアクティブ化にチェックを入れ、オーソライザーの作成ボタンをクリックします。
デフォルトのオーソライザーを登録
作成したオーソライザーが呼び出されるようにするには、デフォルトのオーソライザーの登録が必要です。
マネジメントコンソールからはできないようですので、CLIで行います。
aws iot set-default-authorizer --authorizer-name custom-authorizer
これでAWS IoT Coreの設定は完了です。
接続するクライアントの作成
PahoクライアントのPython版を使います。
こちらのブログ記事を参考にしました。
pip install paho-mqtt
ブログのものから、以下の項目を変更します。
-
IoT_protocol_nameをmqttに変更 - 証明書認証に関する部分をコメントアウト
- Publishするトピック名を
telemetry/myClientNameに変更 - クライアントIDに
myClientNameを指定 -
username_pw_setでユーザー名とパスワードを指定
もちろんエンドポイントの変更も必要です。
from __future__ import print_function
import sys
import ssl
import time
import datetime
import logging, traceback
import paho.mqtt.client as mqtt

IoT_protocol_name = "mqtt" ### 変更
aws_iot_endpoint = "AWS_IoT_ENDPOINT_HERE" # <random>.iot.<region>.amazonaws.com
url = "https://{}".format(aws_iot_endpoint)

# ca = "YOUR/ROOT/CA/PATH" ### 変更
# cert = "YOUR/DEVICE/CERT/PATH" ### 変更
# private = "YOUR/DEVICE/KEY/PATH" ### 変更

logger = logging.getLogger()
logger.setLevel(logging.DEBUG)
handler = logging.StreamHandler(sys.stdout)
log_format = logging.Formatter('%(asctime)s - %(name)s - %(levelname)s - %(message)s')
handler.setFormatter(log_format)
logger.addHandler(handler)

def ssl_alpn():
    try:
        #debug print opnessl version
        logger.info("open ssl version:{}".format(ssl.OPENSSL_VERSION))
        ssl_context = ssl.create_default_context()
        ssl_context.set_alpn_protocols([IoT_protocol_name])
        # ssl_context.load_verify_locations(cafile=ca) ### 変更
        # ssl_context.load_cert_chain(certfile=cert, keyfile=private) ### 変更

        return  ssl_context
    except Exception as e:
        print("exception ssl_alpn()")
        raise e

if __name__ == '__main__':
    topic = "telemetry/myClientName" ### 変更
    try:
        mqttc = mqtt.Client(client_id='myClientName') ### 変更
        ssl_context= ssl_alpn()
        mqttc.tls_set_context(context=ssl_context)
        mqttc.username_pw_set('username', 'test') ### 変更
        logger.info("start connect")
        mqttc.connect(aws_iot_endpoint, port=443)
        logger.info("connect success")
        mqttc.loop_start()

        while True:
            now = datetime.datetime.now().strftime('%Y-%m-%dT%H:%M:%S')
            logger.info("try to publish:{}".format(now))
            mqttc.publish(topic, now)
            time.sleep(1)

    except Exception as e:
        logger.error("exception main()")
        logger.error("e obj:{}".format(vars(e)))
        logger.error("message:{}".format(e.message))
        traceback.print_exc(file=sys.stdout)
接続テスト
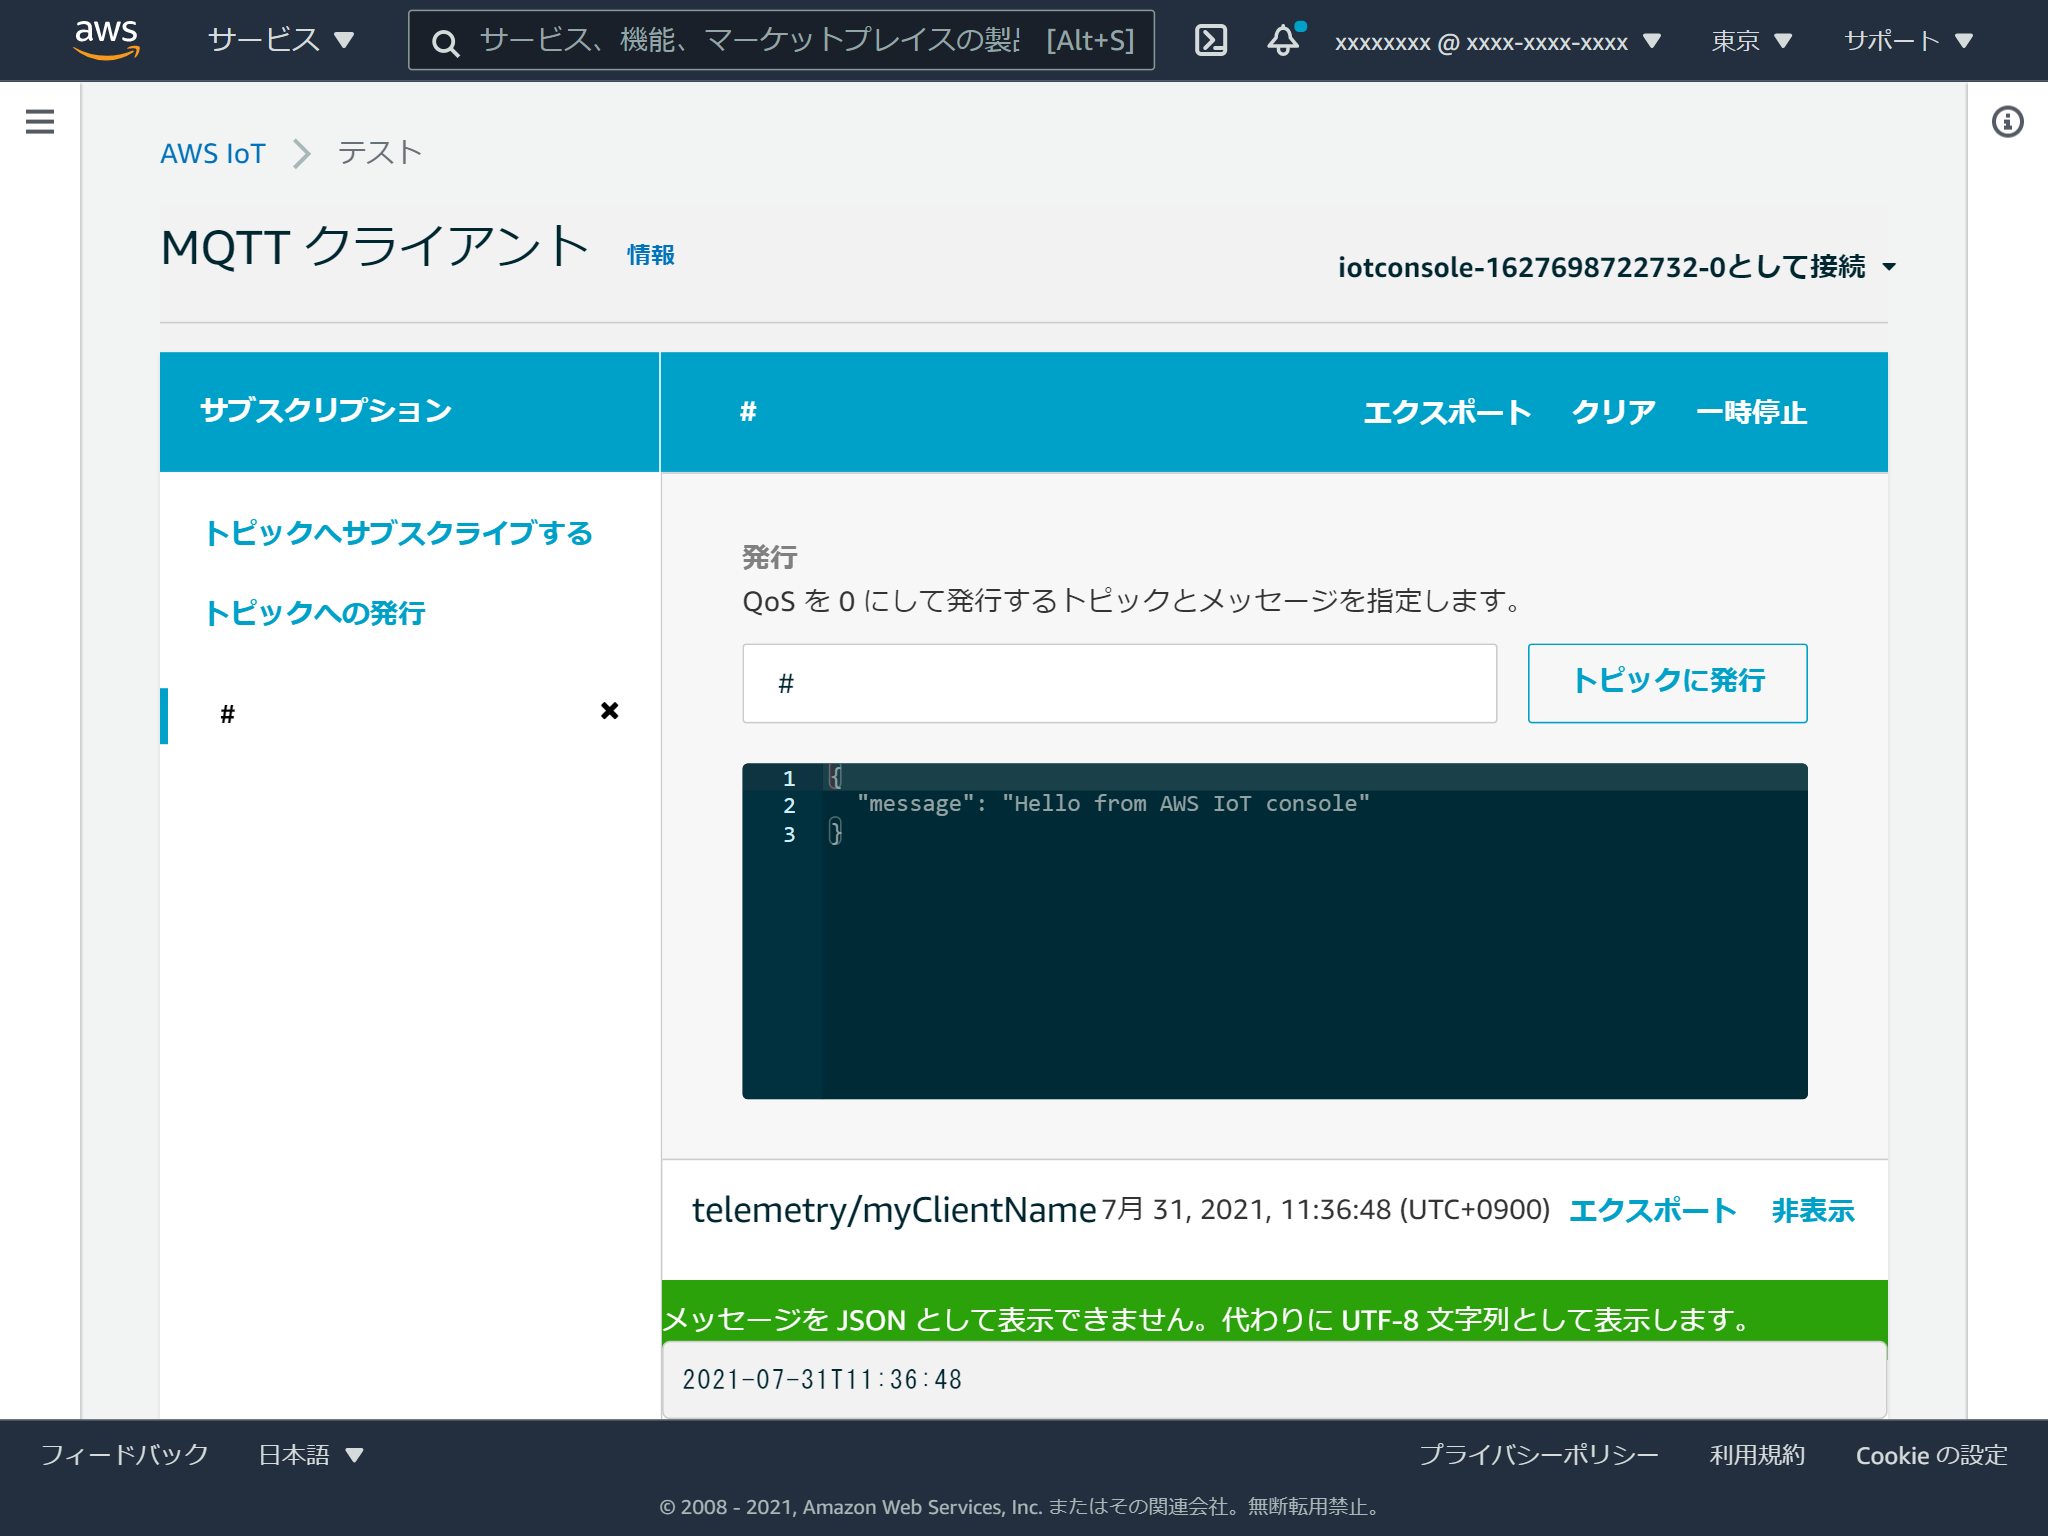
無事にPublishできました。
パスワードが間違っていたり、クライアントIDやトピック名が許可されたもの以外の場合にPublishしたメッセージが届かないことも確認しました。
