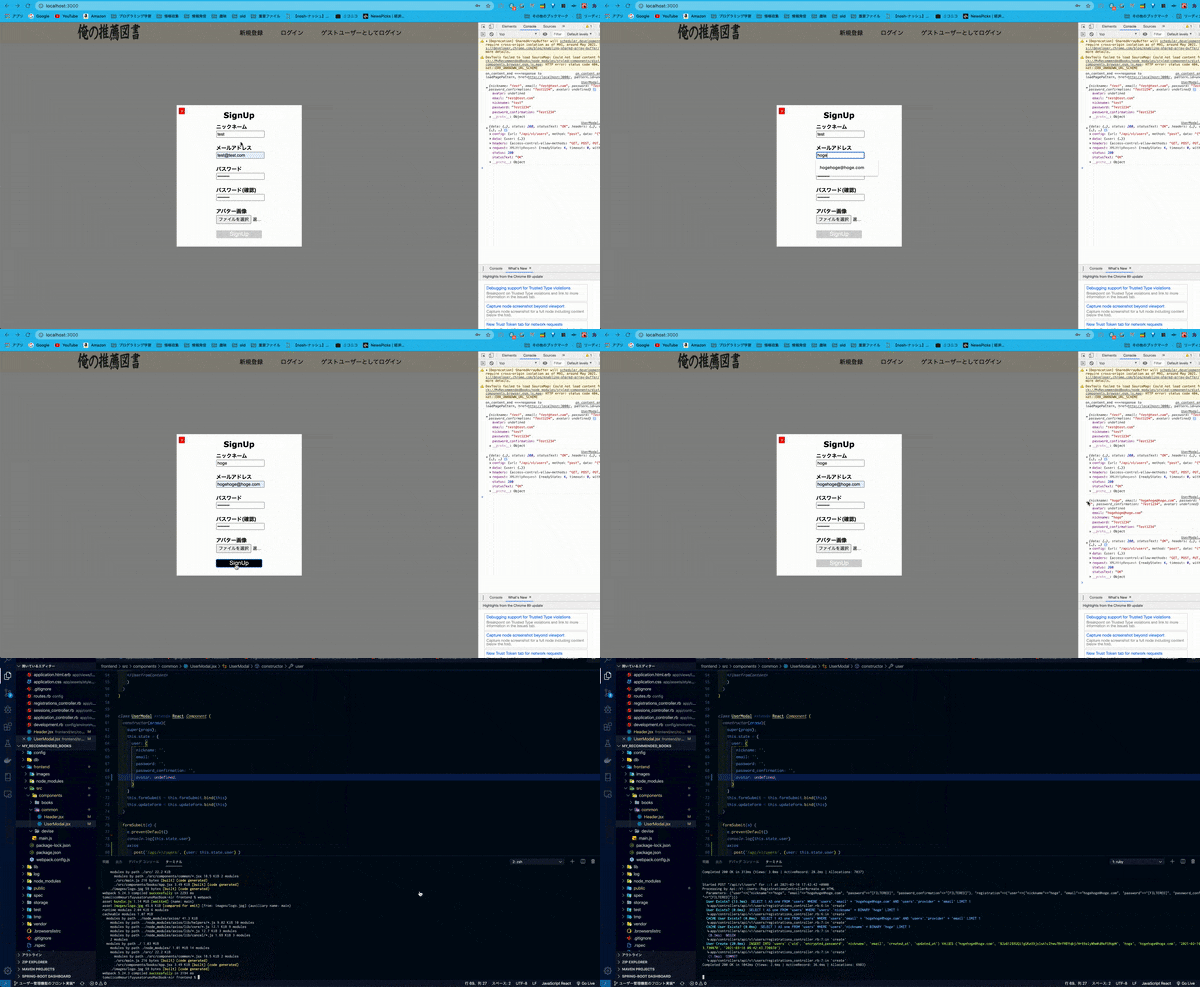
Railsのみのアプリでの新規登録はやったことはあるものの、非同期で新規登録するやり方を知らなかったのでやってみることにした。
主にフロントエンドの話をする。
axiosの導入
npm install axios --save
axiosのインポート
//axiosの読み込み
import axios from 'axios';
新規登録のフォーム作成
function UserFrom(props) {
  // Header.jsxで定義したstateのcontentによって新規登録とログインのフォームを分ける
  // 実際の送信処理はフロント実装のブランチで行う
  if (props.content === 'SignUp') {
    return (
    <UserFromContent onSubmit={props.submit}>
      <FormBlock>
        <label htmlFor="nickname">ニックネーム</label>
        <input type="text" name="nickname" id="nickname" value={props.user.nickname} onChange={props.change}/>
      </FormBlock>
      <FormBlock>
        <label htmlFor="email">メールアドレス</label>
        <input type="email" name="email" id="email" value={props.user.email} onChange={props.change}/>
      </FormBlock>
      <FormBlock>
        <label htmlFor="password">パスワード</label>
        <input type="password" name="password" id="password" value={props.user.password} onChange={props.change}/>
      </FormBlock>
      <FormBlock>
        <label htmlFor="password_confirmation">パスワード(確認)</label>
        <input type="password" name="password_confirmation" id="password_confirmation" value={props.user.password_confirmation} onChange={props.change}/>
      </FormBlock>
      <FormBlock>
        <label htmlFor="avatar">アバター画像</label>
        <input type="file" name="avatar" id="avatar" value={props.user.avatar} onChange={props.change}/>
      </FormBlock>
      <FormBlock>
        <input type="submit" value="SignUp" id="submit-btn"/>
      </FormBlock>
    </UserFromContent>
    )
  }
このときフォームの入力内容を即座にビューに反映するためにonChangeイベントを定義する。このあたりはこちらの記事を参照(拙記事です)
  render () {
          <UserFrom content={this.props.content} submit={this.formSubmit} user={this.state.user} change={this.updateForm}/>
        </ModalContent>
      </ModalOverlay>
   )
submitイベントに使用するメソッドの作成
親コンポーネントで定義する。
formSubmit(e) {
    e.preventDefault()
    console.log(this.state.user)
    axios
      .post('/api/v1/users', {user: this.state.user} ) //user新規登録のリクエスト
      .then(response => {
        console.log(response) //処理内容は後で記述
      })
      .catch(error => {
        console.error(error);
        console.log(error.response.data.errors) //エラーメッセージの表示。実際にはビューに表示する(このあとやる)
        if (error.response.data && error.response.data.errors) {
          this.errors = error.response.data.errors;
        }
      })
  }
新規登録で使用しているメソッドはこんな感じ
class Api::V1::Users::RegistrationsController < DeviseTokenAuth::RegistrationsController
  respond_to :json

  def create
    @user = User.new(sign_up_params)
    if @user.valid?
      @user.save
      render json: { user: @user }
    else
      render status: 422, json: { errors: @user.errors.full_messages } #手動でステータス入れないと200になるぽい
    end
  end

  private

  def sign_up_params
    params.require(:user).permit(:nickname, :email, :avatar, :password, :password_confirmation)
  end
セキュリティ面とかもう少し詰めていかないとなーって感じです
気をつけたこと
ActiveStorageのデータを扱う場合初期値はundefinedにする。
空文字列だとActiveSupport::MessageVerifier::InvalidSignature (ActiveSupport::MessageVerifier::InvalidSignature):のエラーが出る。
次やること
- 新規登録のレスポンスの処理(ログインの有無で画面を切り替える)
- エラーメッセージの表示
- ログイン処理、ログアウト処理の実装
