はじめに
スマートフォンが普及し、数年たちいかにもなフッタ(ヘッダ)バナー広告のクリック率は中々厳しい現状です。
NativeExpressAdViewを使用するとアプリに自然に溶け込ませた広告が配信でき効果的です。
詳しくはリファレンスをご覧ください。
[Google APIs for Android]
(https://developers.google.com/android/reference/com/google/android/gms/ads/NativeExpressAdView)
[googleads-mobile-android-examples NativeExpressExample]
(https://github.com/googleads/googleads-mobile-android-examples/tree/master/admob/NativeExpressExample)
[iOSの実装はこちら]
(http://qiita.com/pelican/items/460fbf2f7232989cff67)
アプリ側の実装
実装は以下のようになります。
AdSizeには適切な値を入力してください
    private static final String MY_EXPRESS_AD_UNIT_ID = "ca-app-pub-xxxxxxxx";
    private RelativeLayout adExpressLayout;

    @Override
    protected void onCreate(Bundle savedInstanceState) {
        super.onCreate(savedInstanceState);
        adExpressLayout = (RelativeLayout) findViewById(R.id.ad_express_layout);

        NativeExpressAdView nativeExpressAdView = new NativeExpressAdView(context);
        nativeExpressAdView.setAdSize(new AdSize(320, 300));
        nativeExpressAdView.setAdUnitId(MY_EXPRESS_AD_UNIT_ID);
        adExpressLayout.addView(nativeExpressAdView);
        AdRequest adRequest = new AdRequest.Builder()
        .addTestDevice("test device")
        .build();
        nativeExpressAdView.loadAd(adRequest);
    }
レイアウトは以下のようになります。
<RelativeLayout
        android:id="@+id/ad_express_layout"
        android:layout_width="wrap_content"
        android:layout_height="wrap_content"
        android:layout_centerHorizontal="true"
        android:layout_alignParentBottom="true"/>
レイアウトに埋め込む場合はこのような形
<com.google.android.gms.ads.NativeExpressAdView
        android:id="@+id/adView"
        android:layout_width="wrap_content"
        android:layout_height="wrap_content"
        android:layout_centerHorizontal="true"
        android:layout_alignParentBottom="true"
        ads:adSize="320x300"
        ads:adUnitId="@string/ad_unit_id"/>
AdMobの広告ユニット作成手順
AdMobログイン後に
収益化 > 対象のアプリ > 新しい広告ユニット > ネイティブ を選択
まず表示する広告のサイズを選択します。
使いたいアプリの利用用途に応じて選択します。

続いて広告の表示フォーマットを選択します。
アプリの説明があるものやボタンの配置など微妙に異なります。

最終的にCSSをカスタマイズ可能です。
私はbody部のbackground-colorの変更などを行いました。
最後にCSSの下部にある「スタイルチェック」でOKになれば配信可能です
saveして終了しましょう。

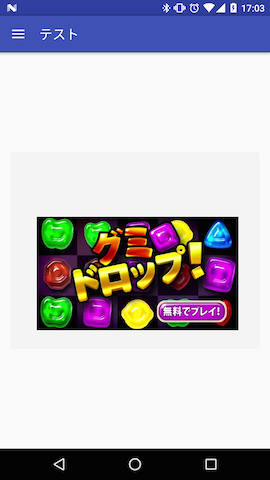
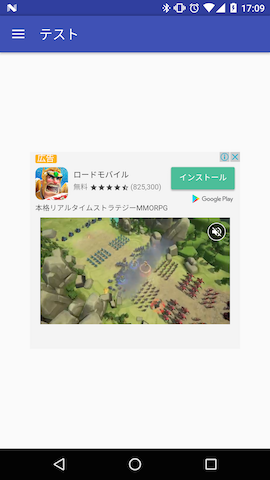
表示のサンプル
最後に
広告の基本サイズも様々あり、広告配信の幅が広がります。
アプリのリリースを行わずに広告をカスタマイズでき便利そうです。

