Wixでちょっと凝ったページを作るときのjavascriptメモ
Wixでは結構簡単にショッピングページを作ることができるんだけど、ビミョーに融通が聞かない。いつものパン屋さんから、コロナの影響で日付ごとにデリバリーの地域が異なるんだけど、配達対象外の地域を弾くインターフェースを作れないか、相談があって、javascriptでいろんなソースを見ながら書いてみたので、ここにまとめておく。初心者なので、このコードのここがダメっていうのもあれば是非。イギリスのポストコード判定はこちらのサイトを丸パクリした。
用件
イギリスのポストコードSW7 2AZとか、W3 9AEとかからエリアコード(SW7, W3)を抽出して、配達できるかどうか表示して、配達できるならオンラインショップのページを表示する機能を作ってみた。
    // For full API documentation, including code examples, visit http://wix.to/94BuAAs
import wixWindow from 'wix-window';

//ポストコードを判定する関数
function isValidPostcode(p) {
//イギリスのポストコードのregex
    var postcodeRegEx = /[A-Z]{1,2}[0-9]{1,2} ?[0-9][A-Z]{2}/i;
    return postcodeRegEx.test(p);
}

//ポストコードをちゃんとフォーマットする関数。大文字にする機能はつけた。
function formatPostcode(p) {

    if (isValidPostcode(p)) {
        p=p.toUpperCase(p)
        var postcodeRegEx = /(^[A-Z]{1,2}[0-9]{1,2})([0-9][A-Z]{2}$)/i;
        return p.replace(postcodeRegEx,"$1 $2");
    } else {
        return p;
    }
}

//WixのonReady関数
$w.onReady(function () {
//最初は全部隠しておく
	$w("#iconButton1").hide();
	$w("#iconButton2").hide();
    $w("#iconButton4").hide();
//ボタンをクリックしたら、関数を呼ぶ
	$w('#button1').onClick( (event) => {
		iconButton3_onClick(event);
} );
});

//ボタンをクリックしたときの挙動
export function iconButton3_onClick(event){
  let value = $w("#input1").value;

  if( isValidPostcode(value))
  {
//ポストコードをきれいにして、最初の部分(エリアコードだけ抜き取り)
    var postcode=formatPostcode(value);
    var areacodeslist=postcode.split(" ");
    var areacodes=areacodeslist[0];
//エリアコードごとにボタンを出したり、テキストを表示したりする。
    if( (areacodes === "TW8") || (areacodes === "TW9") || (areacodes === "TW1") || (areacodes === "TW2")) {
      $w("#iconButton1").show();  //do this thing
      $w("#iconButton2").hide();
      $w("#iconButton4").hide();
      $w("#text27").text="Your areacode is "+areacodes;
      $w("#text26").text="We deliver to your address on 13 May (Wed)";
    }
    else if( (areacodes === "SW19") || (areacodes === "SW18") ) {
      $w("#iconButton1").hide();  //do this thing
      $w("#iconButton2").show();
      $w("#iconButton4").hide();
      $w("#text27").text="Your areacode is "+areacodes;
      $w("#text26").text="We deliver to your address on 14 May (Thu)";
    }
    else if( (areacodes === "W6") || (areacodes === "W8") || (areacodes === "W10") || (areacodes === "W11") || (areacodes === "W14") ) {
      $w("#iconButton1").hide();  //do this thing
      $w("#iconButton2").hide();
      $w("#iconButton4").show();
      $w("#text27").text="Your areacode is "+areacodes;
      $w("#text26").text="We deliver to your address on 15 May (Fri)";
    }
    else {
      $w("#iconButton1").hide();  //do this thing
      $w("#iconButton2").hide();
      $w("#iconButton4").hide();
      $w("#text27").text="Your areacode is "+areacodes;
      $w("#text26").text="We're sorry but we currently don't deliver to your address. However, we can still offer you Saturday collection service!";  //or else do this other thing
    }
  }
}
用件2
もうちょっとめんどくさいのが、Wixのお店機能で、こっちはもっと融通が聞かない。このyoutubeのチュートリアルを参考に、今回はリピーターって奴をWixのデータベースに接続して、ショップページ(日付ごとに別のページを用意)のdeliveryDateに応じて、在庫があるかないかを表示する。在庫の個数はproductのJSONからは取得できないようだった。
/// コードの実例を含む API レポートを参照するには https://wix.to/94BuAAs を開いてください。
import wixWindow from 'wix-window';

//デリバリーの日付。商品のオプションに同じものがある。
const deliveryDate='5/13';
//リピーターの定義
export function repeater_itemReady($item, itemData, index) {
//itemDataからproductオブジェクトを生成
	let product = createProductObject(itemData);
//日付のJSONから、在庫があるかどうかを確認
	let choices = product.productOptions.Delivery.choices;
	let choiceIndex = 0;
	for (var i = 0; i < choices.length; i++) {
		if (choices[i].value == deliveryDate){
			//console.log(choices[i].value);
			choiceIndex = i;
		}
	}

	let choiceInStock = product.productOptions.Delivery.choices[choiceIndex].inStock;

//productから、リピータの各アイテムに情報を投げる
	$item('#productName').text=product.name;
	$item('#productPrice').text=product.price;
	$item('#productImage').src=product.mainImage.src;
	if (choiceInStock) {
		$item('#productLeft').text='In Stock'
	} else {
		$item('#productLeft').text='Out of Stock. Sorry.'
	}
//カートに入れるをクリックすると、日付のオプションがついた商品がカートに入る。
	$item('#cartButton').onClick(() => {
		console.log(product.productId, product.dateSelected);
		$w('#shoppingCartIcon1').addToCart(product.productId, 1, {choices:{Delivery: product.dateSelected}})
		.then(()=>{
			console.log('added!');
			})
		.catch(console.error);
	})}


function createProductObject(productRecord)
{
	let product = {
		dateSelected: deliveryDate,
		productId: productRecord._id,
		mainImage: productRecord.mediaItems[0],
		price: productRecord.formattedPrice,
		name: productRecord.name,
		productOptions: productRecord.productOptions
	}
	return product;
}
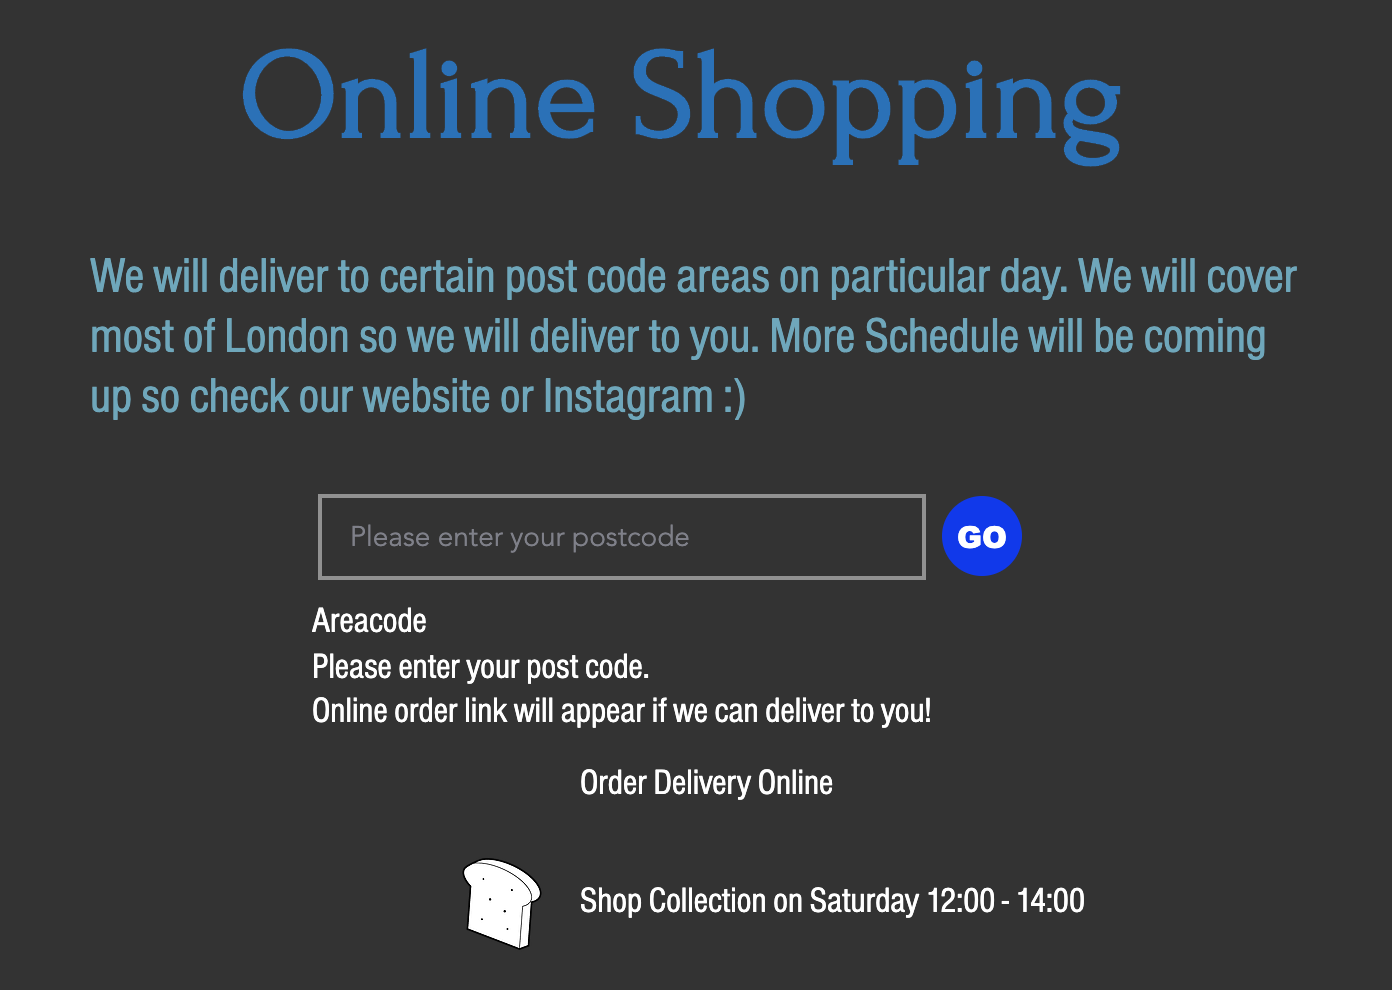
こんな感じで実装した。結果はこんな感じで

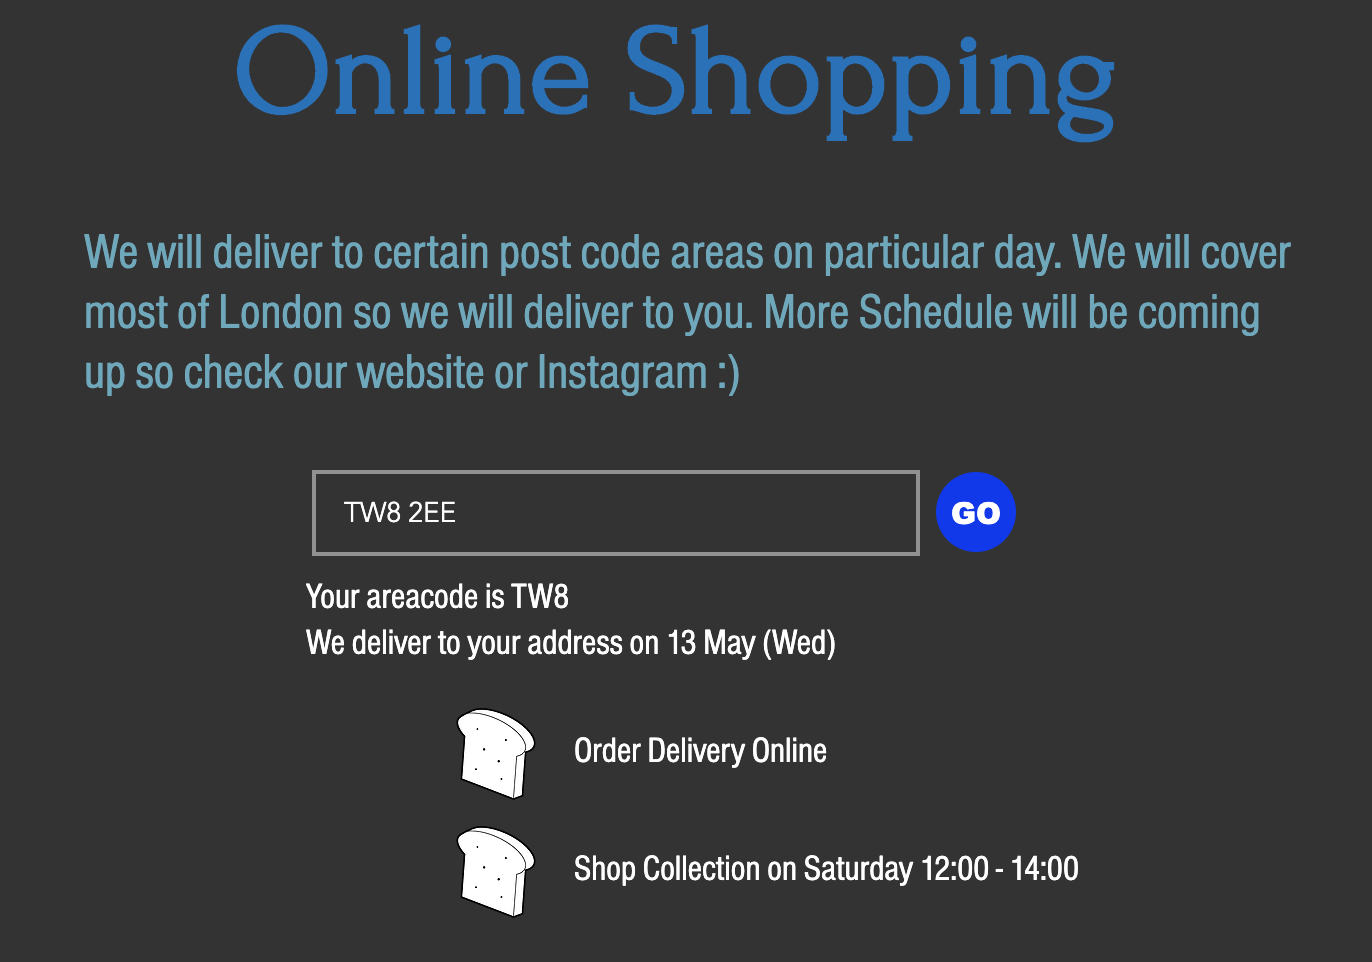
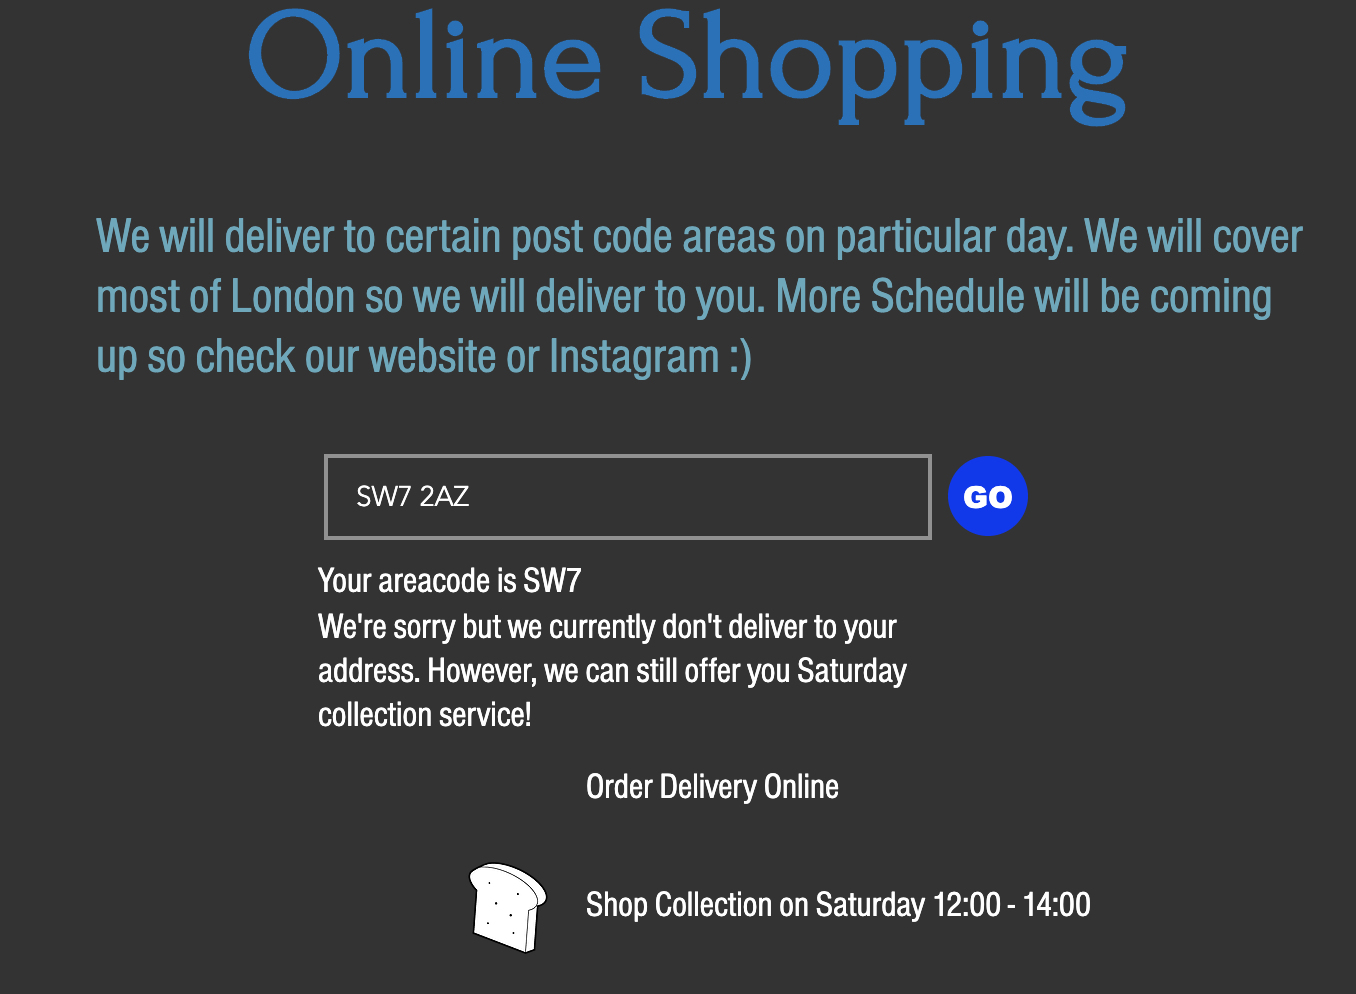
このページにポストコードを入れると、

お届けできますよーっていう表示や、

お届けできません。なんていう表示がでます。