はじめに
今回やること
・リモートブランチにコミットされたことを検知したら、ローカルブランチにPullするShellを作成
GitHub連携
-
GitHubのアクセストークンをJenkinsに登録
GitHub側でトークンを生成します。

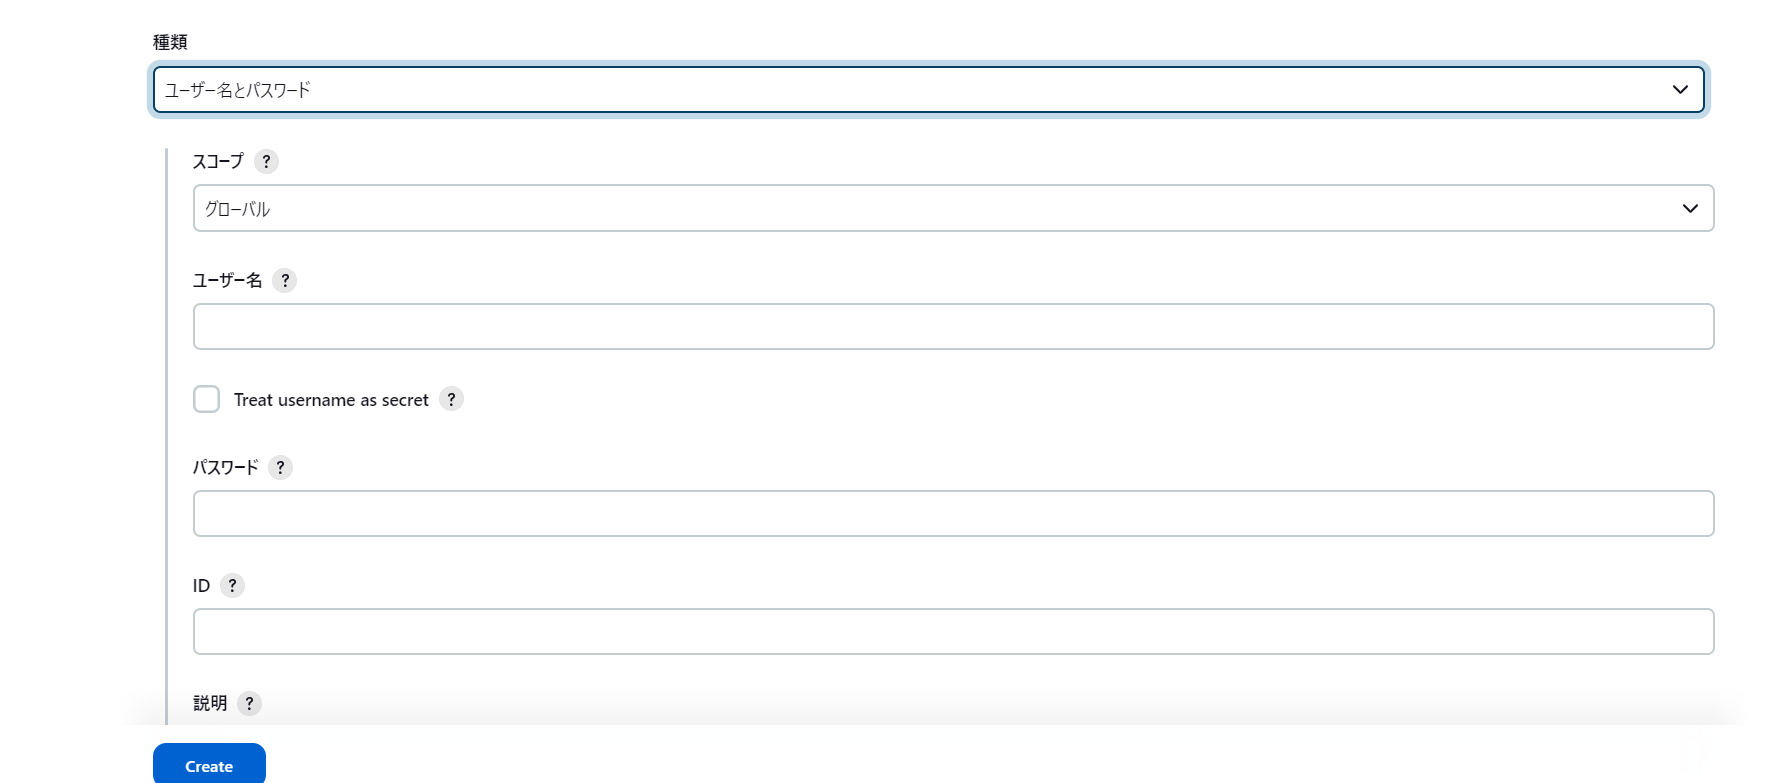
生成したトークンをJenkinsのcredentialsに登録する。(ユーザーIDとパスワード)
※パスワードにアクセストークンを入れます。
-
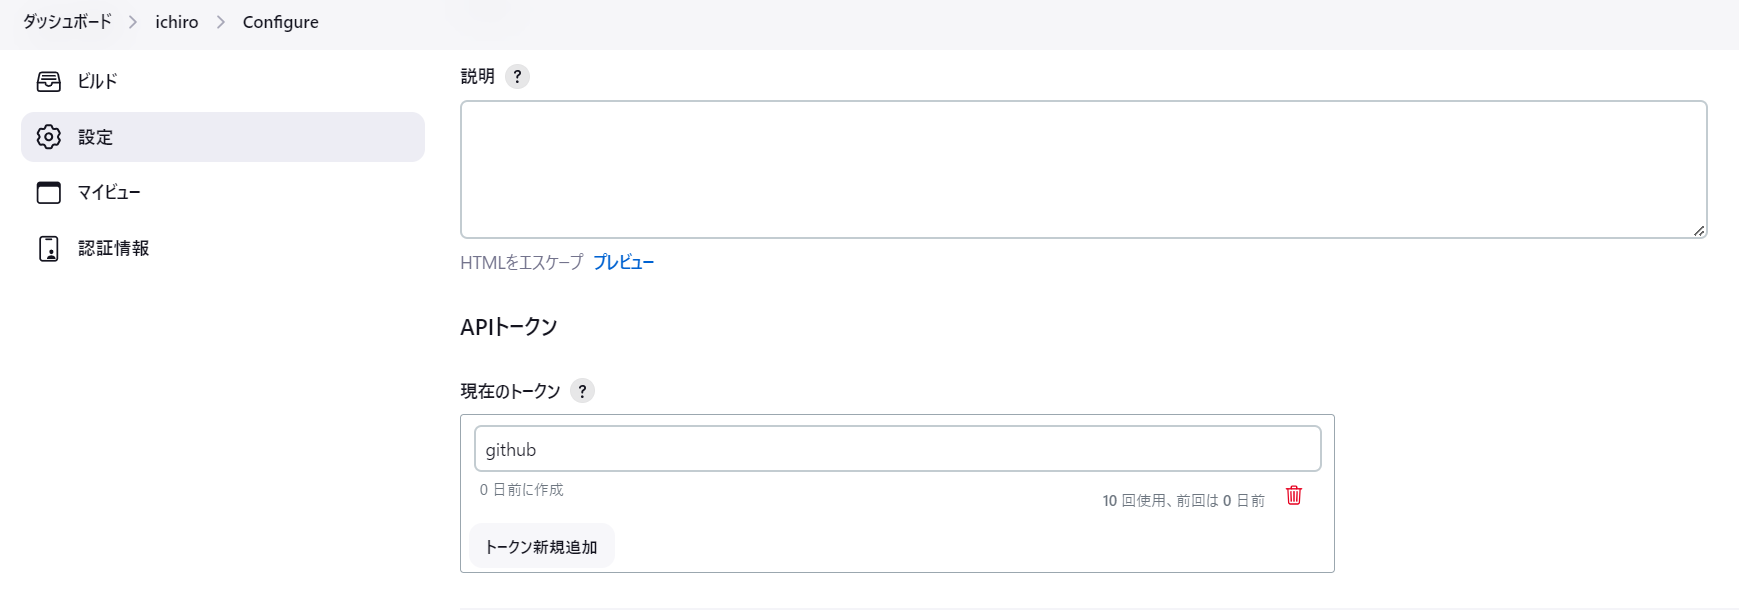
JenkinsのAPIトークンを生成
開発者⇒ユーザーを選択⇒設定からAPIトークンを生成します。トークンの名前は何でも良いです。
-
Webhooksの設定
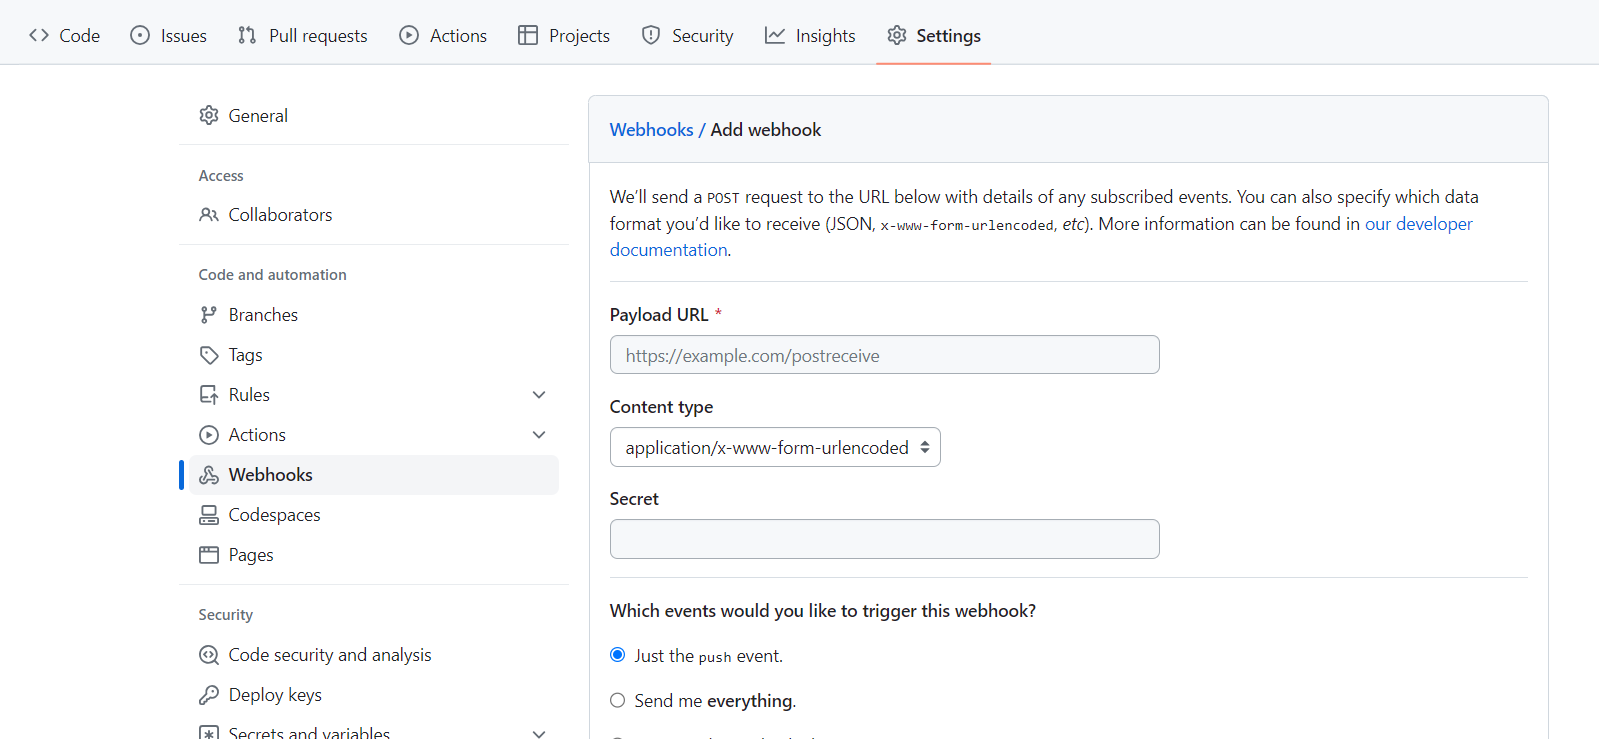
Payload URLは↓以下のように設定します。
http://[Jenkinsのユーザー名]:[JenkinsのAPIトークン]@[サーバのIPアドレス:ポート]/job/[Jenkinsのジョブの名前]/buildWithParameters?token=[JenkinsのAPIトークンの名前]
「Add webhook」で登録します。
- ジョブの作成
新規ジョブの作成⇒フリースタイル・プロジェクトのビルドでジョブの内容を決めていきます。
GitHub projectにチェックを入れます。
Project urlにはリモートリポジトリのURLを入力します。(例:https://github.com/××/××.git)
ビルドのパラメータ化にチェックを入れて、名前にはpayloadと入力します。

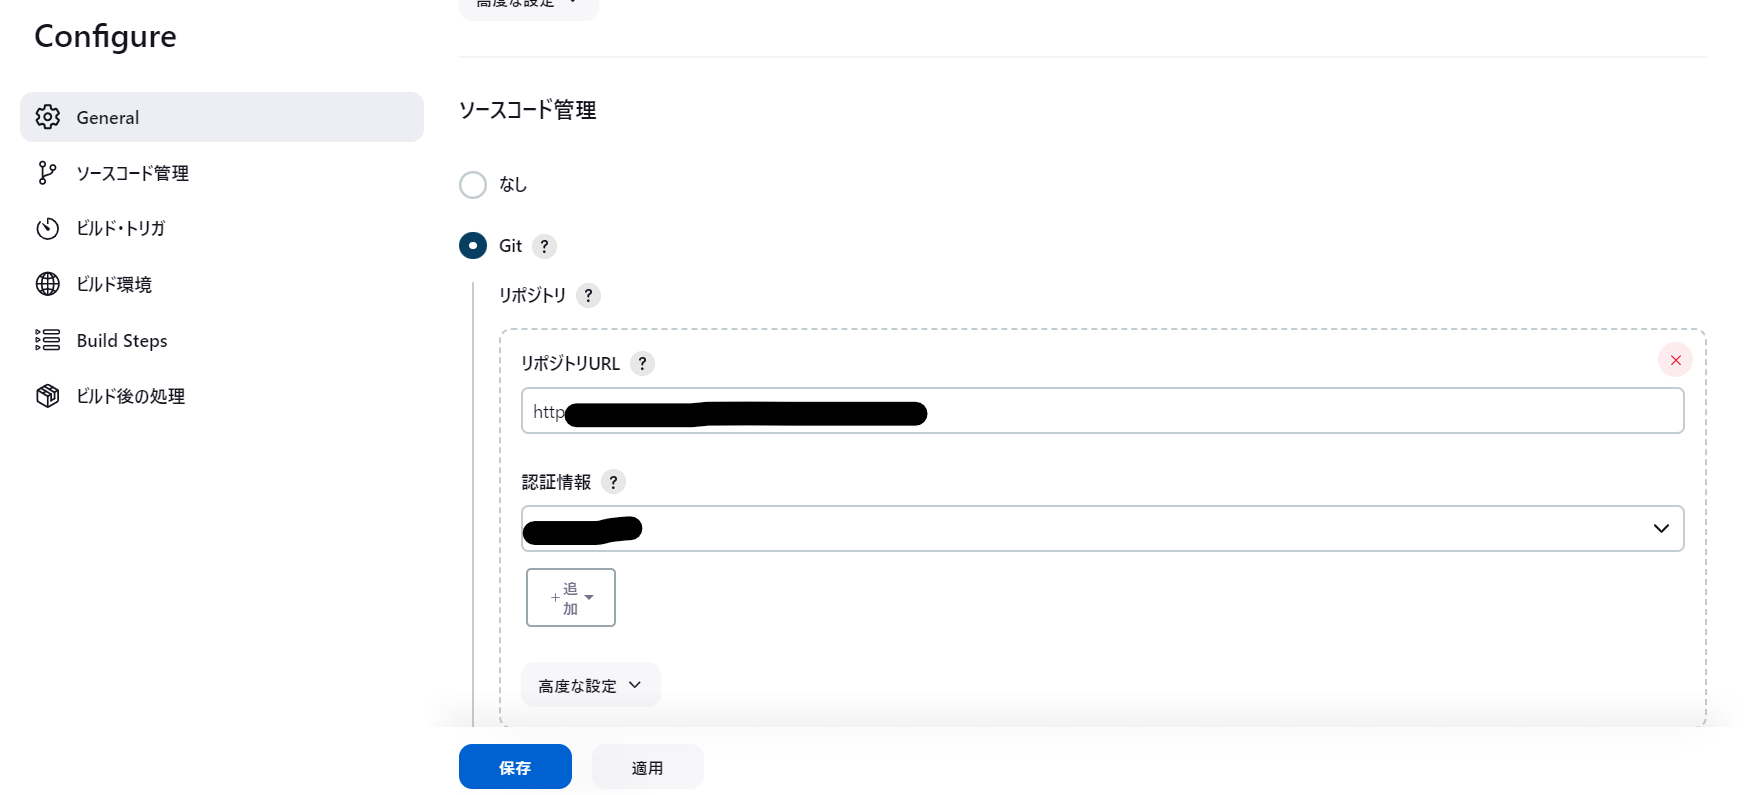
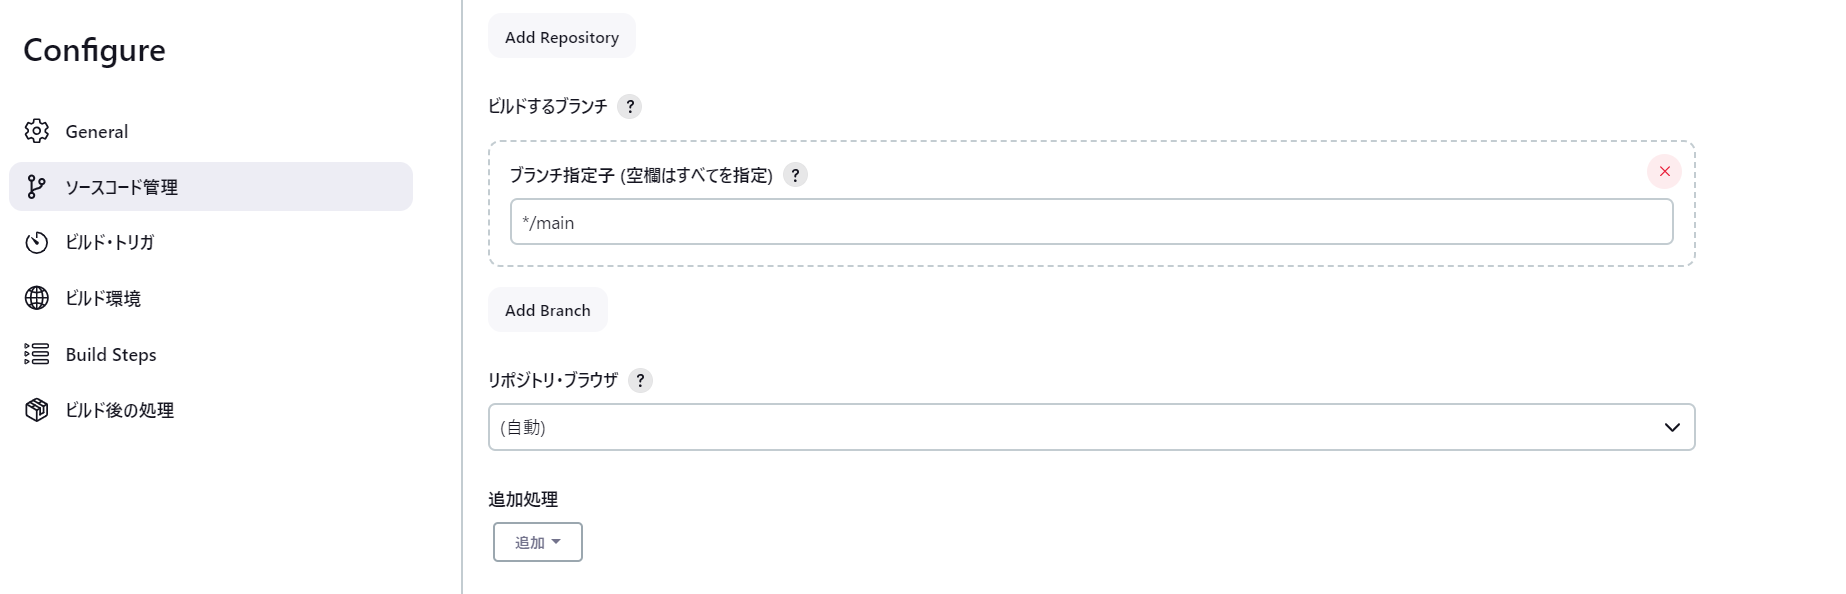
ソースコードの管理ではGitにチェックを入れて、リポジトリURLを入れます。
※Project urlと同じで良いです。
認証情報では、GitHubのアクセストークンを、セレクトボックスから選択します。
ブランチの名前は適宜変えてください。
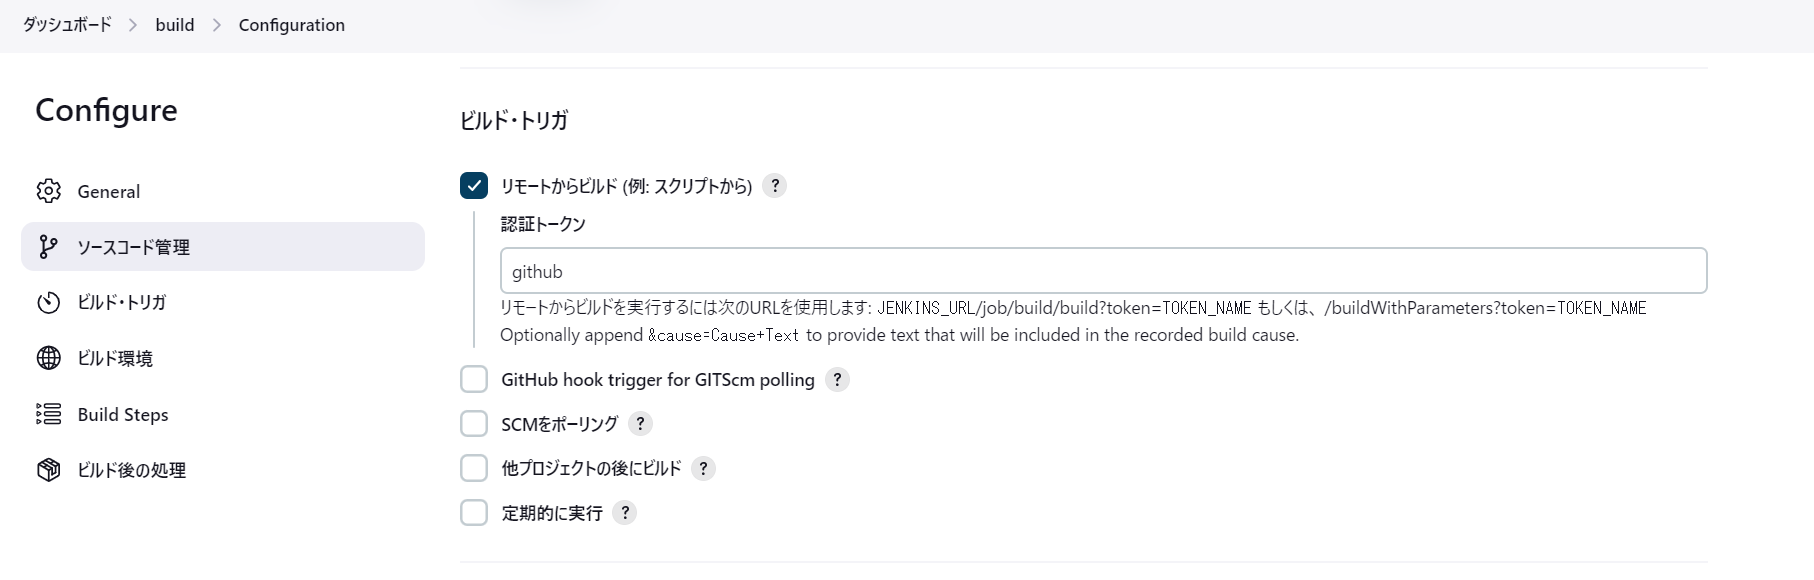
認証トークンにはJenkinsのAPIトークンの名前を入れてください。
ビルド環境のリモートホストでシェルを実行にチェックを入れ、SSHサイトでは登録しているIPアドレスを選択します。
ビルド前スクリプトには、ローカルリポジトリの場所に移動して「git pull」をするshellを書きます。
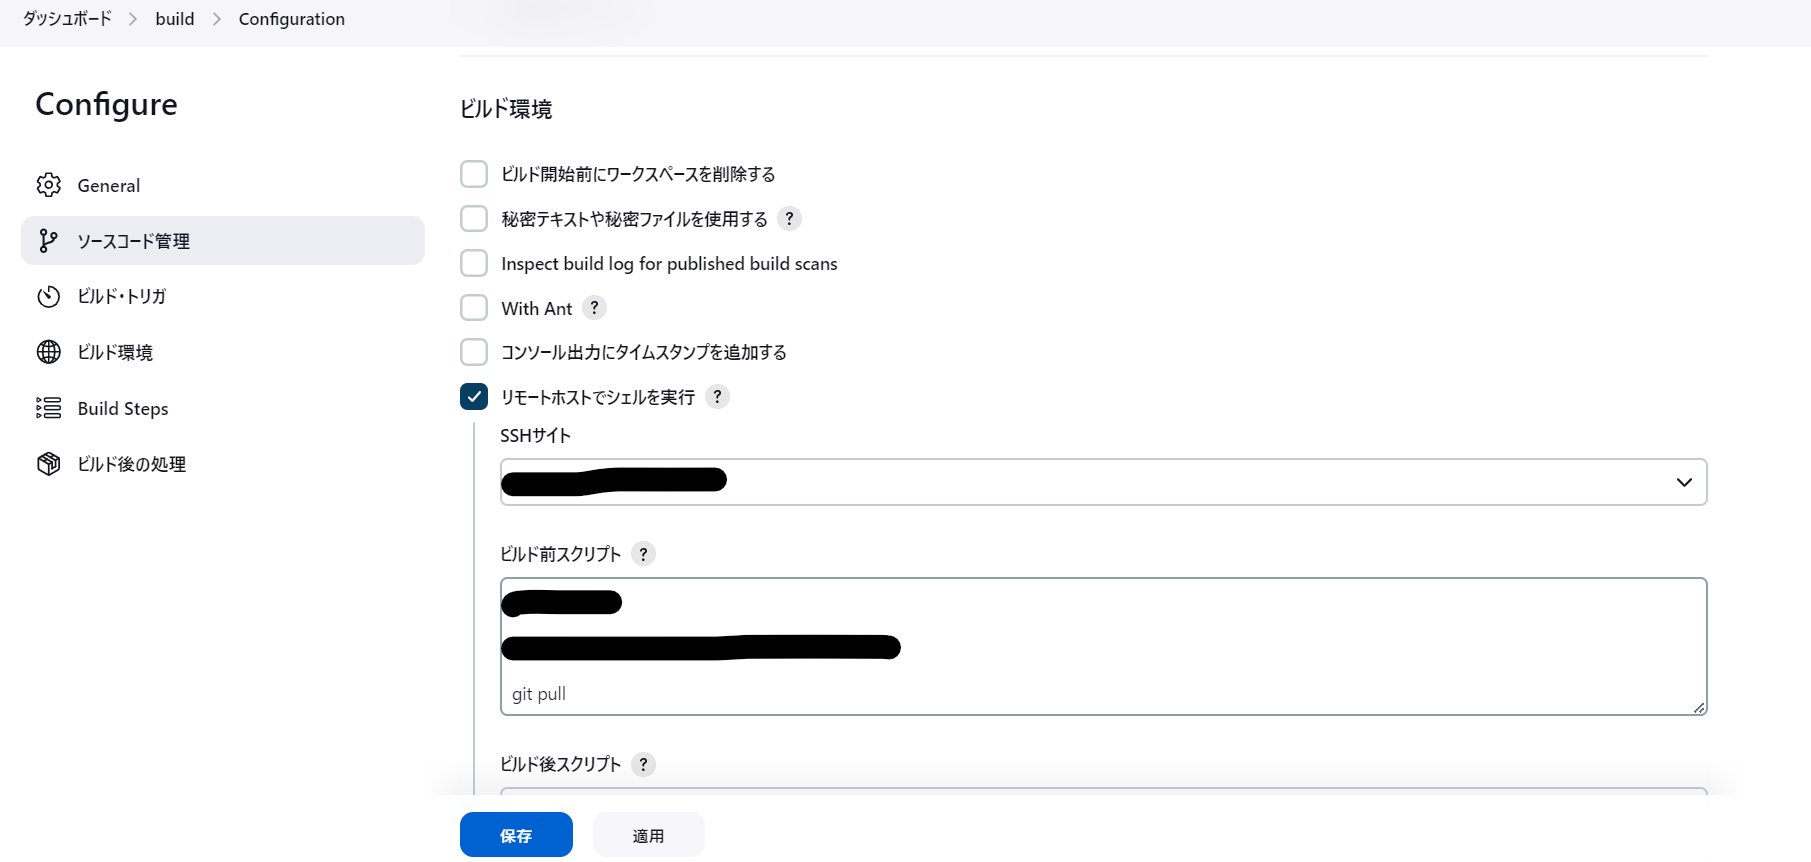
最後に保存を押します。
【Jenkins】GitHub連携①:https://qiita.com/mojapico/items/9c114f0890adaf3a0862