この記事はリンク情報システムの2019 Tech Connect Summerのリレー記事です。
engineer.hanzomon のグループメンバによってリレーされます。
(リンク情報システムのFacebookはこちらから)
2019 Tech Connect Summer インデックスはこちら
はじめに
最初の記事を担当します、mk-takahashiです。
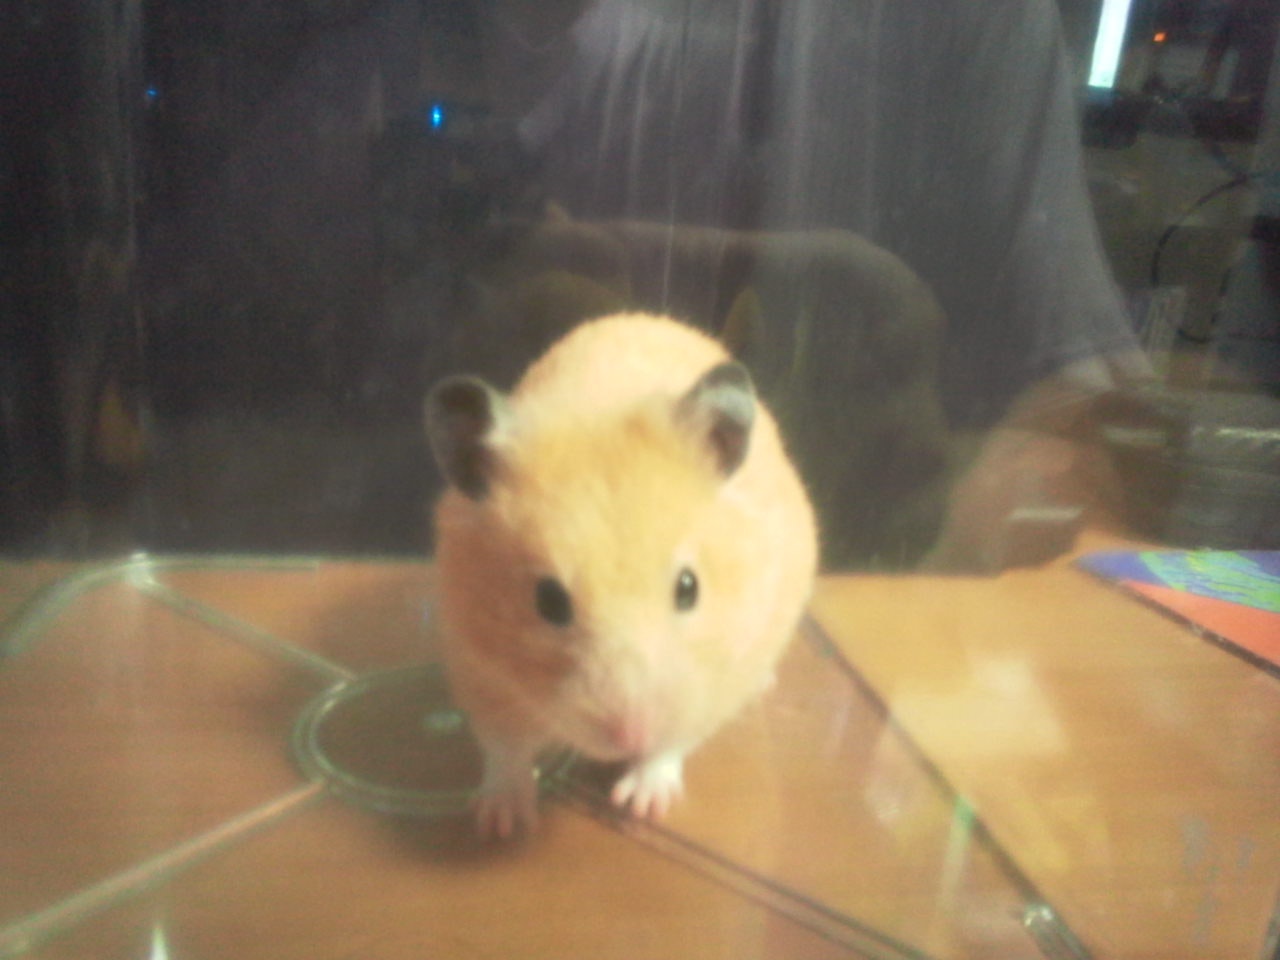
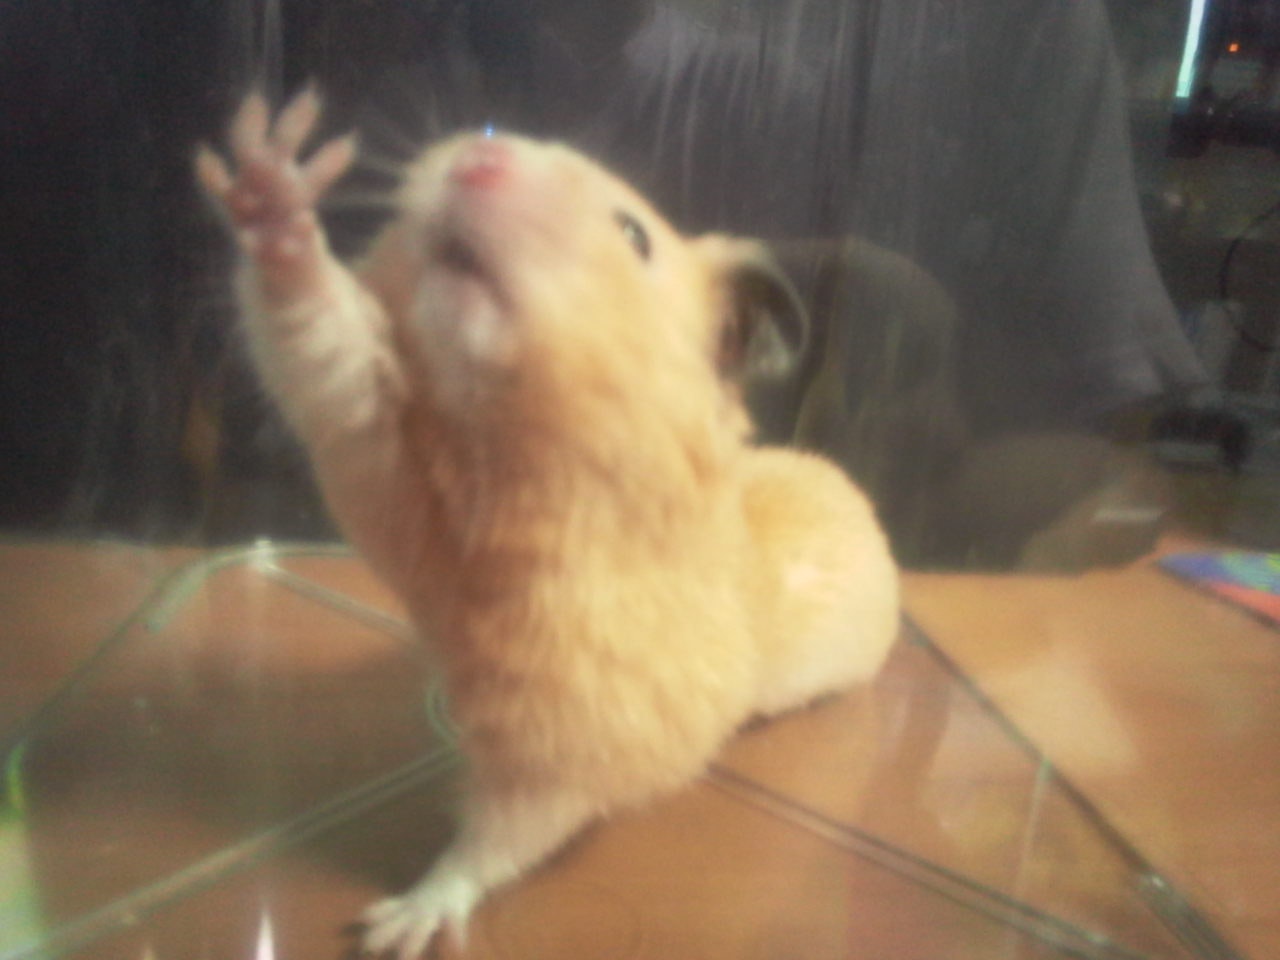
とある事情から飼っているハムスターの写真が必要になったのですが、
 (後ろ向いちゃった...)
 (近すぎる...)
 (ぶれた...)
とりあえず1000枚以上写真が欲しいので、いい感じの写真が撮れるまでずっとこんなことをずっとやってられないです。
そこでSonyのNeural Network Consoleを用いてハムスターの学習済みモデルを作成し、
Spresenseを用いて写真を撮り、その写真の中にハムスターがいたらSDにカードに保存するシステムを作ります。
用意するもの
学習済みモデル作成
・Neural Network ConsoleのWindowsアプリ版
・キンクマハムスターの画像(132枚)
・ロボロフスキーハムスターの画像(30枚)
※画像の枚数は多いほうがいいですが、途中で心が折れて微妙な枚数しか集めてないです
・縮小専用。
撮影システム作成
・Spresense(メインボード拡張ボード)
・Spresense(拡張ボード)
・Spresense(カメラボード)
・microSDカード
学習済みモデル作成
学習済みモデルの作成に関してはこちらのサイトを参考にしています。
データセット作成準備
まずGoogle等を使い、キンクマハムスターの画像をいっぱい集めます。
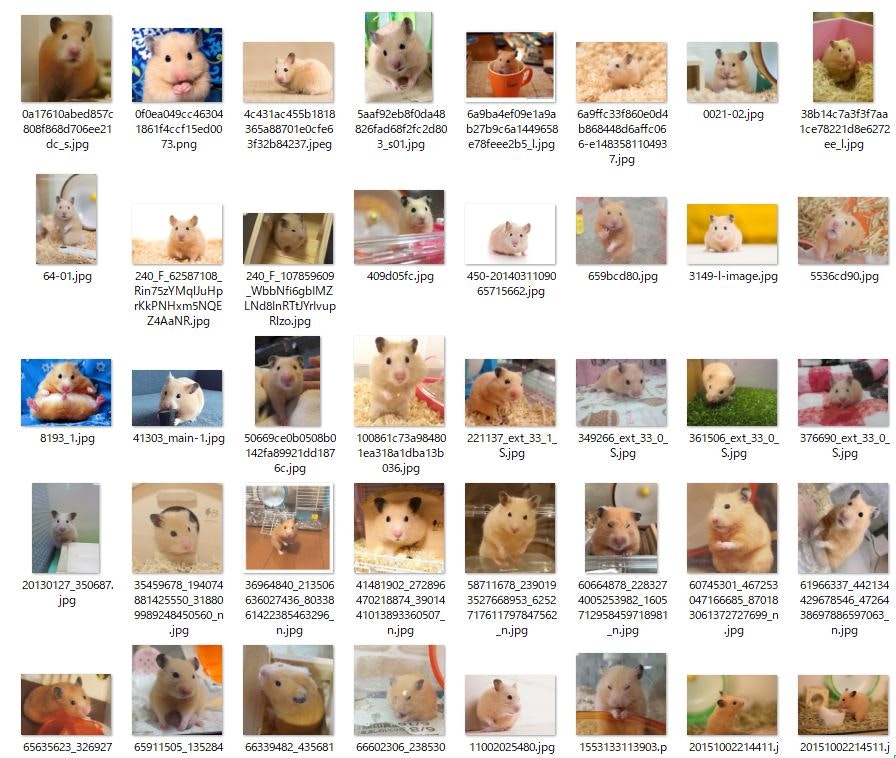
Windows10のデフォルトの写真編集機能を使い、余計な部分を除いた正方形の画像に切り抜きます。
ついでにファイル名も統一しておきます。
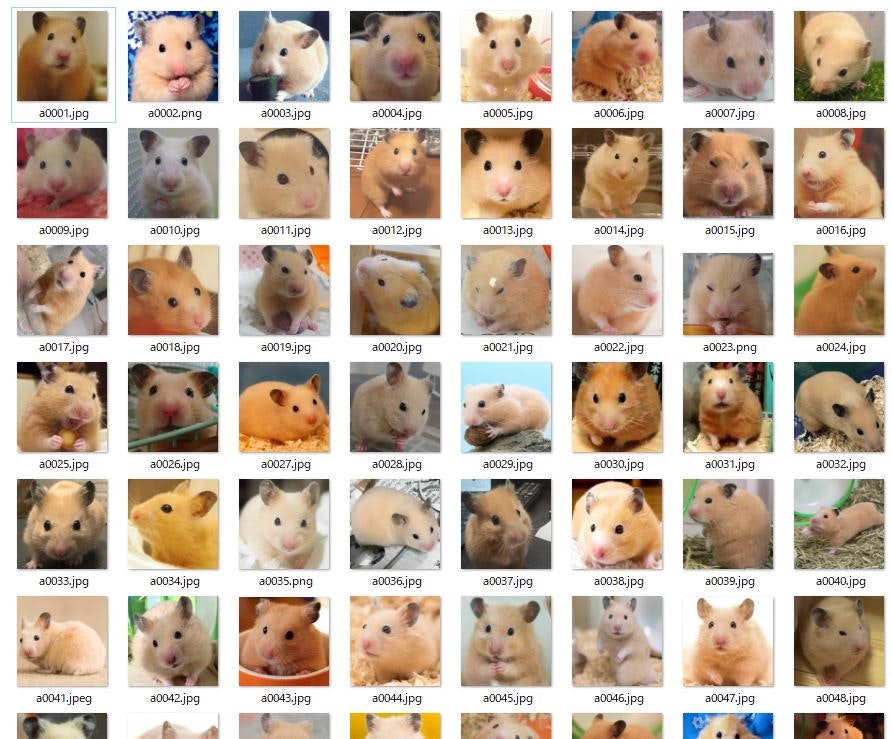
"縮小専用。"を使い、56×56サイズのモノクロ画像を作成します。
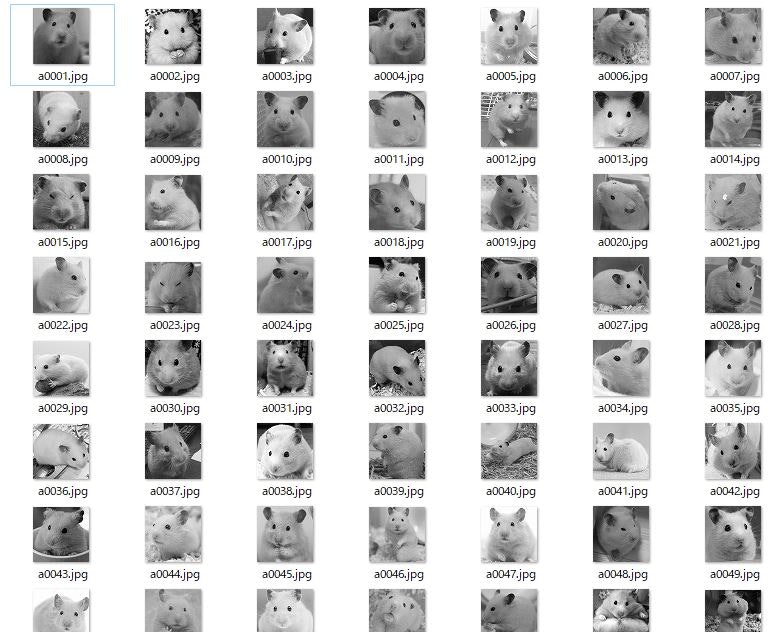
この作業をロボロフスキーハムスターの分も行います。
作成した画像はキンクマハムスターとロボロフスキーハムスターを分けてフォルダに入れます。
今回は以下のフォルダを作り、保存します。
neural_network_console_140/kinkuma/input2/kinkuma_g
neural_network_console_140/kinkuma/input2/robo_g
データセットの保存先のフォルダを作成します。
今回は以下のフォルダを作ります。
neural_network_console_140/kinkuma/output2
以上でデータセットの作成準備は完了です。
モデル作成
Neural Network Consoleを起動し、サンプルプロジェクトの
"01_logistic_regression.sdcproj"を開き、別名で保存します。
今回はkinkuma.sdcprojとしています。
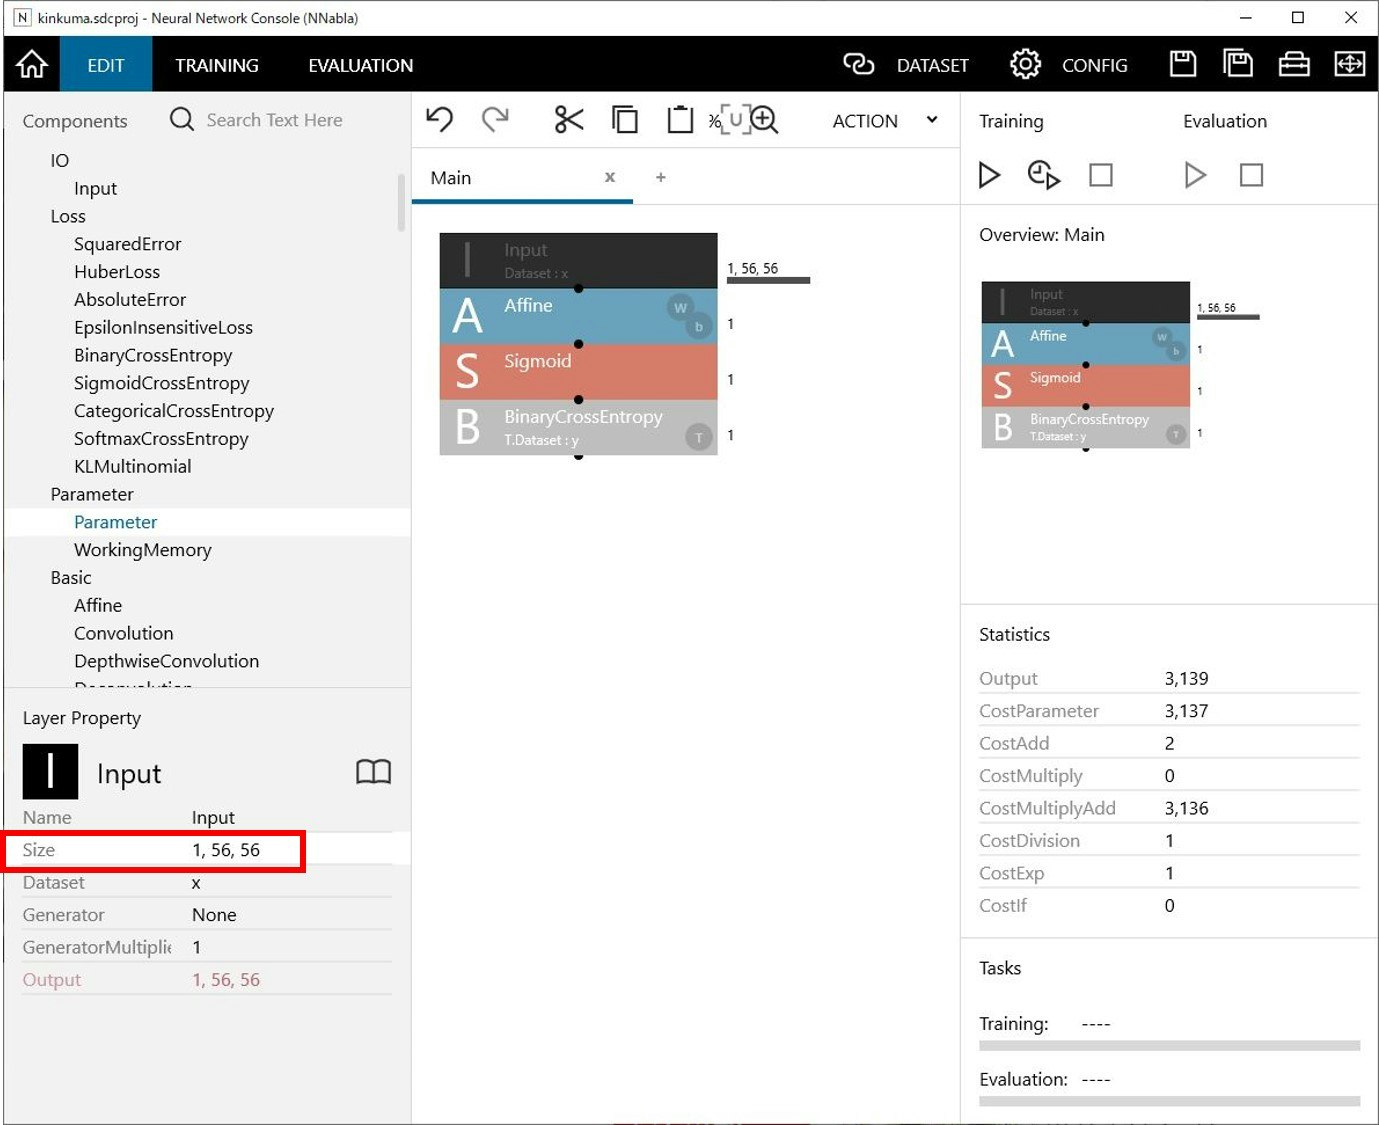
Inputをクリックして出てくるLayer PropertyのSizeを1×56×56に変更します。
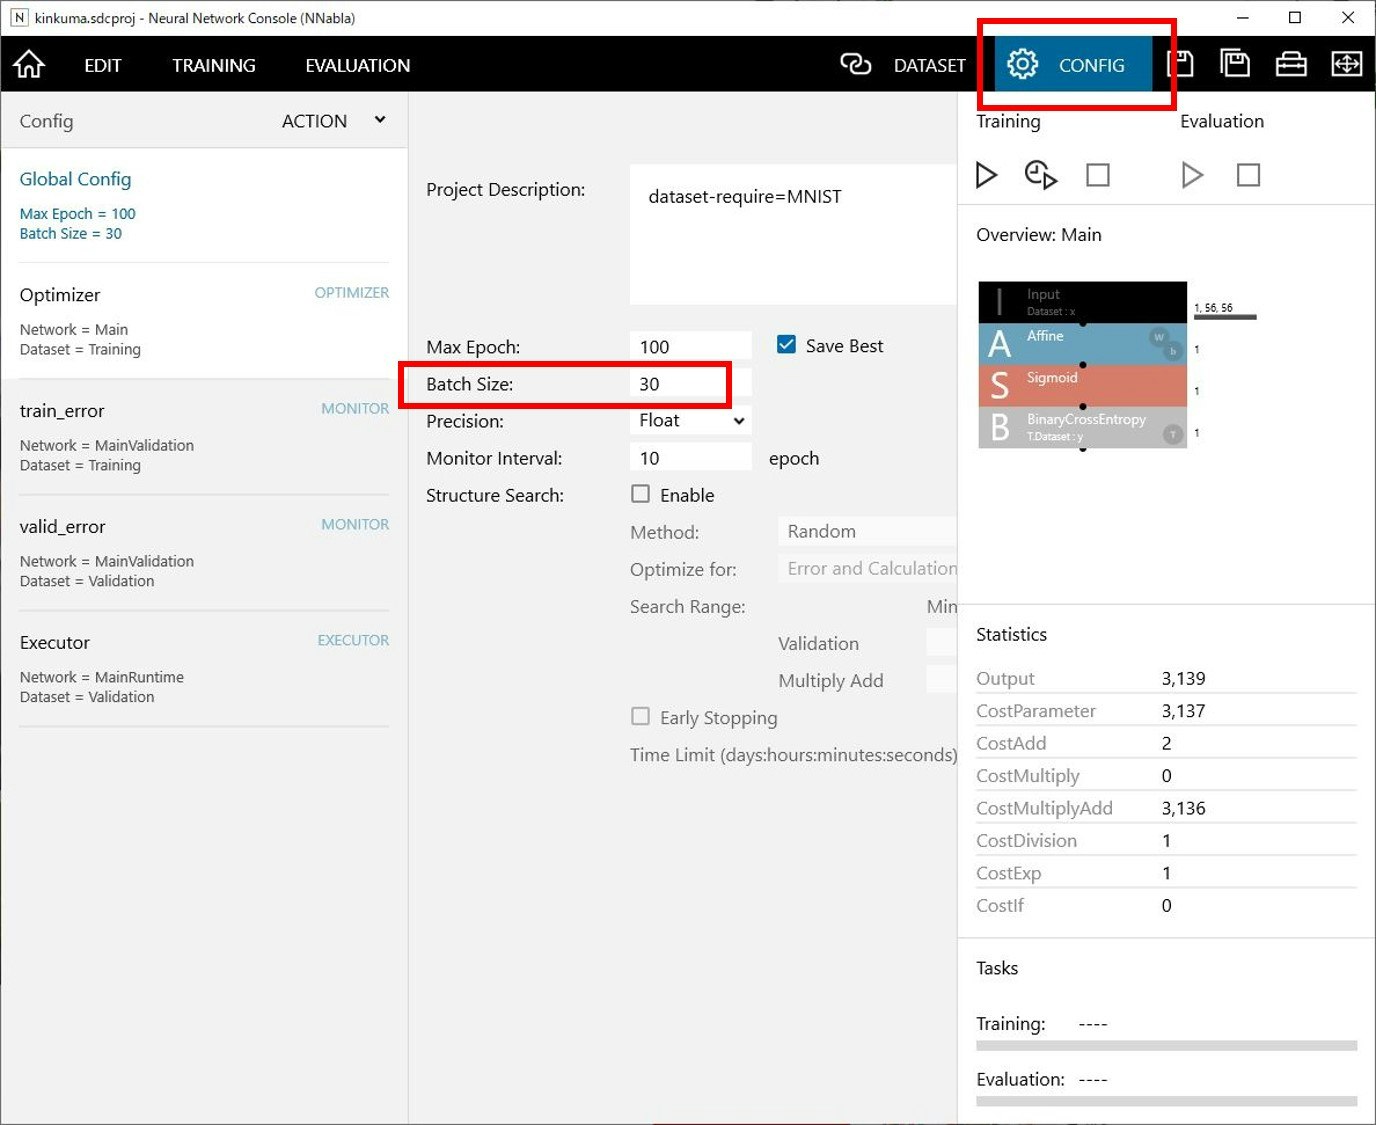
CONFIGをクリックし、Batch Sizeを30に変更します。
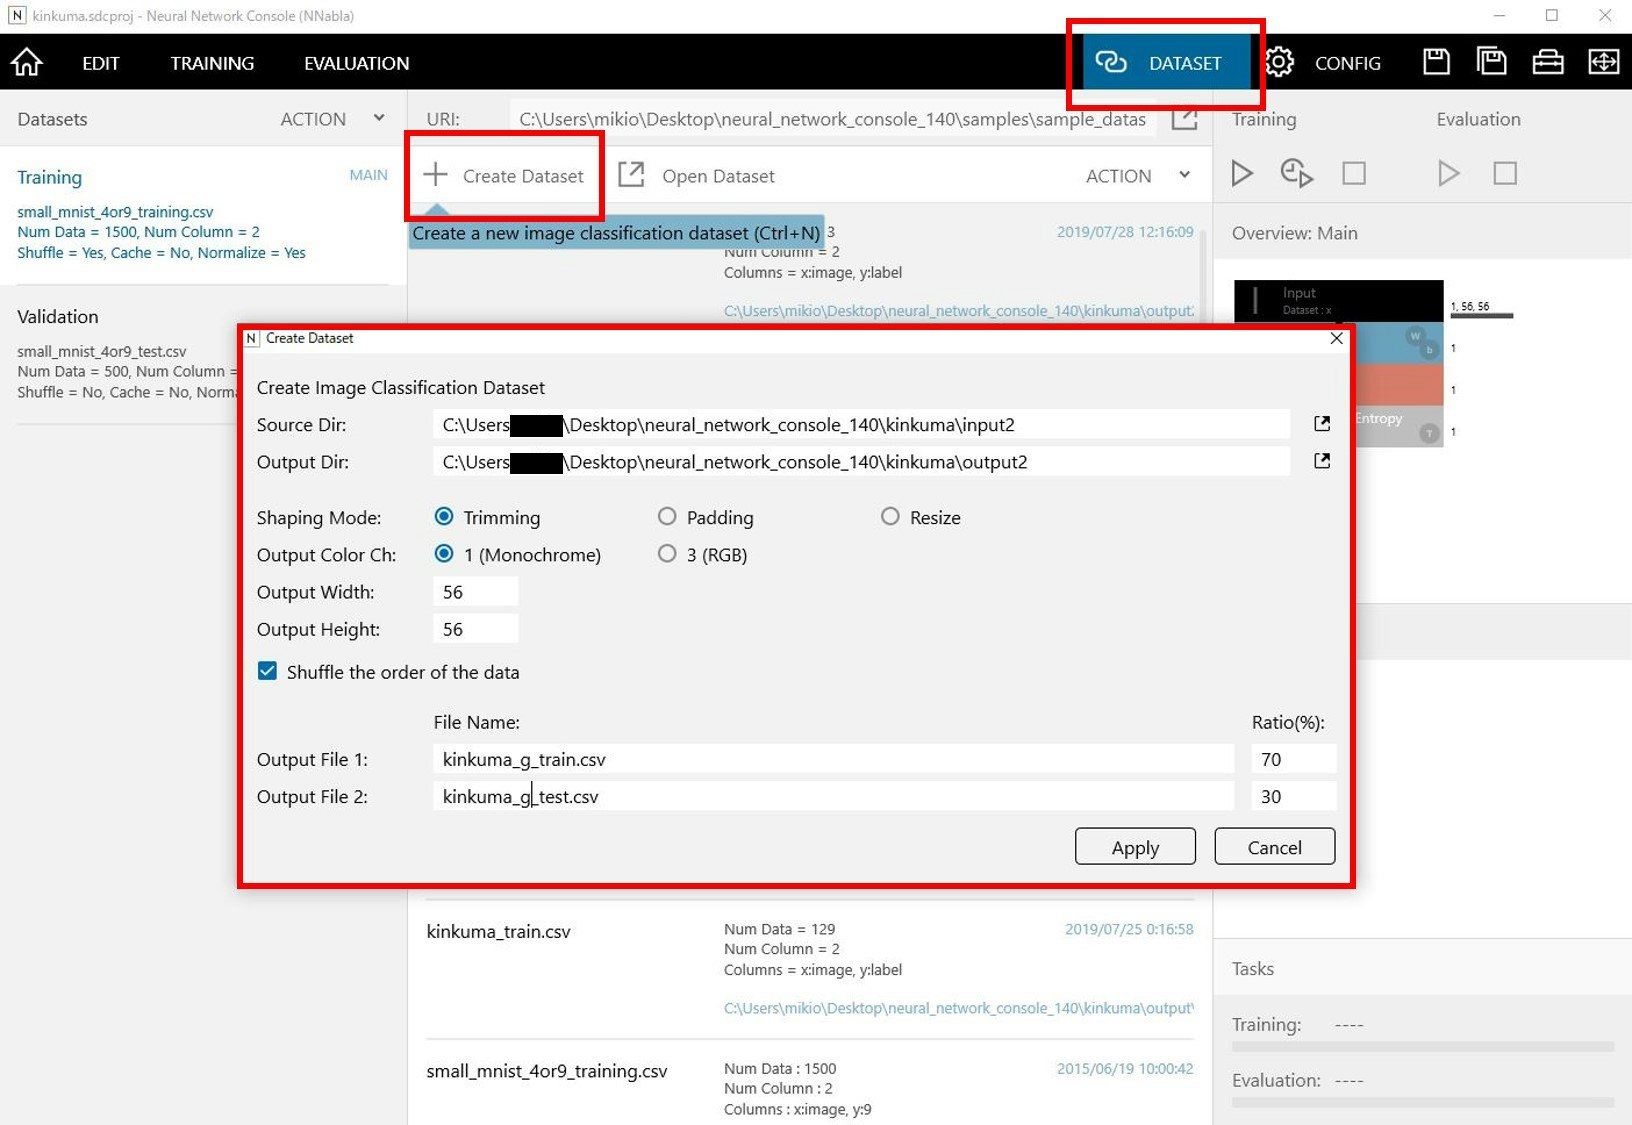
DATASETのCreate Datasetを開き、出てきたウインドウ(真ん中の赤四角内)の設定をします。
Source DirとOutput Dirはデータセット作成準備で作ったフォルダを指定します。
Shaping ModeはTriming、Output Color Chは1、
Output WidthとOutput Heightは56とします。
Output Fileは適宜名前を付け、Ratioは今回はOutput File1側を70%、Output File2側を30%とします。
Applyをクリックするとtrainとtestの各データセットがoutput2内に作成されます。
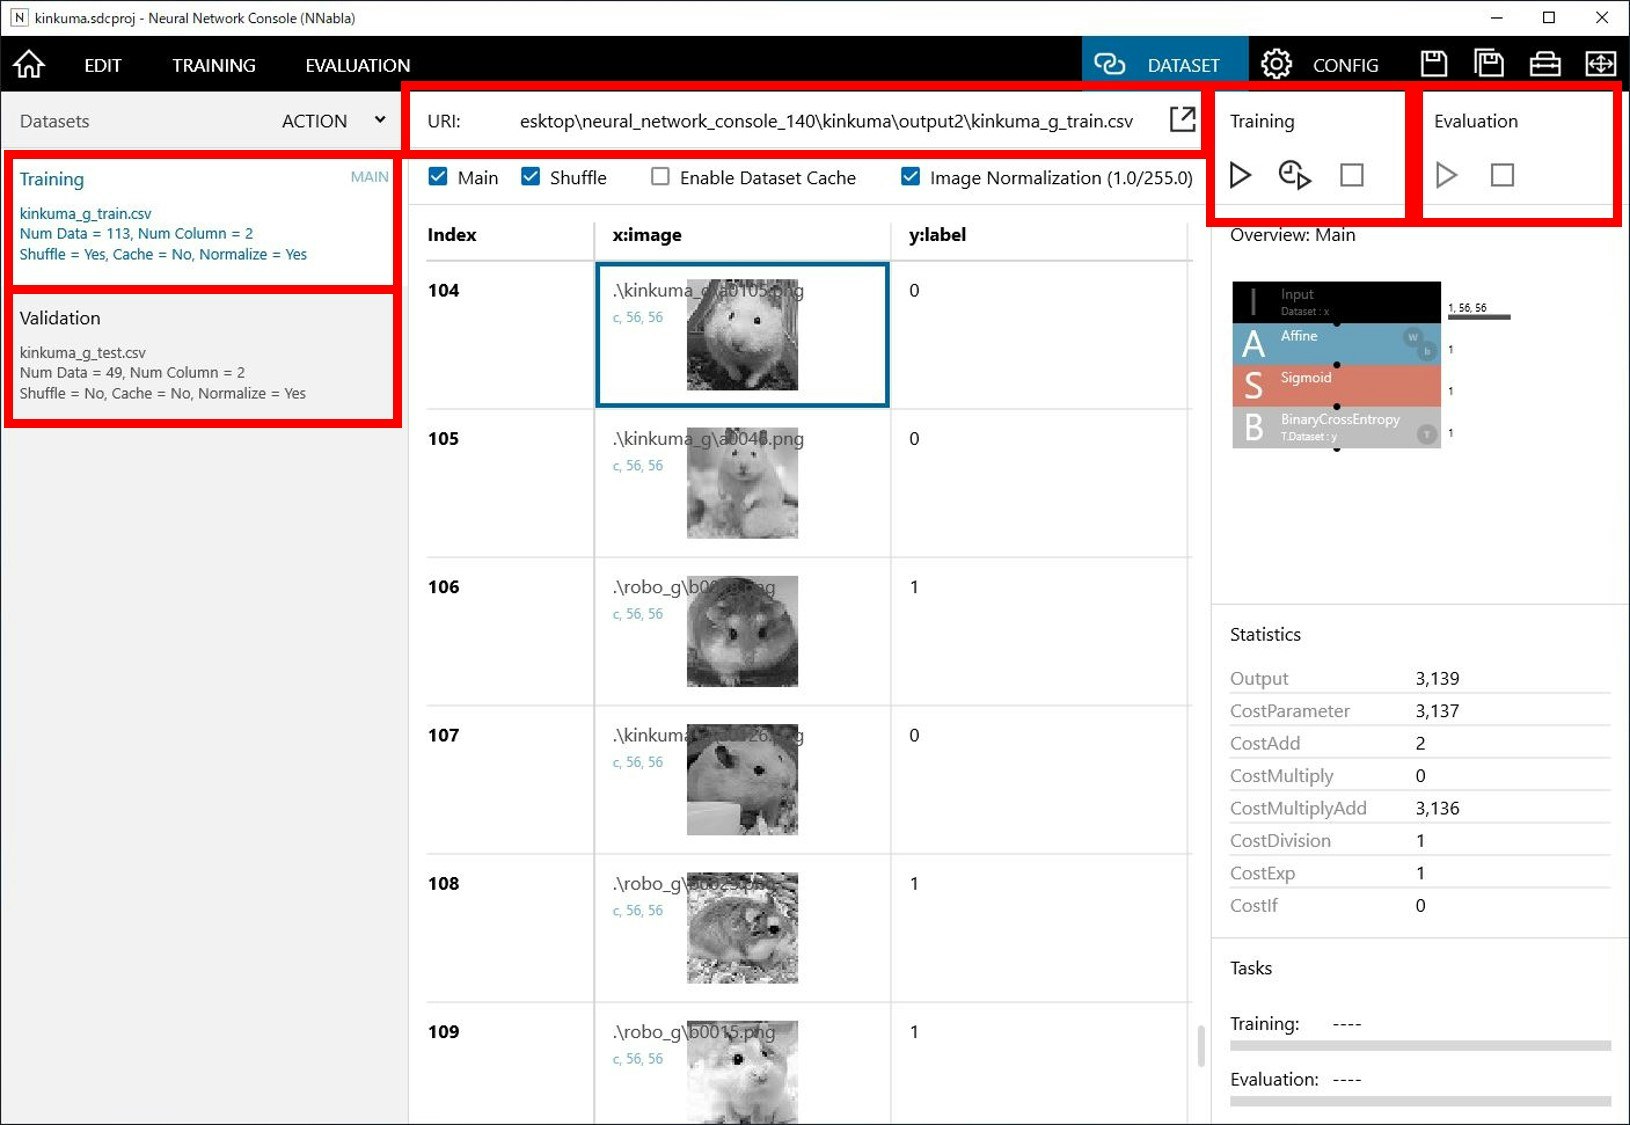
画像左側のTrainingにtrain、ValidationにtestのデータセットのURIをそれぞれ設定します。
画像右側のTrainingの方にある△(Run training)をクリックして学習を開始します。
それが終わったらEvaluationの方の△(Run evaluation)をクリックして学習データの評価します。
今回の評価結果はAccuracy:0.8979でした(まぁまぁでしょうか)。
結果を確認したらNNBファイルを出力します。
左側の赤四角で囲んである部分を右クリックし、Exportの中からNNBを選択してください。
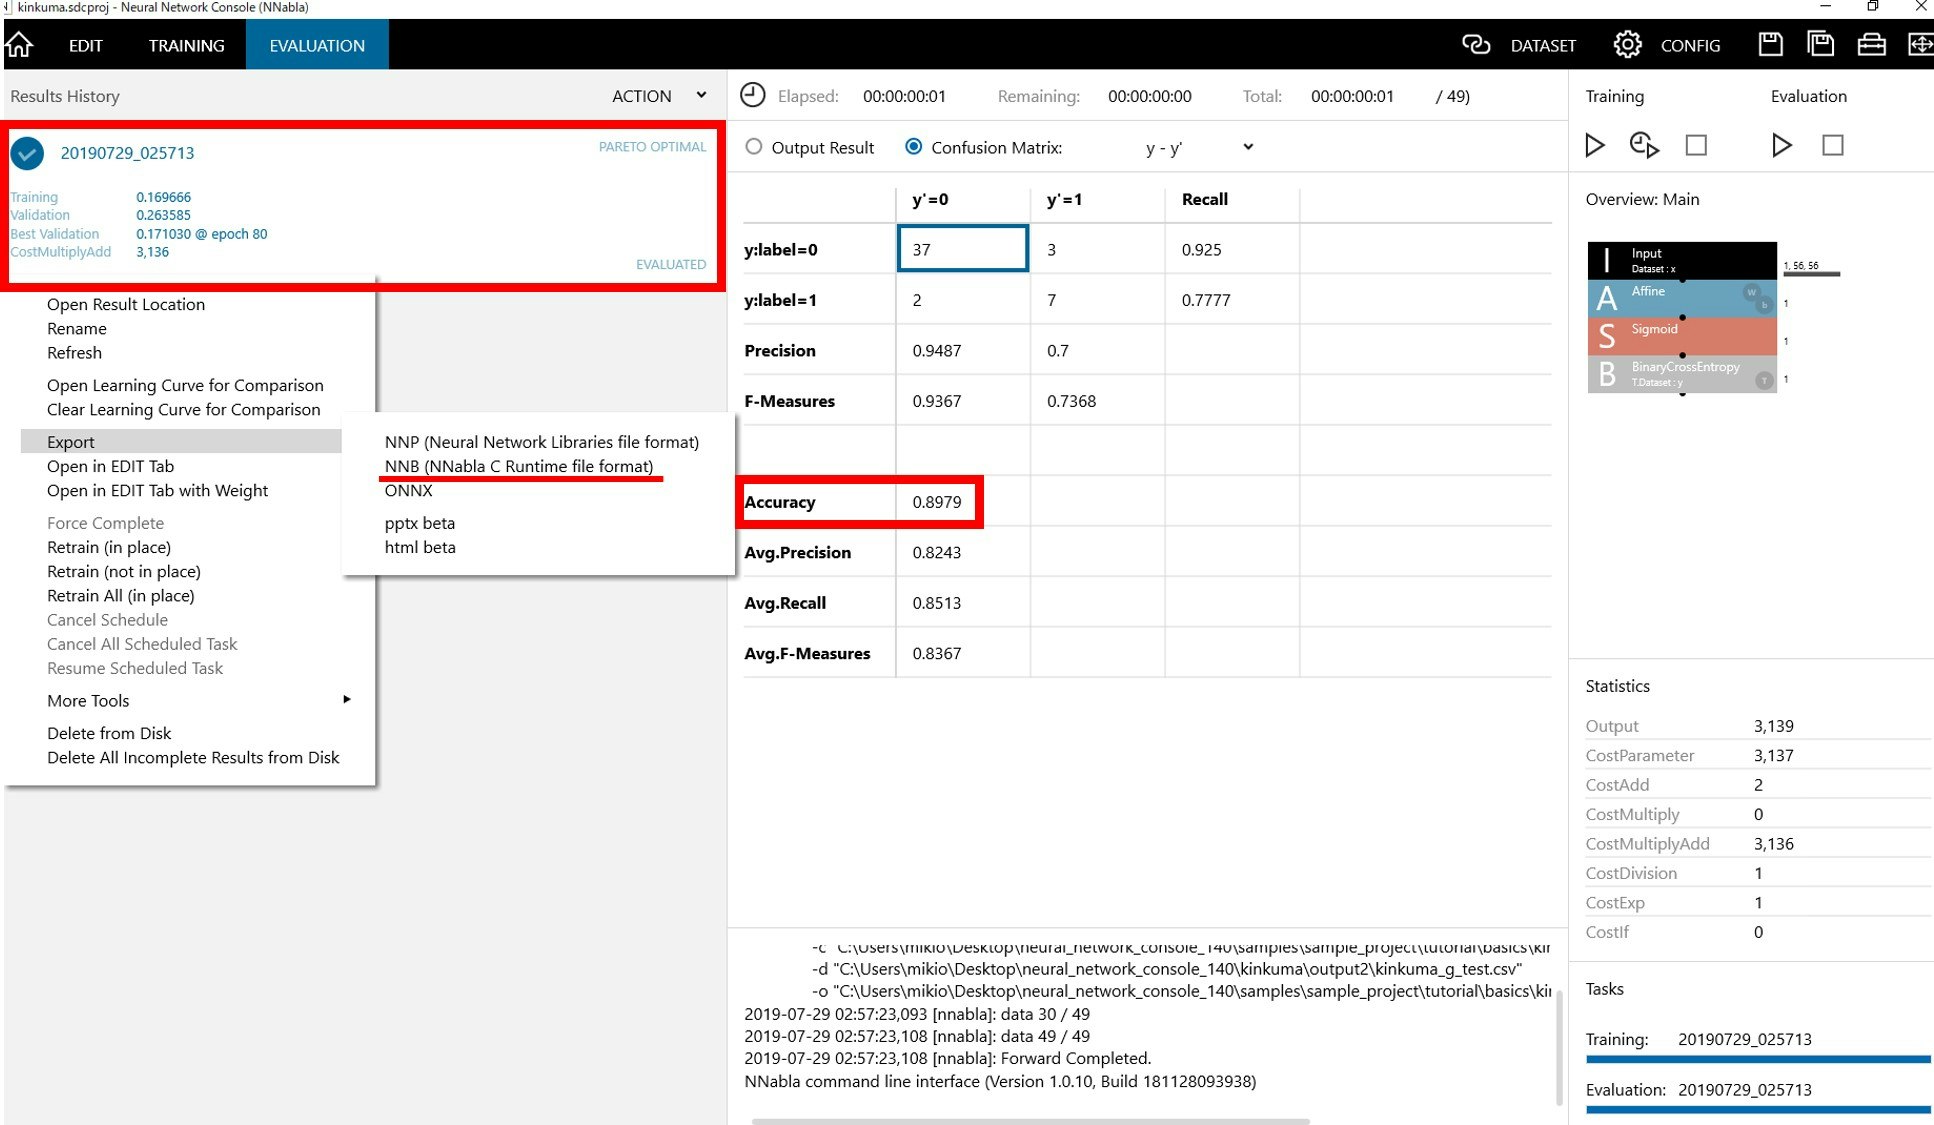
model.nnbファイルが出力されていれば学習済みモデル作成の作成は終了です。
撮影システム作成
準備
microSDカードの直下に先ほど作成した学習済みモデル(model.nnb)を置きます。
コード
以下のコードをArduino IDE経由でSpresenseに書き込みます。
# include <Camera.h>
# include <DNNRT.h>
# include <SDHCI.h>
# include <stdio.h>

# define BAUDRATE  (115200)

SDClass  theSD;
DNNRT dnnrt;

const int image_width = 56;
const int image_height = 56;
const float threshold = 0.8;

boolean save_flag = false;
int take_picture_count = 0;

void CamCB(CamImage img)
{
  if (img.isAvailable())
  {
    CamImage small_image;
    CamErr err = img.clipAndResizeImageByHW(small_image, 48, 8, 271, 231, image_width, image_height);

    if (!small_image.isAvailable())
    {
      Serial.println("Failed to clip and Resize");
      return;
    }

    DNNVariable input(image_width * image_height);
    float *buf = input.data();
    uint16_t* Imgbuf = (uint16_t*)small_image.getImgBuff();
    int i = 0;

    for (int x = 0; x < image_width; x++)
    {
      for (int y = 0; y < image_height; y++)
      {
        buf[i] = (float)((*(Imgbuf + i) & 0xFF00) >> 8)/255.0;
        i++;
      }
    }

    dnnrt.inputVariable(input, 0);
    dnnrt.forward();
    DNNVariable output = dnnrt.outputVariable(0);

    if((output[0] > threshold))
    {
      save_flag = true;
    }
  }
  else
  {
      Serial.print("Failed to get video stream image\n");
  }
}

void setup()
{
  Serial.begin(BAUDRATE);
  while (!Serial)
  {
    ;
  }

  File nnbfile("model.nnb");
  if (!nnbfile)
  {
    Serial.print("nnb not found");
    return;
  }

  int ret = dnnrt.begin(nnbfile);
  if (ret < 0)
  {
    Serial.print("Runtime initialization failure. ");
    Serial.print(ret);
    Serial.println();
    return;
  }

  Serial.println("Prepare camera");
  theCamera.begin();

  Serial.println("Start streaming");
  theCamera.startStreaming(true, CamCB);

  Serial.println("Set Auto white balance parameter");
  theCamera.setAutoWhiteBalanceMode(CAM_WHITE_BALANCE_DAYLIGHT);

  Serial.println("Start streaming");
  theCamera.setStillPictureImageFormat(
     CAM_IMGSIZE_QUADVGA_H,
     CAM_IMGSIZE_QUADVGA_V,
     CAM_IMAGE_PIX_FMT_JPG);
}

void loop()
{
  usleep(100 * 1000);
  if (take_picture_count < 1000)
  {
    Serial.println("call takePicture()");
    CamImage img = theCamera.takePicture();

    if(save_flag)
    {
      if (img.isAvailable())
      {
        char filename[16] = {0};
        sprintf(filename, "PICT%03d.JPG", take_picture_count);

        Serial.print("Save taken picture as ");
        Serial.print(filename);
        Serial.println("");

        theSD.remove(filename);
        File myFile = theSD.open(filename, FILE_WRITE);
        myFile.write(img.getImgBuff(), img.getImgSize());
        myFile.close();
      }
      take_picture_count++;
    }
    save_flag = false;
  }
  else
  {
    dnnrt.end();
    theCamera.end();
  }
}
結果
いい感じの写真が撮れるようになりました。
ですが、まだ微妙な写真が撮れることもあるので改良の余地はありそうです。
参考
学習済みモデル作成
ドラッグ&ドロップでディープラーニング!NeuralNetworkConsoleの使い方
撮影システム作成
SpresenseとNeural Network Consoleのハンズオンに参加して気づいたこと。
Spresense Study meeting#1 How to use the Camera board
