はじめに
Amazon Cognitoを利用して、Expressを使ったバックエンドアプリケーションに認証機能を実装する方法書きます。Amazon Cognitoは、ユーザーサインインやサインアップを簡単かつセキュアに行えるサービスで、ユーザー管理を手軽に実現できます。
TypeScriptでバックエンド開発したい!という方の参考になれば幸いです。
目次
必要な前提条件
この記事を進めるには以下の準備が必要です。
- Node.jsとnpmのインストール
- AWSアカウントの作成
該当リポジトリ
Expressのセットアップ
Node.js環境でExpressアプリケーションをセットアップします。
npm init -y
必要なライブラリをインストール
npm install aws-sdk dotenv express jsonwebtoken ts-node typescript
開発用の依存関係として型定義をインストールします。これらは開発中に型チェックを行うためのものです。
npm install --save-dev @types/express @types/jsonwebtoken
tsconfig.jsonを設定
{
  "compilerOptions": {
    "target": "ES6",
    "module": "CommonJS",
    "strict": true,
    "esModuleInterop": true,
    "skipLibCheck": true,
    "outDir": "./dist",
    "resolveJsonModule": true
  },
  "include": ["src/**/*"],
  "exclude": ["node_modules"]
}
ソースコード記述
Cognitoの認証機能を利用して以下のエンドポイントを実装
- signUp: 新規ユーザーを登録
- confirmSignUp: ユーザーのメールアドレスを確認するための処理
- signIn: ユーザーがサインイン(ログイン)
- logout: アクセストークンを使用してユーザーをログアウト
import AWS from 'aws-sdk';
import { Request, Response } from 'express';

const cognito = new AWS.CognitoIdentityServiceProvider();
const clientId = process.env.COGNITO_CLIENT_ID as string;

export const signUp = async (req: Request, res: Response) => {
  const { username, password, email } = req.body;

  const params = {
    ClientId: clientId,
    Username: username,
    Password: password,
    UserAttributes: [
      {
        Name: 'email',
        Value: email,
      },
    ],
  };

  try {
    const data = await cognito.signUp(params).promise();
    res.status(200).json({ message: 'ユーザー登録が成功しました', data });
  } catch (error) {
    res.status(400).json({ message: 'ユーザー登録に失敗しました', error });
  }
};

export const confirmSignUp = async (req: Request, res: Response) => {
  const { username, code } = req.body;

  const params = {
    ClientId: clientId,
    Username: username,
    ConfirmationCode: code,
  };

  try {
    const data = await cognito.confirmSignUp(params).promise();
    res.status(200).json({ message: 'ユーザー確認が成功しました', data });
  } catch (error) {
    res.status(400).json({ message: 'ユーザー確認に失敗しました', error });
  }
};

export const signIn = async (req: Request, res: Response) => {
  const { username, password } = req.body;

  const params = {
    AuthFlow: 'USER_PASSWORD_AUTH',
    ClientId: clientId,
    AuthParameters: {
      USERNAME: username,
      PASSWORD: password,
    },
  };

  try {
    const data = await cognito.initiateAuth(params).promise();
    res.status(200).json({ message: 'サインインが成功しました', data });
  } catch (error) {
    res.status(400).json({ message: 'サインインに失敗しました', error });
  }
};

export const logout = async (req: Request, res: Response) => {
  const token = req.headers.authorization?.split(' ')[1];

  if (!token) {
    res.status(401).json({ message: 'トークンが提供されていません' });
    return;
  }

  const params = {
    AccessToken: token,
  };

  try {
    await cognito.globalSignOut(params).promise();
    res.status(200).json({ message: 'ログアウトが成功しました' });
  } catch (error) {
    res.status(400).json({ message: 'ログアウトに失敗しました', error });
  }
};
ユーザーの認証トークンを検証するためのミドルウェアを実装。ヘッダーに提供されたトークンの有効性を確認し、トークンが無効であれば401エラーを返す。
import { Request, Response, NextFunction } from 'express';
import { JwtPayload } from 'jsonwebtoken';
import AWS from 'aws-sdk';

export interface AuthenticatedRequest extends Request {
  user?: string | JwtPayload;
}

export const verifyToken = (req: AuthenticatedRequest, res: Response, next: NextFunction) => {
  const token = req.headers.authorization?.split(' ')[1];
  const cognito = new AWS.CognitoIdentityServiceProvider();

  if (!token) {
    res.status(401).json({ message: 'トークンが提供されていません' });
    return;
  }

  // Cognitoを使ってトークンの有効性を確認
  cognito.getUser({ AccessToken: token }, (err, data) => {
    if (err) {
      console.error('Cognito getUser error:', err);
      res.status(401).json({ message: 'トークンが無効です', error: err.message });
      return;
    }

    // ユーザー情報を`req.user`に格納して次のミドルウェアへ
    req.user = data;
    next();
  });
};
認証関連のルートを設定
import express from 'express';
import { Response } from 'express';
import { signUp, confirmSignUp, signIn, logout } from '../controllers/authController';
import { AuthenticatedRequest, verifyToken } from '../middleware/authMiddleware';

const router = express.Router();

router.post('/signup', signUp);
router.post('/confirm-signup', confirmSignUp);
router.post('/signin', signIn);
router.post('/logout', logout)
router.get('/protected', verifyToken, (req: AuthenticatedRequest, res: Response) => {
  res.status(200).json({ message: '保護されたルートにアクセスできました', user: req.user });
});

export default router;
Expressアプリケーションの設定
import 'dotenv/config';
import express from 'express';
import AWS from 'aws-sdk';
import authRoutes from './routes/auth';

const app = express();

app.use(express.json());

AWS.config.update({
  region: process.env.AWS_REGION,
  accessKeyId: process.env.AWS_ACCESS_KEY_ID,
  secretAccessKey: process.env.AWS_SECRET_ACCESS_KEY,
});

app.use('/auth', authRoutes);

const PORT = process.env.PORT || 3000;
app.listen(PORT, () => {
  console.log(`Server is running on port ${PORT}`);
});
AWSセットアップ
Amazon Cognito
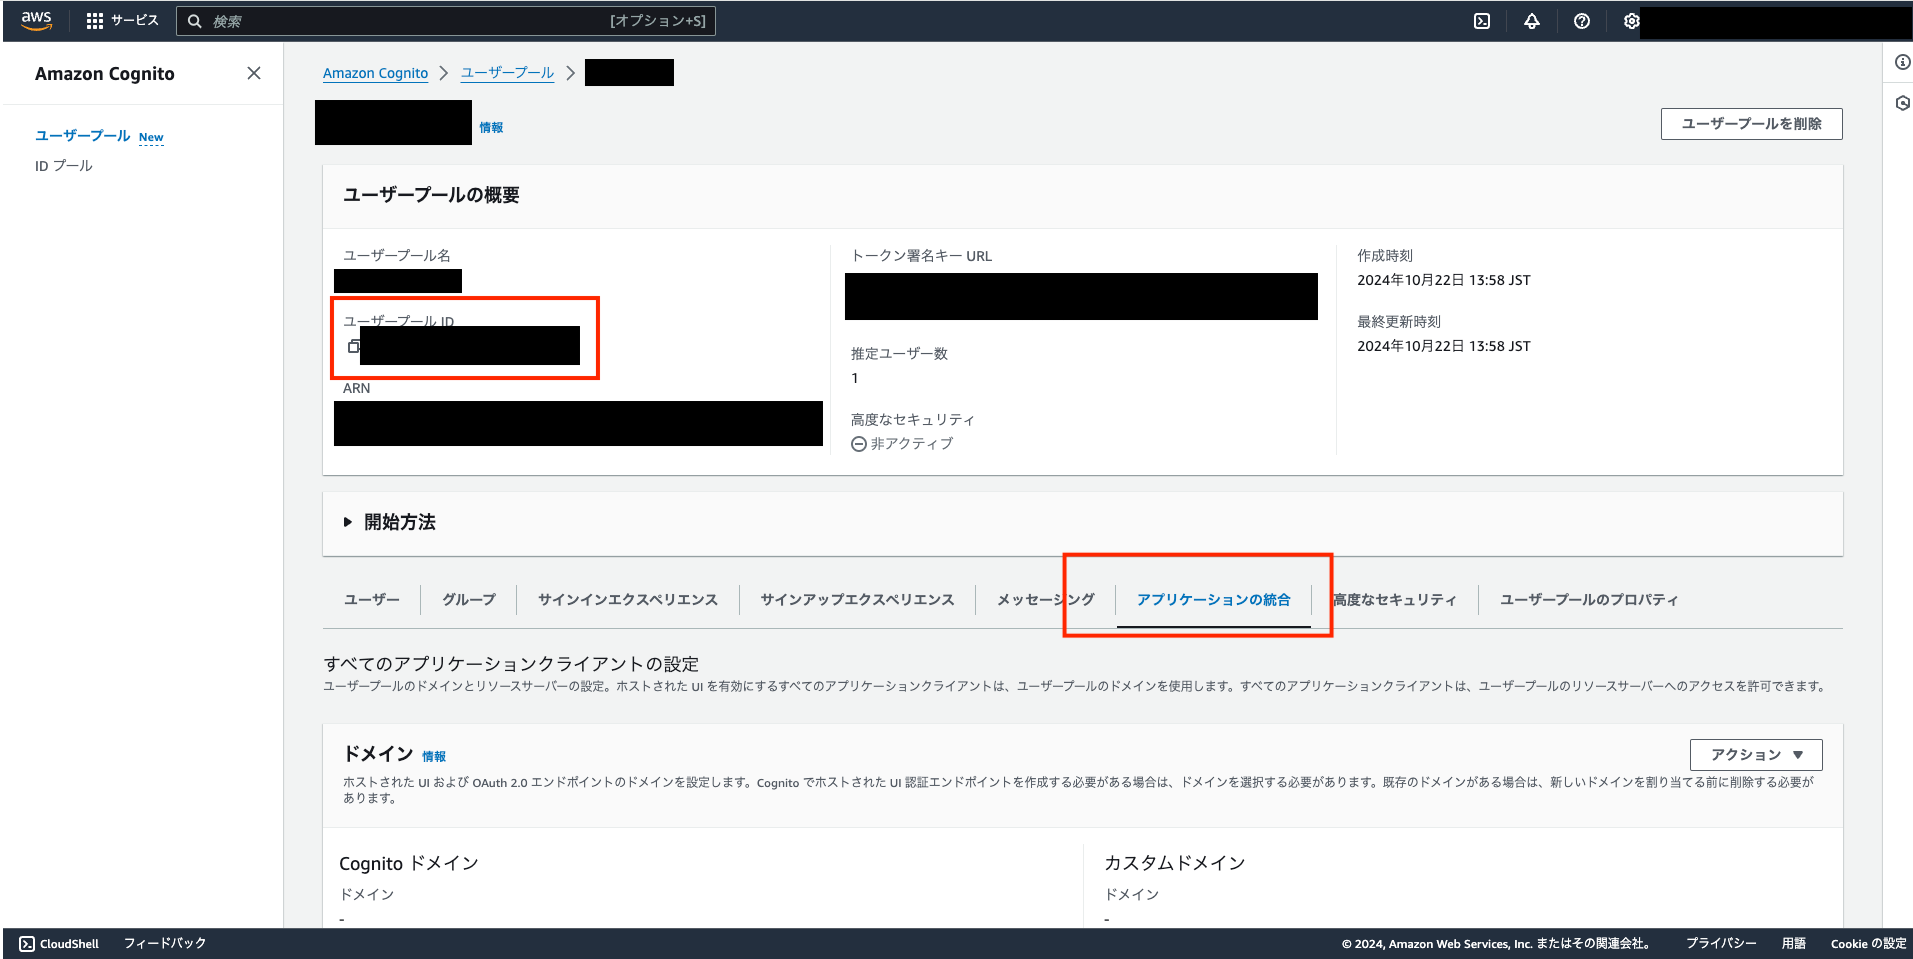
下記記事を参考にユーザープールの作成
Amazon IAM
アクセスキーは下記記事を参考に作成
ローカル環境で試したい場合、ユースケースは「ローカルコード」でいいと思います
.envセット
AWS_REGION=ap-northeast-1
AWS_ACCESS_KEY_ID=xxx
AWS_SECRET_ACCESS_KEY=xxx
COGNITO_USER_POOL_ID=xxx
COGNITO_CLIENT_ID=xxx
動作確認
サーバー起動
npx ts-node src/app.ts
ユーザー登録
curl -X POST http://localhost:3000/auth/signup \
  -H "Content-Type: application/json" \
  -d '{"username": "xxx@gmail.co.jp", "password": "xxxxxxxxx", "email": "xxx@gmail.co.jp"}'
ユーザー認証。codeはユーザー登録時に入力したメール記載されてます
curl -X POST http://localhost:3000/auth/confirm-signup \
  -H "Content-Type: application/json" \
  -d '{"username": "xxx@gmail.co.jp", "code": "123456"}'
ログイン
curl -X POST http://localhost:3000/auth/signin \
  -H "Content-Type: application/json" \
  -d '{"username": "xxx@gmail.co.jp", "password": "xxxxxxxxx"}'
認証必要なAPIを実行する
curl -X GET http://localhost:3000/auth/protected \
  -H "Authorization: Bearer eyJraWQiOiJ..."
ログアウト
curl -X POST http://localhost:3000/auth/logout \
  -H "Authorization: Bearer eyJraWQiOiJ..."
再度同じトークンで認証必要なAPIを実行してみる
curl -X GET http://localhost:3000/auth/protected \
  -H "Authorization: Bearer eyJraWQiOiJ..."
トークンが無効になっていることを確認
{"message":"トークンが無効です","error":"Access Token has been revoked"}
おわりに
Amazon Cognitoを使えば簡単に認証することができました。
メールアドレス変更やパスワードリセットもAmazon Cognitoでできれば本格的な認証アプリ開発ができると思います。この記事が認証の参考になれば幸いです。
最後までお読みいただきありがとうございます!

