Cognitoのユーザー認証を触っている流れで、認証後にアプリにユーザーを戻す処理でユニバーサルリンクを使用しました。
S3にapple-app-site-associationを配置する方法はこちらの記事(Universal Linksを試してみました。関連づけファイル(apple-app-site-association)はS3に置きました。)を参考にさせていただいていたのですが、実際にやってみると自分の環境では公開する静的サイトをhttpsに対応させることなども必要だったので行った手順をまとめました。
ユニバーサルリンク用のS3とCloudFrontの設定
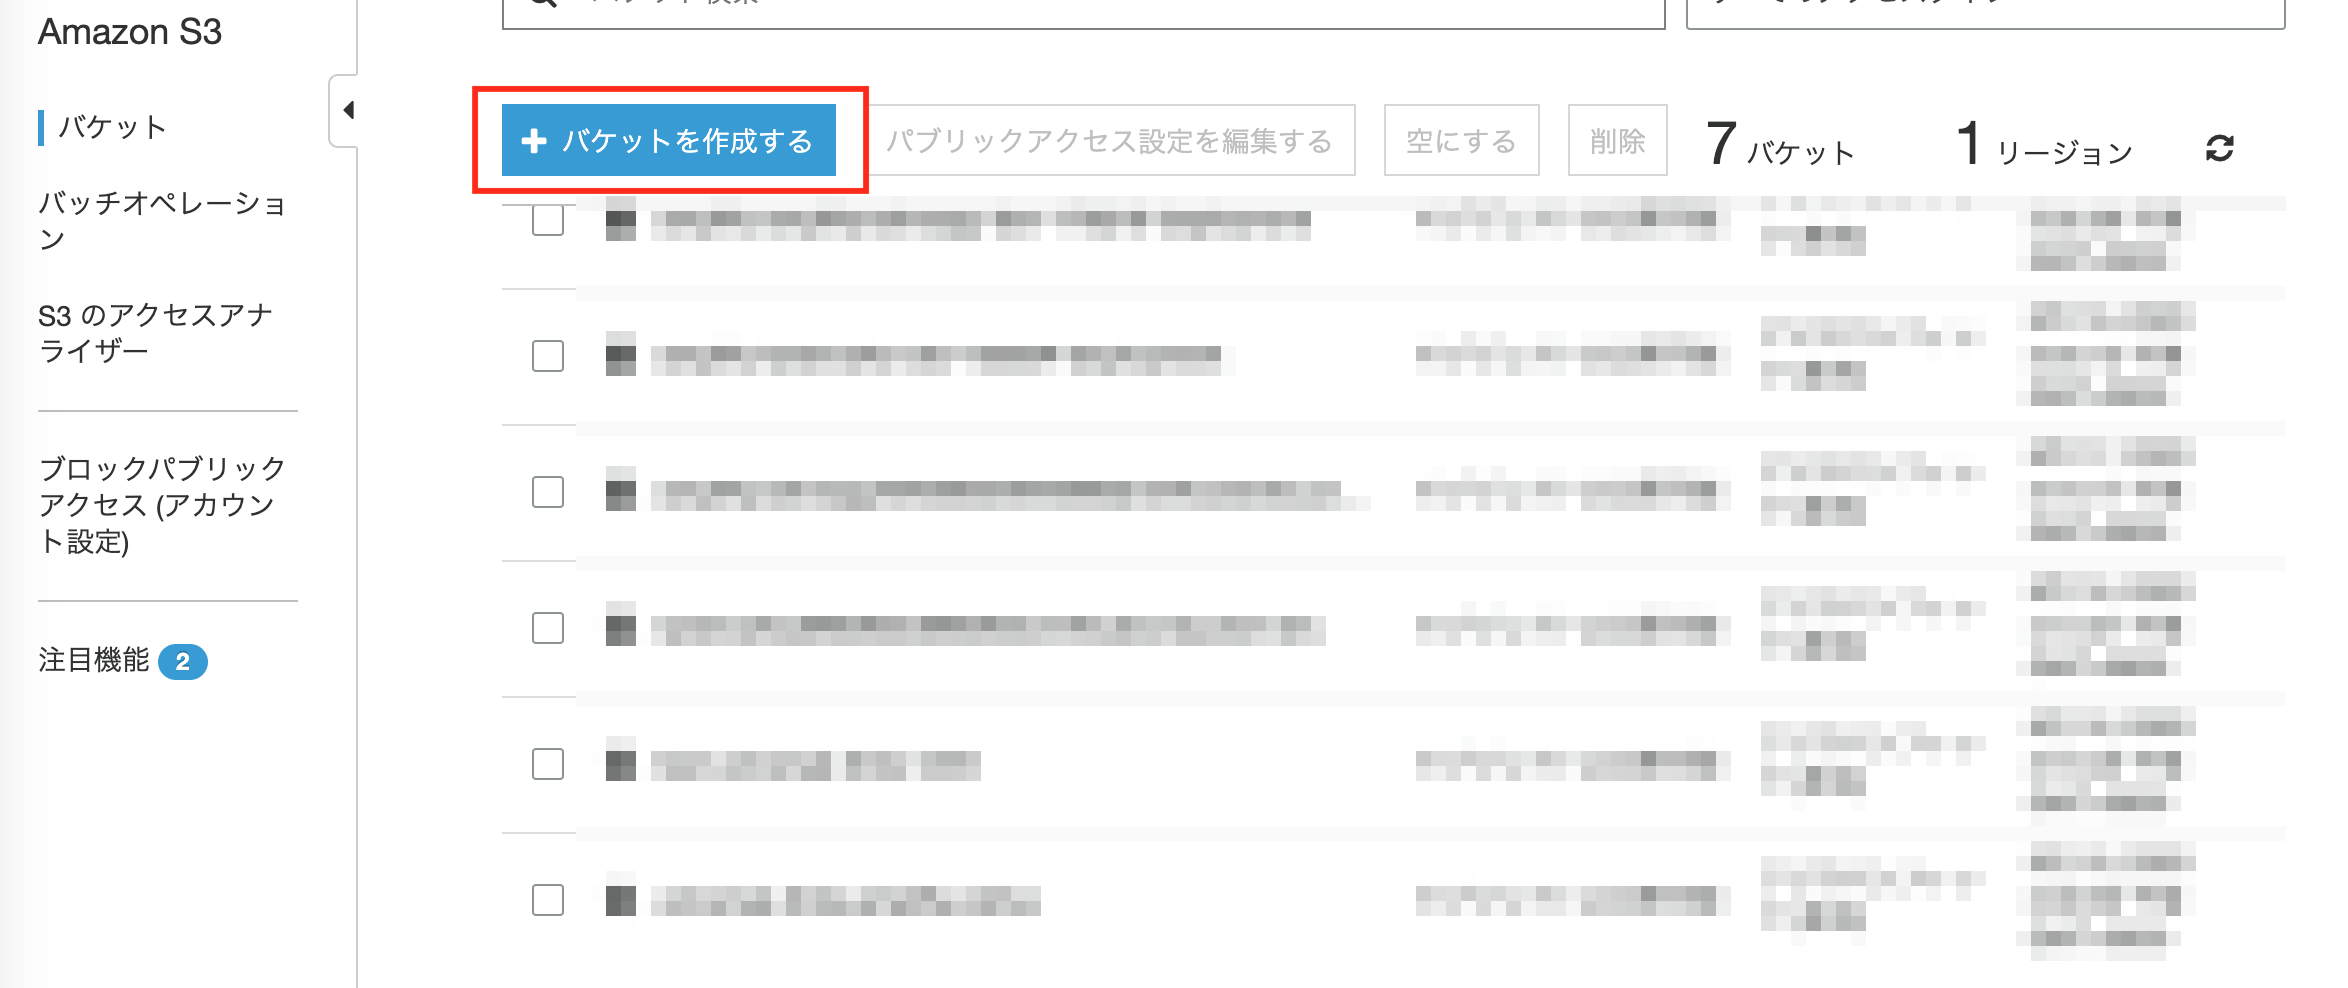
S3にユニバーサルリンク用のバケットを追加していきます。
次に適当なindex.htmlと.well-knownディレクトリの下にapple-app-site-associationファイルをアップしていきます。
階層的にはこんな感じになります。
S3バケット
┣━ .well-known ━ apple-app-site-association
┗━ index.html
apple-app-site-associationは以下のようなよくある感じのものをアップしました。
appIDに指定するTeam IDとバンドルIDはApple開発者サイトのIdentifiersのAppIDの詳細で確認できます。
{
  "applinks": {
       "apps": [],
        "details": [
           {
               "appID":"{Team ID}.{アプリのBundle ID}",
               "paths":[ "*" ]
           }
         ]
    }
}
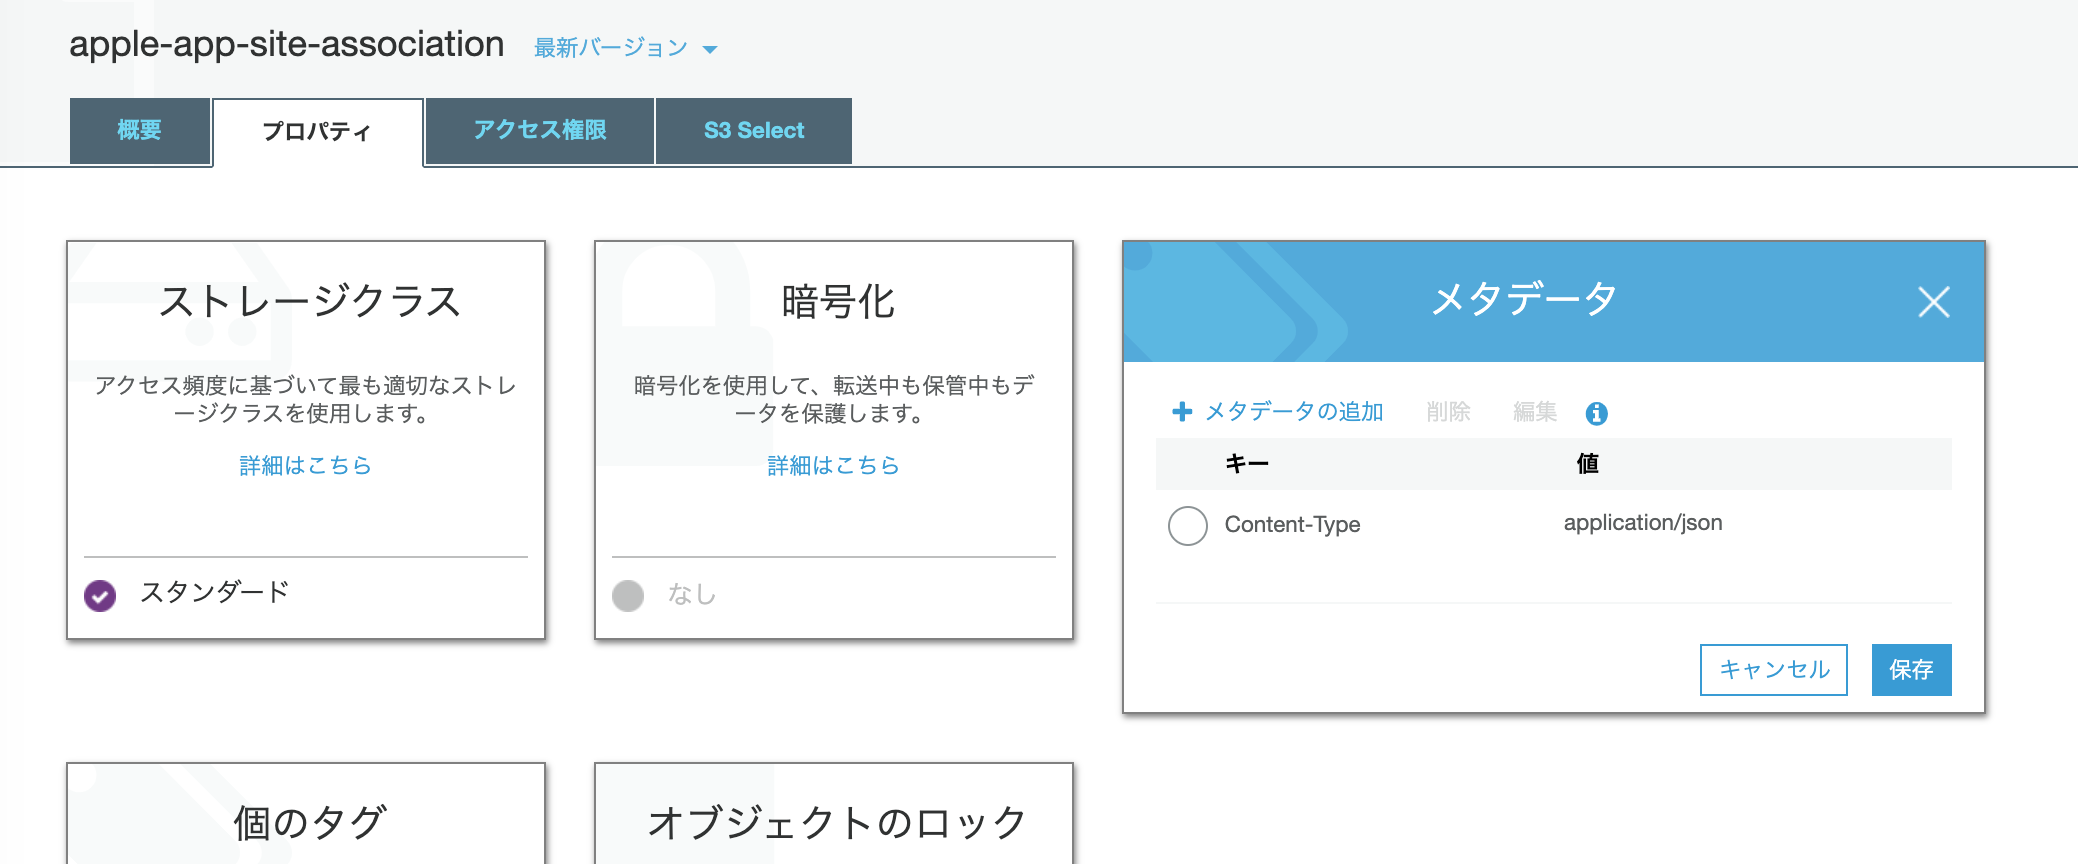
ファイルをアップロード後にapple-app-site-associationのContent-Typeをapplication/jsonに変更しておきます。
apple-app-site-associationを選択してプロパティの項目からメタデータで変更できます。
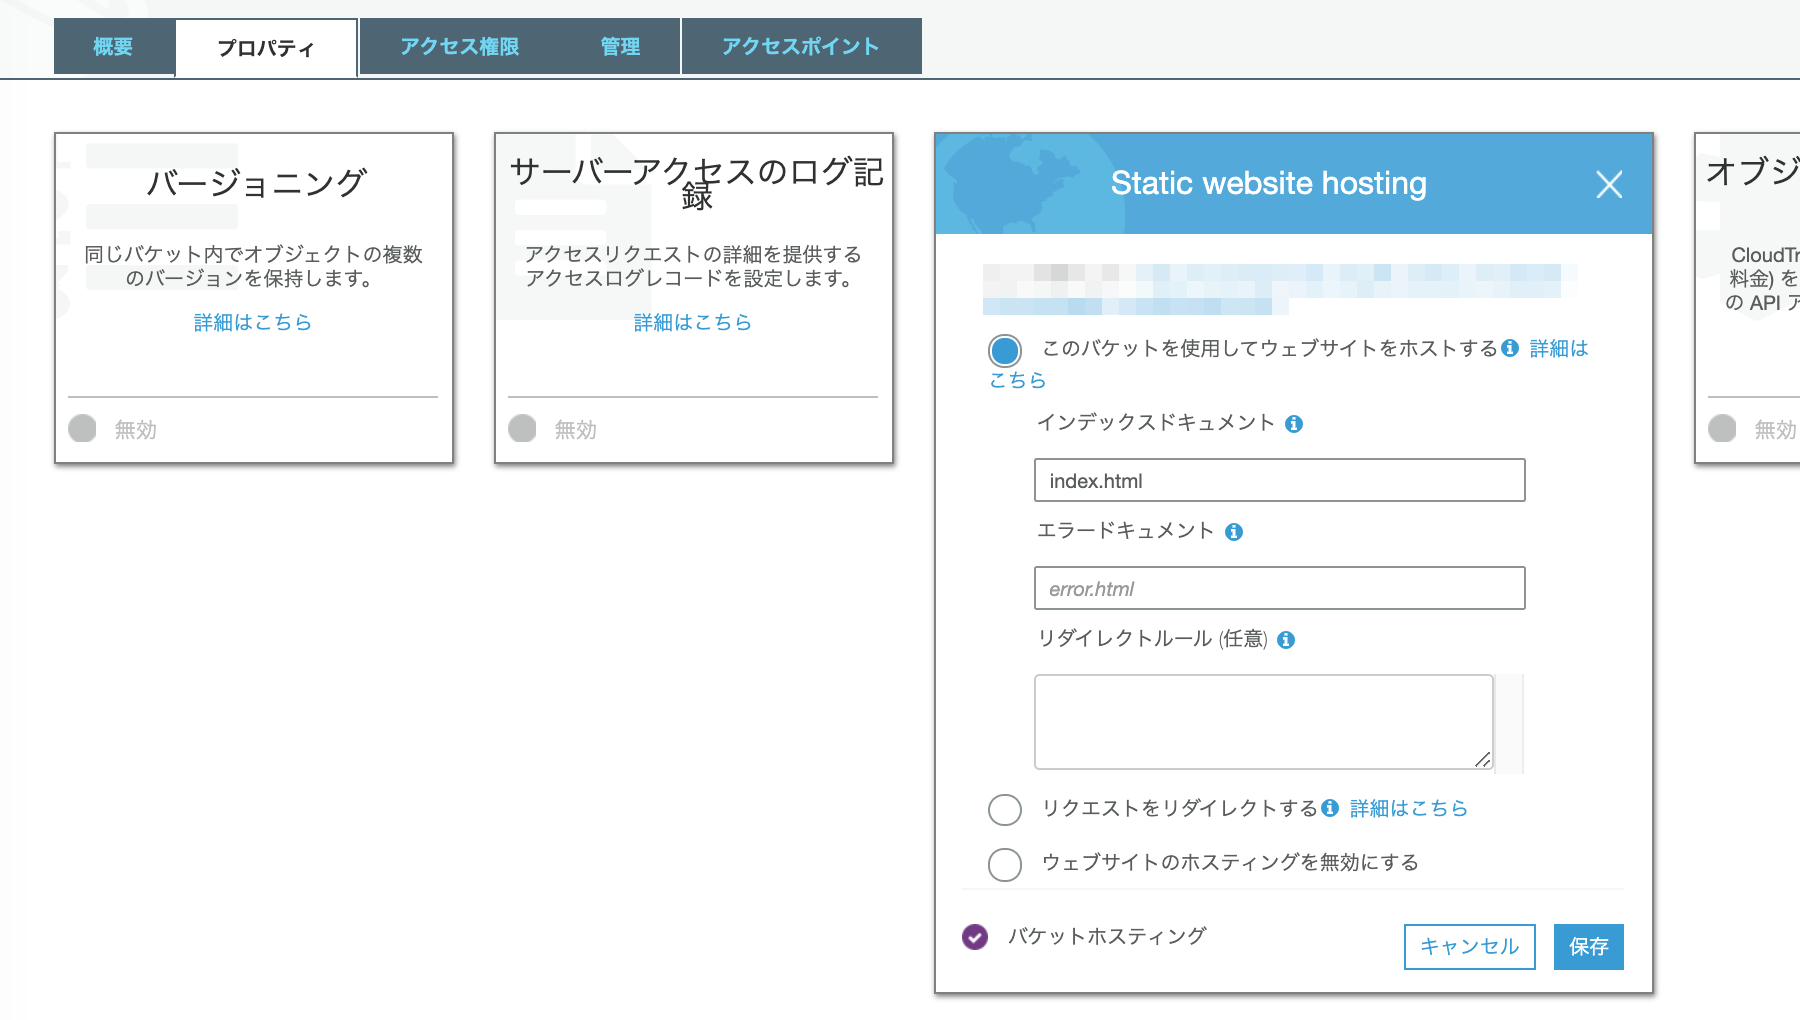
次に作成したバケットで Static website hosting を有効にします。
インデックスドキュメントにはindex.htmlを指定しておきます。
このままだとhttpのままなのでhttpsになるようにAWS CloudFrontを利用していきます。
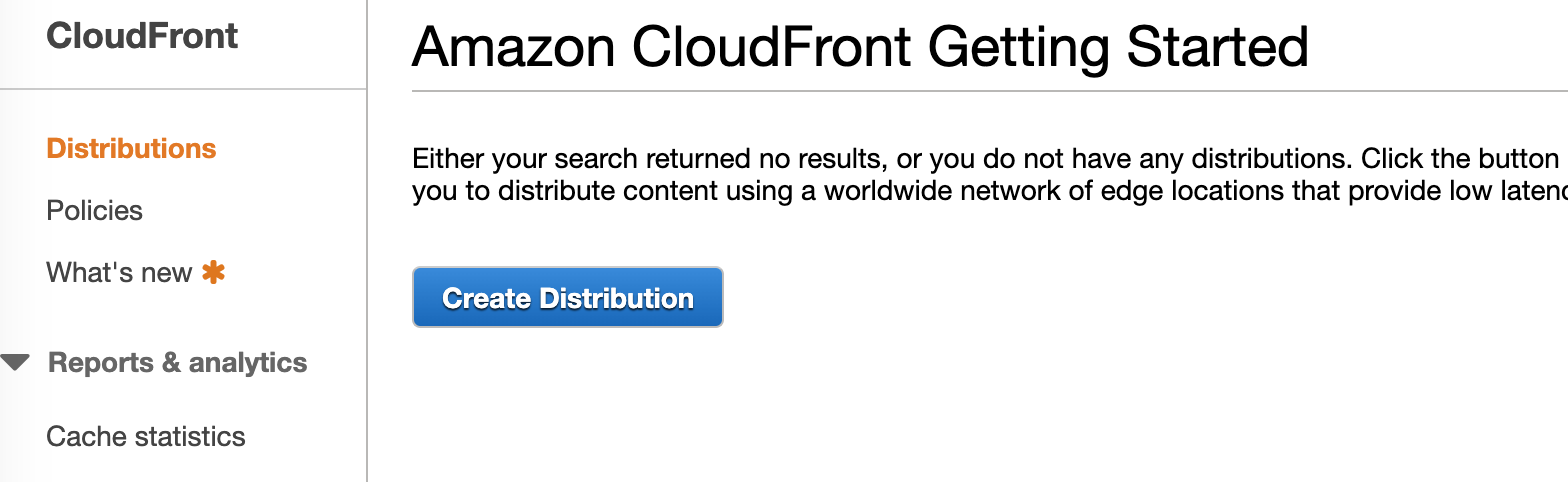
CreateDistributionを選択
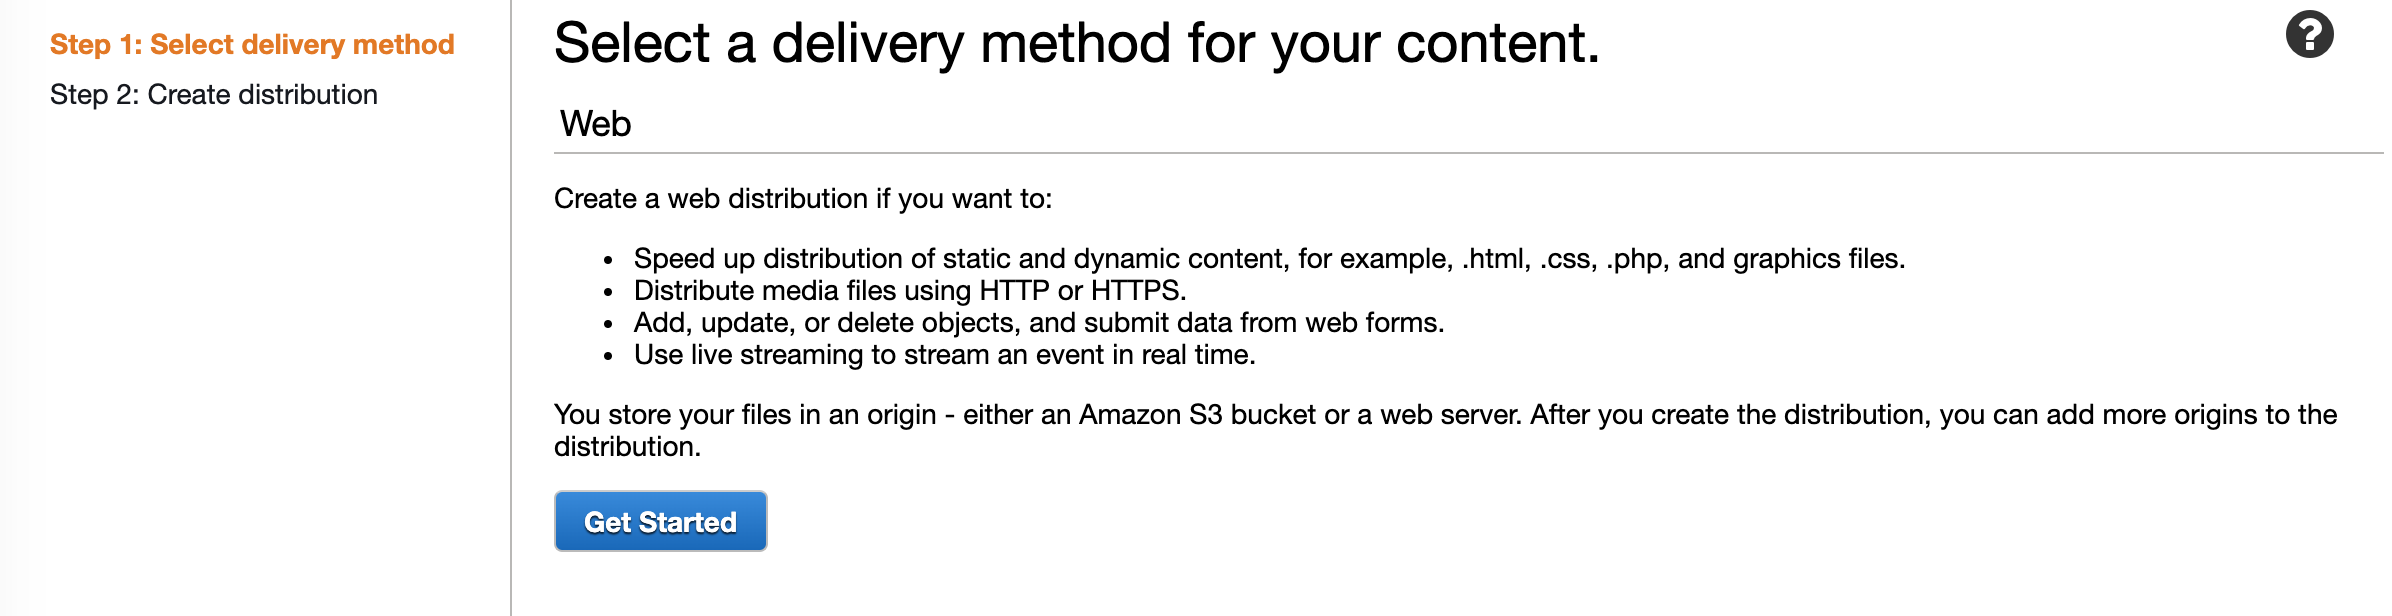
Webの方のGet Startedを選択
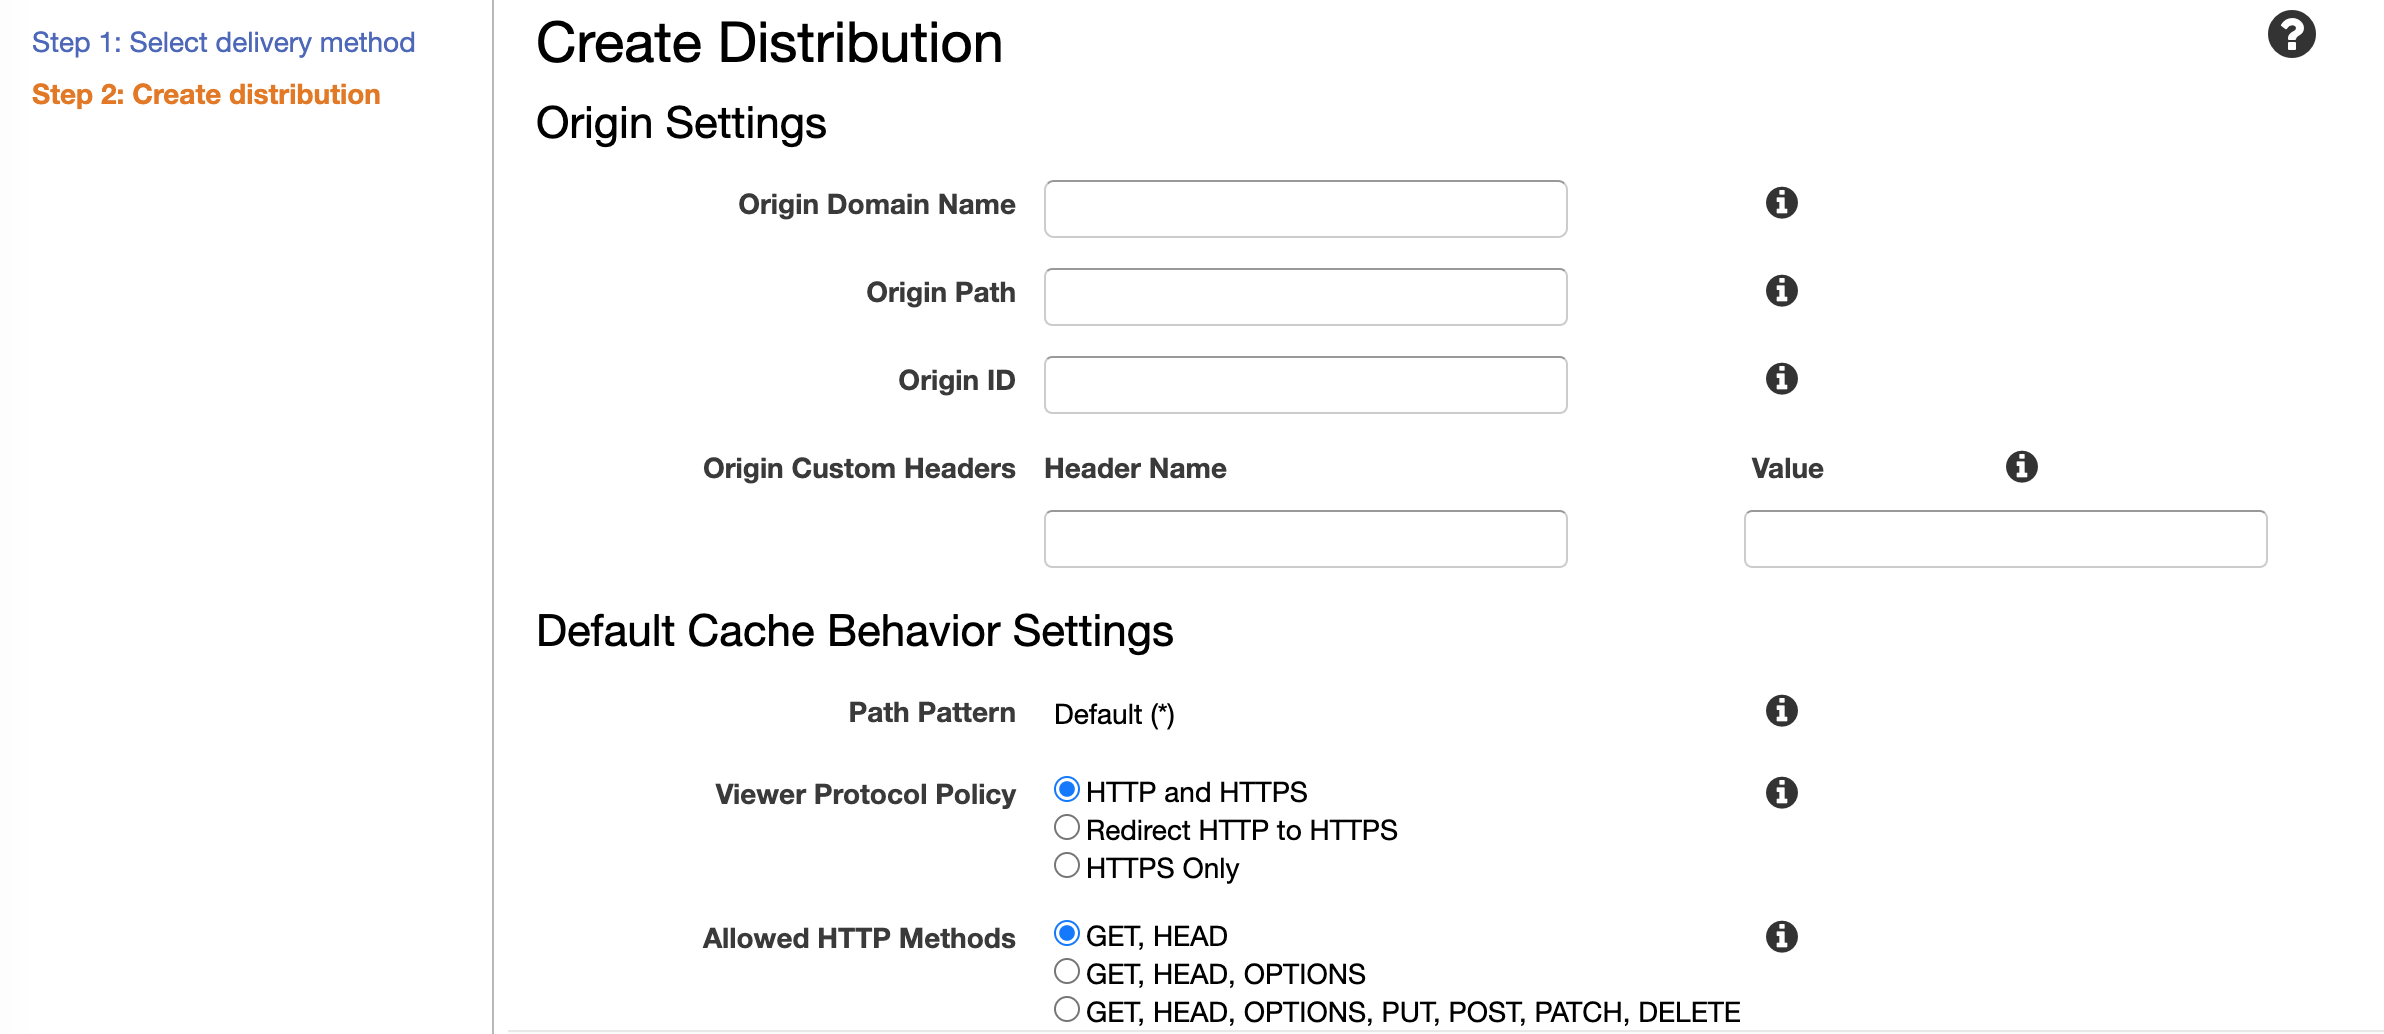
ここから詳細情報の入力になります。
今回設定した項目だけ箇条書きで出します。
- Origin Domain Nameは選択候補が出てくるのでAmazon S3 Bucketの項目から先ほど追加したユニバーサルリンク用のバケットを選択する
- Origin IDはOrigin Domain Name選択後に自動入力されるのでそのまま
- Restrict Bucket Accessはyesを選択
- Grant Read Permissions on Bucketはyesを選択
- Viewer Protocol PolicyはRedirect HTTP to HTTPSを選択
-
Distribution Settings
- Default Root Object は今回はindex.html
- 一通り入力したらCreate Distribution
作成に成功したら ****.cloudfront.net というドメインが取得できますのでブラウザなどで https://****.cloudfront.net にアクセスしてindex.htmlの内容が表示されるのを確認します。
あとはhttps://****.cloudfront.net/.well-known/apple-app-site-association にもアクセスしてjsonが表示されていれば大丈夫です。
ユニバーサルリンク用のアプリ設定
アップルの開発者サイトでapple-app-site-association指定したAppIDのAssociated Domainsにチェックします。
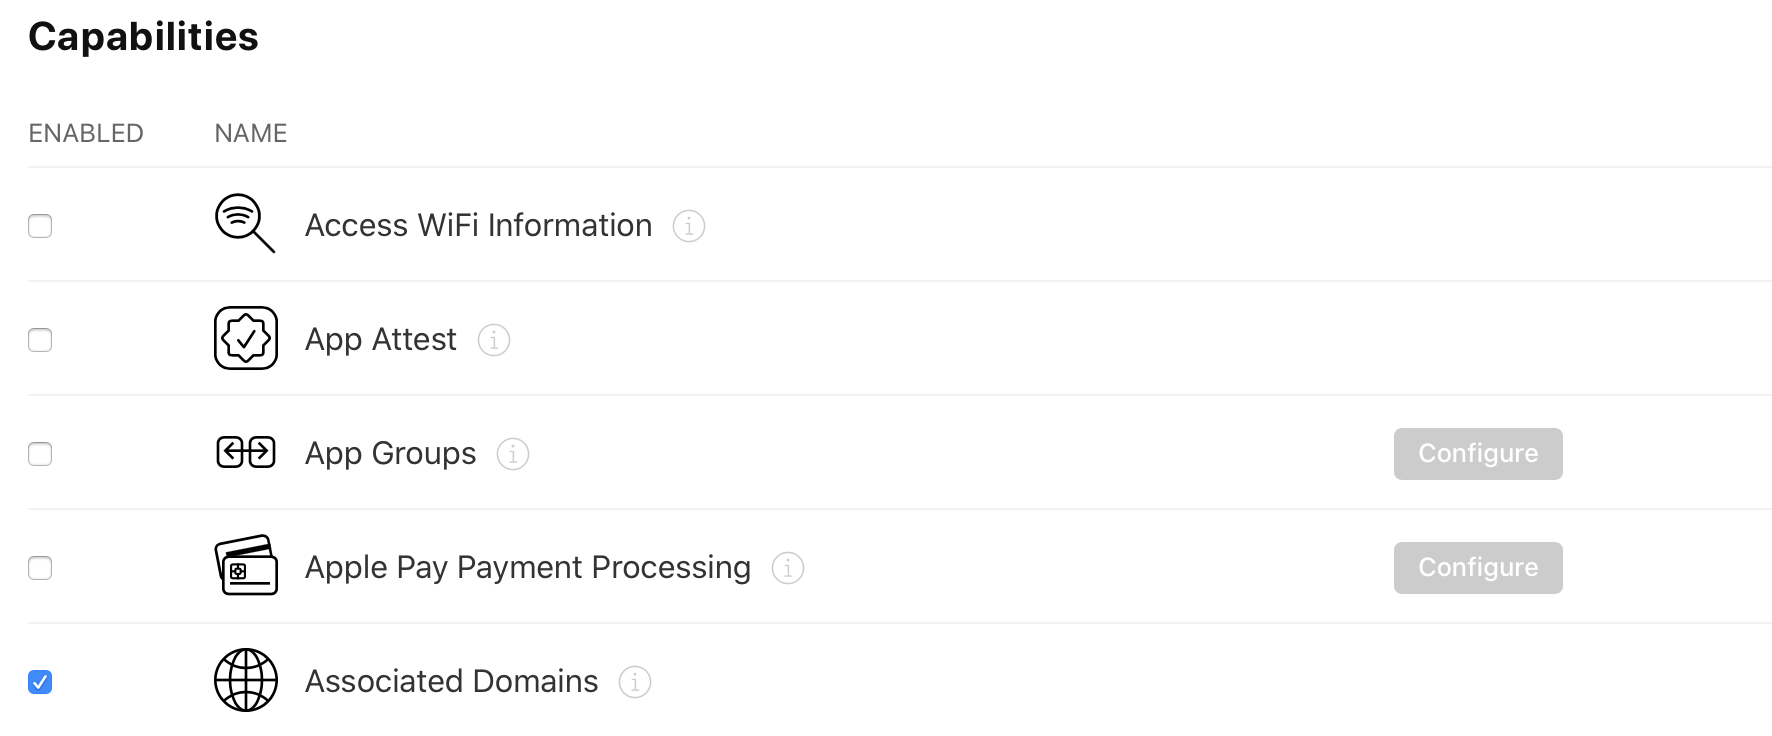
アプリプロジェクトでSigning & Capabilitiesの項目でCapabilitiesを追加からAssociated Domainsを追加します。
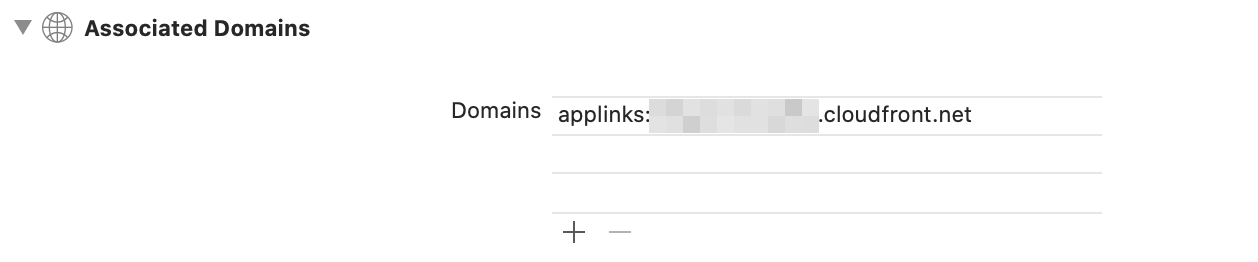
そこのドメインに applinks:****.cloudfront.net となるようにします。
これでアプリを端末インストール後に https://****.cloudfront.net のURLを読み込めばアプリが呼び出されます。
僕はSlackの個人チャットにURL貼って起動することを確認しました。
あとは起動時にAppDelegateの関数が呼ばれるのでそこで起動後の処理を行いますが、
もし、iOS13でSceneDelegateを使用している場合はこちらの処理は呼ばれないので注意してください。
func application(_ application: UIApplication,
           continue userActivity: NSUserActivity,
           restorationHandler: @escaping ([UIUserActivityRestoring]?) -> Void) -> Bool {
    guard userActivity.activityType == NSUserActivityTypeBrowsingWeb,
      let incomingURL = userActivity.webpageURL,
      let components = NSURLComponents(url: incomingURL, resolvingAgainstBaseURL: true) else {
      return false
    }
    // パラメータの解析とかして処理振り分ける
//    guard let path = components.path,
//      let params = components.queryItems else {
//        print("parameter missing.")
//        return false
//    }
    return true
}
iOS13以降でSceneDelegate使っている場合はscene(_:willConnectTo:options:) でURLが受け取れるのでここでパラメータチェックしていきます。
func scene(_ scene: UIScene, willConnectTo session: UISceneSession, options connectionOptions: UIScene.ConnectionOptions) {

    if let userActivity
        = connectionOptions.userActivities
            .first(where: { $0.webpageURL != nil }),
        let incomingURL = userActivity.webpageURL,
        let components = NSURLComponents(url: incomingURL, resolvingAgainstBaseURL: true) {
        // パラメータの解析など
        print("parameter: \(components)")
    }

    if let windowScene = scene as? UIWindowScene {
        let window = UIWindow(windowScene: windowScene)
        window.rootViewController = UIHostingController(rootView: LandingView())
        self.window = window
        window.makeKeyAndVisible()
    }
}
以上です。