npmを利用して勉強管理webアプリを自作
完成品は
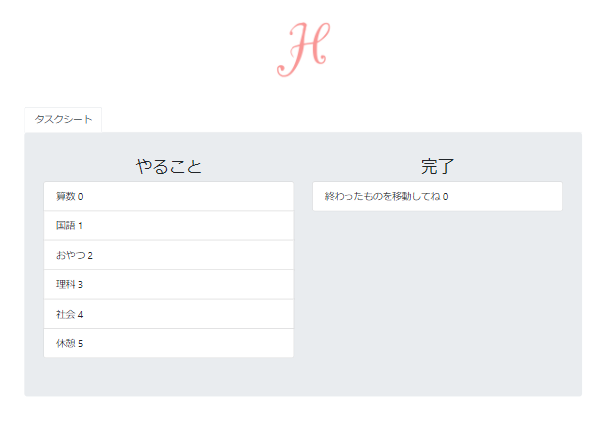
日々の勉強ルーティンを2つのTODOリストで管理します。
やる事 ⇒ 完了
へ移動するだけの単純構造です。
1日が終わったら完了 ⇒ やる事へ戻し、優先度の高い教科から順番に並べておく。
これを簡単に実装する為に、npmのパッケージを利用しました!
npmサイトで調べたdraggableパッケージを利用
実装するまで少し躓いたので、npmまとめサイトの使い方を記事に書きました
npmパッケージ検索サイトからの使い方を初心者が解説してみた!
カスタマイズ
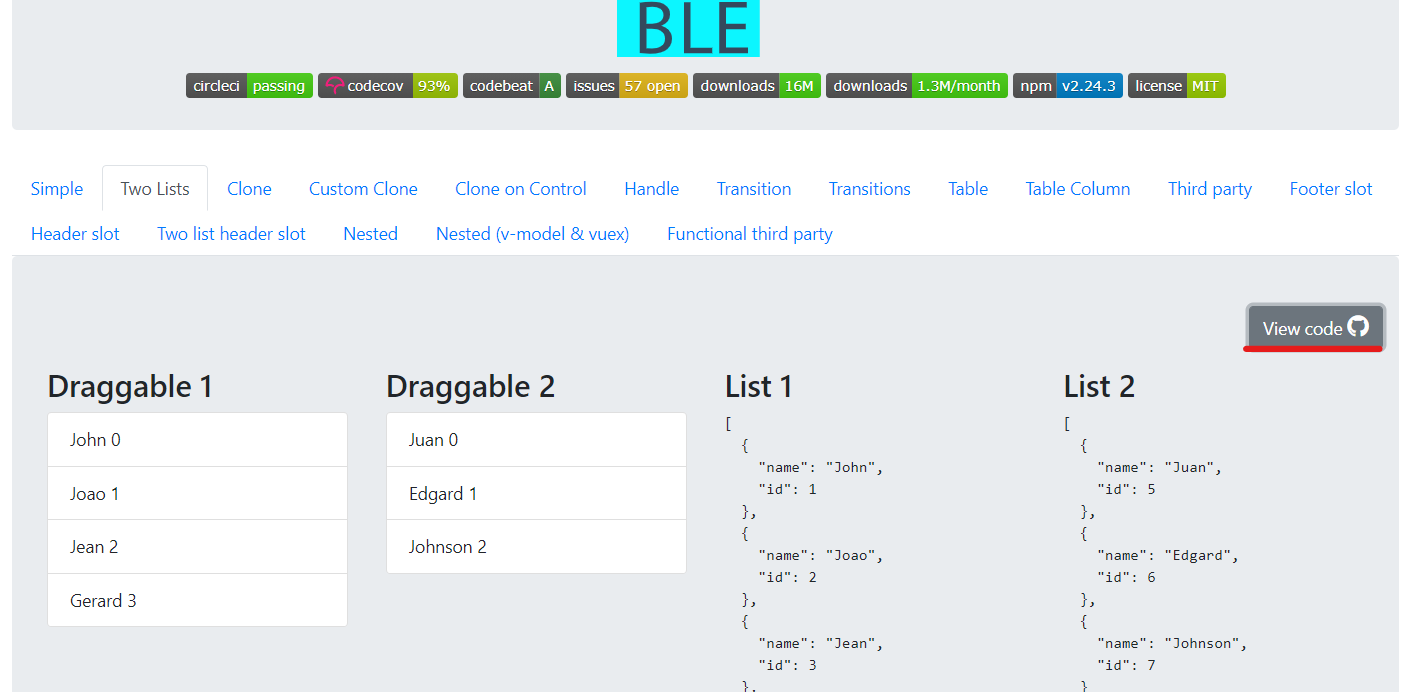
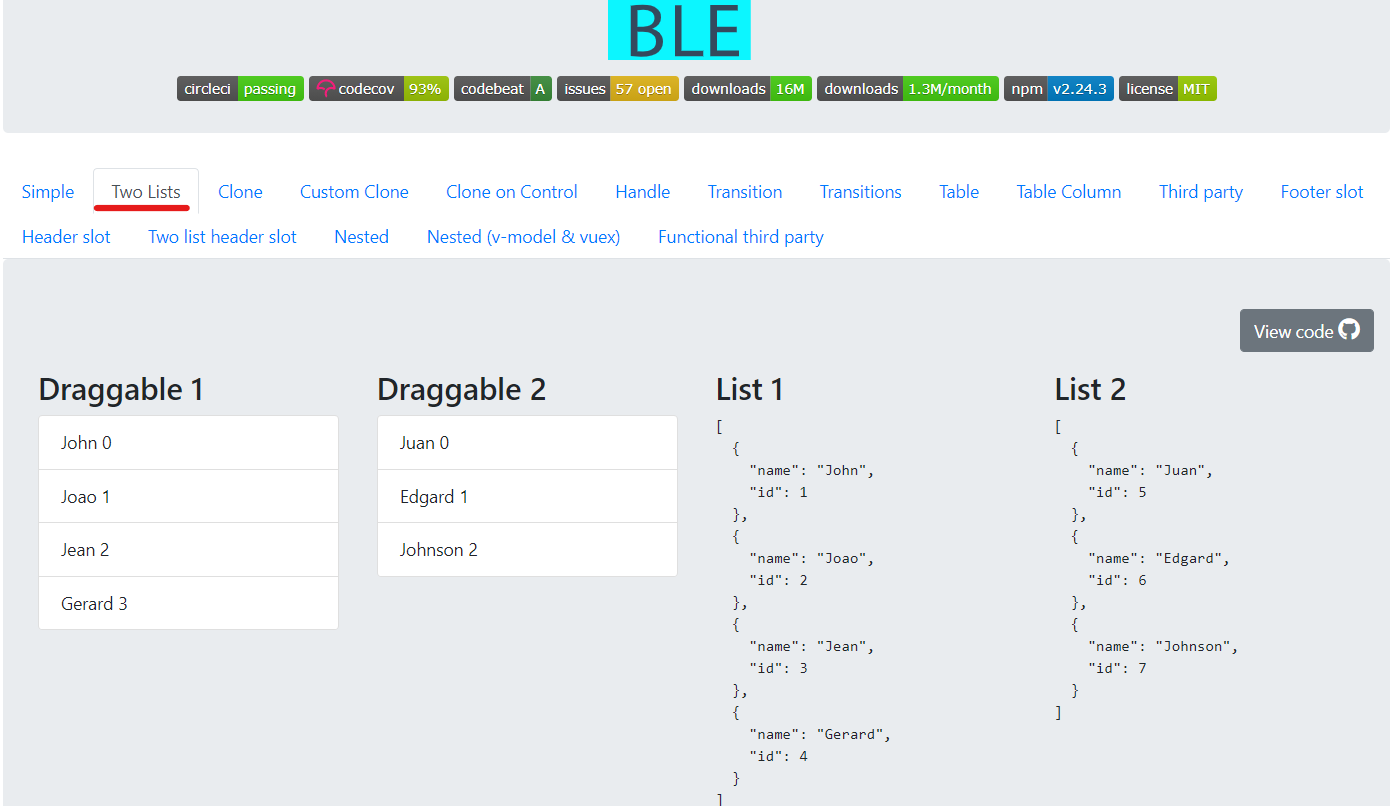
今回使いたいのは、リスト間の移動が出来る【two-list】
https://github.com/SortableJS/Vue.Draggable/blob/master/example/components/two-lists.vue
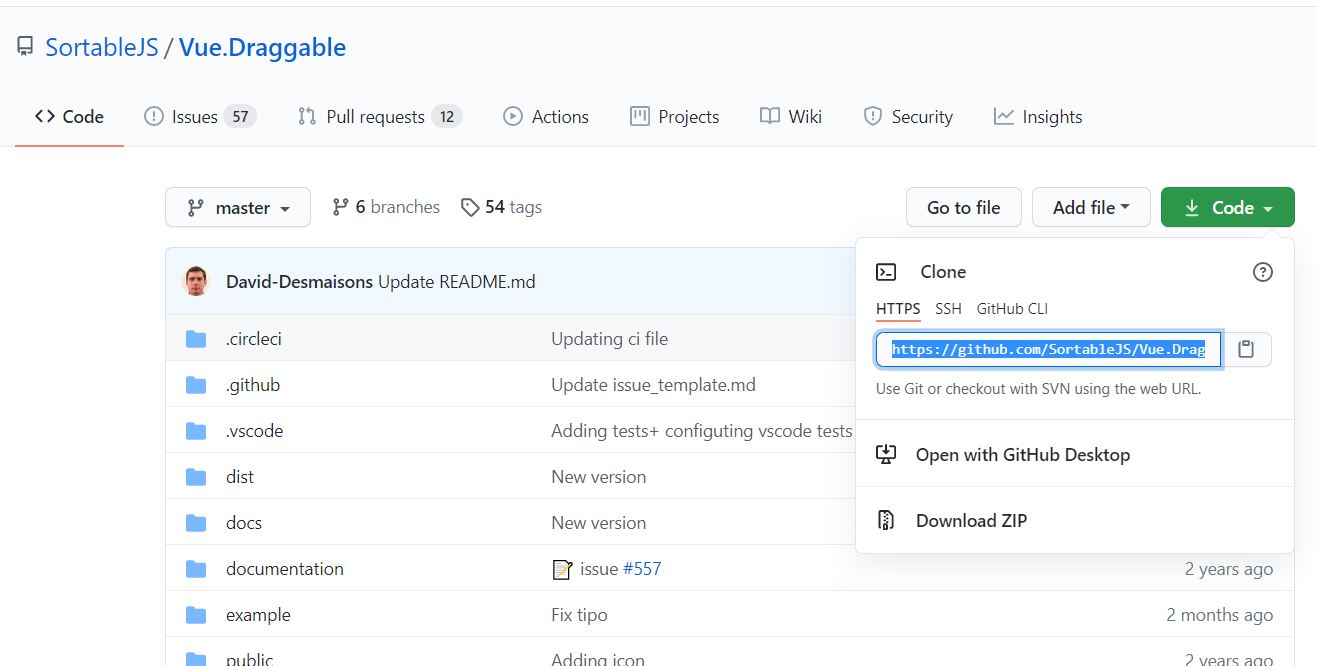
gitからコードをcloneします
git clone https://github.com/SortableJS/Vue.Draggable.git
Vue.Draggableフォルダが追加されていました!
この後の手順はgithubにコマンドの解説等なかったので、
npmパッケージ検索サイトからの使い方を初心者が解説してみた!
でサンプルを動かした時の手順に沿って進んでみました。
Vue.Draggableフォルダへ階層を移動します。
cd Vue.Draggable
必要なnpmの他のパッケージをインストール
npm install
node_moduleフォルダに必要パッケージが全てインストールされました。
ブラウザで実装出来るように次のコマンドをタイプします
npm run serve
デモサイト、そのまま立ち上がりました。
必要な個所だけ抜き出していこうと思います。
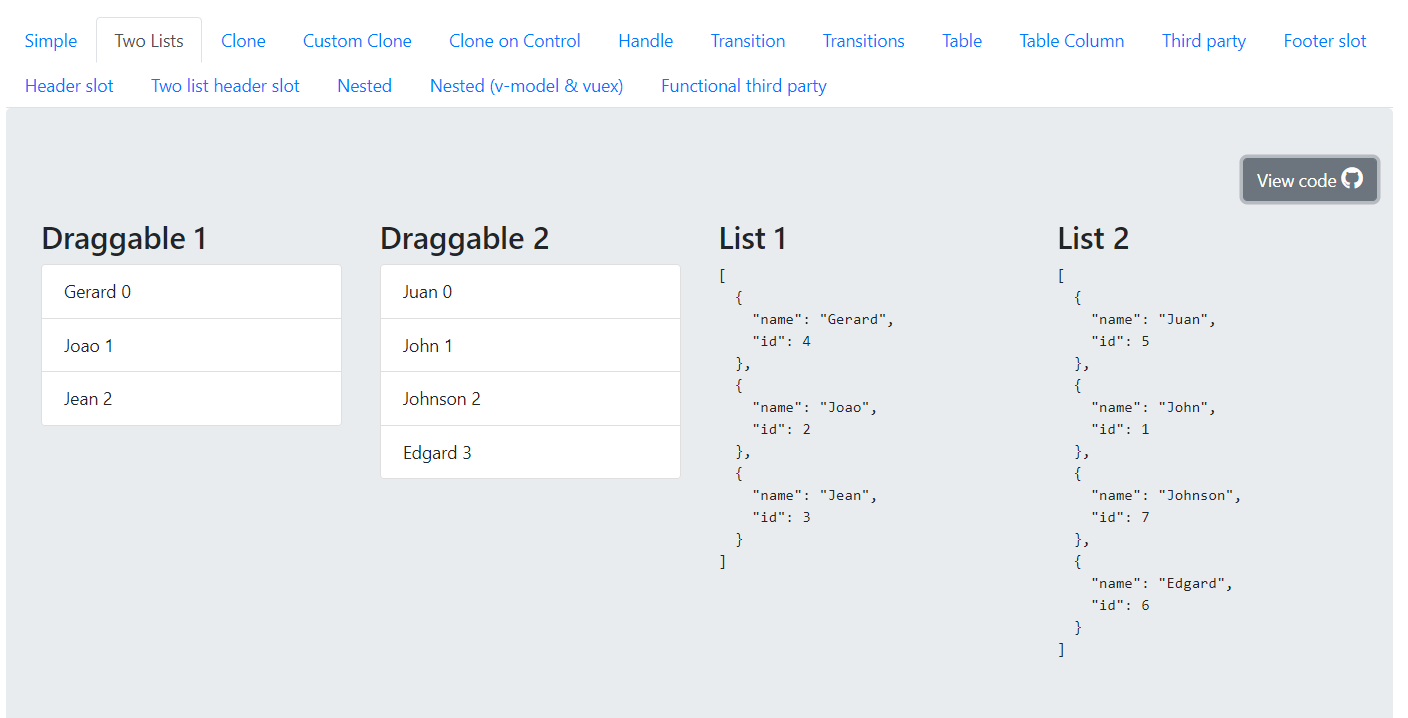
リスト間でタスクの移動が可能
example > components の中に入っている
two-list.vue
<template>
  <div class="row">
    <div class="col-3">
      <h3>Draggable 1</h3>
      <draggable class="list-group" :list="list1" group="people" @change="log">
        <div
          class="list-group-item"
          v-for="(element, index) in list1"
          :key="element.name"
        >
          {{ element.name }} {{ index }}
        </div>
      </draggable>
    </div>

    <div class="col-3">
      <h3>Draggable 2</h3>
      <draggable class="list-group" :list="list2" group="people" @change="log">
        <div
          class="list-group-item"
          v-for="(element, index) in list2"
          :key="element.name"
        >
          {{ element.name }} {{ index }}
        </div>
      </draggable>
    </div>

    <rawDisplayer class="col-3" :value="list1" title="List 1" />

    <rawDisplayer class="col-3" :value="list2" title="List 2" />
  </div>
</template>
<script>
import draggable from "@/vuedraggable";

export default {
  name: "two-lists",
  display: "Two Lists",
  order: 1,
  components: {
    draggable
  },
  data() {
    return {
      list1: [
        { name: "John", id: 1 },
        { name: "Joao", id: 2 },
        { name: "Jean", id: 3 },
        { name: "Gerard", id: 4 }
      ],
      list2: [
        { name: "Juan", id: 5 },
        { name: "Edgard", id: 6 },
        { name: "Johnson", id: 7 }
      ]
    };
  },
  methods: {
    add: function() {
      this.list.push({ name: "Juan" });
    },
    replace: function() {
      this.list = [{ name: "Edgard" }];
    },
    clone: function(el) {
      return {
        name: el.name + " cloned"
      };
    },
    log: function(evt) {
      window.console.log(evt);
    }
  }
};
</script>
カスタマイズ
two-list.vueは以下のように
<template>
<div class="container">
  <div class="row">
    <div class="col-6">
      <h3 align="center">やること</h3>
      <draggable class="list-group" :list="list1" group="people" @change="log">
        <div
          class="list-group-item"
          v-for="(element, index) in list1"
          :key="element.name"
        >
          {{ element.name }} {{ index }}
        </div>
      </draggable>
    </div>

    <div class="col-6">
      <h3 alig="center">完了</h3>
      <draggable class="list-group" :list="list2" group="people" @change="log">
        <div
          class="list-group-item"
          v-for="(element, index) in list2"
          :key="element.name"
        >
          {{ element.name }} {{ index }}
        </div>
      </draggable>
    </div>
</div>
  </div>
</template>
<script>
import draggable from "vuedraggable";
export default {
  name: "two-lists",
  display: "タスクシート",
  order: 1,
  components: {
    draggable
  },
  data() {
    return {
      list1: [
        { name: "算数", id: 1 },
        { name: "国語", id: 2 },
        { name: "おやつ", id: 3 },
        { name: "理科", id: 4 },
        { name: "社会", id: 5 },
        { name: "休憩", id: 6 },
      ],
      list2: [
        { name: "終わったものを移動してね", id: 7 },
      ]
    };
  },
  methods: {
    add: function() {
      this.list.push({ name: "Juan" });
    },
    replace: function() {
      this.list = [{ name: "Edgard" }];
    },
    clone: function(el) {
      return {
        name: el.name + " cloned"
      };
    },
    log: function(evt) {
      window.console.log(evt);
    }
  }
};
</script>
ベースとなるvueファイルもカスタマイズしました。
App.vue
<template>
  <div id="app">
    <div class="jumbotron logo">
      <img src="./assets/favicon.png">
    </div>
    <hello></hello>
  </div>
</template>

<script>
import Hello from "./components/Hello";

export default {
  name: "app",
  components: {
    Hello
  }
};
</script>

<style>
# app {
  font-family: "Avenir", Helvetica, Arial, sans-serif;
  -webkit-font-smoothing: antialiased;
  -moz-osx-font-smoothing: grayscale;
  color: #2c3e50;
}

# app .logo {
  text-align: center;
  background: #fff;
}
# app .logo img{
  height: 100px;
}
# app .main-container {
  padding-top: 40px;
}

.container{
  margin: 0 auto;
  width: 100%;
  max-width: 980px;
  background: #eee;
}
</style>
publid > index.html
こちらのファイルにhead部分が入っていました。
タスク管理webアプリ完成
buildします
【ctrl + C】でサーバーを終了します。次にbuild
npm run build
docsフォルダの中に全て入っているので、この中の全ファイルをサーバーにアップして完成です。
私の場合、以下のURLへアップしました。
完成品見てみる?
まとめ
ここまで完成したら、せっかくなのでLINEにつなげてみようと思ったのですが
LIFFで表示 ⇒ プロフィールを自動出力で躓いてしまいました。。。
残念。
npm なかなか奥が深い!

