目的
- laravel6でメール送信機能を作成する方法をまとめる
環境
- ハードウェア環境
| 項目 | 情報 |
|---|---|
| OS | macOS Catalina(10.15.5) |
| ハードウェア | MacBook Pro (13-inch, 2020, Four Thunderbolt 3 ports) |
| プロセッサ | 2 GHz クアッドコアIntel Core i5 |
| メモリ | 32 GB 3733 MHz LPDDR4 |
| グラフィックス | Intel Iris Plus Graphics 1536 MB |
- ソフトウェア環境
| 項目 | 情報 | 備考 |
|---|---|---|
| PHP バージョン | 7.4.11 | Homebrewを用いてこちらの方法で導入→Mac HomebrewでPHPをインストールする |
| Laravel バージョン | 6.X | commposerを用いてこちらの方法で導入→Mac Laravelの環境構築を行う |
| MySQLバージョン | 8.0.21 for osx10.15 on x86_64 | Homwbrewを用いてこちらの方法で導入→Mac HomebrewでMySQLをインストールする |
条件
- 「環境」に記載したものと近い環境が構築できていること。
- ローカル開発環境でlaravel6のアプリが作成されており、ローカルサーバを起動後ブラウザからlaravelアプリのページを確認できること。
- メールの設定が完了していること。まだの方は下記を参考に実施していただきたい。
- MailCatcherを用いたメール受信設定が記載されている→Laravel MailCatcherでメールを受け取る
- そのアプリからtinkerを使ったメール送信が確認できていること。まだの方は下記を参考に確認していただきたい。
- tinkerを用いたメール送信方法のみが記載されている→laravel6 tinkerを使ってHTMLメールの送信を確認する
- Gmailを用いたメール受信設定とtinkerを用いたメールの送信方法両方が記載されている→Laravel 7 アプリからメールを送信する
情報
- 筆者はMacに直接作成したlaravelのローカル開発環境で本記事に記載したソースの検証を行っている。
- Dockerを使ったものとほとんど一緒だがMailCatcherの導入だけ異なると思うので申し訳ないが各自で知識を補完していただきたい。。。
- メールの受信確認はMailCatcherを用いて行う。
- laravelアプリ内部のビューページで入力したメール件名とメール内容が送信されることを確認する。
- メール送信相手のアドレスは「test@example」とする。
- メール送信者のアドレスは「app@example」とする。
- 特筆しない限り実行しているコマンドは前のコマンドと同じディレクトリで実行するものとする。
概要
- ルーティング情報の記載
- リクエストクラスの作成とバリデーションルールの記載
- コントローラクラスの作成と記載
- ビューファイルとメールテンプレートの作成と記載
- メールクラスの作成と記載
- 確認
詳細
-
ルーティング情報の記載
-
下記コマンドを実行してルーティングファイルを開く。
$ vi routes/web.php -
開いたルーティングファイルに下記の内容を追記する。
アプリ名ディレクトリ/routes/web.php<?php /* |-------------------------------------------------------------------------- | Web Routes |-------------------------------------------------------------------------- | | Here is where you can register web routes for your application. These | routes are loaded by the RouteServiceProvider within a group which | contains the "web" middleware group. Now create something great! | */ Route::get('/', function () { return view('welcome'); }); Route::get('/home', 'HomeController@index')->name('home'); // 下記を追記 //メール Route::get('/notice', 'NoticeController@index')->name('notice.index'); Route::get('/notice/mail/make', 'NoticeController@mailMake')->name('notice.mail.make'); Route::post('/notice/mail/confirm', 'NoticeController@mailConfirm')->name('notice.mail.confirm'); Route::post('/notice/mail/send', 'NoticeController@mailSend')->name('notice.mail.send'); // 上記までを追記
-
-
リクエストクラスの作成とバリデーションルールの追記
-
下記コマンドを実行してリクエストクラスのファイルを作成する。
$ php artisan make:request MailRequest -
下記コマンドを実行して作成したリクエストクラスのファイルを開く。
$ vi app/Http/Requests/MailRequest.php -
開いたファイルを下記のように追記修正する。
アプリ名ディレクトリ/app/Http/Requests/MailRequest.php<?php namespace App\Http\Requests; use Illuminate\Foundation\Http\FormRequest; class MailRequest extends FormRequest { /** * Determine if the user is authorized to make this request. * * @return bool */ public function authorize() { // 下記を修正 return true; } /** * Get the validation rules that apply to the request. * * @return array */ public function rules() { return [ // 下記を追記 'subject' => 'required', 'content' => 'required', // 上記までを追記 ]; } // 下記を追記 /** * バリデーションエラーメッセージ * * @return array */ public function messages() { return [ 'subject.required' => 'メール件名を記入してください。', 'content.required' => 'メール本文を記入してください。', ]; } // 上記までを追記 }
-
-
コントローラファイルの作成と記載
-
下記コマンドを実行してコントローラファイルを作成する。
$ php artisan make:controller NoticeController -
下記コマンドを実行して作成したコントローラファイルを開く。
$ vi app/Http/Controllers/NoticeController.php -
開いたコントローラファイルに下記の内容を追記する。
アプリ名ディレクトリ/app/Http/Controllers/NoticeController.php<?php namespace App\Http\Controllers; use Illuminate\Http\Request; use App\Http\Requests\MailRequest; use Illuminate\Support\Facades\Mail; use App\Mail\AppMail; class NoticeController extends Controller { public function index() { return view('notices.index'); } public function mailMake() { return view('notices.mails.make'); } public function mailConfirm(MailRequest $mailRequest) { $postData = $mailRequest->all(); $viewData = [ 'postData' => $postData ]; return view('notices.mails.confirm', ['viewData' => $viewData]); } public function mailSend(Request $request) { $postData = $request->all(); Mail::to('test@example')->send(new AppMail($postData)); return redirect(route('notice.index')); } }
-
-
ビューファイルとメールテンプレートの作成と記載
-
下記コマンドを実行してビューファイルを格納するディレクトリを作成する。
$ mkdir -p resources/views/notices/mails $ mkdir -p resources/views/mail_templates -
下記コマンドを実行して通知内容の親ページのビューファイルを作成して開く。
$ vi resources/views/notices/index.blade.php -
開いたビューファイルに下記の内容を記載する。
アプリ名ディレクトリ/resources/views/notices/index.blade.php@extends('layouts.app') @section('content') <a href="{{ route('notice.mail.make') }}"> <button> メール </button> </a> @endsection -
下記コマンドを実行してメール作成ページのビューファイルを作成して開く。
$ vi resources/views/notices/mails/make.blade.php -
開いたビューファイルに下記の内容を記載する。
アプリ名ディレクトリ/resources/views/notices/mails/make.blade.php@extends('layouts.app') @section('content') <form action="{{ route('notice.mail.confirm') }}" method="post" enctype="multipart/form-data"> @csrf <div class="subject"> <label>件名</label> <input type="text" name="subject" value="{{ old('subject') }}"> </div> @if ($errors->has('subject')) @foreach ($errors->get('subject') as $detail_errors) <p>{{$detail_errors}}</p> <br> @endforeach @endif <div class="content"> <label>内容</label> <textarea name="content" cols="30" rows="10">{{ old('content') }}</textarea> </div> @if ($errors->has('content')) @foreach ($errors->get('content') as $detail_errors) <p>{{$detail_errors}}</p> <br> @endforeach @endif <button type="submit">確認</button> </form> @endsection -
下記コマンドを実行してメール送信確認ページのビューファイルを作成して開く。
$ vi resources/views/notices/mails/confirm.blade.php -
開いたビューファイルに下記の内容を記載する。
アプリ名ディレクトリ/resources/views/notices/mails/confirm.blade.php@extends('layouts.app') @section('content') <form action="{{ route('notice.mail.send') }}" method="post"> @csrf <div class="subject"> <label>件名</label> <p>{{ $viewData['postData']['subject'] }}</p> <input type="hidden" name="subject" value="{{ $viewData['postData']['subject'] }}"> </div> <div class="content"> <label>内容</label> <p>{!! nl2br(e($viewData['postData']['content'])) !!}</p> <input type="hidden" name="content" value="{{ $viewData['postData']['content'] }}"> </div> <button type="submit">送信</button> </form> @endsection -
下記コマンドを実行してメールテンプレート用のビューファイルを作成して開く。
$ vi resources/views/mail_templates/text_mail.blade.php -
開いたファイルに下記の内容を記載する。
アプリ名ディレクトリ/resources/views/mail_templates/text_mail.blade.php{{ $postData['content'] }}
-
-
メールクラスの作成と記載
-
下記コマンドを実行してメールクラスを作成する。
$ php artisan make:mail AppMail -
下記コマンドを実行して作成したメールクラスのファイルを開く。
$ vi app/Mail/AppMail.php -
開いたメールクラスのファイルに下記の内容を記載する。
アプリ名ディレクトリ/app/Mail/AppMail.php<?php namespace App\Mail; use Illuminate\Bus\Queueable; use Illuminate\Contracts\Queue\ShouldQueue; use Illuminate\Mail\Mailable; use Illuminate\Queue\SerializesModels; class AppMail extends Mailable { use Queueable, SerializesModels; // 下記を追記 /** * メール送信引数 * * @var array */ private $postData; // 上記までを追記 // 下記内容を修正 /** * Create a new message instance. * * @return void */ public function __construct($postData) { $this->postData = $postData; } // 上記までの内容を修正 // 下記内容を修正 /** * Build the message. * * @return $this */ public function build() { return $this->from('app@example')->subject($this->postData['subject'])->text('mail_templates.text_mail', ['postData' => $this->postData]); } // 上記までの内容を修正 }
-
-
確認
-
下記コマンドを実行してローカルサーバを起動する。
$ php artisan serve -
下記にアクセスする。
-
「メール」ボタンをクリックする。
-
「件名」「内容」に何も入力せずに「確認」をクリックする。
-
バリデーションが機能しエラー文字列が表示されることを確認する。
-
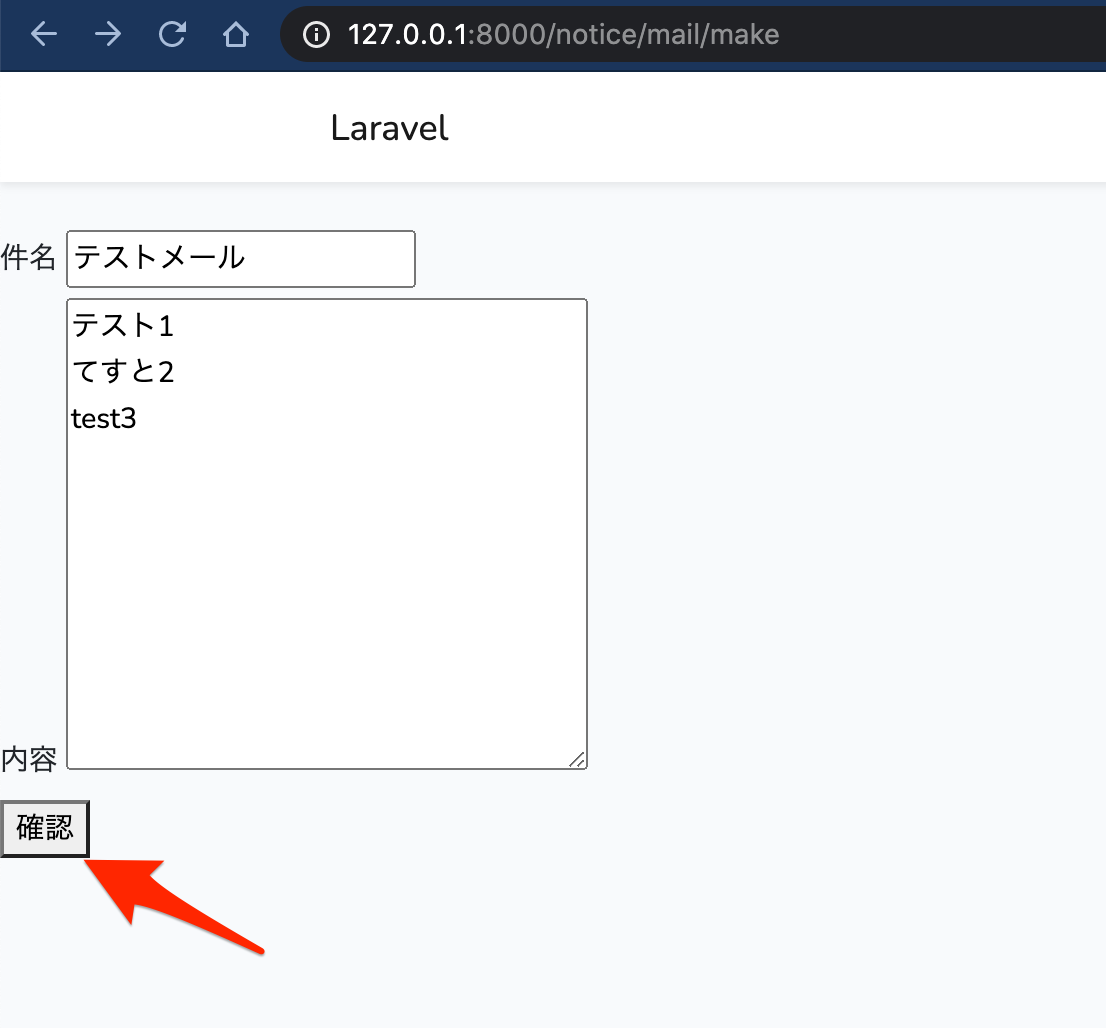
「件名」「内容」にそれぞれ任意の文字列を入力し「確認」をクリックする。
-
メール確認ページで入力した内容が表示されることを確認して「送信」をクリックする。
-
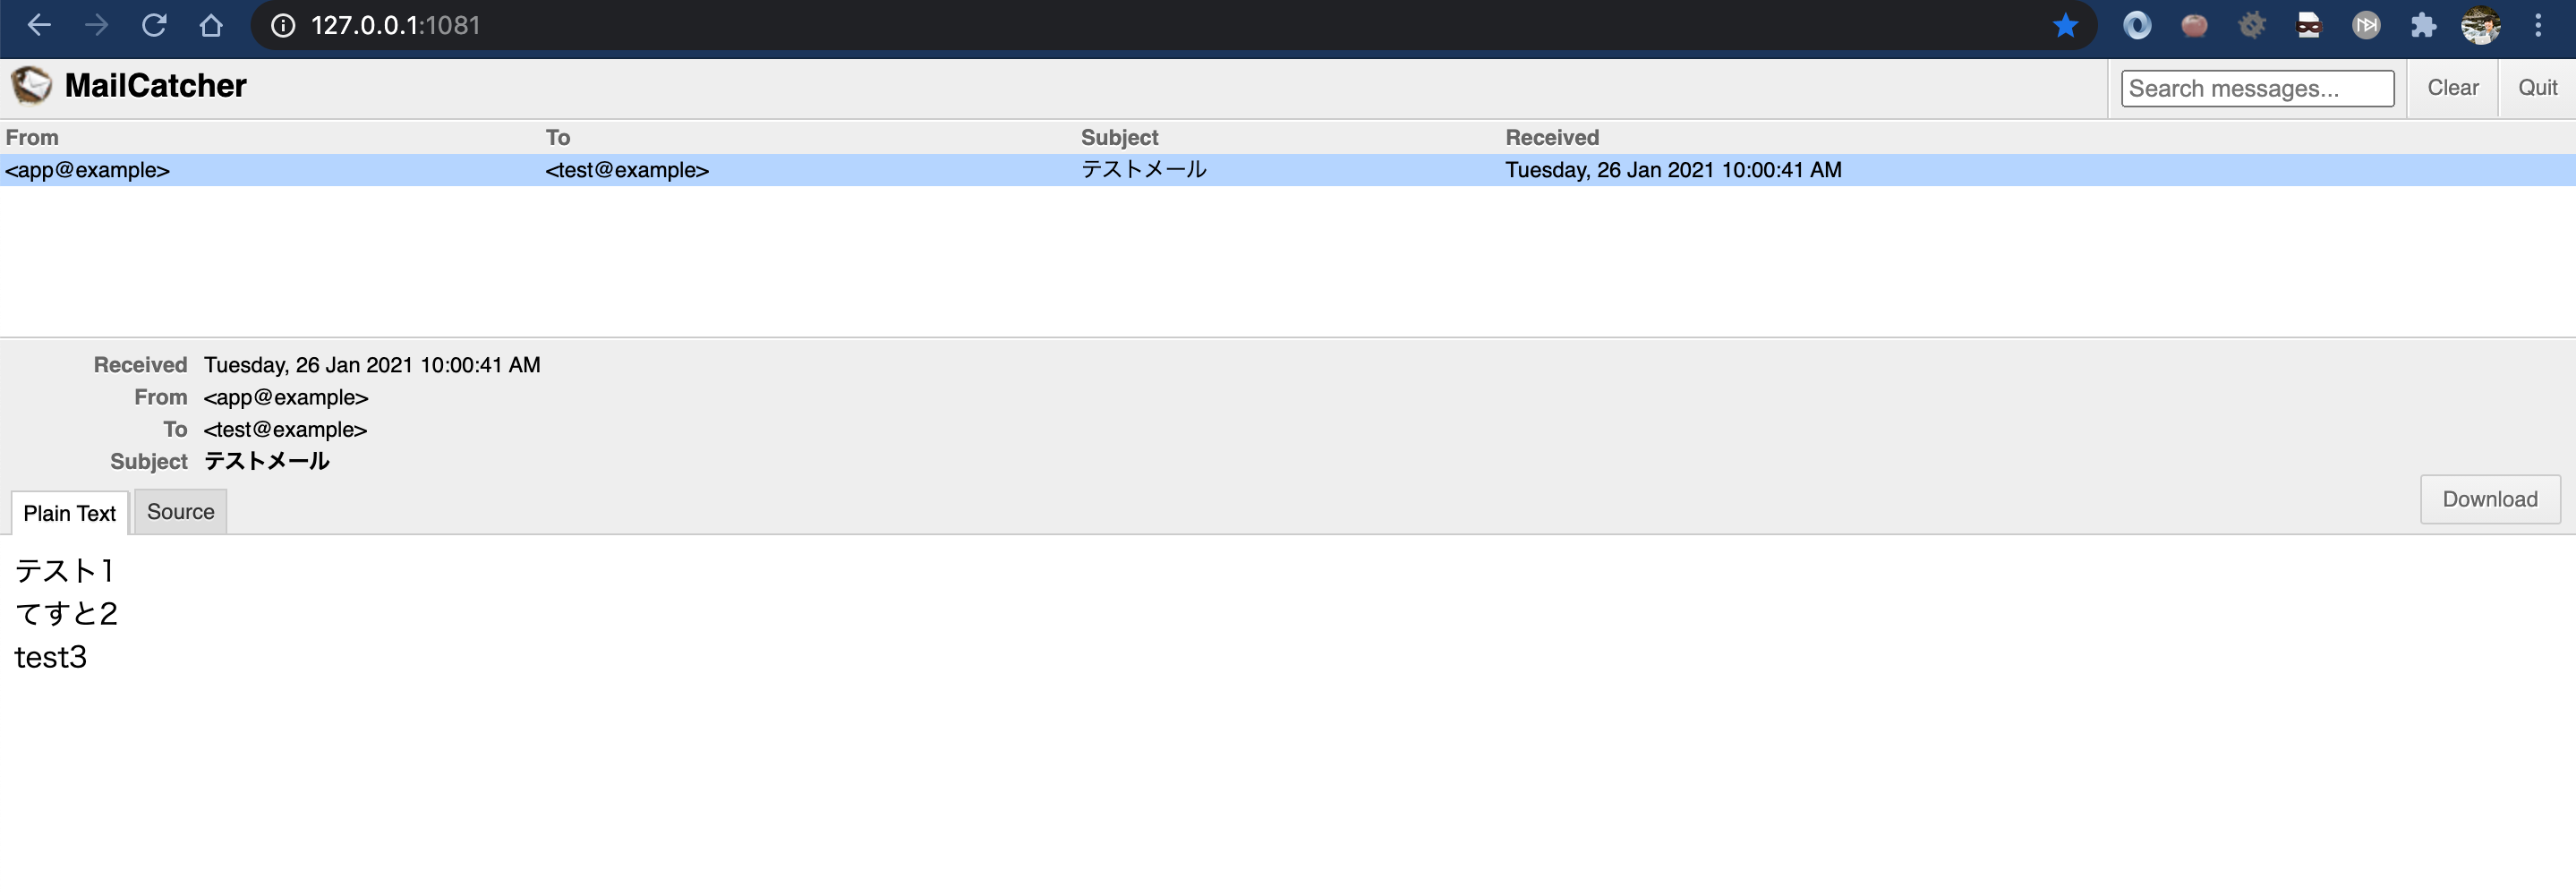
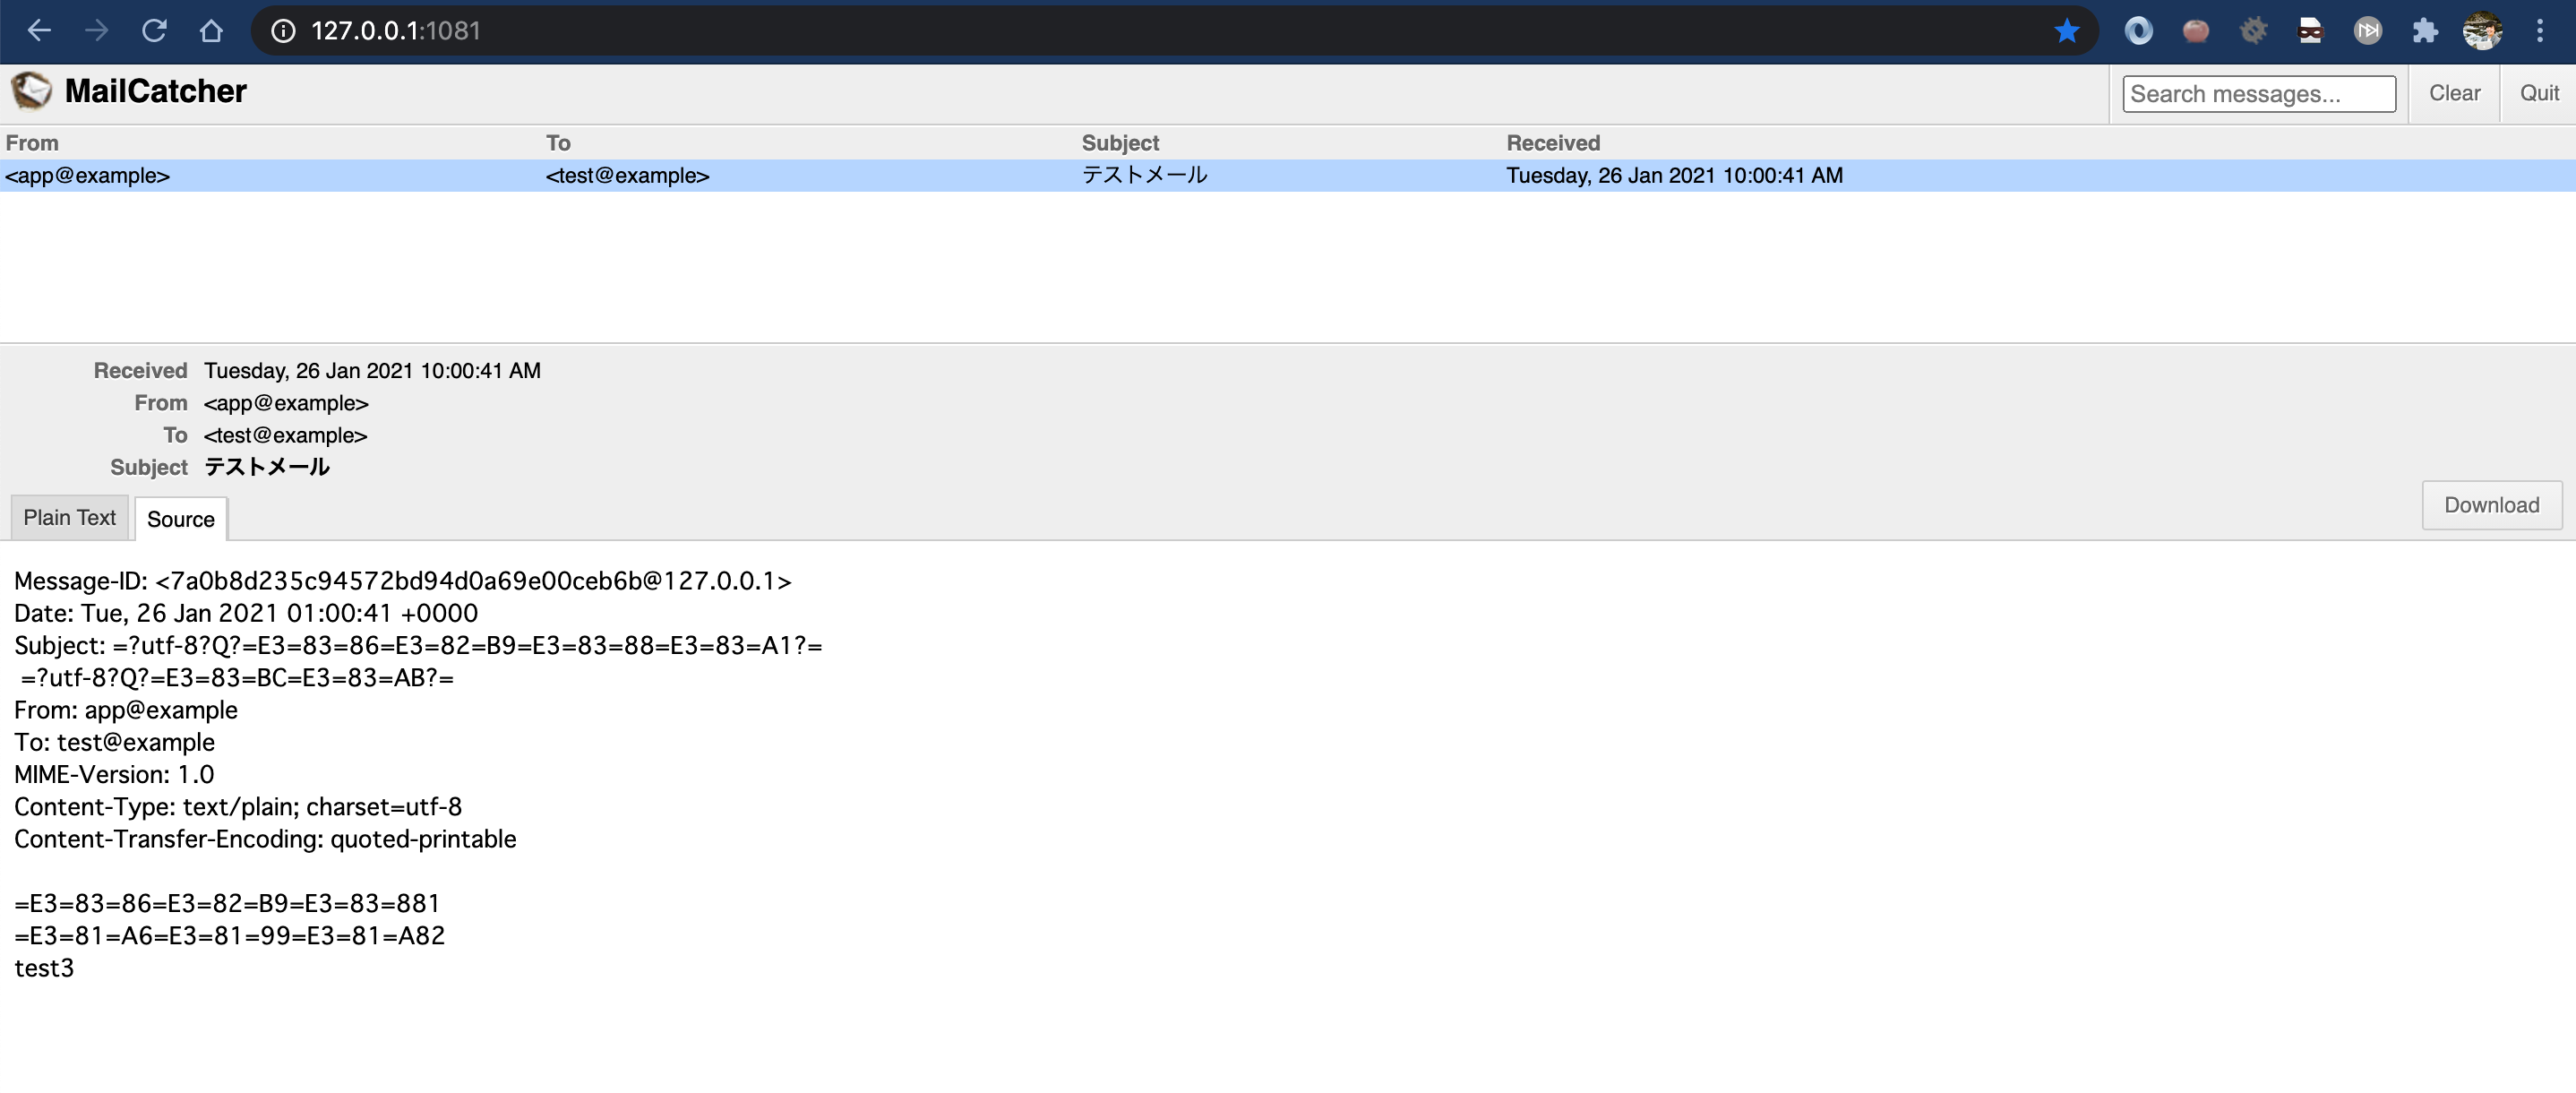
メールが送信されることを確認する。
-


