目的
- ローカルネットワーク内限定でApacheが立っているマシン以外からもWebページを表示できる様にする方法をまとめる
実施環境
- ハードウェア環境(クライアント側)
| 項目 | 情報 |
|---|---|
| OS | macOS Catalina(10.15.5) |
| ハードウェア | MacBook Pro (13-inch, 2020, Four Thunderbolt 3 ports) |
| プロセッサ | 2 GHz クアッドコアIntel Core i5 |
| メモリ | 32 GB 3733 MHz LPDDR4 |
| グラフィックス | Intel Iris Plus Graphics 1536 MB |
- ハードウェア環境(サーバ側)
| 項目 | 情報 |
|---|---|
| OS | CentOS 7 (7.8.2003) |
| ハードウェア | Dell Studio 1537 |
| プロセッサ | Intel(R) Core(TM)2 Duo CPU P8400 @ 2.26GHz |
| メモリ | 4 GB DDR3 |
| グラフィックス | 不明 |
- ソフトウェア環境
| 項目 | 情報 |
|---|---|
| Apacheバージョン | 2.4.6 (CentOS) |
前提条件
- Apacheがインストール済みでサーバ側のPCのブラウザにて(http://localhost/index.htmlなどにアクセスすることにより)ドキュメントルートにあるファイルが確認できること。
前提情報
- 下記説明で実行するコマンドは特に記載がない場合サーバPCにssh接続を行い実行する。
読後感
- サーバ側のPCのブラウザにて(http://localhost/index.htmlなどにアクセスすることにより)表示できていたファイルをローカルネットワーク 内なら
http://サーバPCのIP:ポート/index.htmlで表示可能になる。
概要
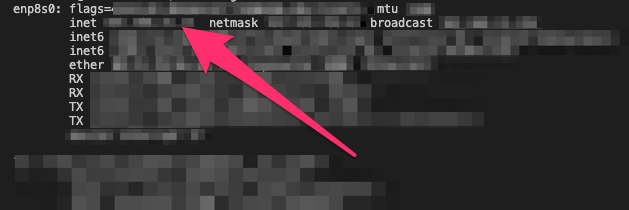
- サーバマシンのIPの確認
- Apacheの設定変更
- 確認
詳細
-
サーバマシンのIPの確認
-
Apacheの設定変更
-
下記コマンドを実行してApacheの設定ファイルを開く。
$ sudo vi /etc/httpd/conf/httpd.conf -
開いたファイルの「Listen 80」の記載がある部分を探す。
-
下記の様に編集する。
/etc/httpd/conf/httpd.conf# # Listen: Allows you to bind Apache to specific IP addresses and/or # ports, instead of the default. See also the <VirtualHost> # directive. # # Change this to Listen on specific IP addresses as shown below to # prevent Apache from glomming onto all bound IP addresses. # #Listen 12.34.56.78:80 # 下記をコメントアウト #Listen 80 # 下記を追記 Listen 先に確認したサーバPCのIPアドレス:80
-
-
ポートの解放
-
下記コマンドを実行してhttp通信のデフォルトポートである80番を解放する。
$ sudo firewall-cmd --zone=public --add-service=http --permanent -
後々のことを見越して下記コマンドを実行してhttps通信のデフォルトポートである443番を解放する。
$ sudo firewall-cmd --zone=public --add-service=https --permanent -
下記コマンドを実行して設定を反映する。
$ sudo firewall-cmd --reload -
下記コマンドを実行して設定を確認する。
$ sudo firewall-cmd --list-all -
「services」の欄にhttpとhttpsが記載されていることを確認する。
-
下記コマンドを実行してhttpdを再起動する。
$ sudo service httpd restart
-
-
確認
- ブラウザにて下記のURLでlocalhostで表示できていた内容が表示できることを確認する。
