2
3

Delete article

Deleted articles cannot be recovered.

Draft of this article would be also deleted.

Are you sure you want to delete this article?

More than 5 years have passed since last update.

bitnami で 導入した Redmine の テーマ を 追加する ~画像付き解説~

Last updated at Posted at 2019-08-08

目的

bitnamiで立てたRedmineのテーマをテーマプラグインを用いて変更する方法をまとめる。
※bitnamiを用いたRedmineの立て方はこちら

この記事のターゲット

  • bitnamiをもちいてRedmineを立てたもののなんだか見た目が気に入らない方
  • テーマプラグインのファイルを格納するフォルダがわからない方
  • 日本語に特化したテーマに変更したい方

実施方法

日本語表記に特化したテーマプラグインである「farend fancy」の導入方法を記載する。

  1. Redmineのサービスを停止する
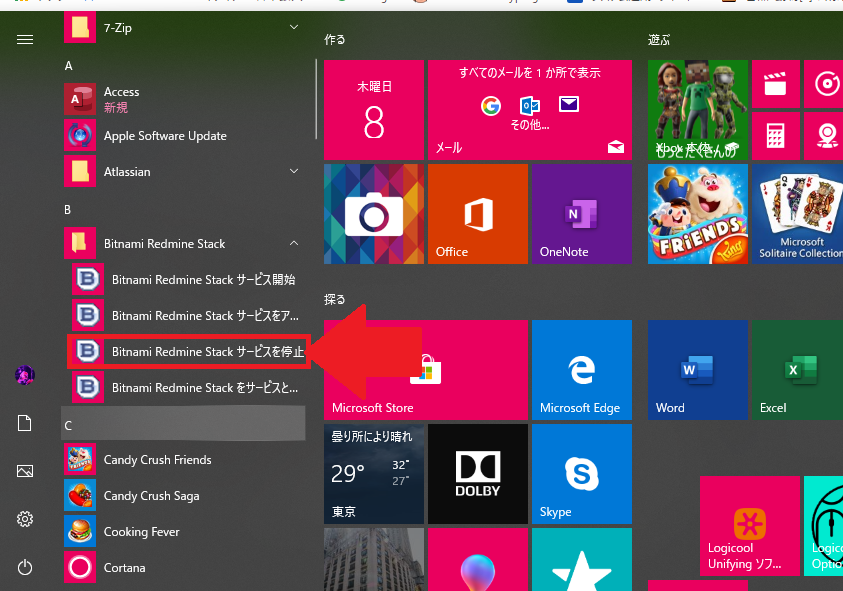
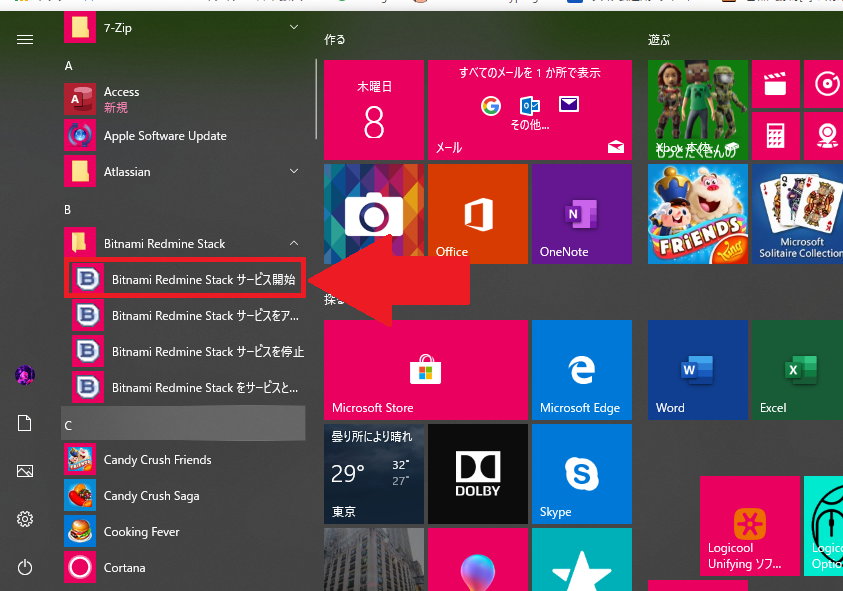
    1. WindowsのスタートよりRedmineを停止させるためのexe?を実行する。
      redmine_24.png
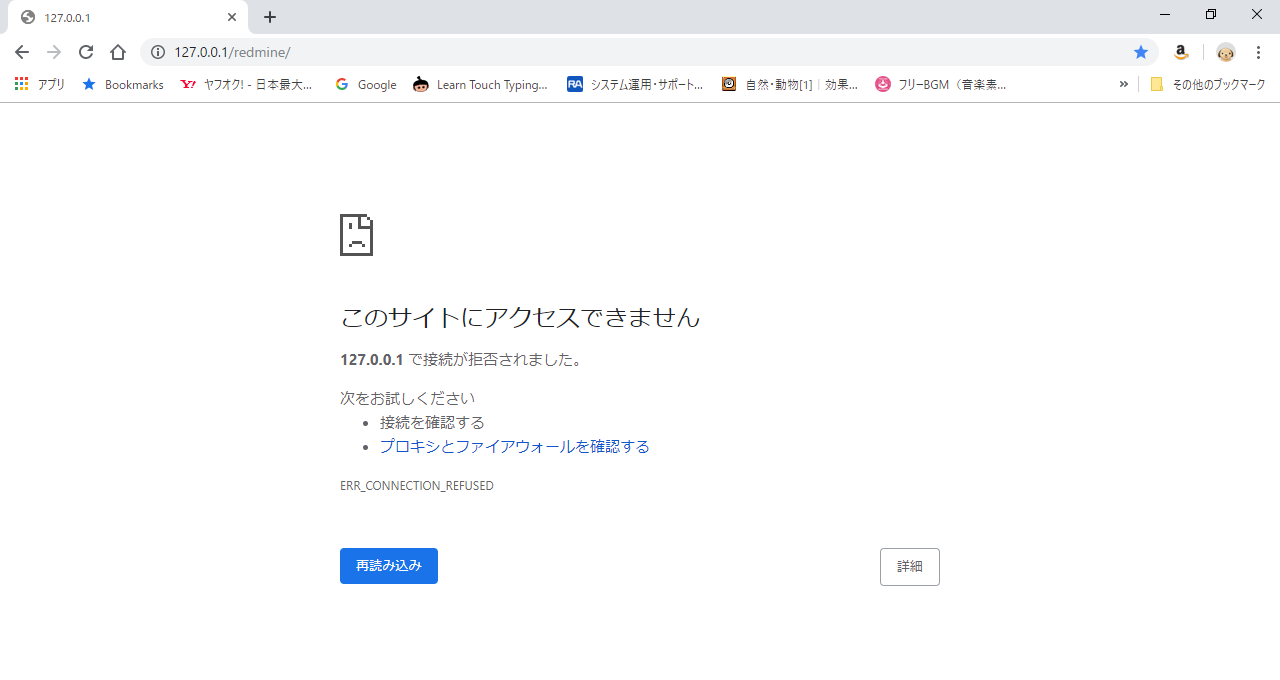
    2. ブラウザからRedmineを開きRedmineが停止している事を確認する。(停止していない場合一つ前の手順からやり直す)
      redmine_25.png
  2. テーマプラグインのファイルを準備する。
    1. 下記サイトにアクセスする。
      https://github.com/farend/redmine_theme_farend_fancy

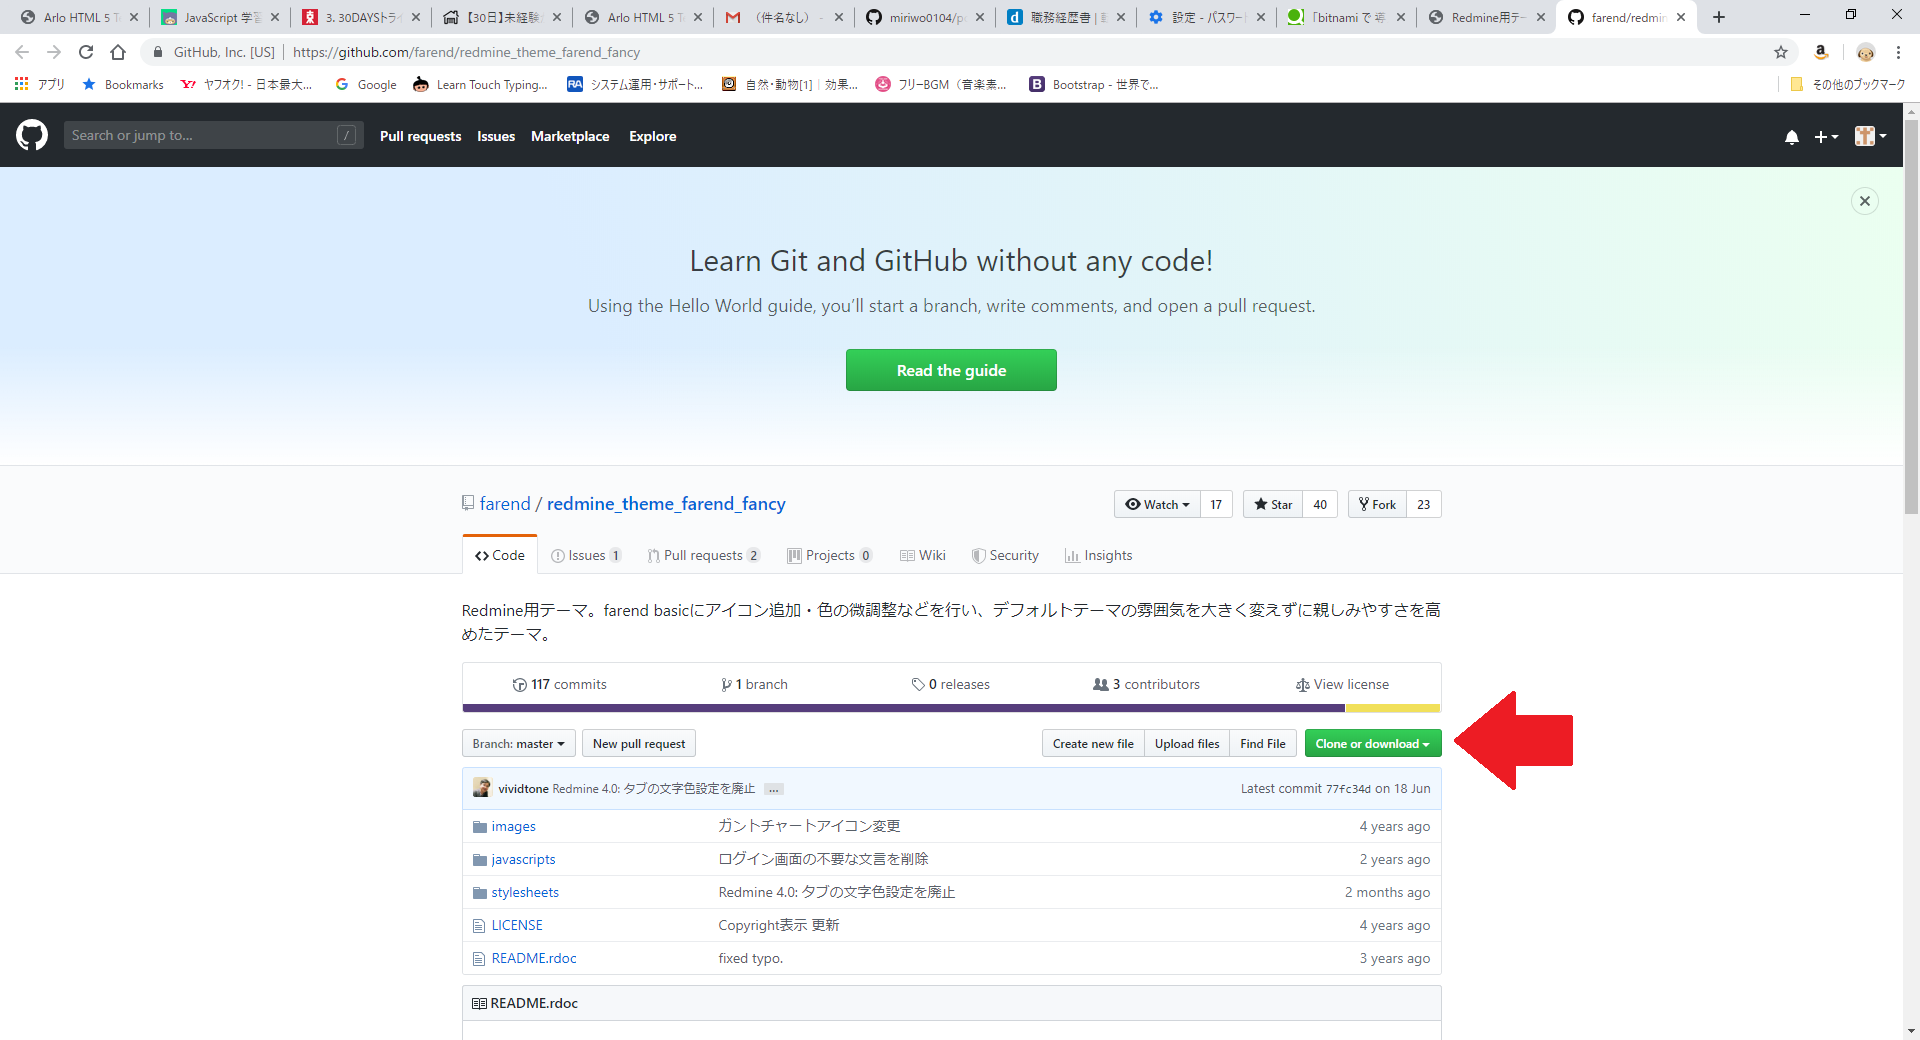
    2. 「clone or download」をクリックする。
      redmine_26.png

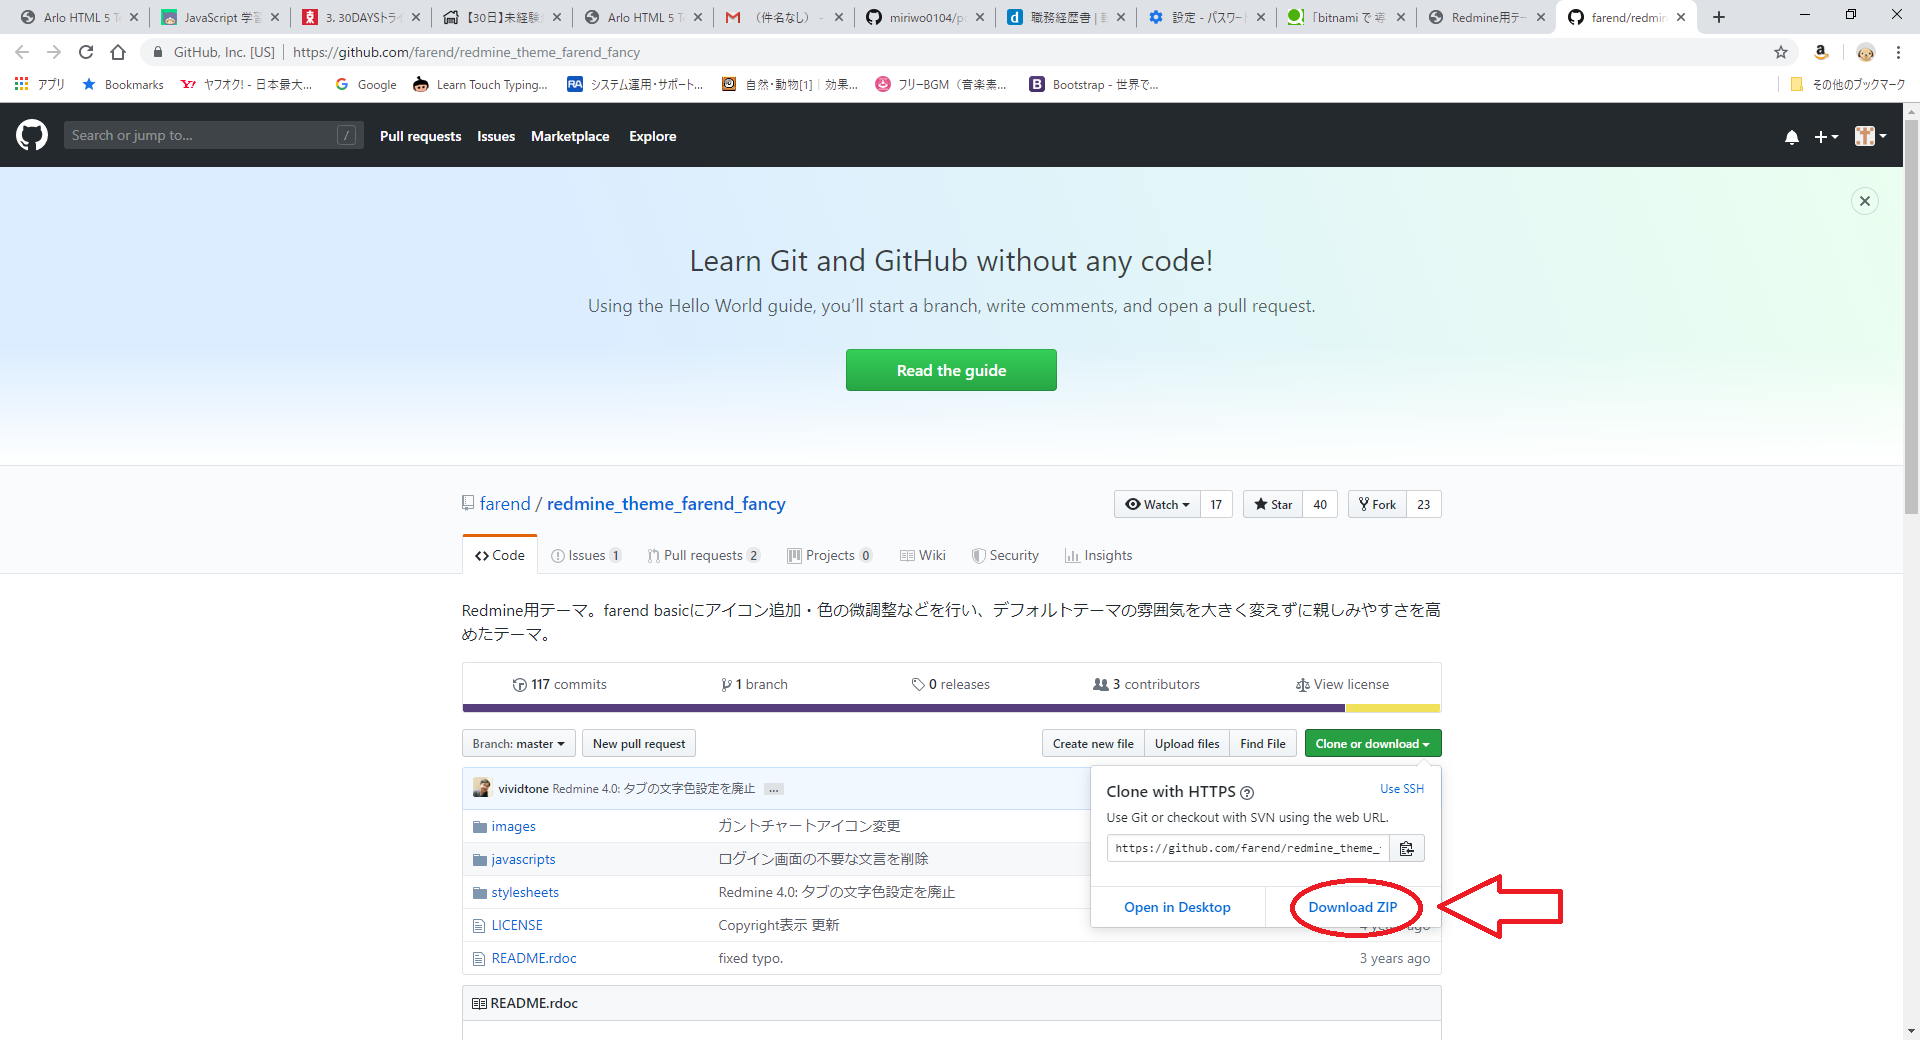
    3. 「Download ZIP」をクリックする。
      redmine_27.png

    4. ダウンロードされたzipファイルを解凍する。

    5. 解凍して現れたフォルダを「farend-fancy」にリネームする。

  3. テーマプラグインフォルダを格納
    1. 「farend-fancy」フォルダーを下記のフォルダに格納する。
      皆さんの任意のフォルダ/Bitnami/redmine-X.X.X-X/apps/redmine/htdocs/public/themes
  4. Redmineのサービスを再開する。
    1. WindowsのスタートよりRedmineを再開させるためのexe?を実行する。
      redmine_23.png

    2. ブラウザからRedmineを開きRedmineが起動している事を確認する。(起動していない場合は一つ前の手順からやり直す)

    3. ブラウザでRedmineにログインし、「管理」 → 「設定」とすすみ「表示のテーマ」に「farend-fancy」が追加されている事を書く確認。

    4. 「farend-fancy」を選択し設定を保存した時、テーマが変更されれば完了!

まとめ

  • bitnamiを用いてRedmineを立てたときのテーマの変更方法をまとめた。
  • 「themes」フォルダを探すことに苦労した。
2
3
0

Register as a new user and use Qiita more conveniently

  1. You get articles that match your needs
  2. You can efficiently read back useful information
  3. You can use dark theme
What you can do with signing up
2
3

Delete article

Deleted articles cannot be recovered.

Draft of this article would be also deleted.

Are you sure you want to delete this article?