目的
- 投稿アプリの投稿入力画面の作成を行う
実施環境
- 筆者の実施環境を記載する。
- ハードウェア環境
| 項目 | 情報 |
|---|---|
| OS | macOS Catalina(10.15.5) |
| ハードウェア | MacBook Pro (13-inch, 2020, Four Thunderbolt 3 ports) |
| プロセッサ | 2 GHz クアッドコアIntel Core i5 |
| メモリ | 32 GB 3733 MHz LPDDR4 |
| グラフィックス | Intel Iris Plus Graphics 1536 MB |
- ソフトウェア環境
| 項目 | 情報 | 備考 |
|---|---|---|
| PHP バージョン | 7.4.8 | Homebrewを用いてこちらの方法で導入→Mac HomebrewでPHPをインストールする |
| Laravel バージョン | 8.6.0 | commposerを用いてこちらの方法で導入→Mac Laravelの環境構築を行う |
| MySQLバージョン | 8.0.19 for osx10.13 on x86_64 | Homwbrewを用いてこちらの方法で導入→Mac HomebrewでMySQLをインストールする |
| Node.jsバージョン | v12.14.1 | Homwbrewを用いてこちらの方法で導入→Mac HomebrewでNode.jsをインストールする |
前提条件
- 下記の記事の作業が完了していること。
前提情報
- 作成するアプリ名は「laravel8_crud」とする。
- 作成するMySQLのデータベース名は「laravel8_crud_DB」とする。
- 下記に今回の作業のあとのソースコードのリモートリポジトリのリンクを記載する。
- 作成する投稿アプリのURLはhttp://127.0.0.1:8000/inputとする。
概要
- ルーティング情報の記載
- コントローラファイルの作成と記載
- ビューファイルの作成と記載
- 確認
詳細
-
ルーティング情報の記載
-
laravel8_crudディレクトリで下記コマンドを実行してルーティングファイルを開く。
$ vi routes/web.php -
開いたファイルに下記の2行を追記する。(Laravel8からルーティング情報の記載方法が異なっているので注意する。)
laravel8_crud/routes/web.phpuse App\Http\Controllers\ContentController; // -----------省略----------- Route::get('/input', [ContentController::class, 'input'])->name('input'); -
追記後のルーティングファイルの内容を下記に記載する。
laravel8_crud/routes/web.php<?php use Illuminate\Support\Facades\Route; // 下記を追記する use App\Http\Controllers\ContentController; /* |-------------------------------------------------------------------------- | Web Routes |-------------------------------------------------------------------------- | | Here is where you can register web routes for your application. These | routes are loaded by the RouteServiceProvider within a group which | contains the "web" middleware group. Now create something great! | */ Route::get('/', function () { return view('welcome'); }); Auth::routes(); Route::get('/home', [App\Http\Controllers\HomeController::class, 'index'])->name('home'); // 下記を追記する Route::get('/input', [ContentController::class, 'input'])->name('input');
-
-
コントローラファイルの作成と記載
-
laravel8_crudディレクトリで下記コマンドを実行してコントローラファイルを作成する。
$ php artisan make:controller ContentController -
laravel8_crudディレクトリで下記コマンドを実行してコントローラファイルを開く。
$ vi app/Http/Controllers/ContentController.php -
開いたコントローラファイルに下記の内容を追記する。
app/Http/Controllers/ContentController.phppublic function input() { return view('contents.input'); } -
追記後のコントローラファイルの内容を下記に記載する。
app/Http/Controllers/ContentController.php<?php namespace App\Http\Controllers; use Illuminate\Http\Request; class ContentController extends Controller { // 下記を追記する public function input() { return view('contents.input'); } }
-
-
ビューファイルの作成と記載
-
laravel8_crudディレクトリで下記コマンドを実行してビューファイルを格納するディレクトリを作成する。
$ mkdir resources/views/contents -
laravel8_crudディレクトリで下記コマンドを実行してビューファイルを作成する。
vi resources/views/contents/input.blade.php -
作成して開いたビューファイルに下記の内容を追記する。
laravel8_crud/resources/views/contents/input.blade.php<h1>input</h1> <form action="" method="post"> @csrf <textarea name="content" cols="30" rows="10"></textarea> <input type="submit" value="送信"> </form>
-
-
確認
-
laravel8_crudディレクトリで下記コマンドを実行してローカルサーバを起動する。
$ php artisan serve -
ブラウザで下記にアクセスする。
-
下記の様に表示されれば本記事の作業は完了である。
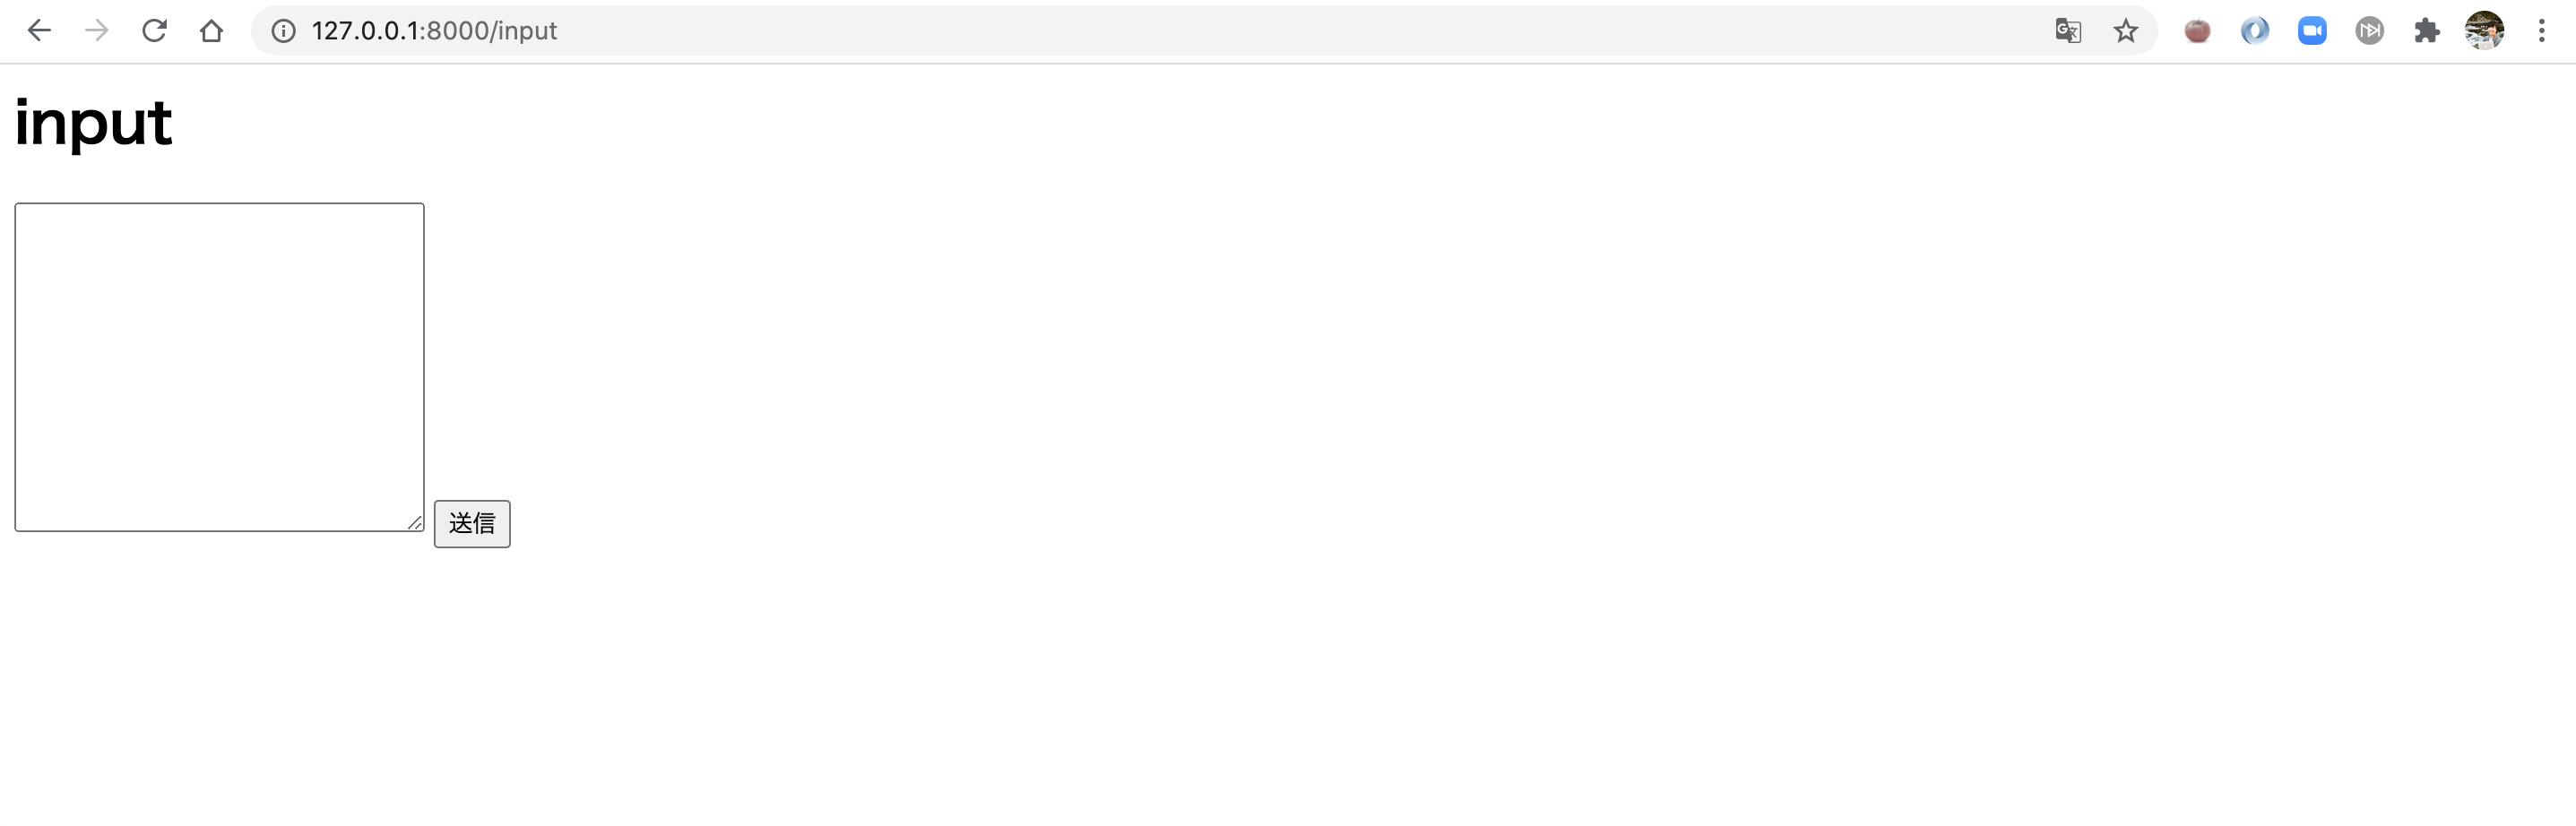
-