まだまだ話題になっているChatGPTですが、たぶんまだAndroidの手軽なアプリが出ていないと思います。
せっかくなので出る前に作ろうと言うことで作ってみた結果、APIなどが充実していることもあり、割と簡単に作ることができたので記事にします。
比較的かんたんに作ることができるので、Androidの勉強してみたいけど作りたいものがない…という方はHello Worldの次のステップとして作ってみていただければと思います。
そのままなぞれば作成できるように心がけますが、作成してみてわかりにくい点などがあればコメントいただければ幸いです。
なんとなく連載記事に憧れがあるので、何回かに分けて投稿しようと思っています。今回はUI編です。
AndroidStudioでプロジェクトを作成してからUIを作成するところまでを記載します。
内部処理編は作成し次第こちらの記事にもリンクを追加します。
【追記】AndroidでchatGPTアプリを作る方法【内部処理編】作成しました。UI編と内部処理編を読んでいただければアプリは作成できます。
作るもの
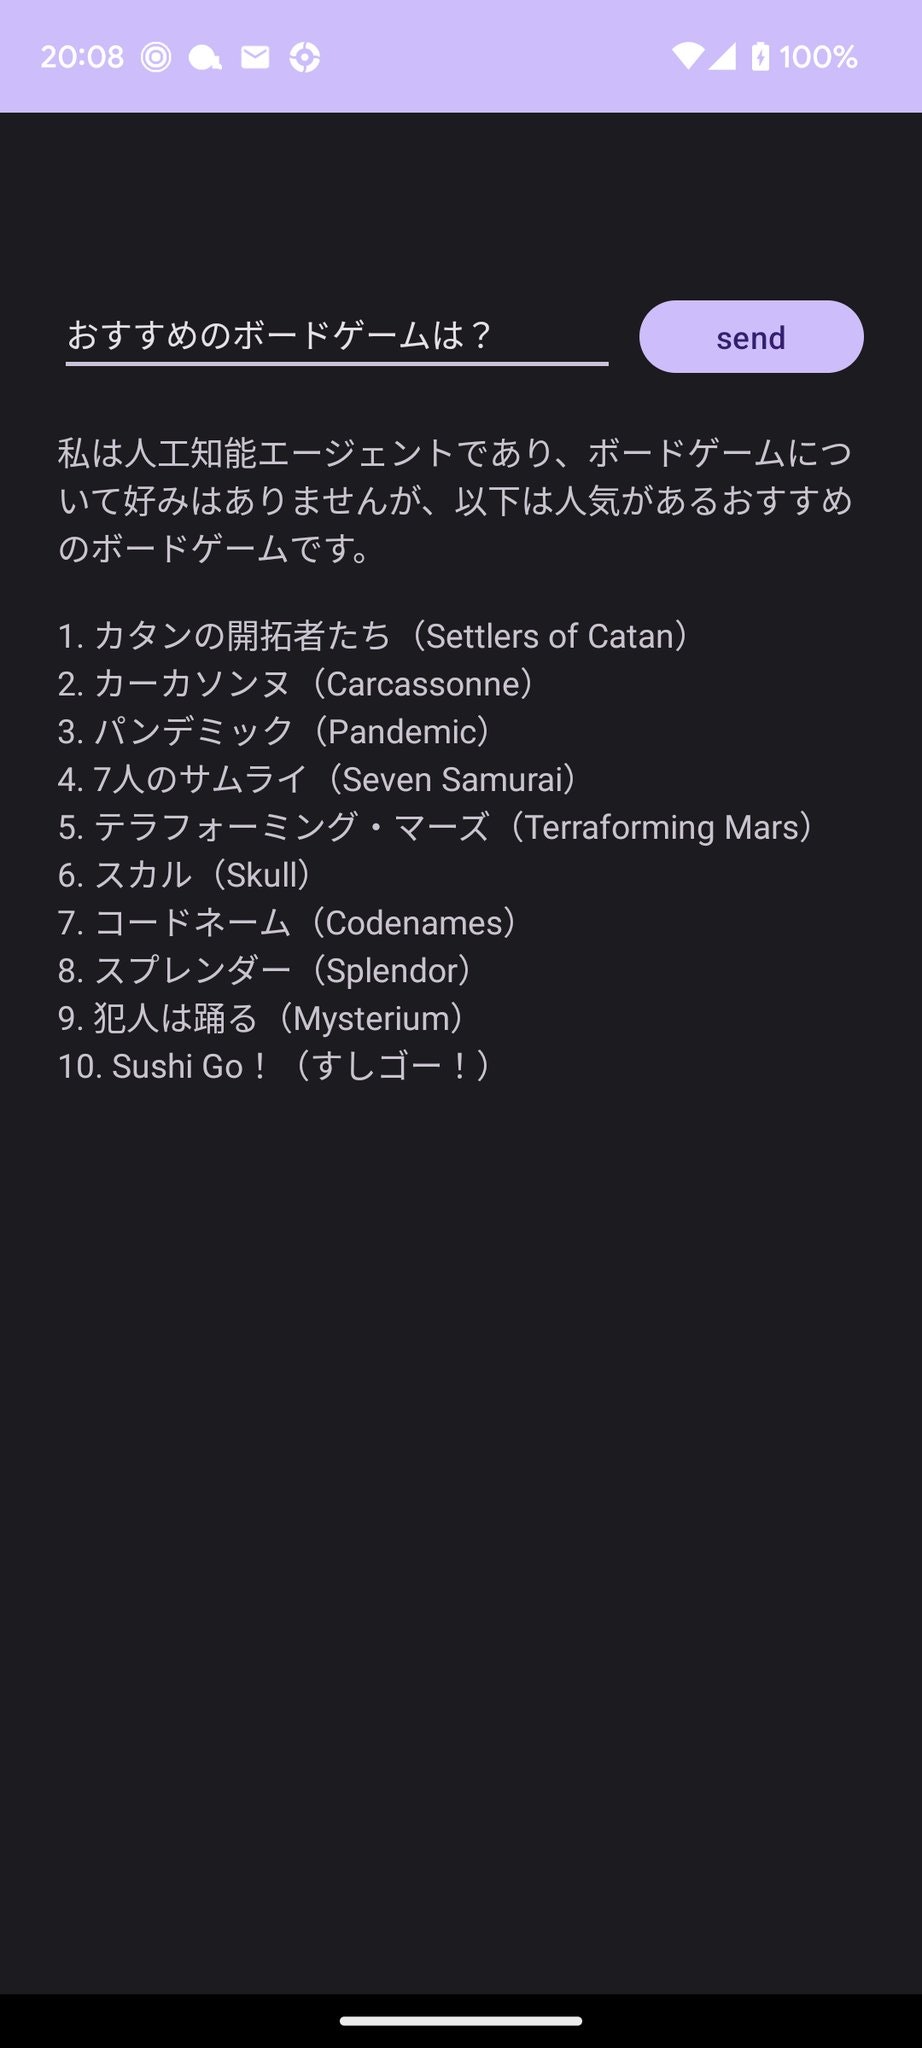
ChatGPTに聞きたいことを入力してsendボタンを押すとChatGPTからの回答が表示されるアプリになります。
必要なもの
ChatGPTのAPIアカウント
アプリではChatGPTのAPIを利用しています。下記のサイトなどを参考にAPIキーを取得してください。
ChatGPT APIキー取得方法参考
AndroidStudio
今回はAndroidStudioを使った開発方法を紹介します。下記のサイトなどを参考にインストールを行ってください。
AndroidStudioインストール方法参考
プログラムの作成
完成イメージ
本記事ではこのような画面イメージを作成するところまでをゴールとします。
プロジェクトの作成
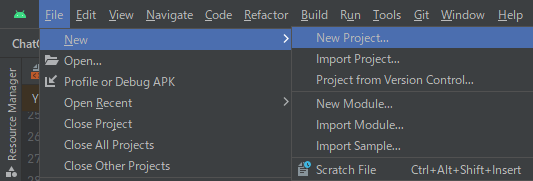
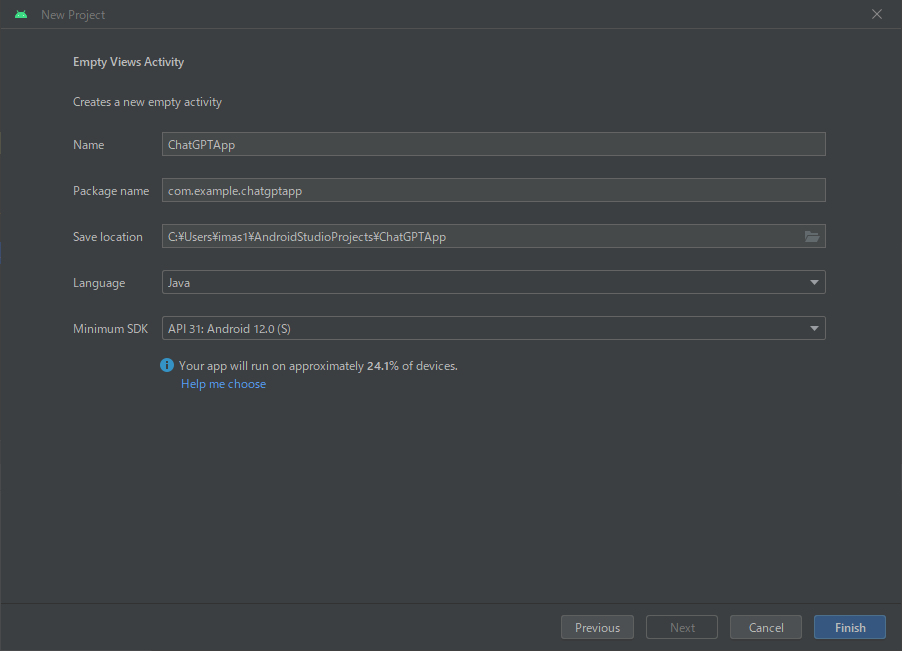
AndroidStudioを開いて[File]→[New]→[New Project...]
[Empty Views Activity]を選択してください。
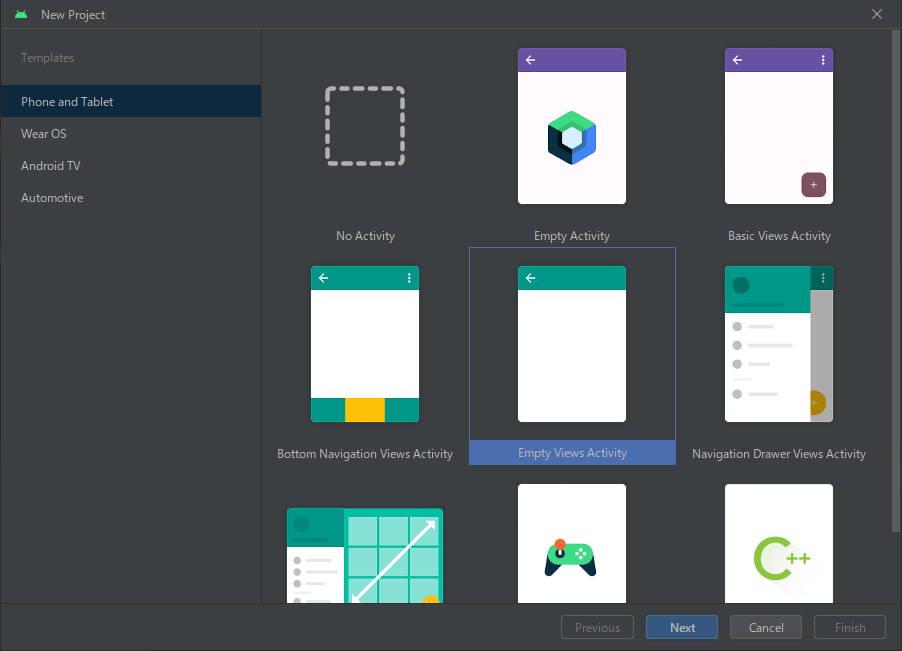
画像のように必要な情報を入力してプロジェクトを作成してください。
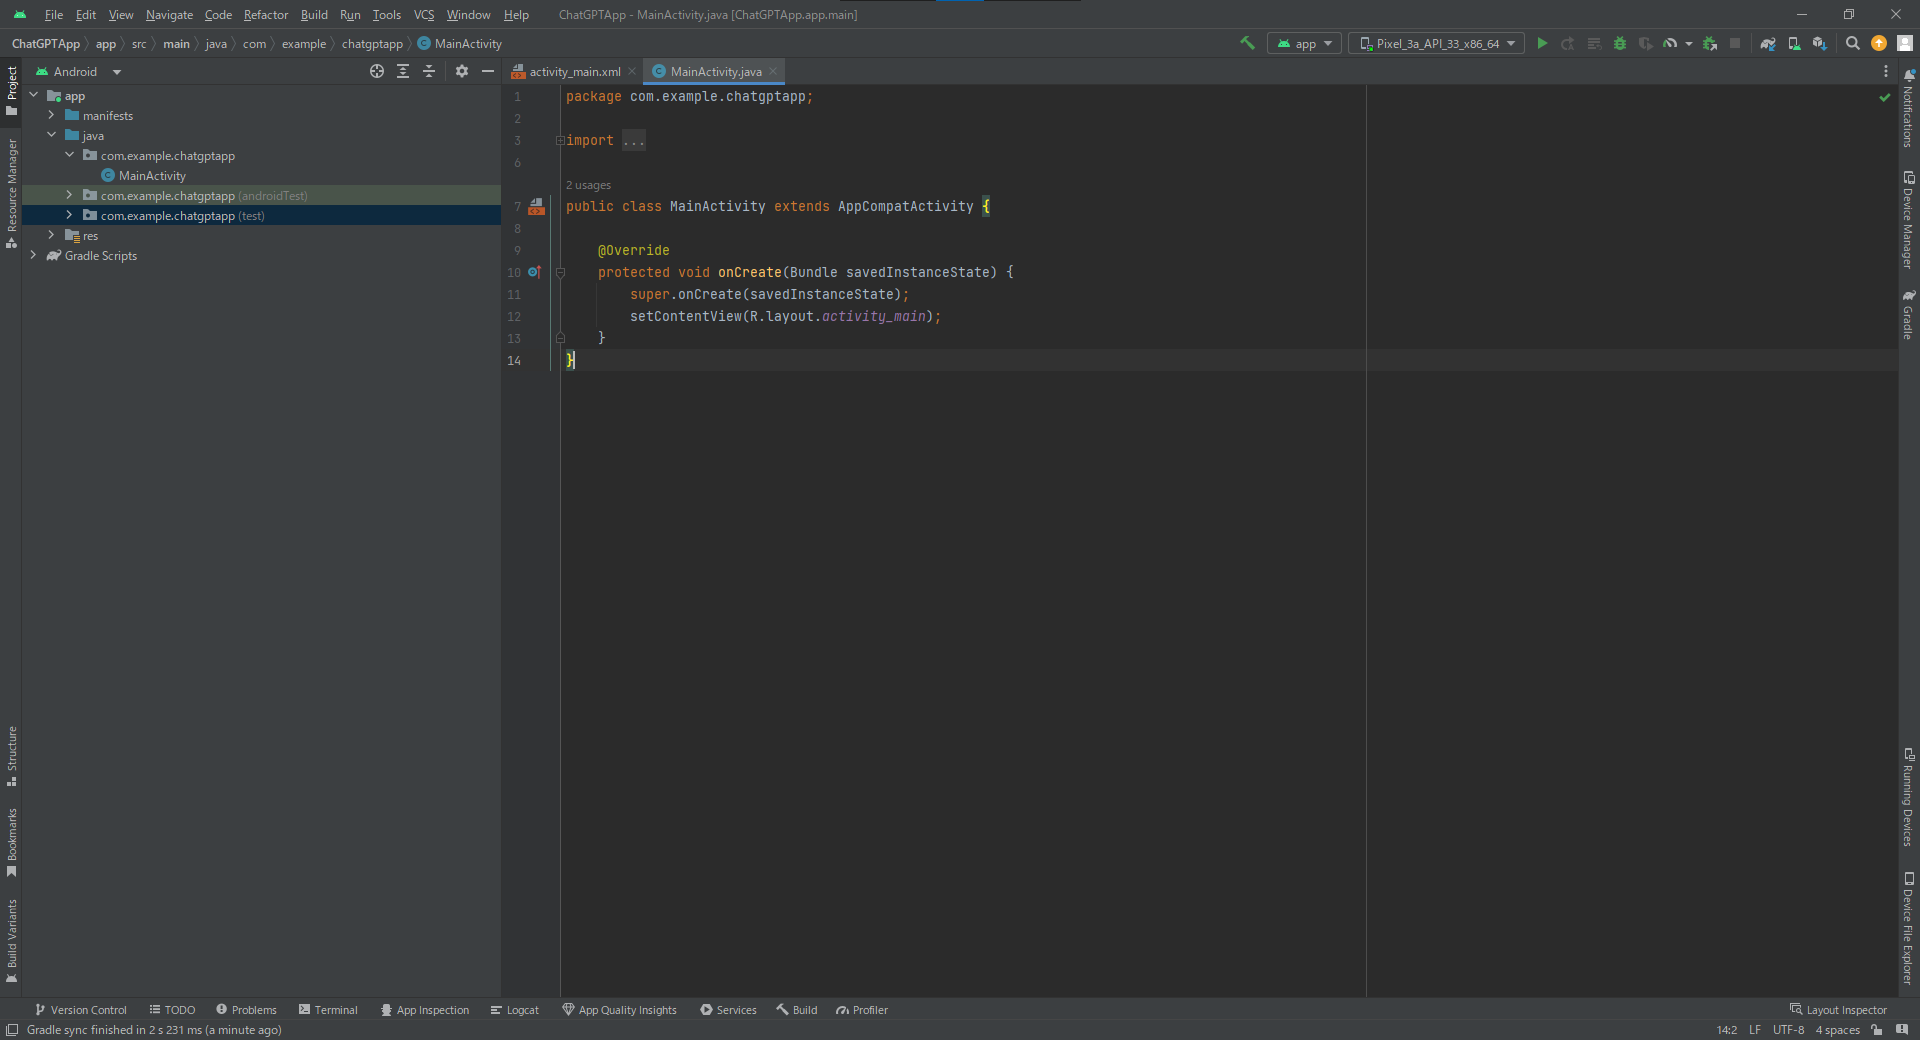
AndroidStudioのプロジェクトが作成されます。
画面の作成
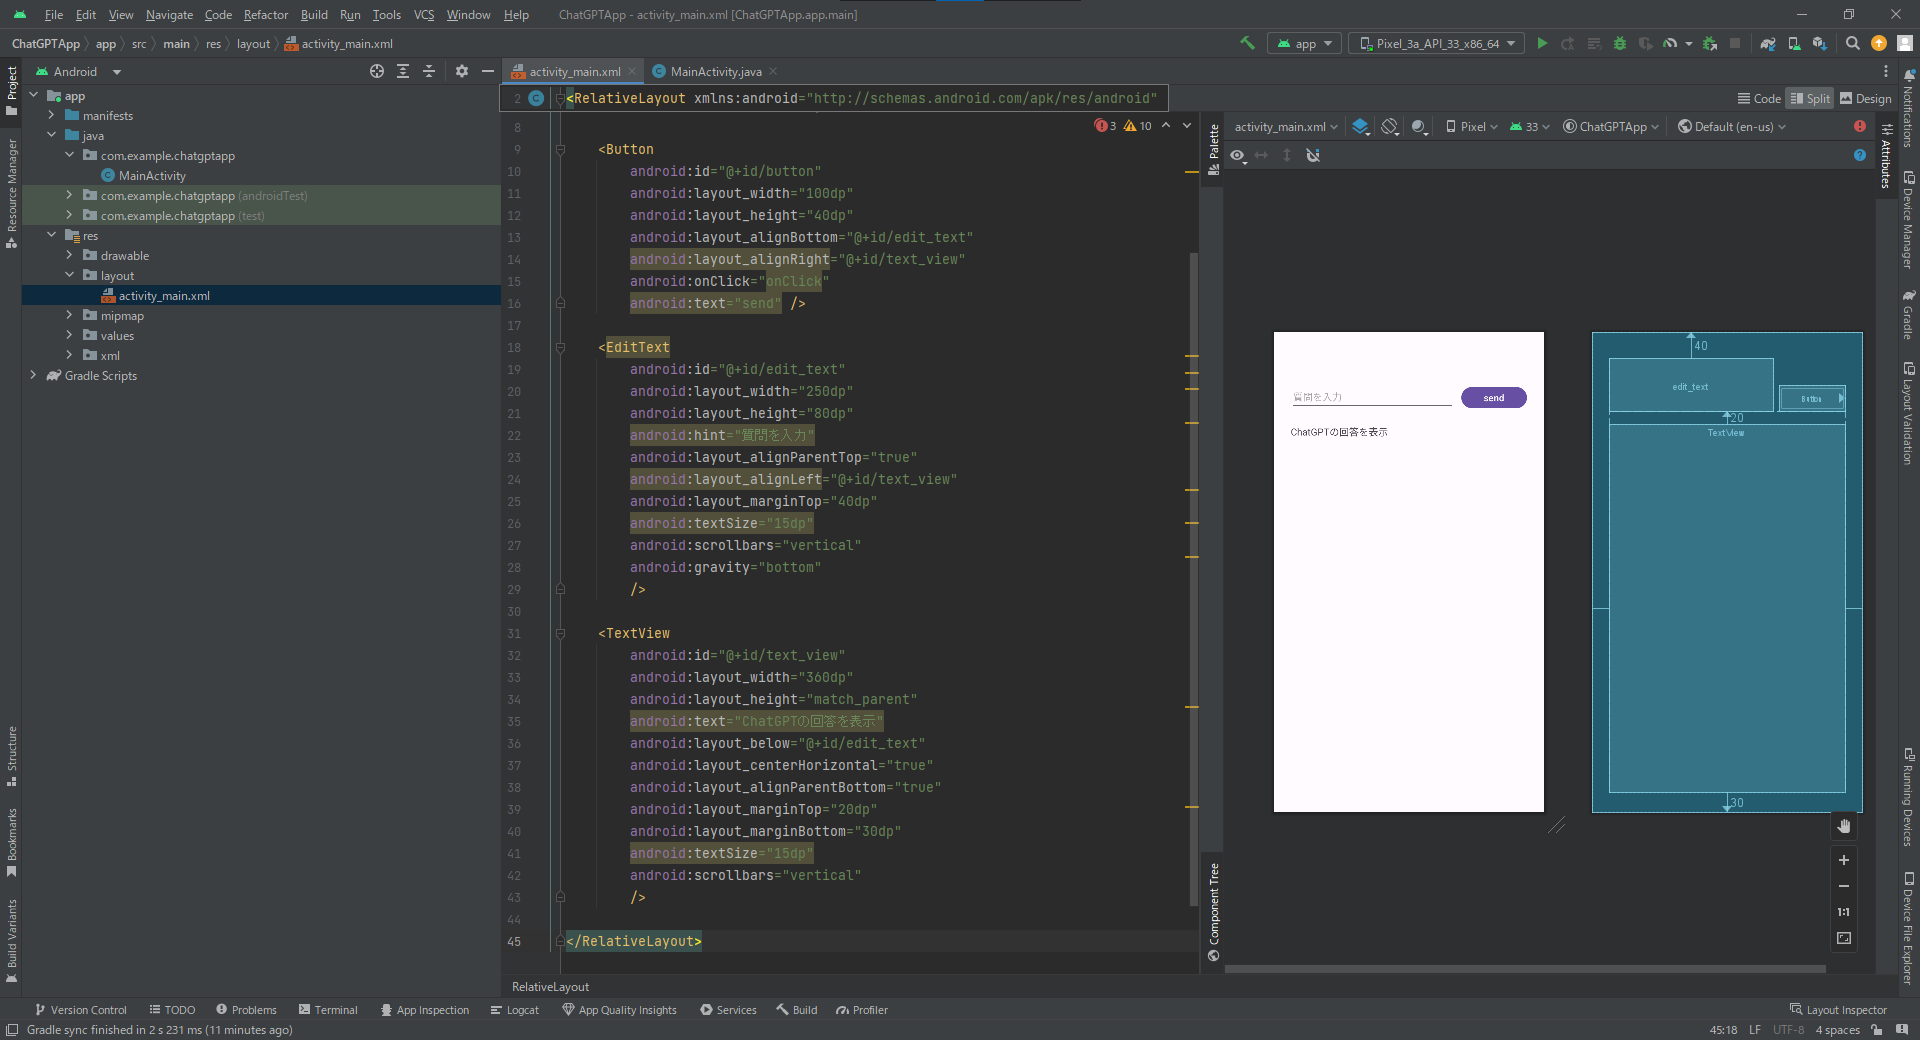
[res]→[layout]→[activity_main.xml]を開きます。
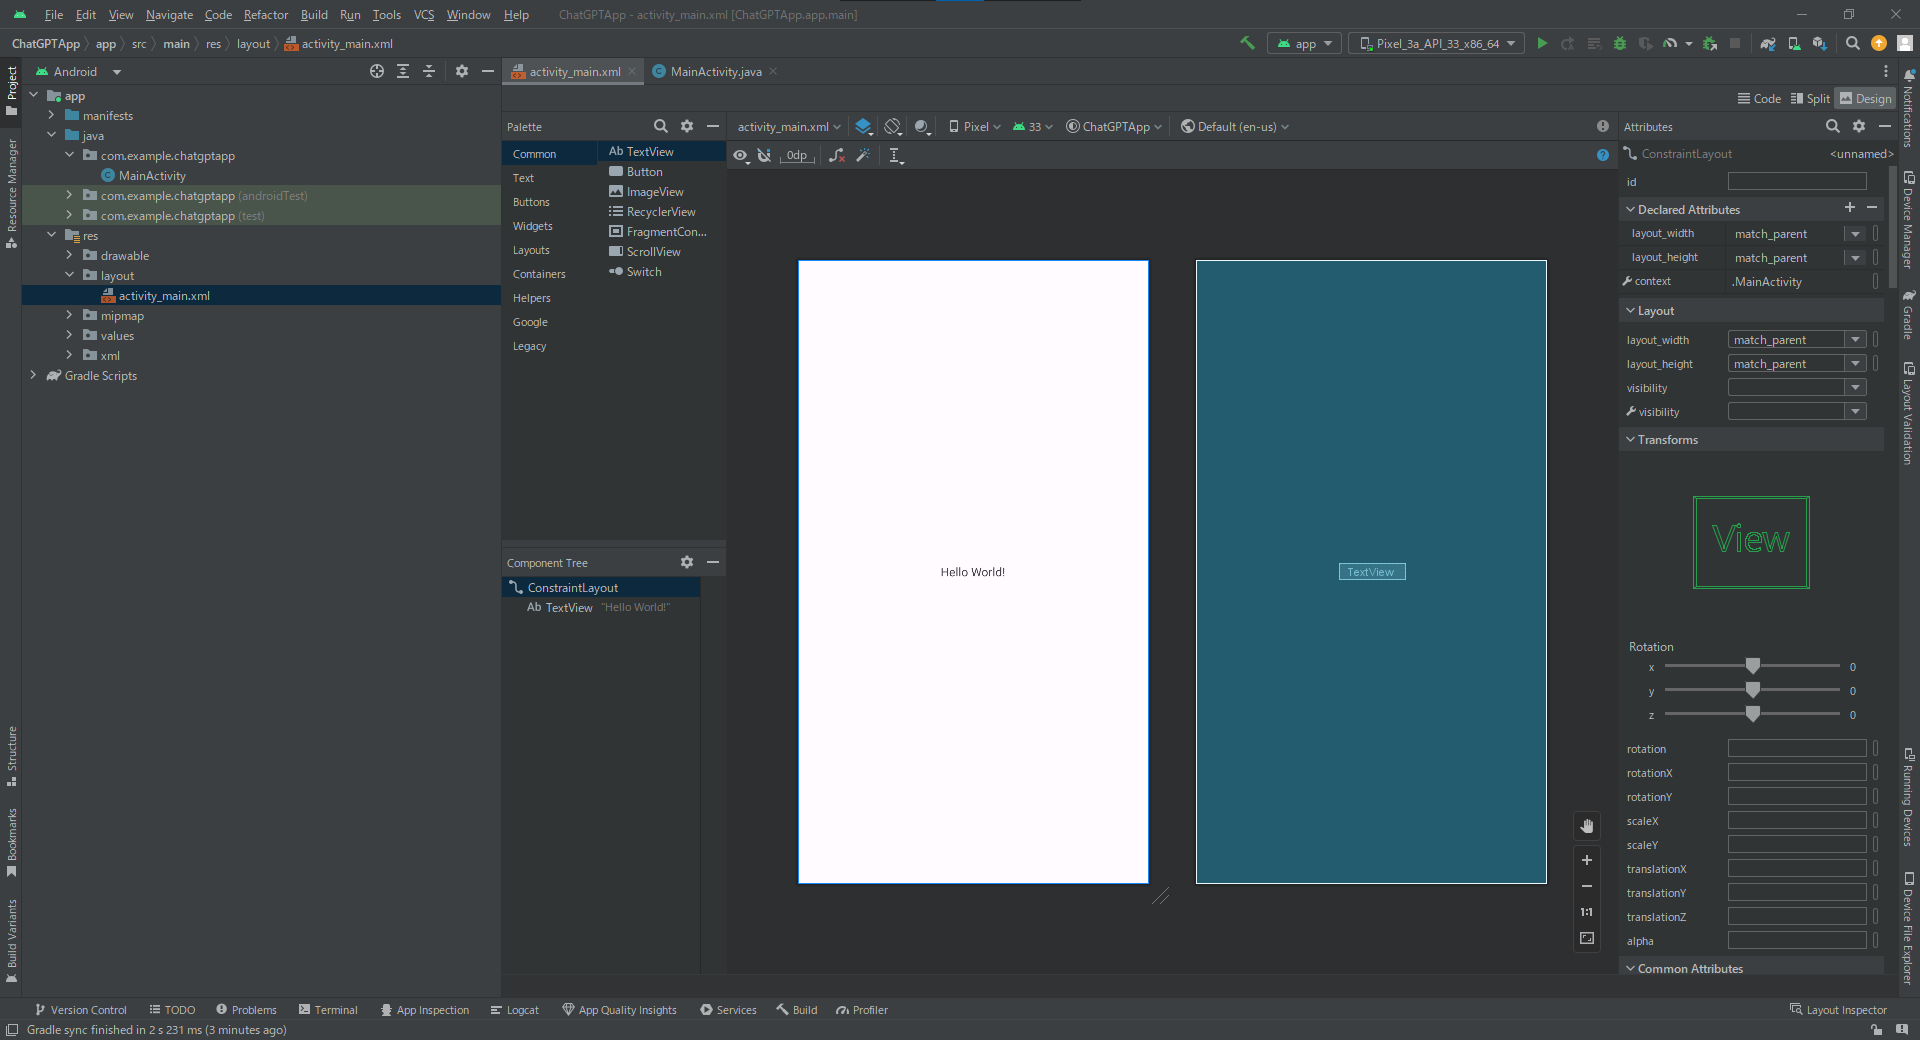
右上の[Split]を選択します。
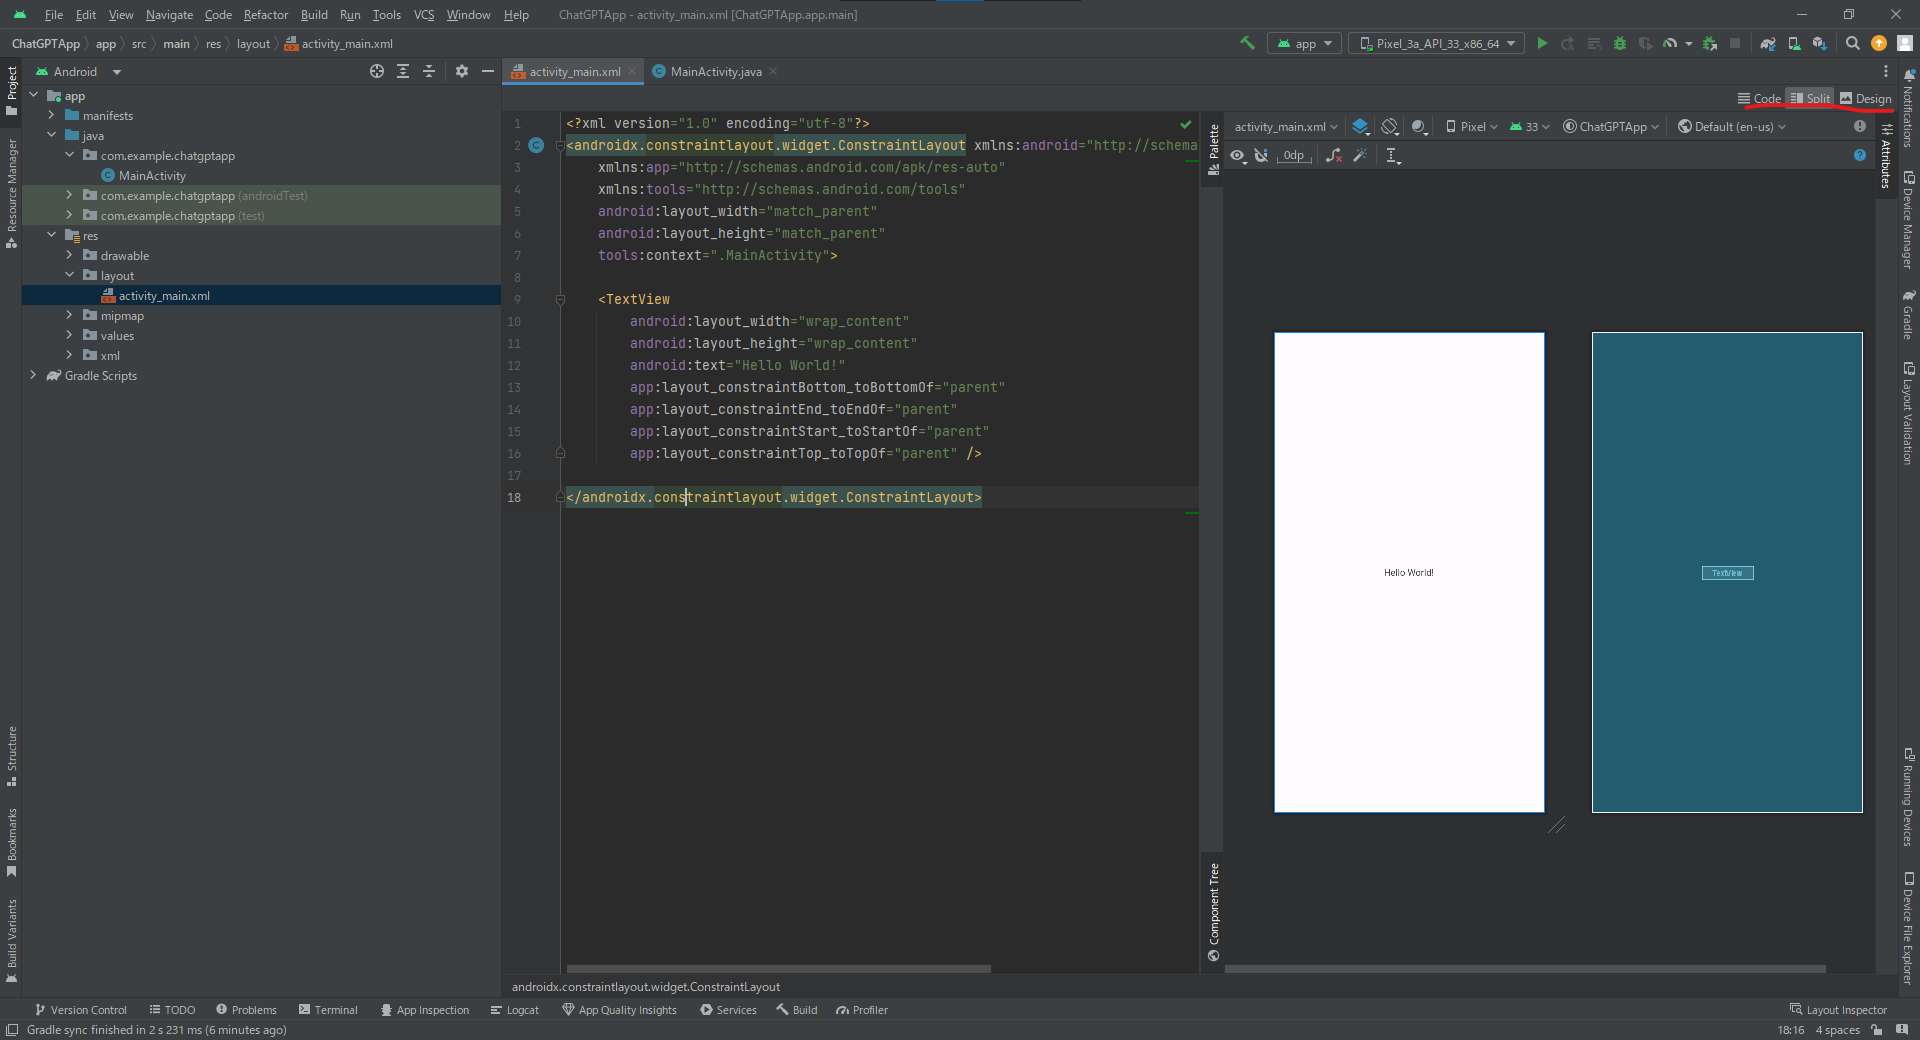
画面を作成するコードを記載します。
<?xml version="1.0" encoding="utf-8"?>
<RelativeLayout xmlns:android="http://schemas.android.com/apk/res/android"
    xmlns:app="http://schemas.android.com/apk/res-auto"
    xmlns:tools="http://schemas.android.com/tools"
    android:layout_width="match_parent"
    android:layout_height="match_parent"
    tools:context=".MainActivity">

    <EditText
        android:id="@+id/edit_text"
        android:layout_width="250dp"
        android:layout_height="80dp"
        android:hint="質問を入力"
        android:layout_alignParentTop="true"
        android:layout_alignLeft="@+id/text_view"
        android:layout_marginTop="40dp"
        android:textSize="15dp"
        android:scrollbars="vertical"
        android:gravity="bottom"
        />

    <Button
        android:id="@+id/button"
        android:layout_width="100dp"
        android:layout_height="40dp"
        android:layout_alignBottom="@+id/edit_text"
        android:layout_alignRight="@+id/text_view"
        android:onClick="onClick"
        android:text="send" />

    <TextView
        android:id="@+id/text_view"
        android:layout_width="360dp"
        android:layout_height="match_parent"
        android:text="ChatGPTの回答を表示"
        android:layout_below="@+id/edit_text"
        android:layout_centerHorizontal="true"
        android:layout_alignParentBottom="true"
        android:layout_marginTop="20dp"
        android:layout_marginBottom="30dp"
        android:textSize="15dp"
        android:scrollbars="vertical"
         />

</RelativeLayout>
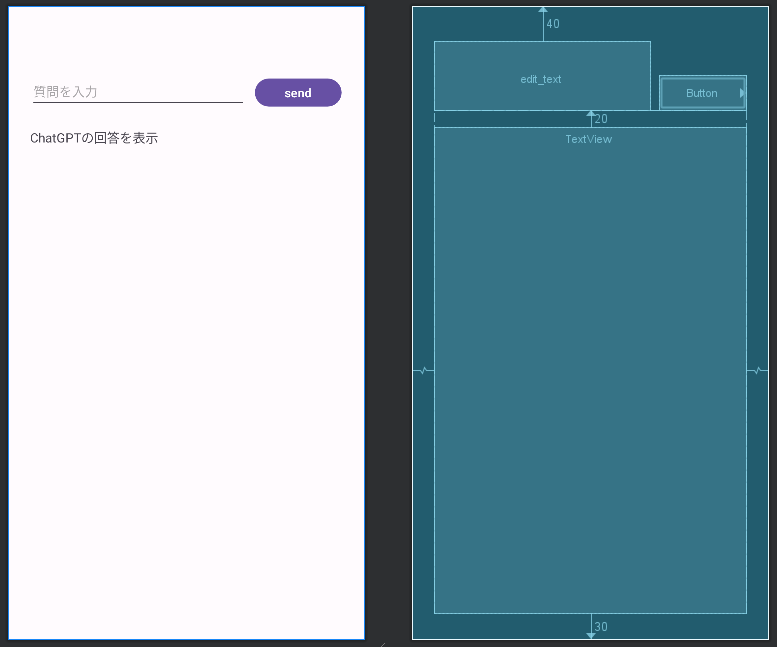
コードを入力すると右側の画面に画面イメージが作成されます。
コードの解説
<RelativeLayout xmlns:android="http://schemas.android.com/apk/res/android"
    xmlns:app="http://schemas.android.com/apk/res-auto"
    xmlns:tools="http://schemas.android.com/tools"
    android:layout_width="match_parent"
    android:layout_height="match_parent"
    tools:context=".MainActivity">
...
</RelativeLayout>
このアプリでは、画面のレイアウトはRelativeLayoutを使っています。
RelativeLayoutはViewを相対的に配置するためのレイアウトになるので、各画面要素はどの要素に対して相対的にどの位置になるかを指定します。
    <EditText
        android:id="@+id/edit_text"
        android:layout_width="250dp"
        android:layout_height="80dp"
        android:hint="質問を入力"
        android:layout_alignParentTop="true"
        android:layout_alignLeft="@+id/text_view"
        android:layout_marginTop="40dp"
        android:textSize="15dp"
        android:scrollbars="vertical"
        android:gravity="bottom"
        />
検索したい文字を入力するEditTextの画面要素です。
各設定は以下のような設定を行っています。
| 設定名 | 概要 |
|---|---|
| id | ID |
| layout_width | 横幅 |
| layout_height | 縦幅 |
| hint | 入力前に表示しておく入力のヒント |
| layout_alignParentTop | 上寄せで表示 |
| layout_alignLeft | text_viewの要素と左端を揃える |
| layout_marginTop | 上からのマージンの幅 |
| textSize | フォントサイズ指定 |
| scrollbars | 垂直方向のスクロールを許可 |
| gravity | 文字の表示を下から表示させる |
    <Button
        android:id="@+id/button"
        android:layout_width="100dp"
        android:layout_height="40dp"
        android:layout_alignBottom="@+id/edit_text"
        android:layout_alignRight="@+id/text_view"
        android:onClick="onClick"
        android:text="send" />
検索したい文字列をChatGPTに送るときに押下するときの画面要素です。
各設定は以下のような設定を行っています。
| 設定名 | 概要 |
|---|---|
| id | ID |
| layout_width | 横幅 |
| layout_height | 縦幅 |
| layout_alignBottom | edit_textの下に揃える |
| layout_alignRight | text_viewの右に揃える |
| onClick | onClick属性を追加する |
| text | ボタンに表示させるテキスト |
    <TextView
        android:id="@+id/text_view"
        android:layout_width="360dp"
        android:layout_height="match_parent"
        android:text="ChatGPTの回答を表示"
        android:layout_below="@+id/edit_text"
        android:layout_centerHorizontal="true"
        android:layout_alignParentBottom="true"
        android:layout_marginTop="20dp"
        android:layout_marginBottom="30dp"
        android:textSize="15dp"
        android:scrollbars="vertical"
         />
検索結果を表示させるテキストボックスです。
各設定は以下のような設定を行っています。
| 設定名 | 概要 |
|---|---|
| id | ID |
| layout_width | 横幅 |
| layout_height | 画面いっぱいに表示させる |
| text | edit_textの下に表示させる |
| layout_centerHorizontal | 水平方向中央寄せで表示 |
| layout_alignParentBottom | 下寄せで表示 |
| layout_marginTop | 上のマージンを設定 |
| layout_marginBottom | 下のマージンを設定 |
| textSize | テキストサイズを設定 |
| scrollbars | 垂直方向のスクロールを許可 |
おわりに
今回はChatGPTと連携するためのアプリのUIを作成しました。
次回は内部処理の方を作って行こうと思います。(連載と言いつつアプリ自体の作成は第2回で終わる予定です。3回目以降は環境周りの内容とかを考えてます。)
【追記】AndroidでchatGPTアプリを作る方法【内部処理編】作成しました。