postfixadminを導入したのでメモ
(postfixadminだけのメモです。メールサーバーの構築はページの下にあるリンクを参考)
メールサーバーの構築のためElastic IPをインスタンスに直接関連つけます。
postfixadminを入手
・postfix3.0のダウンロード
$wget https://sourceforge.net/projects/postfixadmin/files/postfixadmin/postfixadmin-3.0/postfixadmin-3.0.tar.gz
・「postfixadmin-3.0.tar.gz」というファイルがあるのでこれを解凍する。
$tar xfvz postfixadmin-3.0.tar.gz
展開されたのでlsコマンドでpostfixadmin-3.0があるか確認の後圧縮ファイルはいらないので削除する
$rm -f postfixadmin-3.0.tar.gz
webで閲覧できるようにする
必要なものをインストール
root権限で実行する
#yum install -y httpd24 php56 mysql56-server
(他にもPHPのモジュールが必要なのでこれらは後にインストールします。とりあえずこの3つ)
apacheの設定
# cd /etc/httpd/conf.d/
# vi mail.conf
mail.confを編集
ServerName [ドメイン、またはIP]
<VirtualHost *:80>
Servername [ドメイン、またはIP]
DocumentRoot [postfixadmin-3.0があるディレクトリ]

         <Directory "[postfixadmin-3.0があるディレクトリ]">
                Options FollowSymlinks
                AllowOverride All
                Require all granted
         </Directory>

ErrorLog /var/log/httpd/mail-error_log
CustomLog /var/log/httpd/mail-access_log common
</VirtualHost>
postfixadmin-3.0のディレクトリをapacheユーザーがアクセスできるように権限を変更する。
(ここは各々違うので省略。以下の二つはは参考程度に…)
・簡単な方法は[#chgrp -R apache ディレクトリ指定]して[#chmod -R 770 ディレクトリ指定]でだいたい行ける。
または、
・ディレクトリは権限「770」ファイルは「660」に設定する方法は[#find ディレクトリ指定 -type d -exec chmod 0770 {} \;]と[#find ディレクトリ指定 -type f -exec chmod 0660 {} \;]と[# chgrp -R apache ディレクトリ指定]
httpdを起動
/etc/init.d/httpd start
webで確認。apacheが通っていたらwellcomeページ(下の画像)が表示される。(URLにはElastic IPでも可能。ドメインの場合はroute53など設定が必要。)
↓↓↓↓↓↓↓↓↓↓↓↓↓↓↓
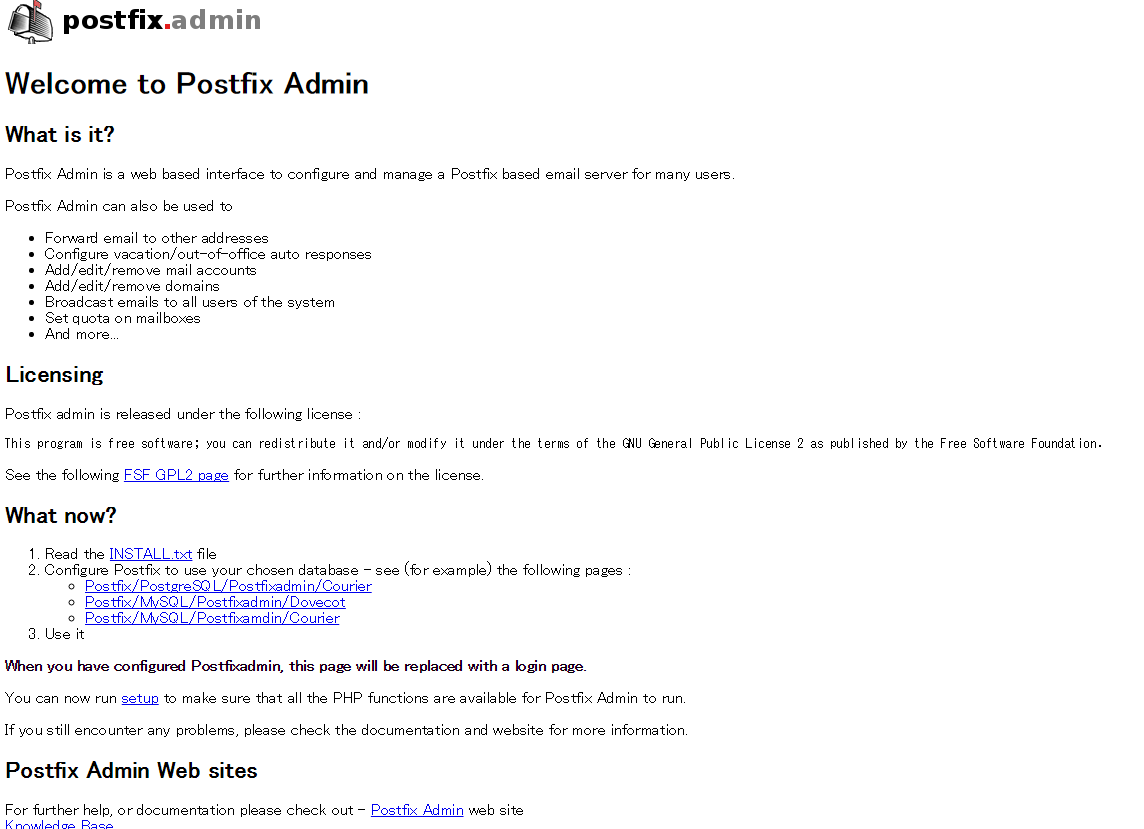
↑↑↑↑↑↑↑↑↑↑↑↑↑↑↑
mysql設定
mysql起動
# /etc/init.d/mysqld start
# mysql
>create database postfixadmin CHARACTER SET utf8;
>GRANT ALL PRIVILEGES ON postfixadmin.* TO postfixadmin@localhost IDENTIFIED BY 'postfixadmin';
>quit
postfixadmin設定
postfixadmin-3.0のディレクトリに移動
オリジナルバックアップをとっておく
cp config.inc.php config.inc.php.bk
編集
vi config.inc.php
変更点
$CONF['configured'] = true;
$CONF['setup_password'] = 'password';
$CONF['default_language'] = 'ja';
$CONF['database_type'] = 'mysqli';
$CONF['database_host'] = 'localhost';
$CONF['database_user'] = 'postfixadmin';
$CONF['database_password'] = 'postfixadmin';
$CONF['database_name'] = 'postfixadmin';
$CONF['footer_text'] = 'Return to ドメイン';
$CONF['footer_link'] = 'http://ドメイン';
$CONF['emailcheck_resolve_domain']='NO';
必要なモジュールインストール
#yum install -y php56-mbstring php56-mysqlnd php56-imap
モジュール読み込み
#/etc/init.d/httpd reload
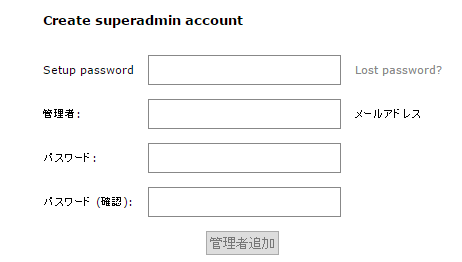
setup passwordはconfig.inc.phpで設定した$CONF['setup_password'] = 'password';のパスワードを記入する
管理者追加を押したらハッシュ化されたものがでてきますので変更する。

$CONF['setup_password'] = 'ハッシュ化されたものをコピーして貼り付け';
再びsetup.phpにアクセスして管理者を追加する。
セットアップするための必要なパスワードはハッシュ化されるまえのものを入力する。
http://ドメイン/login.phpを開いて先ほど作成した管理者ログインできたら成功。
最後にsetup.phpにアクセスできないように権限を変更しておく。
各サービスの自動起動
# chkconfig httpd on
# chkconfig mysqld on
postfix,dovecot設定(メールサーバー構築)
以下のサイトを参考にしました。
Qiita-EC2にメールサーバを構築(複数ドメイン)
上記のリンクで自分が出会った注意点メモ
注意点