概要
トップページと同様にお問合せページをReactNativeで再現します。
Contactコンポーネントを作成し、バリデーションを実装します。
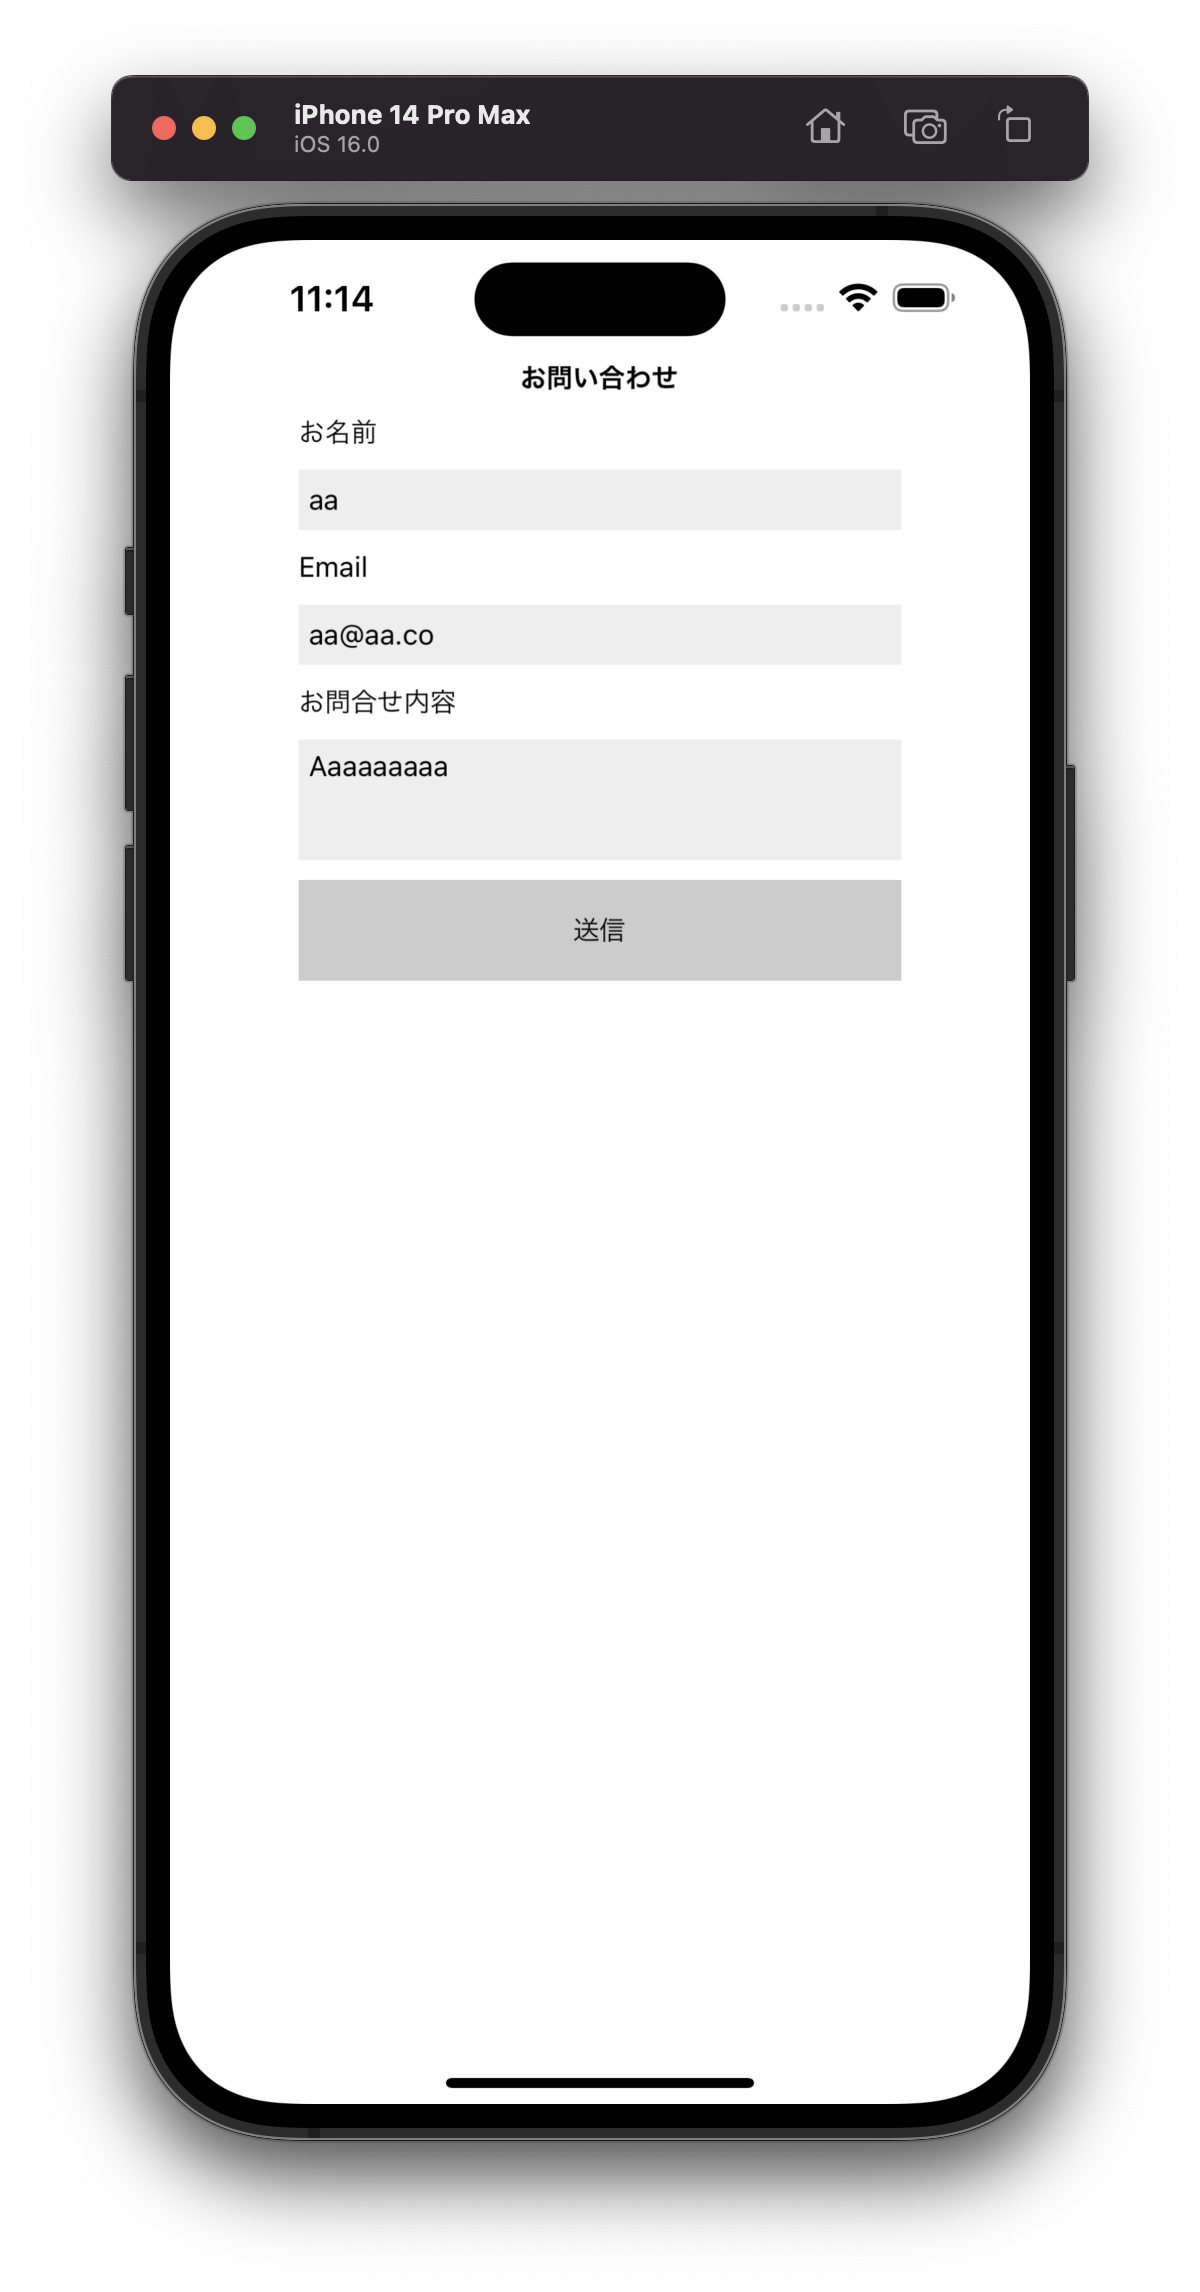
完成イメージ

Contact画面作成
同様にContact.jsを作成していきます。
Contact.js
touch src/screens/Contact.js
フォームを作成していきます。
HTMLが使えないのでそれぞれ作り直します。
TextInputコンポーネントを使って、inputとtextareaに相当するものを作成し、ボタンはTouchableOpacityコンポーネントを使います。
また、後にスタイルを設定するのでstyle={styles.名前}の形式でスタイルを設定していきます。
import React from "react";
import { View, StyleSheet, Text, ScrollView, TextInput, TouchableOpacity } from "react-native";
const Contact = () => {
    return (
        <ScrollView>
            <View style={styles.Content}>
                <Text style={styles.titleText}>お問い合わせ</Text>
                <View style={styles.formWrapper}>
                    <Text>お名前</Text>
                    <TextInput
                        placeholder="お名前"
                        numberOfLines={1}
                        style={styles.textInput}
                        autoCapitalize='none'
                    />
                    <Text style={styles.errorMessage}>お名前は必須です。</Text>

                    <Text>Email</Text>
                    <TextInput
                        placeholder="Email"
                        numberOfLines={1}
                        style={styles.textInput}
                        autoCapitalize='none'
                    />
                    <Text style={styles.errorMessage}>emailは必須かつemailの形式で入力してください。</Text>

                    <Text>お問合せ内容</Text>
                    <TextInput
                        placeholder="お問合せ内容"
                        multiline={true}
                        style={[styles.textArea]}
                    />
                    <Text style={styles.errorMessage}>お問合せ内容は必須かつ1文字以上10文字以下で入力してください。</Text>
                    <TouchableOpacity style={styles.submitBtn}>
                        <Text>送信</Text>
                    </TouchableOpacity>

                </View>
            </View>
        </ScrollView>
    )
}

export default Contact;
できたら、その下に続けて以下のスタイルを記述していきます。
const styles = StyleSheet.create({
    Content: {
        flex: 1,
        alignItems: "center",
        justifyContent: "center",
    },
    titleText: {
        fontWeight: "bold",
        paddingBottom: 10,
        paddingTop: 60,
    },
    formWrapper: {
        width: 300,
    },
    textInput: {
        backgroundColor: "#00000011",
        paddingHorizontal: 5,
        height: 30,
        marginVertical: 10,
    },
    textArea: {
        backgroundColor: "#00000011",
        paddingHorizontal: 5,
        height: 60,
        marginVertical: 10,
    },
    errorMessage: {
        marginBottom: 15,
        fontSize: 10,
        color: "red",
    },
    submitBtn: {
        alignItems: "center",
        justifyContent: "center",
        backgroundColor: "#00000033",
        height: 50,
    },
})
確認
一旦確認したいので、App.jsを修正してContact画面を表示させてみます。
    import React from "react";
    import Top from "./src/screens/Top";
+   import Contact from "./src/screens/Contact";

    export default function App() {
      return (
-       <Top />
+       <Contact />
      );
    }

バリデーション機能
見た目はできたので、機能を実装していきます。
reactでも利用したreact-hook-formを使ってバリデーションを設定していきます。
expo install react-hook-form
react-hook-formのインポート、APIのコールの部分はReactと全く同じです。
宣言の部分は、registerではなくcontrolとなっています。
これは、ReactNativeのようなUIが制御されているコンポーネントと合わせて使う際はcontrollerというコンポーネントを使っていきます。 Controller コンポーネント用に作成され、 React Hook Form に制御されたコンポーネントを登録するためのメソッドが含まれているオブジェクトがcontrolです。
    import React from "react";
    import React from "react";
    import { View, StyleSheet, Text, ScrollView, TextInput, TouchableOpacity } from "react-native";
+   import { useForm } from "react-hook-form";

    const Contact = () => {
+       const {
+           control,
+           handleSubmit,
+           formState: { errors }
+       } = useForm();

+   const onSubmit = (data) => {
+       const api_url = 'apiのURL';
+       fetch(api_url, {
+           method: "post",
+           headers: {
+               "Content-Type": "application/x-www-form-urlencoded",
+           },
+           body: encodeURI(`name=${data.name}&email=${data.email}&body=${data.body}`)
+       })
+           .then((response) => response.json())
+           .then((result) => alert(result.message))
+           .catch((error) => alert(error.message))
+   }
const {
    control,
    handleSubmit,
    formState: { errors }
} = useForm();

const onSubmit = (data) => {
    const api_url = 'apiのURL';
    fetch(api_url, {
        method: "post",
        headers: {
            "Content-Type": "application/x-www-form-urlencoded",
        },
        body: encodeURI(`name=${data.name}&email=${data.email}&body=${data.body}`)
    })
        .then((response) => response.json())
        .then((result) => alert(result.message))
        .catch((error) => alert(error.message))
}
送信ボタンを押したらonSubmitを呼び出すように設定します。onPressを使います。
+ <TouchableOpacity onPress={handleSubmit(onSubmit)} style={styles.submitBtn}>
- <TouchableOpacity style={styles.submitBtn}>
      <Text>Submit</Text>
  </TouchableOpacity>
name,email,bodyのTextInputをフォームに登録するために、それぞれのTextInputをControllerコンポーネントの中に入れます。Controllerコンポーネントでラップすることで値の同期が行えるようになります。
Controllerの中で、requiredとpatternオプションを指定します。
Controllerはname(必須)・control・render ・defaultValue・rulesといった引数を持ちます。
ControlはuseFormを呼び出すオブジェクトです。
renderはReact要素を返す関数です。onChange、onBlur、name、ref、valueを子コンポーネントを提供できます。このなかでTextInputを記述します。
onBlurはフォームからフォーカスが離れたときにバリデーションチェックが走るようにするために設定します。
onChangeTextは入力の度にバリデーションが走ります。
- import {useForm } from "react-hook-form";
+ import {useForm,Controller } from "react-hook-form";
まず、お名前部分を編集してみます。
+   <Controller
+       name="name"
+       control={control}
+       rules={{
+           required: "お名前は必須です。",
+       }}
+       render={({ field: { onChange, onBlur, value } }) => (
            <TextInput
                placeholder="お名前"
                numberOfLines={1}
                style={styles.textInput}
                autoCapitalize='none'
+               onBlur={onBlur}
+               onChangeText={onChange}
+               value={value}
            />
+       )}
+   />
-   <Text style={styles.errorMessage}>お名前は必須です。</Text>
+   {errors.name && <Text style={styles.errorMessage}>{errors.name.message}</Text>}
<Controller
    name="name"
    control={control}
    rules={{
        required: "お名前は必須です。",
    }}
    render={({ field: { onChange, onBlur, value } }) => (
        <TextInput
            placeholder="お名前"
            numberOfLines={1}
            style={styles.textInput}
            autoCapitalize='none'
            onBlur={onBlur}
            onChangeText={onChange}
            value={value}
        />
    )}
/>
{errors.name && <Text style={styles.errorMessage}>{errors.name.message}</Text>}
次にemail部分です。
    <Text>Email</Text>
+   <Controller
+       name="email"
+       control={control}
+       rules={{
+           required: "emailは必須です。",
+           pattern: {
+               value: /^[a-z0-9.]+@[a-z0-9.]+\.[a-z]+$/,
+               message: "emailは必須かつemailの形式で入力してください。"
+           },
+       }}
+       render={({ field: { onChange, onBlur, value } }) => (
            <TextInput
                placeholder="Email"
                numberOfLines={1}
                style={styles.textInput}
                autoCapitalize='none'
+               onBlur={onBlur}
+               onChangeText={onChange}
+               value={value}
            />
+       )}
+   />
-   <Text style={styles.errorMessage}>emailは必須かつemailの形式で入力してください。</Text>
+   {errors.email && <Text style={styles.errorMessage}>{errors.email.message}</Text>}
<Controller
    name="email"
    control={control}
    rules={{
        required: "emailは必須です。",
        pattern: {
            value: /^[a-z0-9.]+@[a-z0-9.]+\.[a-z]+$/,
            message: "emailは必須かつemailの形式で入力してください。"
        },
    }}
    render={({ field: { onChange, onBlur, value } }) => (
        <TextInput
            placeholder="Email"
            numberOfLines={1}
            style={styles.textInput}
            autoCapitalize='none'
            onBlur={onBlur}
            onChangeText={onChange}
            value={value}
        />
    )}
/>
{errors.email && <Text style={styles.errorMessage}>{errors.email.message}</Text>}
最後にお問合せ内容部分です。
    <Text>お問合せ内容</Text>
+   <Controller
+       name="body"
+       control={control}
+       rules={{
+           required: "お問い合わせは必須です。",
+           maxLength: {
+               value: 10,
+               message: "お問合せ内容は必須かつ1文字以上10文字以下で入力してください。"
+           },
+       }}
+       render={({ field: { onChange, onBlur, value } }) => (
            <TextInput
                placeholder="お問合せ内容"
                multiline={true}
                style={[styles.textArea]}
+               onBlur={onBlur}
+               onChangeText={onChange}
+               value={value}
            />
+       )}
+   />
+   {errors.body && <Text style={styles.errorMessage}>{errors.body.message}</Text>}
-   <Text style={styles.errorMessage}>お問合せ内容は必須かつ1文字以上10文字以下で入力してください。</Text>
<Controller
    name="body"
    control={control}
    rules={{
        required: "お問い合わせは必須です。",
        maxLength: {
            value: 10,
            message: "お問合せ内容は必須かつ1文字以上10文字以下で入力してください。"
        },
    }}
    render={({ field: { onChange, onBlur, value } }) => (
        <TextInput
            placeholder="お問合せ内容"
            multiline={true}
            style={[styles.textArea]}
            onBlur={onBlur}
            onChangeText={onChange}
            value={value}
        />
    )}
/>
{errors.body && <Text style={styles.errorMessage}>{errors.body.message}</Text>}
保存して確認します。


最終的なコード
Contact.js
import React from "react";
import { View, StyleSheet, Text, ScrollView, TextInput, TouchableOpacity } from "react-native";
import { useForm, Controller } from "react-hook-form";

const Contact = () => {
    const {
        control,
        handleSubmit,
        formState: { errors }
    } = useForm();

    const onSubmit = (data) => {
        const api_url = 'apiのURL';
        fetch(api_url, {
            method: "post",
            headers: {
                "Content-Type": "application/x-www-form-urlencoded",
            },
            body: encodeURI(`name=${data.name}&email=${data.email}&body=${data.body}`)
        })
            .then((response) => response.json())
            .then((result) => alert(result.message))
            .catch((error) => alert(error.message))
    }
    return (
        <ScrollView>
            <View style={styles.Content}>
                <Text style={styles.titleText}>お問い合わせ</Text>
                <View style={styles.formWrapper}>
                    <Text>お名前</Text>
                    <Controller
                        name="name"
                        control={control}
                        rules={{
                            required: "お名前は必須です。",
                        }}
                        render={({ field: { onChange, onBlur, value } }) => (
                            <TextInput
                                placeholder="お名前"
                                numberOfLines={1}
                                style={styles.textInput}
                                autoCapitalize='none'
                                onBlur={onBlur}
                                onChangeText={onChange}
                                value={value}
                            />
                        )}
                    />
                    {errors.name && <Text style={styles.errorMessage}>{errors.name.message}</Text>}

                    <Text>Email</Text>
                    <Controller
                        name="email"
                        control={control}
                        rules={{
                            required: "emailは必須です。",
                            pattern: {
                                value: /^[a-z0-9.]+@[a-z0-9.]+\.[a-z]+$/,
                                message: "emailは必須かつemailの形式で入力してください。"
                            },
                        }}
                        render={({ field: { onChange, onBlur, value } }) => (
                            <TextInput
                                placeholder="Email"
                                numberOfLines={1}
                                style={styles.textInput}
                                autoCapitalize='none'
                                onBlur={onBlur}
                                onChangeText={onChange}
                                value={value}
                            />
                        )}
                    />
                    {errors.email && <Text style={styles.errorMessage}>{errors.email.message}</Text>}

                    <Text>お問合せ内容</Text>
                    <Controller
                        name="body"
                        control={control}
                        rules={{
                            required: "お問い合わせは必須です。",
                            maxLength: {
                                value: 10,
                                message: "お問合せ内容は必須かつ1文字以上10文字以下で入力してください。"
                            },
                        }}
                        render={({ field: { onChange, onBlur, value } }) => (
                            <TextInput
                                placeholder="お問合せ内容"
                                multiline={true}
                                style={[styles.textArea]}
                                onBlur={onBlur}
                                onChangeText={onChange}
                                value={value}
                            />
                        )}
                    />
                    {errors.body && <Text style={styles.errorMessage}>{errors.body.message}</Text>}
                    <TouchableOpacity onPress={handleSubmit(onSubmit)} style={styles.submitBtn}>
                        <Text>送信</Text>
                    </TouchableOpacity>

                </View>
            </View>
        </ScrollView>
    )
}

export default Contact;

const styles = StyleSheet.create({
    Content: {
        flex: 1,
        alignItems: "center",
        justifyContent: "center",
    },
    titleText: {
        fontWeight: "bold",
        paddingBottom: 10,
        paddingTop: 60,
    },
    formWrapper: {
        width: 300,
    },
    textInput: {
        backgroundColor: "#00000011",
        paddingHorizontal: 5,
        height: 30,
        marginVertical: 10,
    },
    textArea: {
        backgroundColor: "#00000011",
        paddingHorizontal: 5,
        height: 60,
        marginVertical: 10,
    },
    errorMessage: {
        marginBottom: 15,
        fontSize: 10,
        color: "red",
    },
    submitBtn: {
        alignItems: "center",
        justifyContent: "center",
        backgroundColor: "#00000033",
        height: 50,
    },
})
App.js
import React from "react";
import Top from "./src/screens/Top";
import Contact from "./src/screens/Contact";

export default function App() {
  return (
    <Contact />
  );
}