Windows Server 2022 評価版を仮想マシンにインストールしました。
手順メモを共有します。
Windows Server 2022 評価版 の取得
評価版はここからダウンロードしました。
インストール後、製品版に変更することも可能です。
本手順ではISOイメージ(ファイル名:SERVER_EVAL_x64FRE_ja-jp.iso)を使います。
仮想マシンの準備
Hyper-Vの管理OS(≒ホストOS)にある Hyper-Vマネージャー で仮想マシンを作成します。
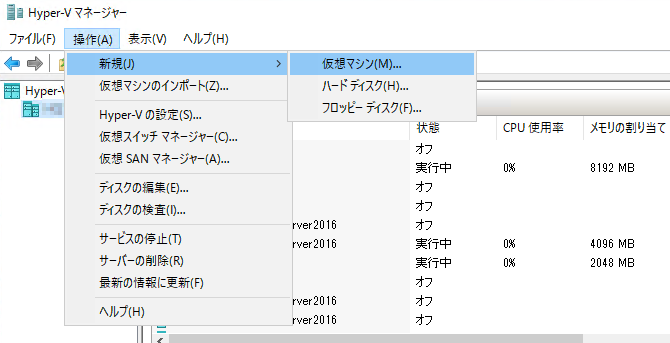
仮想マシンの新規作成
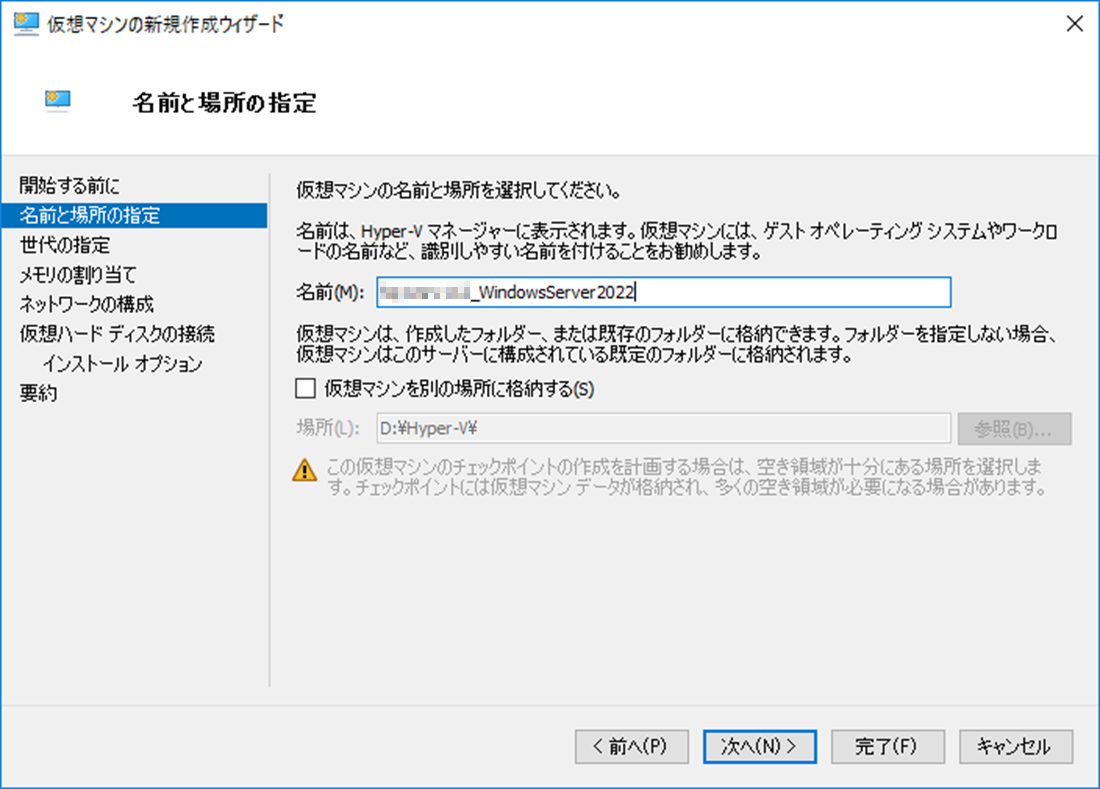
仮想マシンの名前を決める
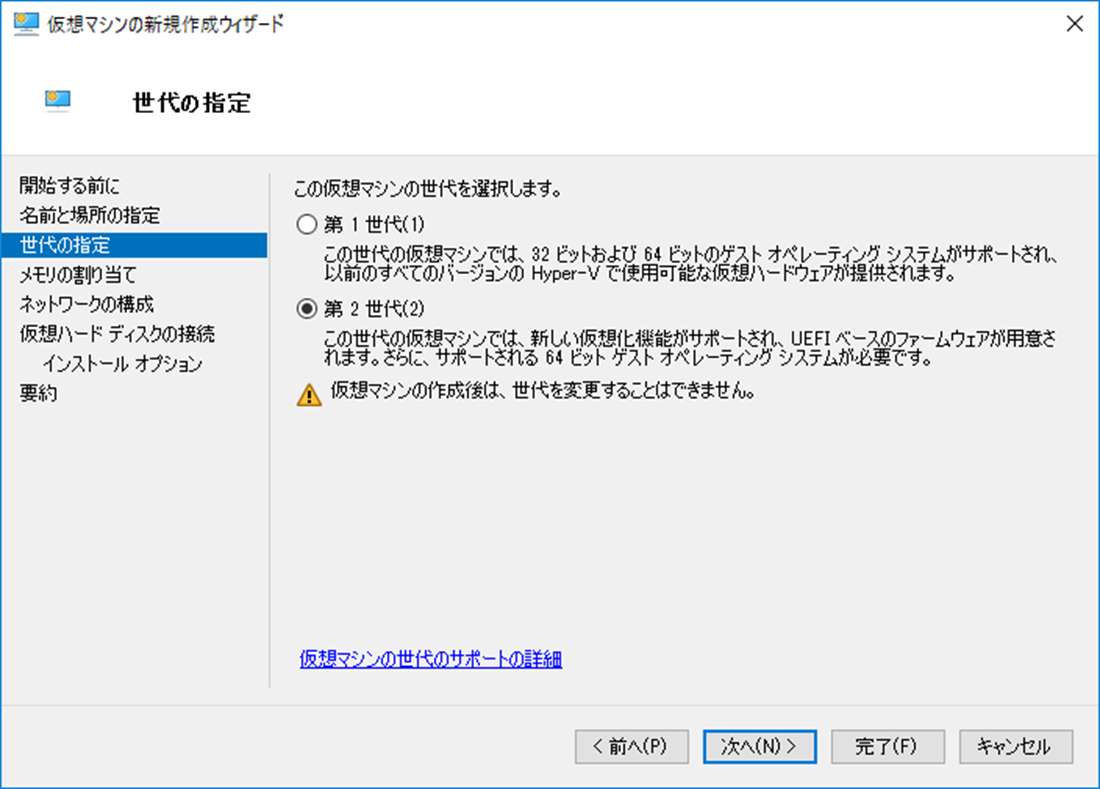
レガシーBIOSはサポートしないので第2世代を指定
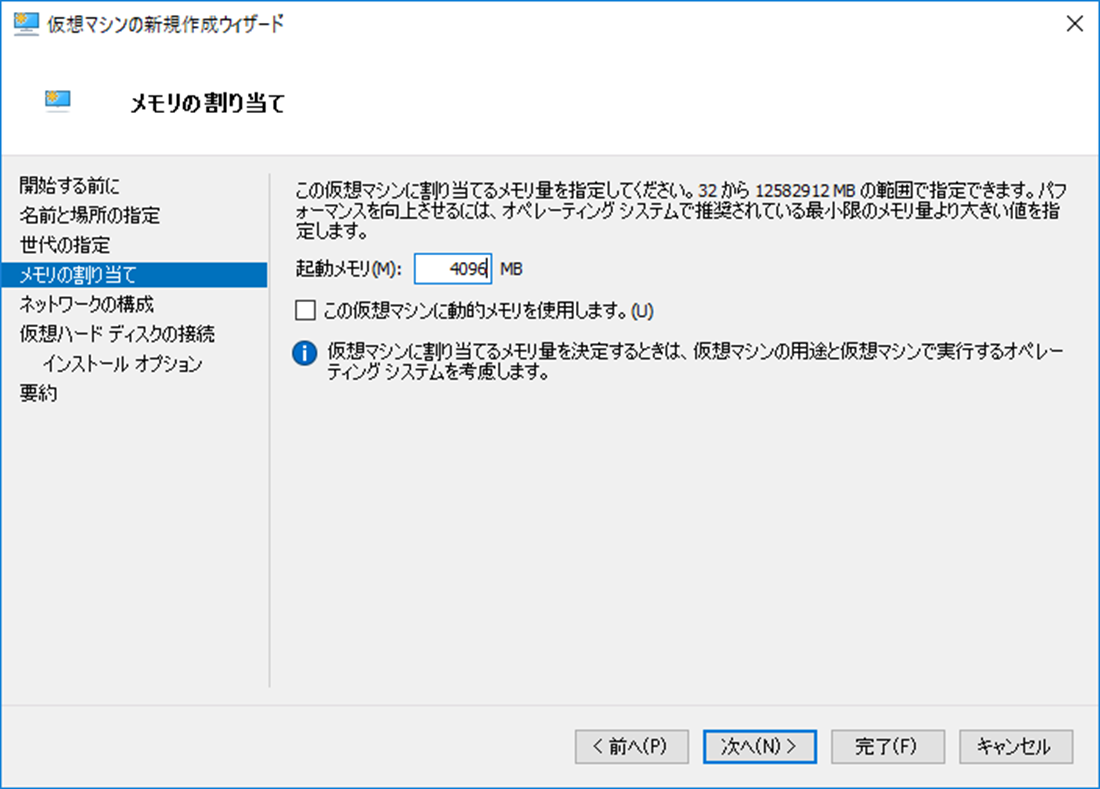
動的メモリは使わない
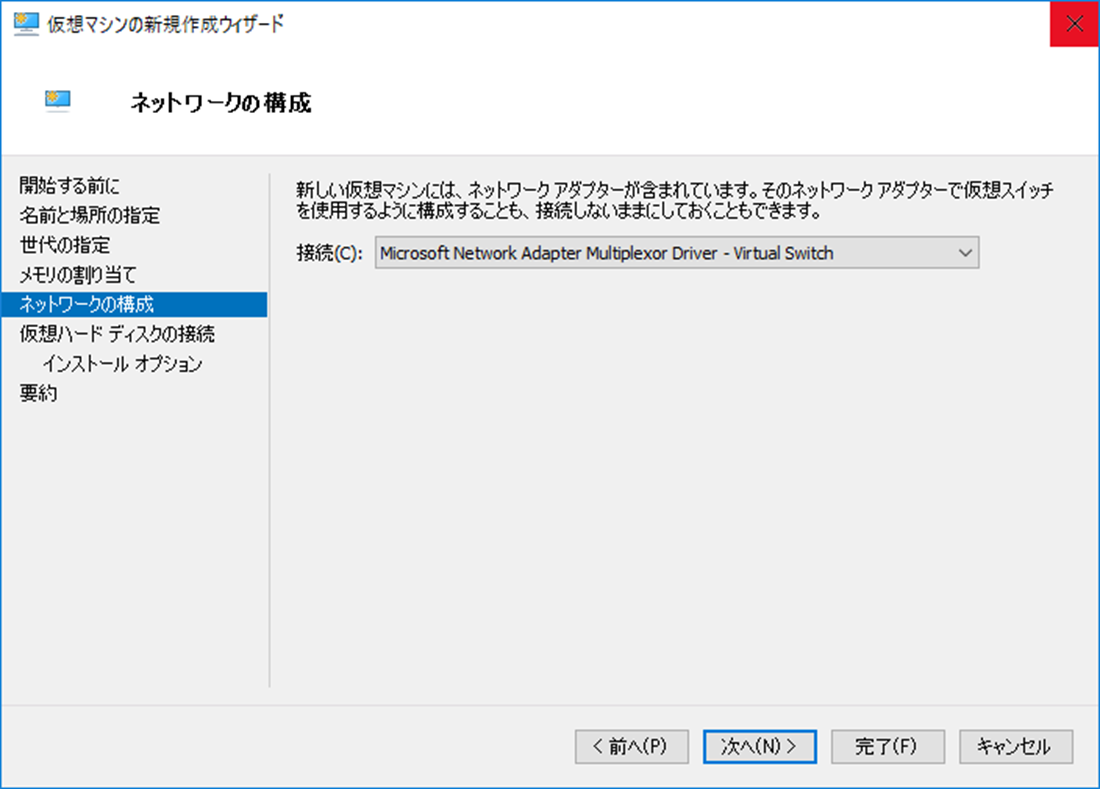
接続する仮想スイッチを指定
| 仮想スイッチの種類 | Default Switch | 外部ネットワーク | 内部ネットワーク | プライベートネットワーク |
|---|---|---|---|---|
| 仮想マシン |
||||
| 仮想マシン |
||||
| 仮想マシン |
||||
| 仮想マシン |
Default Switch で要件を満たさない場合、仮想スイッチマネージャーで仮想スイッチ(仮想マシンの仮想NICを接続するL2スイッチ)を作成します。
今回は、物理ネットワークからWindows Server 2022にアクセスするため、物理NICを仮想スイッチにバインドできる外部ネットワークを使います。
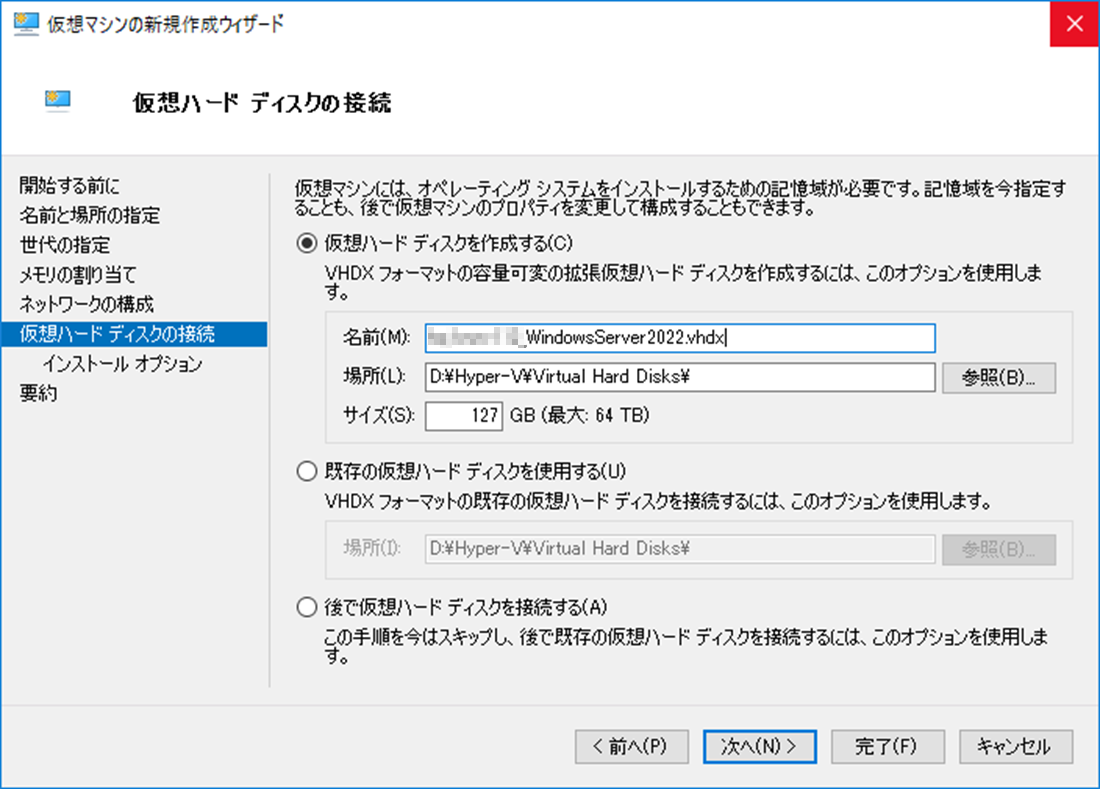
仮想ハードディスクの指定
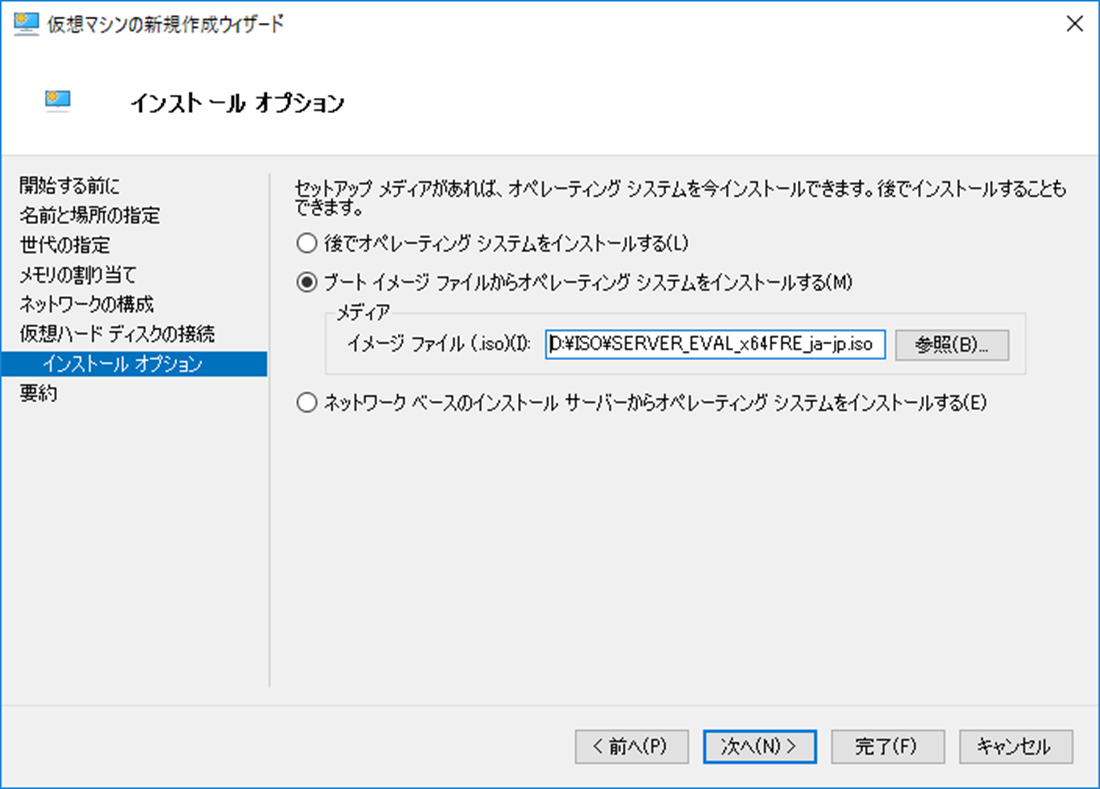
ブートイメージの指定
ダウンロードしたISOイメージを指定します。
Windows Server 2022 のセットアップ
仮想マシンを作成できたら起動しましょう。
もし、次のようなメッセージで停止しても慌てないで下さい。
Virtual Machine Boot Summary

 1. SCSI DVD    (0,1)               The boot loader failed - Time out.
 2. Network Adapter (XXXXXXXXXXXX)  DHCP failed.
 3. SCSI Disk   (0,0)               No UEFI-compatible file system was found.

No operating system was loaded. Press a key to retry the boot sequence...
Note: Configuration changes may require the virtual machine to be reset.
再起動し、
Press any key to boot from CD or DVD...
の表示で6秒以内にキーを押せば回避できます。
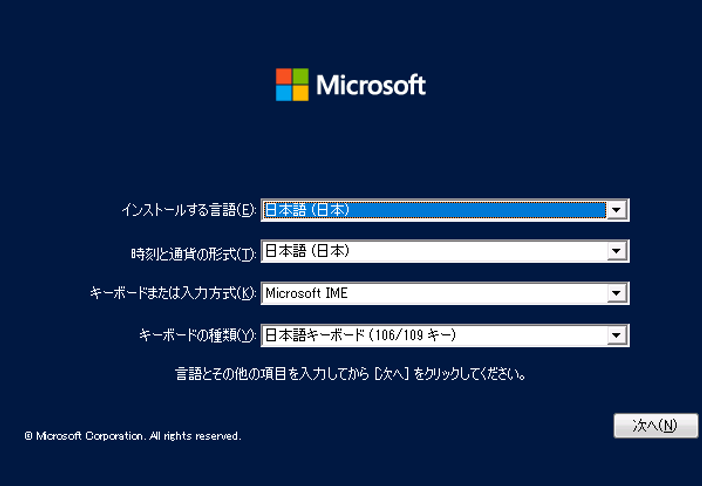
すべて良ければ [次へ] をクリック
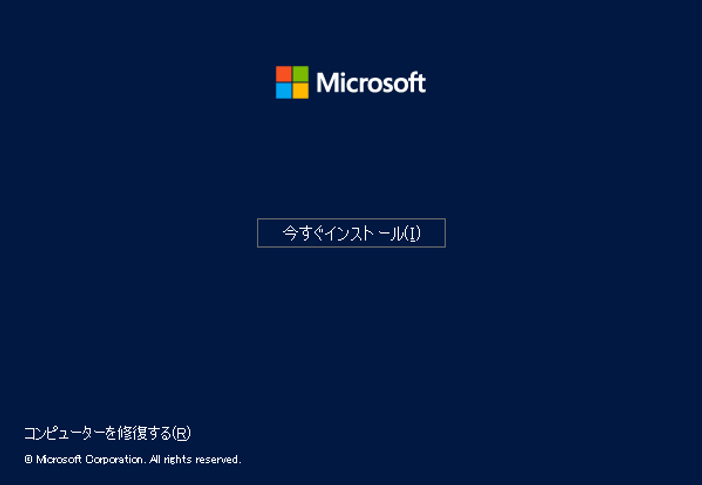
[今すぐインストール] をクリック
エディションの選択
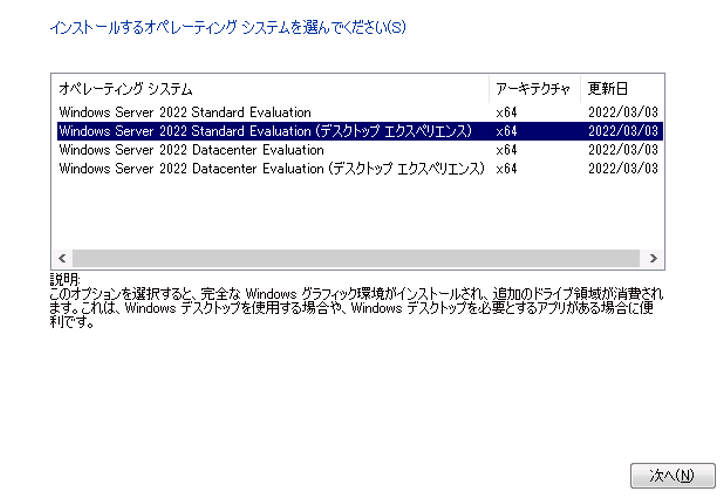
フルインストール版(デスクトップエクスペリエンス)を選択。
Linux系サーバだとGUIまで含めないことが殆どだと思いますが、Windows系のコマンドを覚えるのはしんどいです。
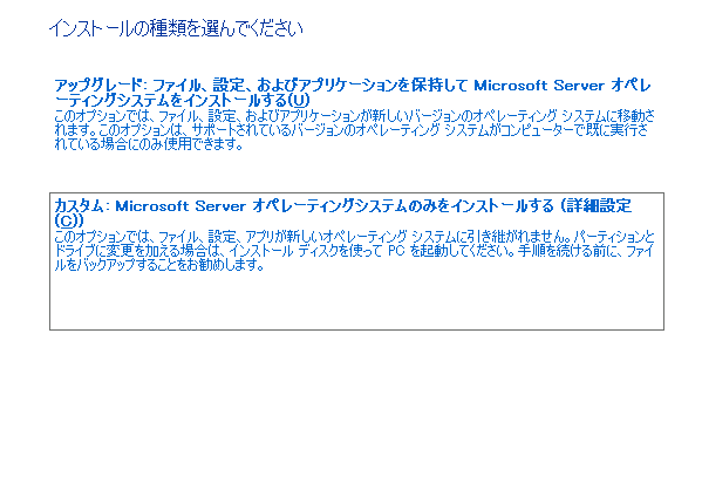
新規のインストールなのでカスタムを選択
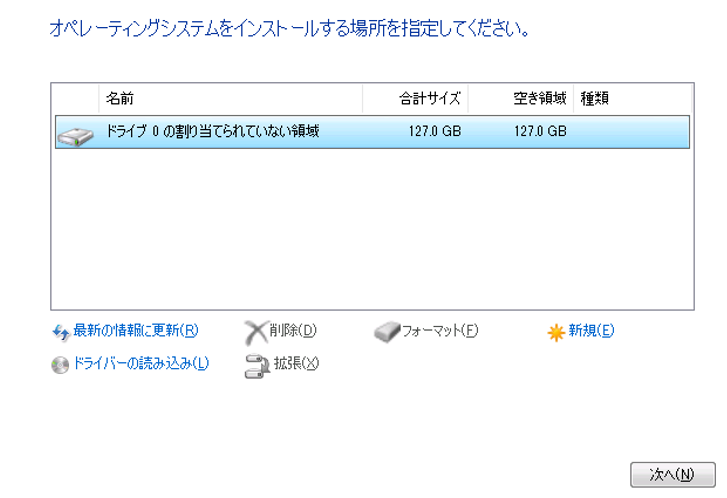
インストール場所を指定
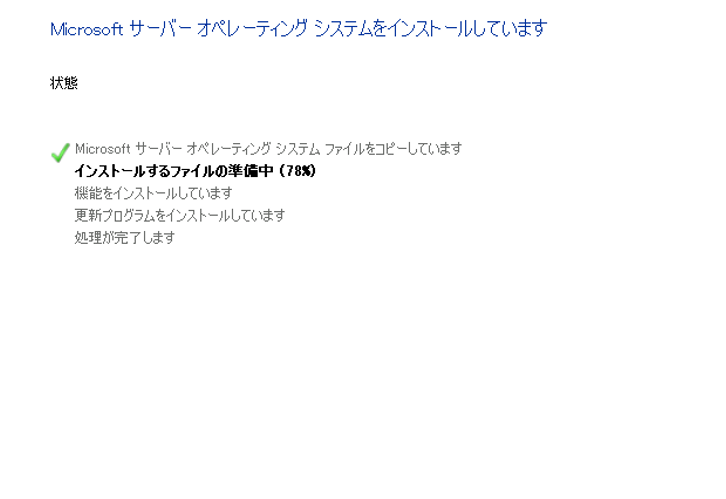
インストール完了まで待つ
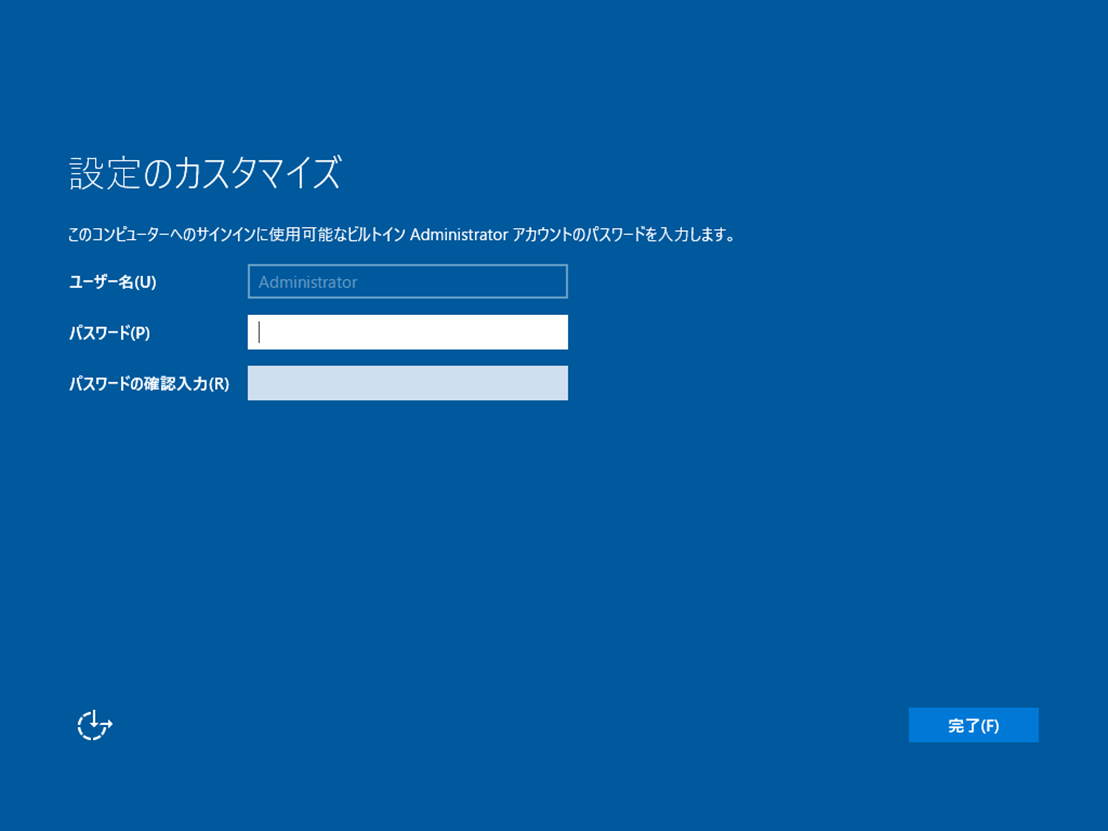
ローカル管理者アカウントのパスワードを設定
ログイン
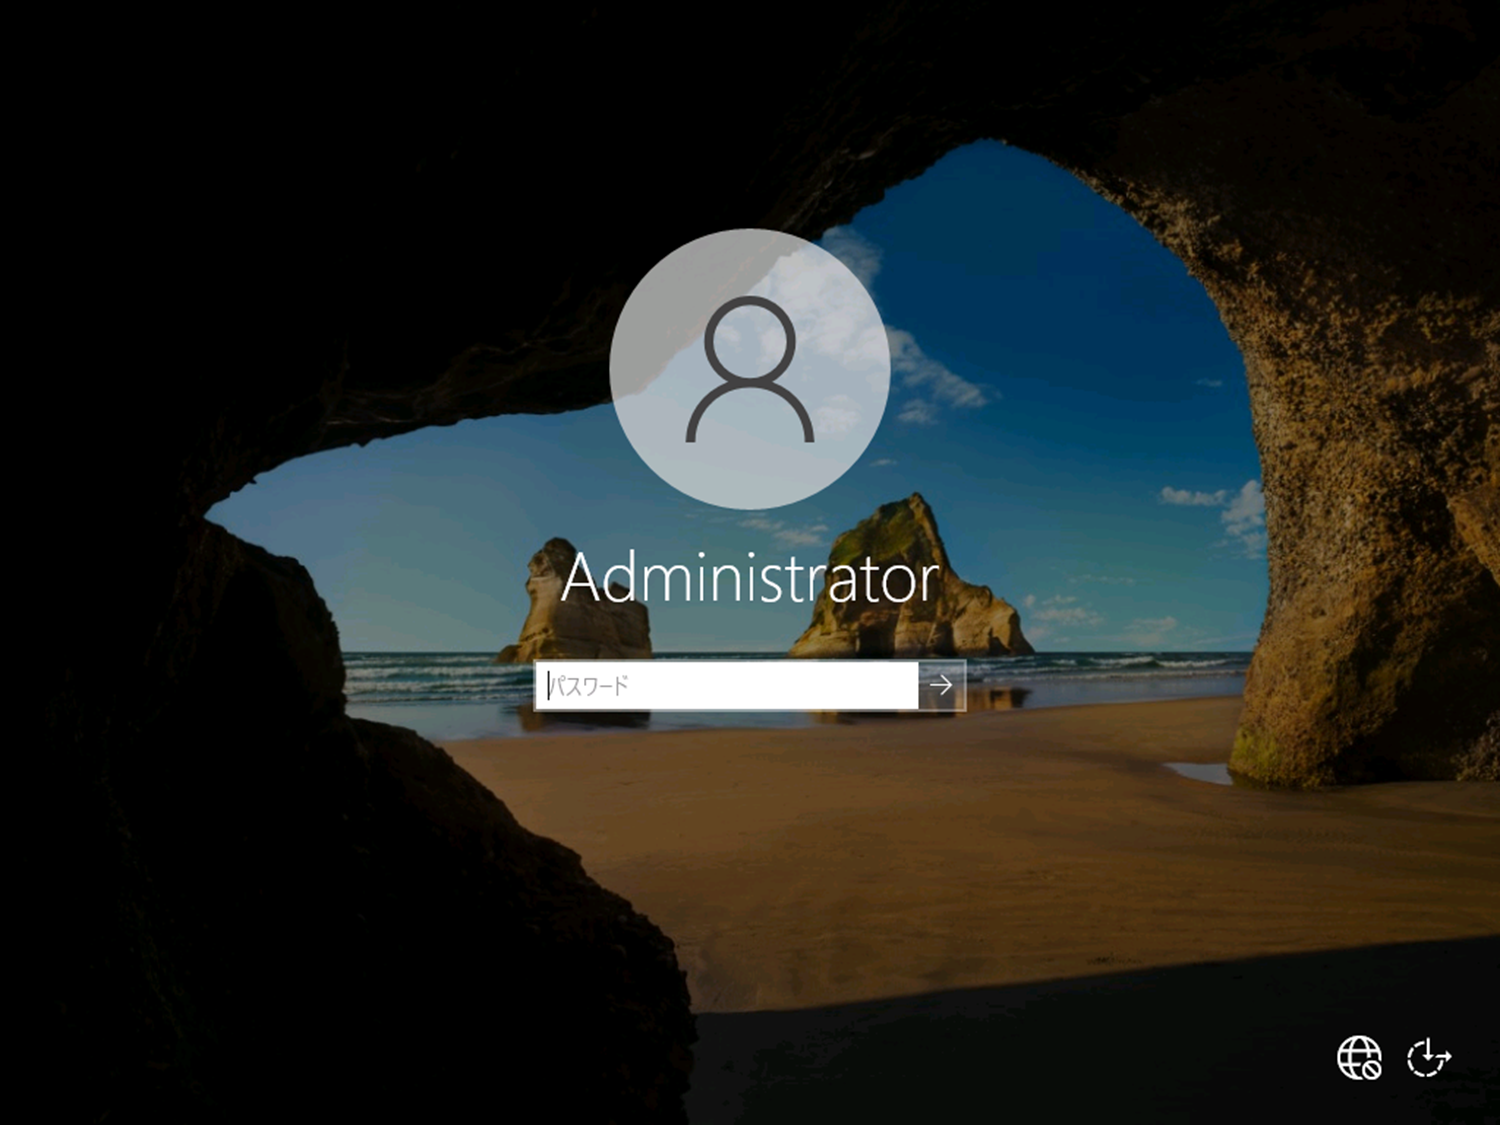
インストールすると自動でライセンス認証され、180日間の有効期限が付与されます。
有効期限はslmgrコマンドで6回まで延長できます。
自動シャットダウンを防ぐため、最初の10日以内にインターネット経由でアクティブ化します。
Windows Server 2022 の初期設定
次回からコピペで使い回したいので、コマンドベース(PowerShell)で進めます。
ネットワークの設定
最近のWindowsはインストール後のデフォルトがDHCPになっているので固定IPに変更しておきます。
Get-NetAdapterBinding -ComponentID ms_tcpip6
Disable-NetAdapterBinding -Name XXXX -ComponentID ms_tcpip6
Get-NetAdapter | Set-NetIPInterface -AddressFamily IPv4 -Dhcp Enabled
Get-NetAdapter | New-NetIPAddress -AddressFamily IPv4 -IPAddress 10.xxx.yyy.zzz -PrefixLength 24 -DefaultGateway 10.xxx.yyy.1
Get-NetAdapter | Set-DnsClientServerAddress -ServerAddresses 10.xxx.yyy.zzz, 192.168.xxx.yyy
ここまで進めるとインターネットに接続できるはずです。
Windows Update をかけて休憩しましょう。
ファイアウォールの設定
(Get-NetFirewallRule -Name FPS-ICMP4-ERQ-In).Enabled  # 現在の設定を確認
Set-NetFirewallRule -Name FPS-ICMP4-ERQ-In -Enabled True
GUIから行う場合、【セキュリティが強化された Windows Defender ファイアウォール】から、受信の規則「ファイルとプリンターの共有(エコー要求 - ICMPv4 受信)」を右クリックし、メニュー「規則の有効化」を選択します。
Get-NetFirewallRule | Where-Object Name -Like "RemoteDesktop*" | Select-Object DisplayName, Enabled  # 現在の設定を確認
Get-NetFirewallRule | Where-Object Name -Like "RemoteDesktop*" | Set-NetFirewallRule -Enabled True
リモートデスクトップ接続を許可
Set-ItemProperty -Path "HKLM:\System\CurrentControlSet\Control\Terminal Server" -Name fDenyTSConnections -Value 0
ホスト名を変更して再起動
Rename-Computer -NewName HOSTNAME -Force -Restart
以降は、リモートデスクトップ接続環境下で作業できます。
ドメイン参加
# 資格情報オブジェクトを作成
$cred = New-Object System.Management.Automation.PSCredential "administrator", (ConvertTo-SecureString "PASSWORD" -AsPlainText -Force)

Add-Computer -DomainName "DOMAIN.jp" -Credential $cred -Verbose
OUを指定しない場合、Computersコンテナに置かれます。
Restart-Computer
最後に再起動したら終わりです。
