14
12

Delete article

Deleted articles cannot be recovered.

Draft of this article would be also deleted.

Are you sure you want to delete this article?

More than 5 years have passed since last update.

Node-RED 認証有効化

Last updated at Posted at 2018-02-03

Node-RED 認証有効化

Raspberry Pi に標準でインストールされている Node-RED は WEB管理画面が認証不要で表示されます。
ユーザ名とパスワードでWEB管理画面の認証を有効化します。

WEB管理画面

初期設定では Raspberry Pi の 1880 ポートにHTTP接続すると
アカウント情報を入力することなく、フローが表示されます。
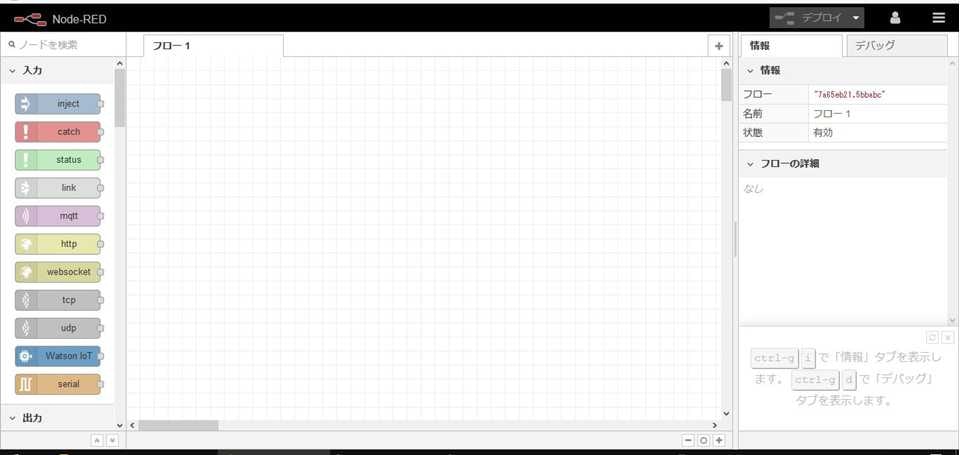
001.jpg

パスワード暗号化

設定ファイルに記載するパスワードを暗号化します。

$ cd /usr/lib/node_modules/node-red
$ node -e "console.log(require('bcrryptjs').hashSync(process.argv[1], 8));" PASSPHRASE
$2a$08$0tUbDhbFE0V5RrifsHfaruCkIATUbAcPqYnbGel9omwSLW.uJ94m2

認証有効化

設定ファイル「~/.node-red/settings.js」を編集します。
ファイル内の「adminAuth」を設定します。

~/.node-red/settings.js
~()~

   adminAuth: {
        type: "credentials",
        users: [{
            username: "admin",
            password: "$2a$08$0tUbDhbFE0V5RrifsHfaruCkIATUbAcPqYnbGel9omwSLW.uJ94m2",
            permissions: "*"
        }]
    },

~()~

確認

Node-RED を再起動し、管理画面にアクセスします。
ユーザ名とパスワードを入力する画面が表示されます。
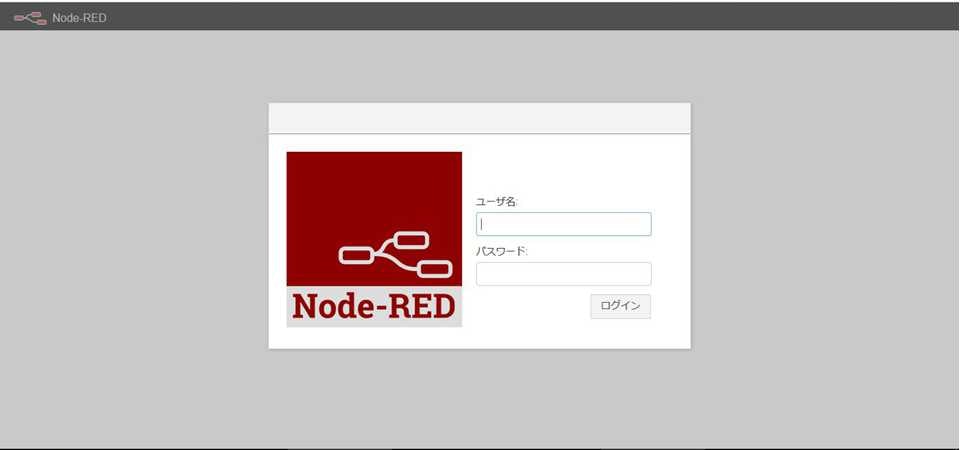
002.jpg

参考

Node-RED日本ユーザ会 : 認証

14
12
0

Register as a new user and use Qiita more conveniently

  1. You get articles that match your needs
  2. You can efficiently read back useful information
  3. You can use dark theme
What you can do with signing up
14
12

Delete article

Deleted articles cannot be recovered.

Draft of this article would be also deleted.

Are you sure you want to delete this article?