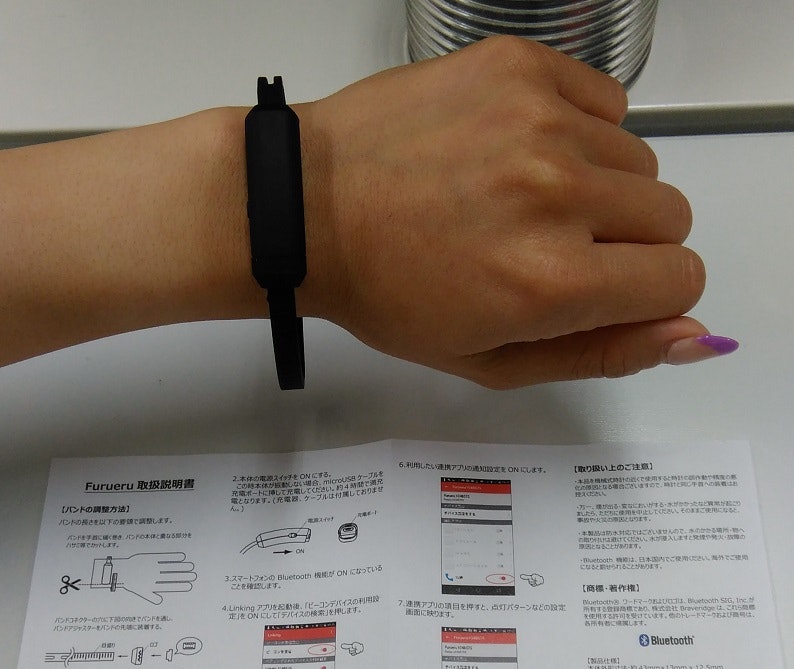
リストバンド型デバイスを制御するAndroidアプリを開発する
振動するリストバンド型デバイス、FurueruをAndroidアプリから制御します。
Furueruは1個千数百円で買えます。Project Linkingは、こういった端末を低価格で販売して、制御ライブラリを無償で提供してくれるプロジェクトで、ほかにもユニークな端末が準備されています。
開発環境
開発環境:Windows10 64bit
IDE:Androidstudioバージョン3.4
使用言語:Java
Android端末:Lenovo TB-X304Fタブレット Androidバージョン7.1.1 Bluetooth 4.0
開発手順
LinkingデバイスとAndroid端末の連携
Linkingデバイスの取扱説明書に従い、Bluetooth設定を行います。
Android端末にGooglePlayからNTT DOCOMO製のLinkingアプリをインストールします。
Linkingアプリを起動し、Linkingデバイスを検索してペアリングを行います。
以下の記事が参考になります。
Linkingの端末をもらったのでデモアプリを試してみた
Androidアプリの開発
AndroidアプリからLinkingデバイスを制御するためのライブラリとしてLinking SDKが無償で提供されています。
今回はアプリのボタンを押したらFurueruが振動する内容を開発します。
Androidstudioを起動し、Empty Activityを選択して、新しいプロジェクトを作成します。
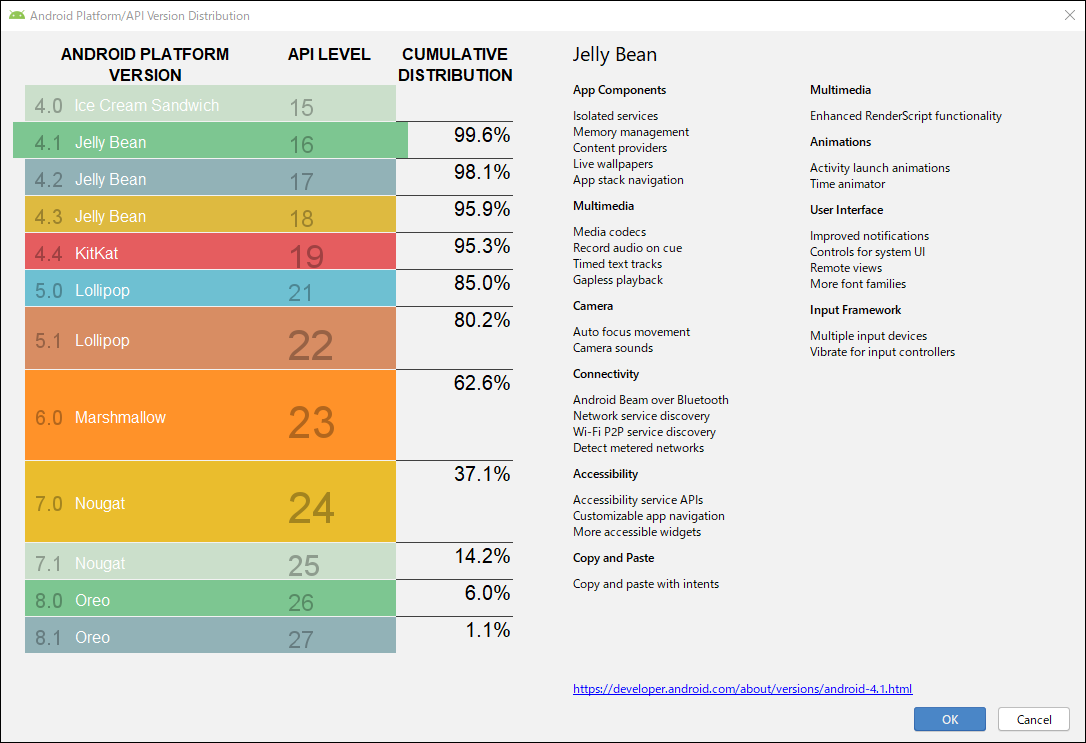
言語はJavaを選択し、APIバージョンは99.6%の端末をカバーできる4.1 JellyBean(APIレベル16)にします。
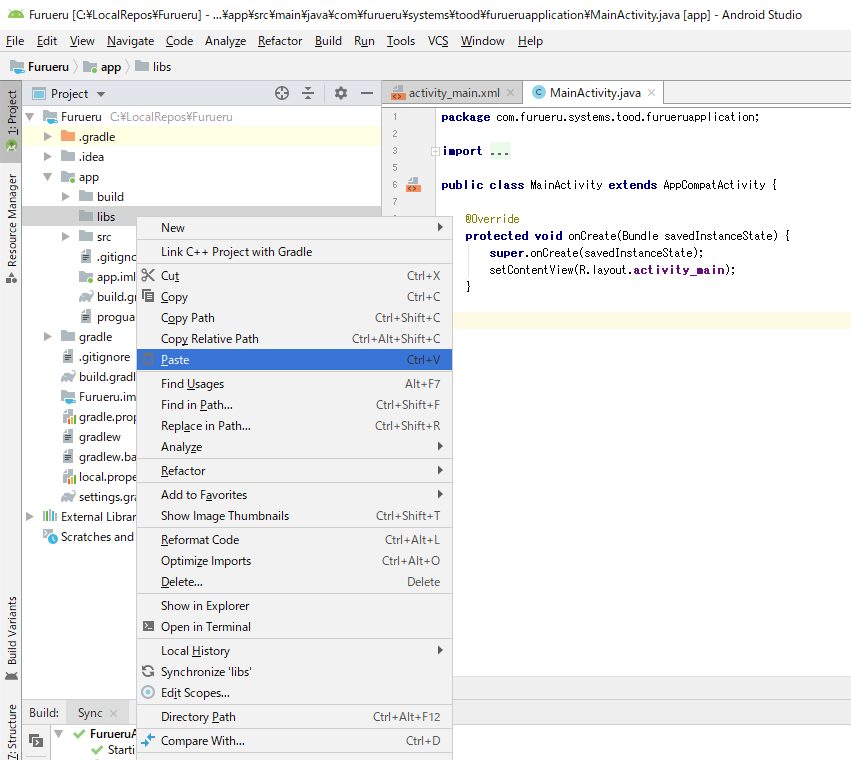
画面左側のプロジェクトビューの表示をProjectにして、アプリケーションのapp/libs/の下にsdaiflib.jar(Linking SDKライブラリ)を貼り付けます。
Linking API 仕様書に従い、app/build.gradleのdependenciesに、以下の一文を追加します。
compile files('libs/sdaiflib.jar')
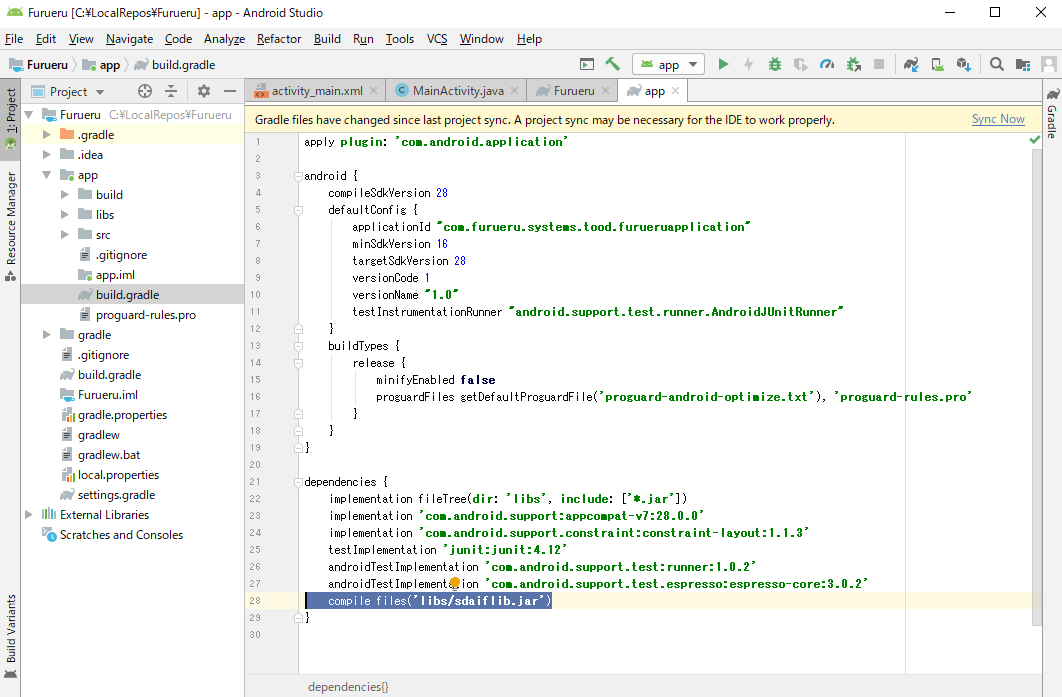
追加したらウィンドウ右上のSync Nowをクリックして同期を行います。
compileは古い言葉なので非推奨ですよ、と怒られました。このままでもビルドは通りますが、きちんとしたい人は以下のように書き替えて直しましょう。
implementation fileTree(dir: 'libs/sdaiflib.jar')
画面にボタンを設置し、SDK付属のサンプルソースを参考にして、タップしたら特定の振動情報をFurueruへ送信できるように開発します。以下、javaソースとレイアウトxmlの全文です。
package com.furueru.systems.tood.furueruapplication;

import android.support.v7.app.AppCompatActivity;
import android.os.Bundle;
import android.view.View;
import android.widget.Button;
import android.widget.LinearLayout;
import android.widget.Toast;

import com.nttdocomo.android.sdaiflib.DeviceInfo;
import com.nttdocomo.android.sdaiflib.GetDeviceInformation;
import com.nttdocomo.android.sdaiflib.SendOther;

import java.util.List;

public class MainActivity extends AppCompatActivity {

    @Override
    protected void onCreate(Bundle savedInstanceState) {
        super.onCreate(savedInstanceState);
        setContentView(R.layout.activity_main);
        // 画面を描画する。
        setView();
    }

    private void setView() {
        // リニアレイアウトを描画する。
        LinearLayout linearLayout = new LinearLayout(this);
        linearLayout.setOrientation(LinearLayout.VERTICAL);
        setContentView(linearLayout);
        // ボタンを描画する。
        Button sendButton = new Button(this);
        sendButton.setText("送信");
        linearLayout.addView(sendButton, new LinearLayout.LayoutParams(100, 100));
        sendButton.setOnClickListener(new View.OnClickListener() {
            @Override
            public void onClick(View v) {
                // 信号を送信する。
                sendMessage();
            }
        });
    }

    static final byte LINKING_IF_VIB_PATTERN_ID = 0x10;
    static final byte LINKING_IF_DURATION_ID = 0x10;

    private void sendMessage() {
        // Linkingデバイス情報を取得する。
        GetDeviceInformation deviceInformation = new GetDeviceInformation(this);
        List<DeviceInfo> deviceInfos = deviceInformation.getInformation();
        if (deviceInfos.size() == 0) {
            Toast.makeText(this, "ペアリングされたデバイスがありません", Toast.LENGTH_SHORT).show();
        }
        for (DeviceInfo deviceInfo : deviceInfos) {
            // 送信情報を設定する。
            SendOther sendOther = new SendOther(this);
            // 送信先デバイスIDを設定する。
            sendOther.setDeviceID(deviceInfo.getModelId());
            // 振動パターンを設定する。(振動PATTERN2=35)
            sendOther.setVibration(new byte[]{LINKING_IF_VIB_PATTERN_ID, 35});
            // 動作時間を設定する。(振動時間5秒=33)
            sendOther.setDuration(new byte[]{LINKING_IF_DURATION_ID, 33});
            sendOther.send();
        }
    }
}
振動PATTERNと動作時間は、SDK付属のデモアプリで動かしてみて、目的に合ったものを選ぶと良いでしょう。
<?xml version="1.0" encoding="utf-8"?>
<android.support.constraint.ConstraintLayout xmlns:android="http://schemas.android.com/apk/res/android"
    xmlns:app="http://schemas.android.com/apk/res-auto"
    xmlns:tools="http://schemas.android.com/tools"
    android:layout_width="match_parent"
    android:layout_height="match_parent"
    tools:context=".MainActivity">

    <LinearLayout
        android:orientation="vertical"
        android:layout_width="match_parent"
        android:layout_height="match_parent" />

</android.support.constraint.ConstraintLayout>
動作確認
Furueruの電源をONします。
Linkingアプリを起動し、デバイス(この場合、Furueru0098598)の利用設定をONにします。
デバイス設定で、連携するアプリ(この場合、FurueruApplication)をONにします。
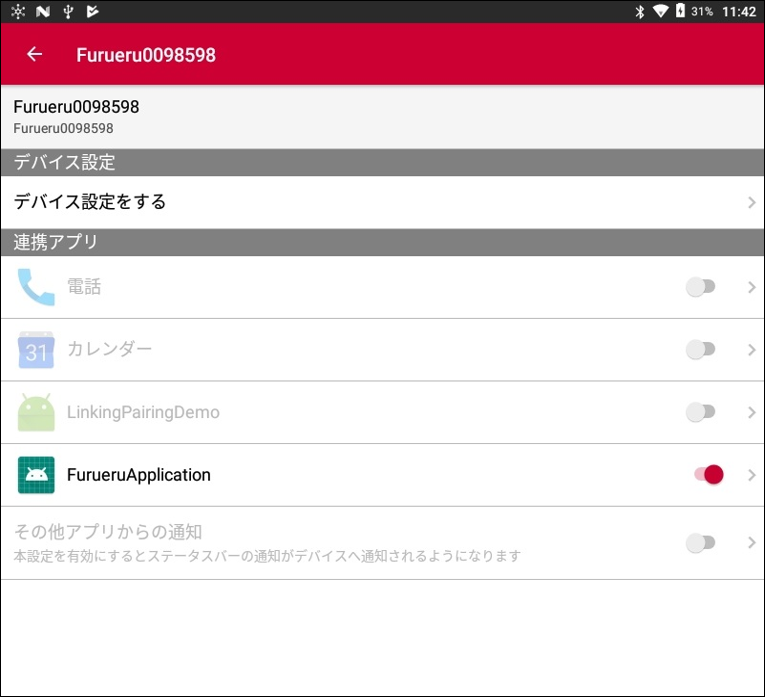
開発したアプリを起動してみましょう。
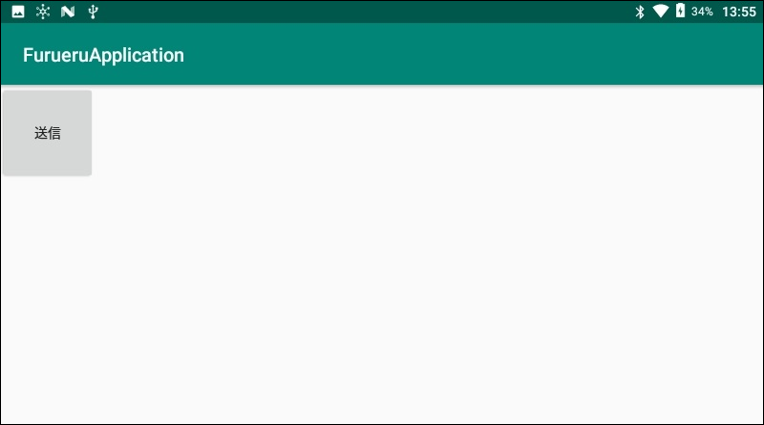
画面上のボタンをタップすると振動命令が送信されます。タップから3秒内外で、Furueruが振動を始めます。
所感
予想したよりも振動が激しくて、電池も長持ちします。
開発したアプリは、Linkingアプリを経由してFurueruとBluethoothで通信します。そのため、Android端末(Bluetooth親機)とFurueru(子機)の距離が離れると、Bluetoothが切断され、Linkingアプリ上で再度接続設定を行う必要があります。
直線距離では10m程度離れても切断されませんが、壁を挟むと切れてしまいました。ただ、うっかりAndroid端末と離れてしまっても、切断時に振動が起こるので、利用者は気付くことができます。切断されたまま気付かないことはなさそうで、ありがたいです。
いろいろな運用が想像できて楽しいデバイスです。
