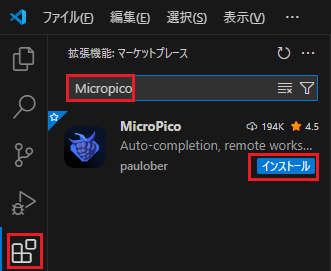
MicroPicoの拡張機能をインストール
VS Codeのサイドバーの拡張機能 を選択し、エディットボックスに"MicroPico"と入力し、[インストール]ボタンをクリックする。
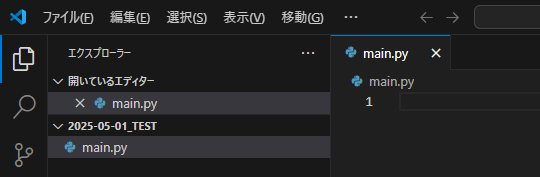
main.pyのファイルを作成し、main.pyの入ったフォルダをVS Codeで開く
初期化
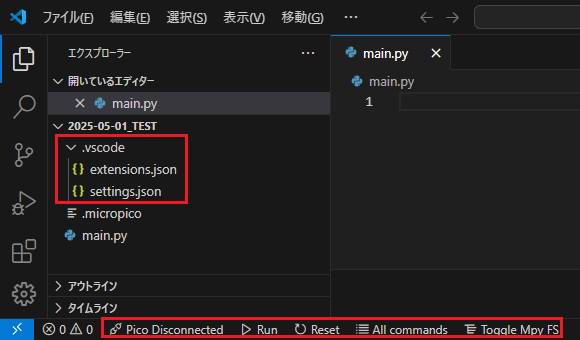
「ctrl+shift+p または F1」でコマンドパレットを開き、次のコマンドを実行する。
MicroPico: Initialize MicroPico project
すると、左下のツールバーにMicroPicoのアイコンが表示され、main.pyと同じフォルダに.vscodeフォルダが作成されてMicroPicoの設定ファイルが作成される。
Pico Wの接続
PCのUSBポートとPico Wを接続すると、MicroPicoのツールバーの「Pico Disconnected」が「Pico Connected」に変化する。

プログラムの作成と実行
main.pyに動作確認用のプログラムを入力して をクリックすると、入力したプログラムがPico Wで実行される。
main.py
import time
from machine import Pin

# Pico Wのonboard LED
led = Pin("LED", Pin.OUT)

#1秒毎に点灯と消灯を繰り返す
while True:
    led.value(1); time.sleep(1); #1秒間点灯
    led.value(0); time.sleep(1); #1秒間消灯
VS CodeからPico Wにプログラムを転送
プログラムをPico Wにアップロードする場合、「ctrl+shift+p または F1」でコマンドパレットを開き、次のコマンドを実行する。
MicroPico: Upload file to Pico