2015年4月頃からDockerベースになったCIツールのwercker v2向け設定メモです。
リポジトリ > CI > 通知 > デプロイ と連携して動作するのに各サービスで設定が必要になるので手順をまとめました。
CI環境を作ってテストコードを書いておくとコミットの度に自動的にテストを実行、結果が通知されるので、いつの間にか動かなくなっていた、という状況が避けやすくなります。
1. 自動ビルド〜Slackへの通知設定
1-1. werckerに登録/ログイン
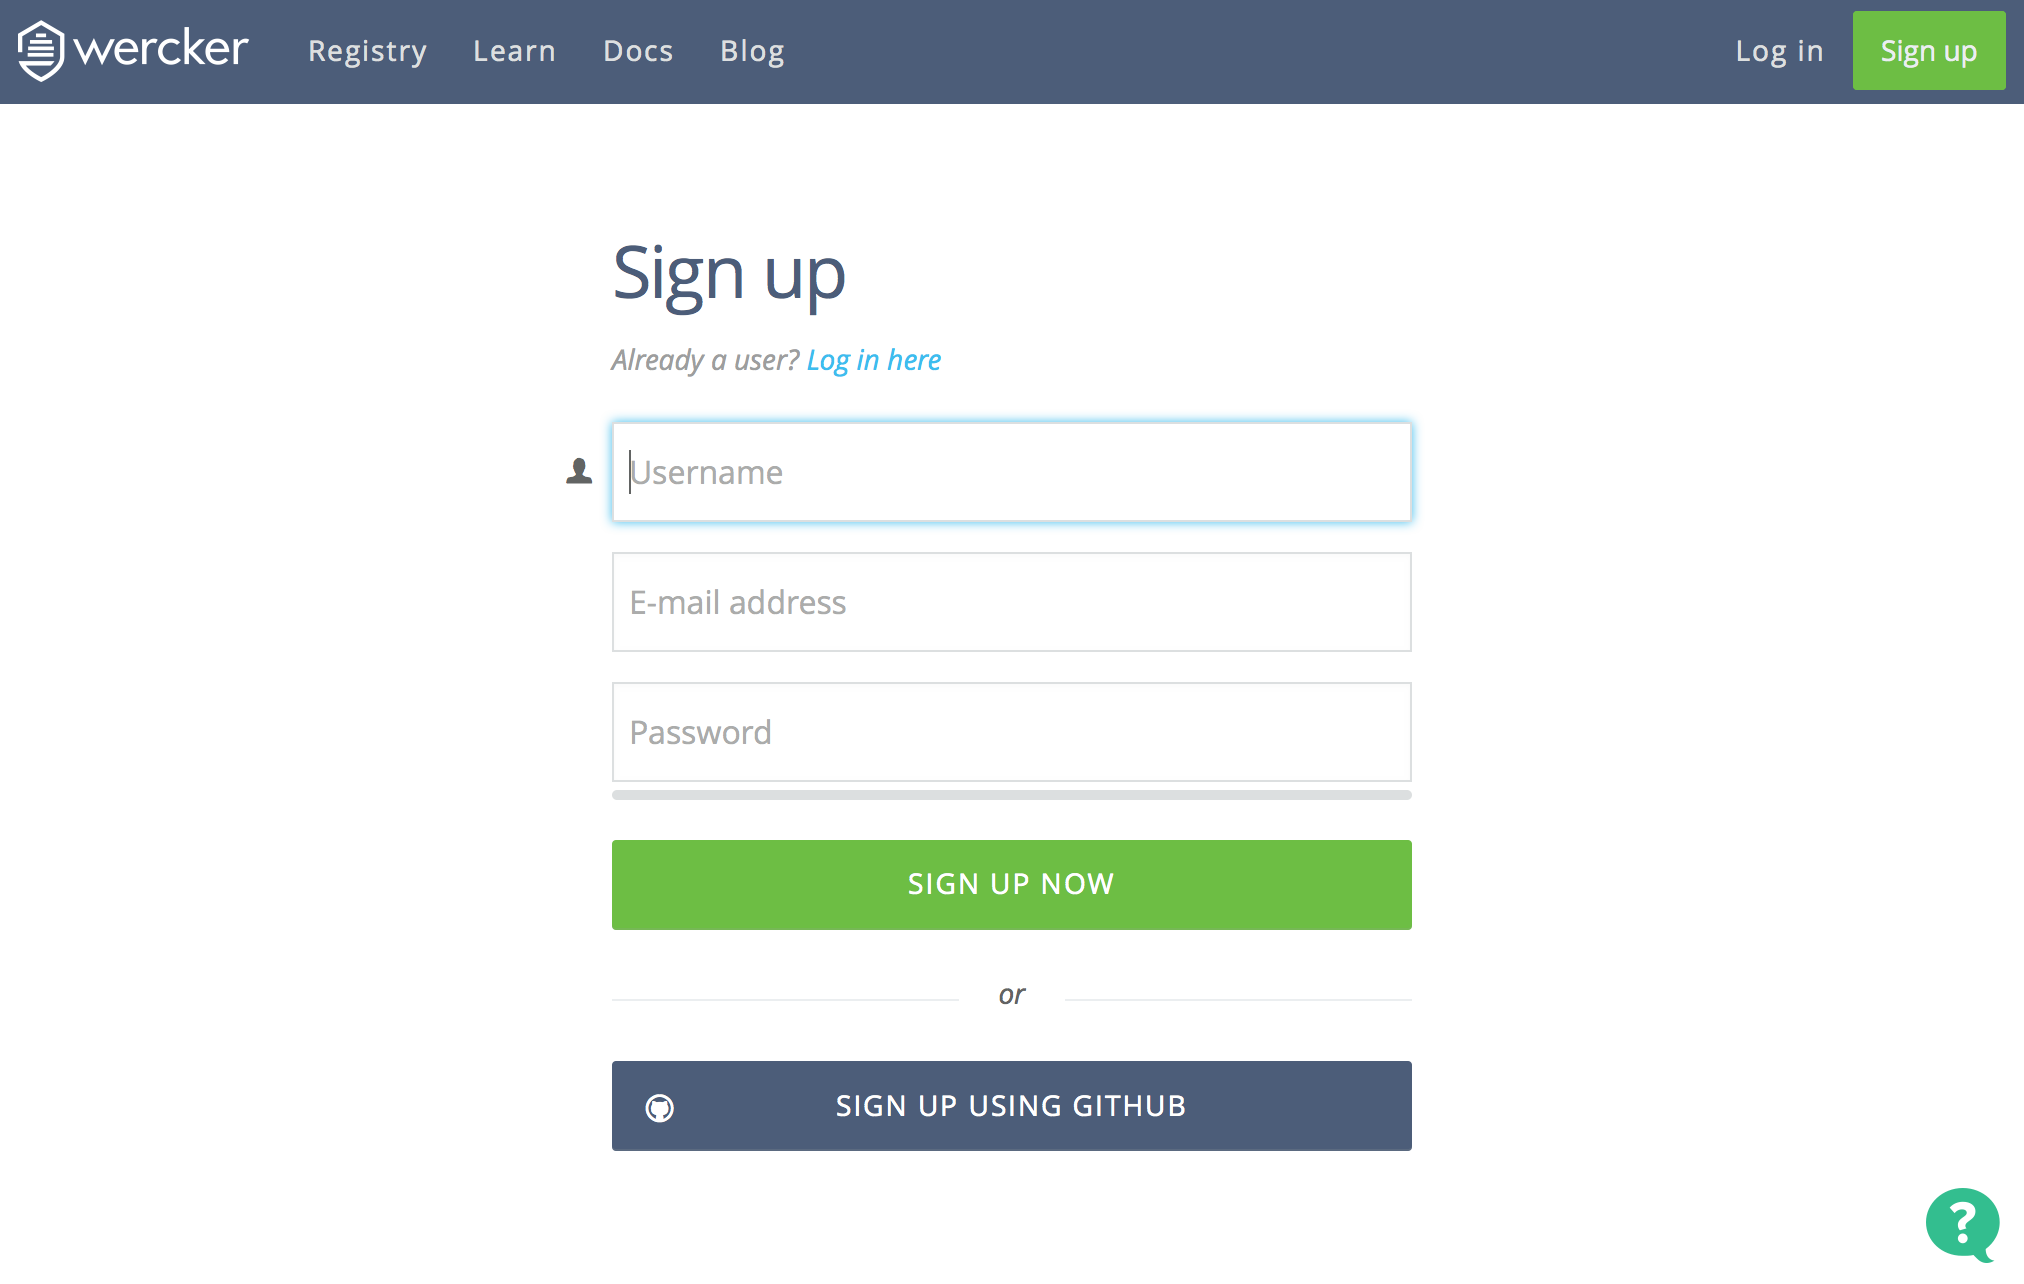
werckerのサイトでアカウントを登録してログインします
https://app.wercker.com/
1-2. werckerにアプリケーションを登録
Create > Application からアプリケーションを登録します。
GitHubかBitbucketのリポジトリを登録できます。
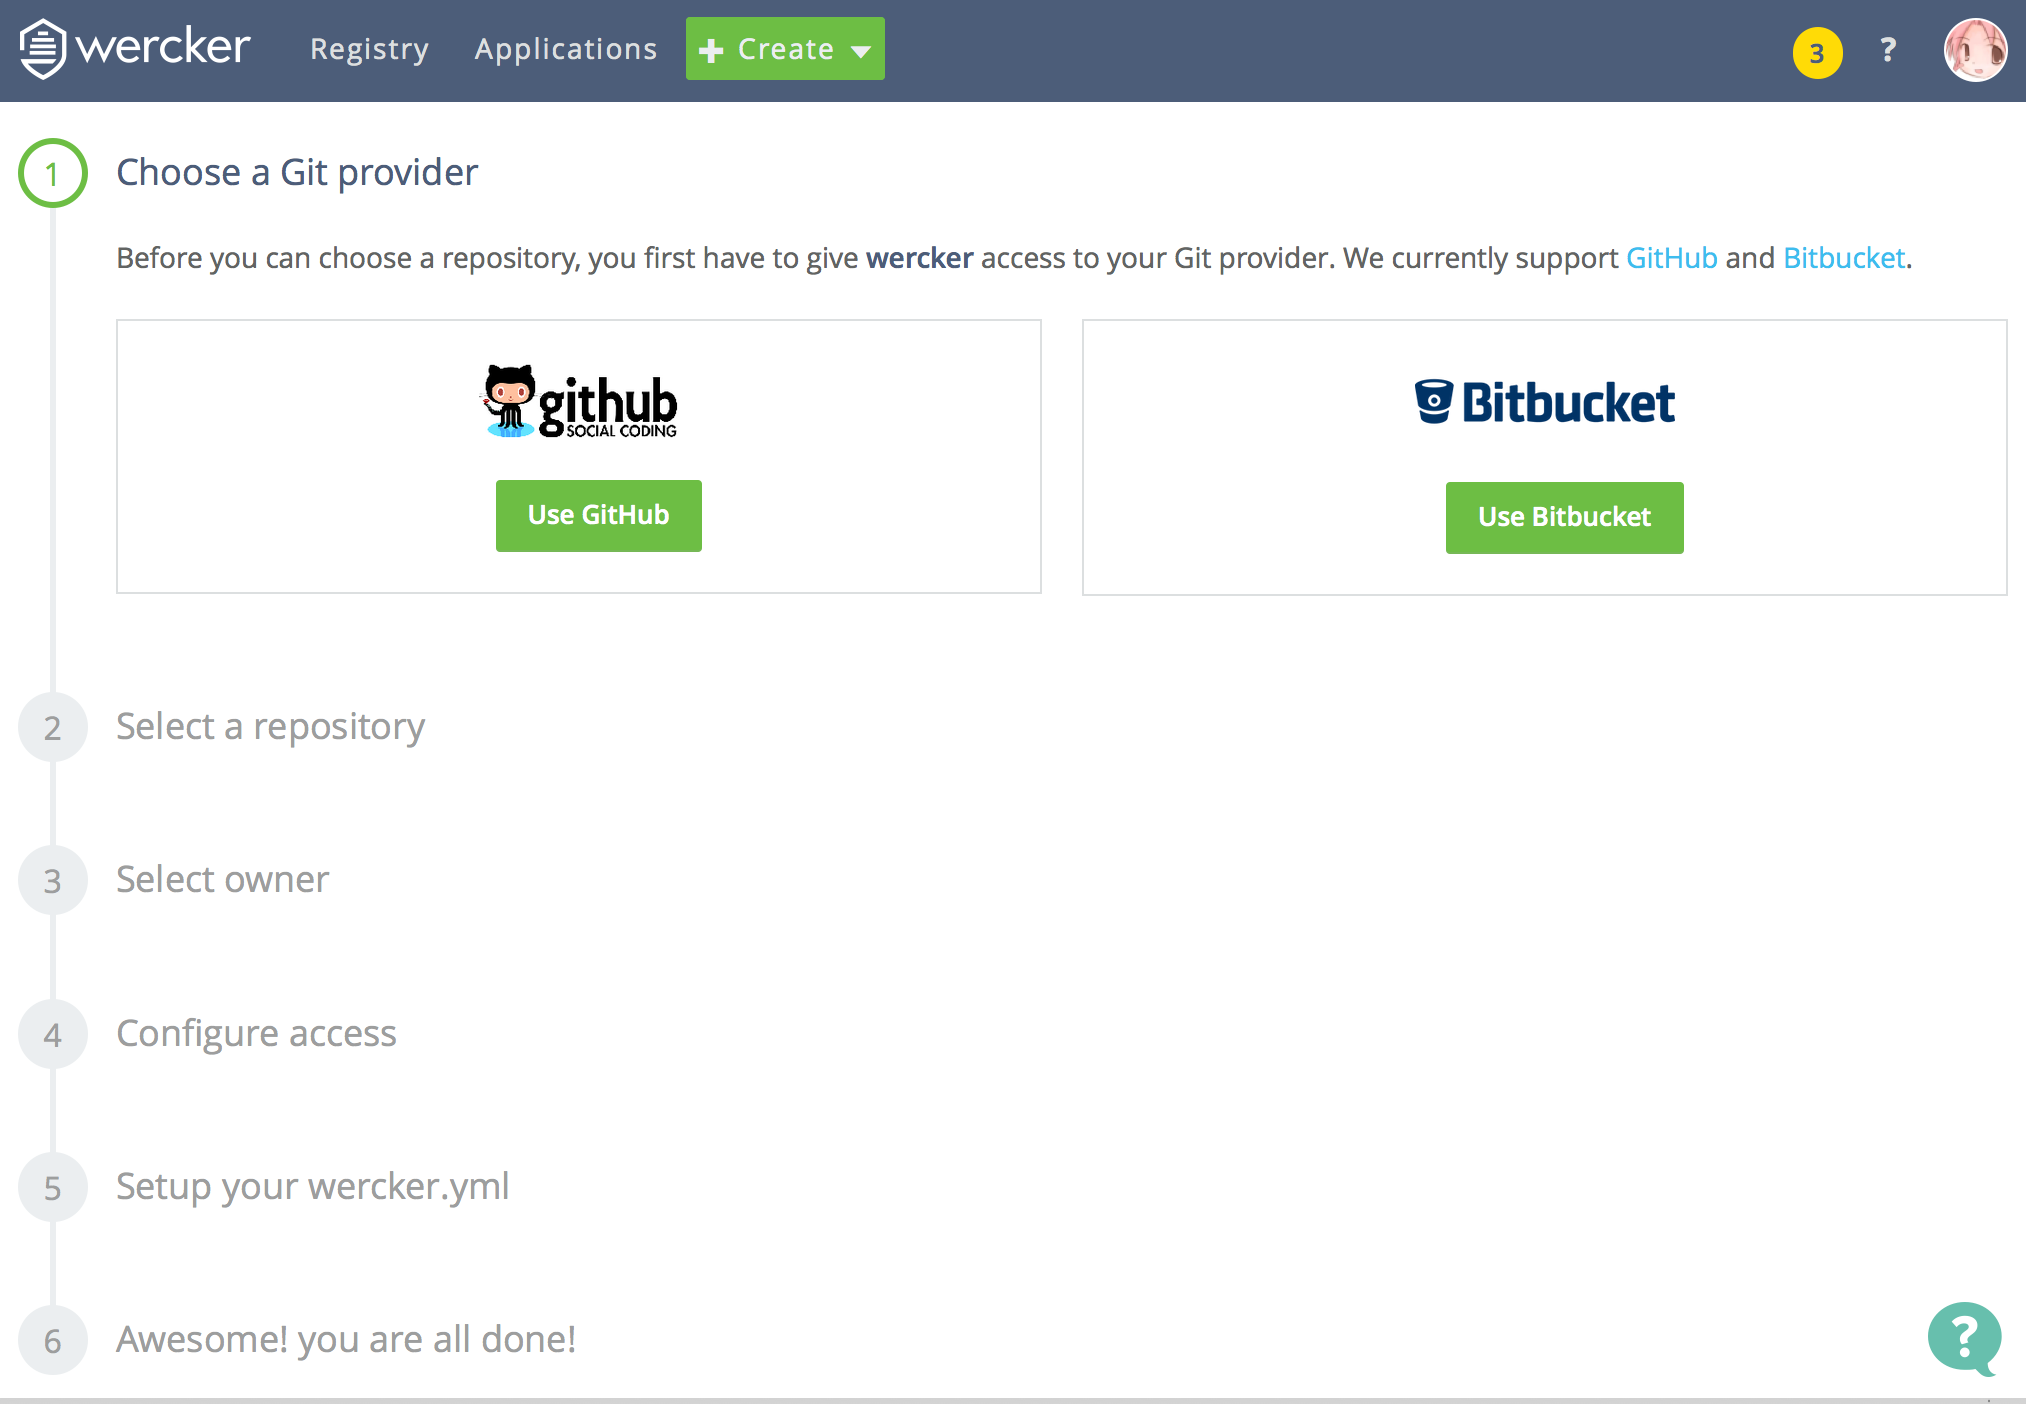
リポジトリを選んでそのまま進めて行くとDockerベースのstackを使う設定になります。
Step 5でデフォルトで
■ Docker enabled. See our stacks documentation for more details.
のチェックが入っています。チェックを外すと旧版のBOXが使われます。アプリの設定画面で後で切り替えることもできます。
1-3. wercker.ymlの記述
Railsアプリのルートディレクトリにwercker.ymlファイルを作成します。
Rubyのバージョン指定が必要な場合は
box: ruby に続けて、box: ruby:2.0.0 のような形で指定します。
サポートされているrubyのバージョンは https://hub.docker.com/_/ruby/ で確認できます。
# This references the default Ruby container from
# the Docker Hub.
# https://registry.hub.docker.com/_/ruby/
# If you want to use a specific version you would use a tag:
# ruby:2.2.2
box: ruby

# You can also use services such as databases. Read more on our dev center:
# http://devcenter.wercker.com/docs/services/index.html
# services:
    #- postgres
    # http://devcenter.wercker.com/docs/services/postgresql.html

    # - mongodb
    # http://devcenter.wercker.com/docs/services/mongodb.html
services:
  - id: postgres
    env:
      POSTGRES_PASSWORD: secret_password

# This is the build pipeline. Pipelines are the core of wercker
# Read more about pipelines on our dev center
# http://devcenter.wercker.com/docs/pipelines/index.html
build:
    # Steps make up the actions in your pipeline
    # Read more about steps on our dev center:
    # http://devcenter.wercker.com/docs/steps/index.html
  steps:
    - bundle-install

    # wercker v2に対応したpostgresql
    - rails-database-yml:
        service: postgresql-docker

    # phantomjsを使う場合
    - aussiegeek/install-phantomjs

    # information
    - script:
        name: echo ruby information
        code: |
            echo "ruby version $(ruby --version) running"
            echo "from location $(which ruby)"
            echo -p "gem list: $(gem list)"

    # setup DB
    - script:
        name: Set up db
        code: RAILS_ENV=test bundle exec rake db:schema:load

    # run Rspec
    - script:
        name: rspec
        code: bundle exec rspec

  after-steps:
    # notify to Slack
    - wantedly/pretty-slack-notify:
        webhook_url: $SLACK_WEBHOOK_URL
        channel: notification

deploy:
  steps:
    - heroku-deploy:
        install-toolbelt: true
        key-name: HEROKU_SSH_KEY
    - script:
        name: Update database
        code: heroku run rake db:migrate --app $HEROKU_APP_NAME
  after-steps:
    - wantedly/pretty-slack-notify:
        webhook_url: $SLACK_WEBHOOK_URL
        channel: notification
旧版のwercker.ymlと変わったところは
- boxの指定
- postgresqlの指定
で、後は同じです。
werckerにリポジトリを登録した時点でコミットを検知してbuildステップが実行されるようになりますが、wercker.ymlをコミットする前に先にSlackの通知設定を済ませてしまいましょう。
deployステップはデプロイ先を設定するまで実行されないので、deployステップ用の環境変数の設定は後回しにします。
1-4. Slackへの通知設定
pretty-slack-notifiy のオプションにWebHook URLとチャンネル名を書いておくとビルド結果をSlackに通知してくれます。
  after-steps:
    # notify to Slack
    - wantedly/pretty-slack-notify:
        webhook_url: $SLACK_WEBHOOK_URL
        channel: notification
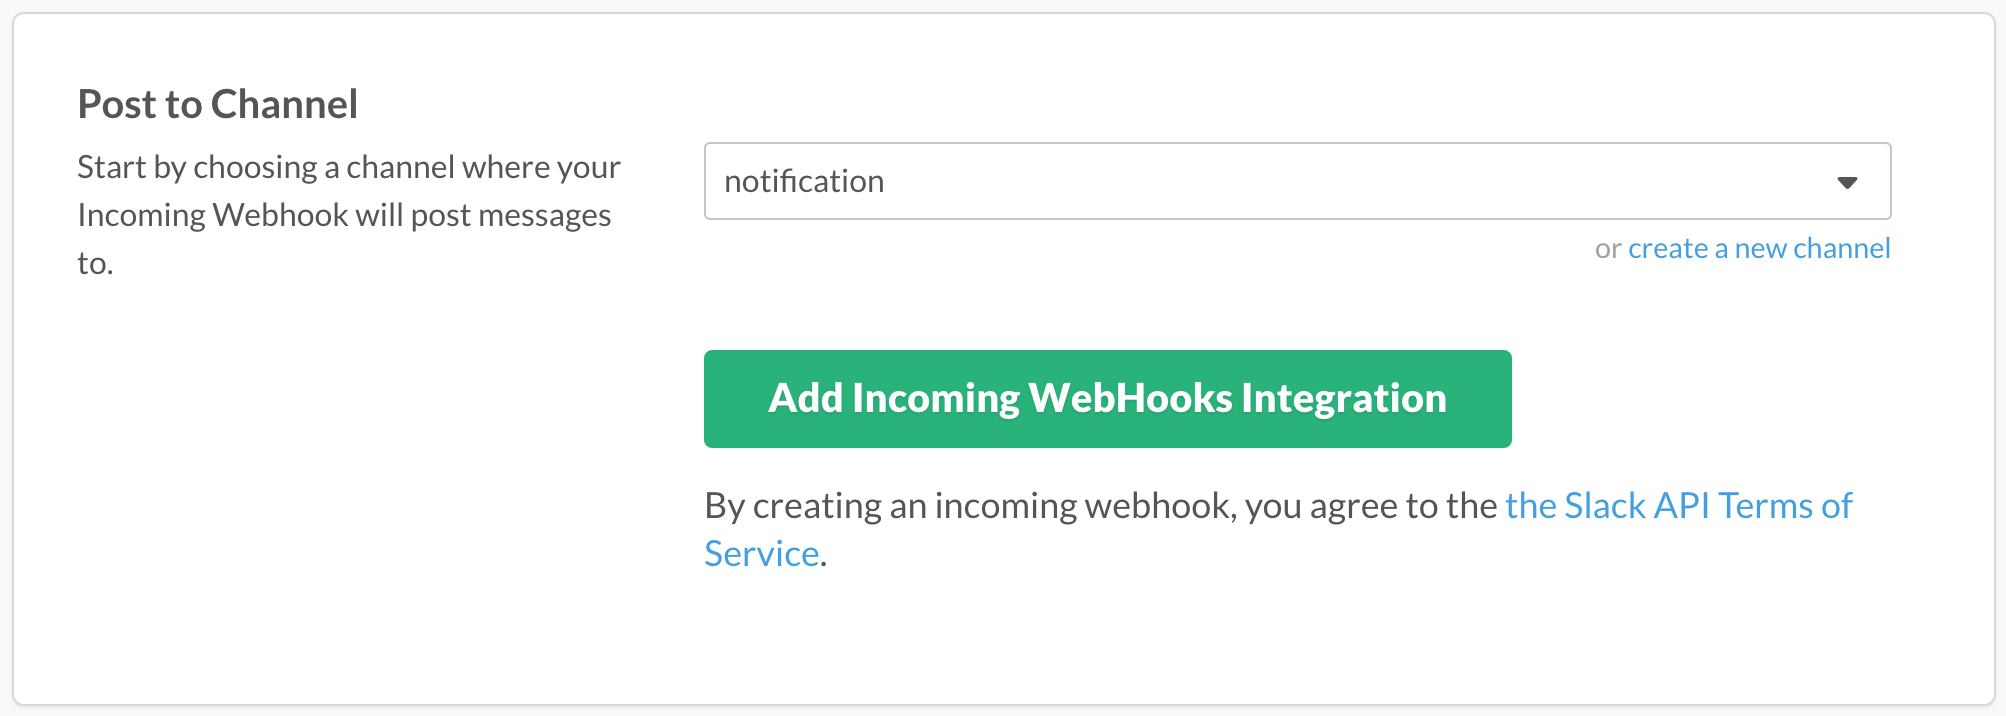
Slackを開いて、Slackのチャンネルメニューから、Add a service integration > Incoming WebHooks を選んで、「Add Incoming WebHooks Integration」を実行すると 次の画面でWebHook URLが発行されます。
再びwerckerで、アプリの設定(右上の歯車)> Environment variables > Add new variable でキーとテキスト値を設定します。
キー:    SLACK_WEBHOOK_URL
テキスト: https://hooks.slack.com/services/****/****/********
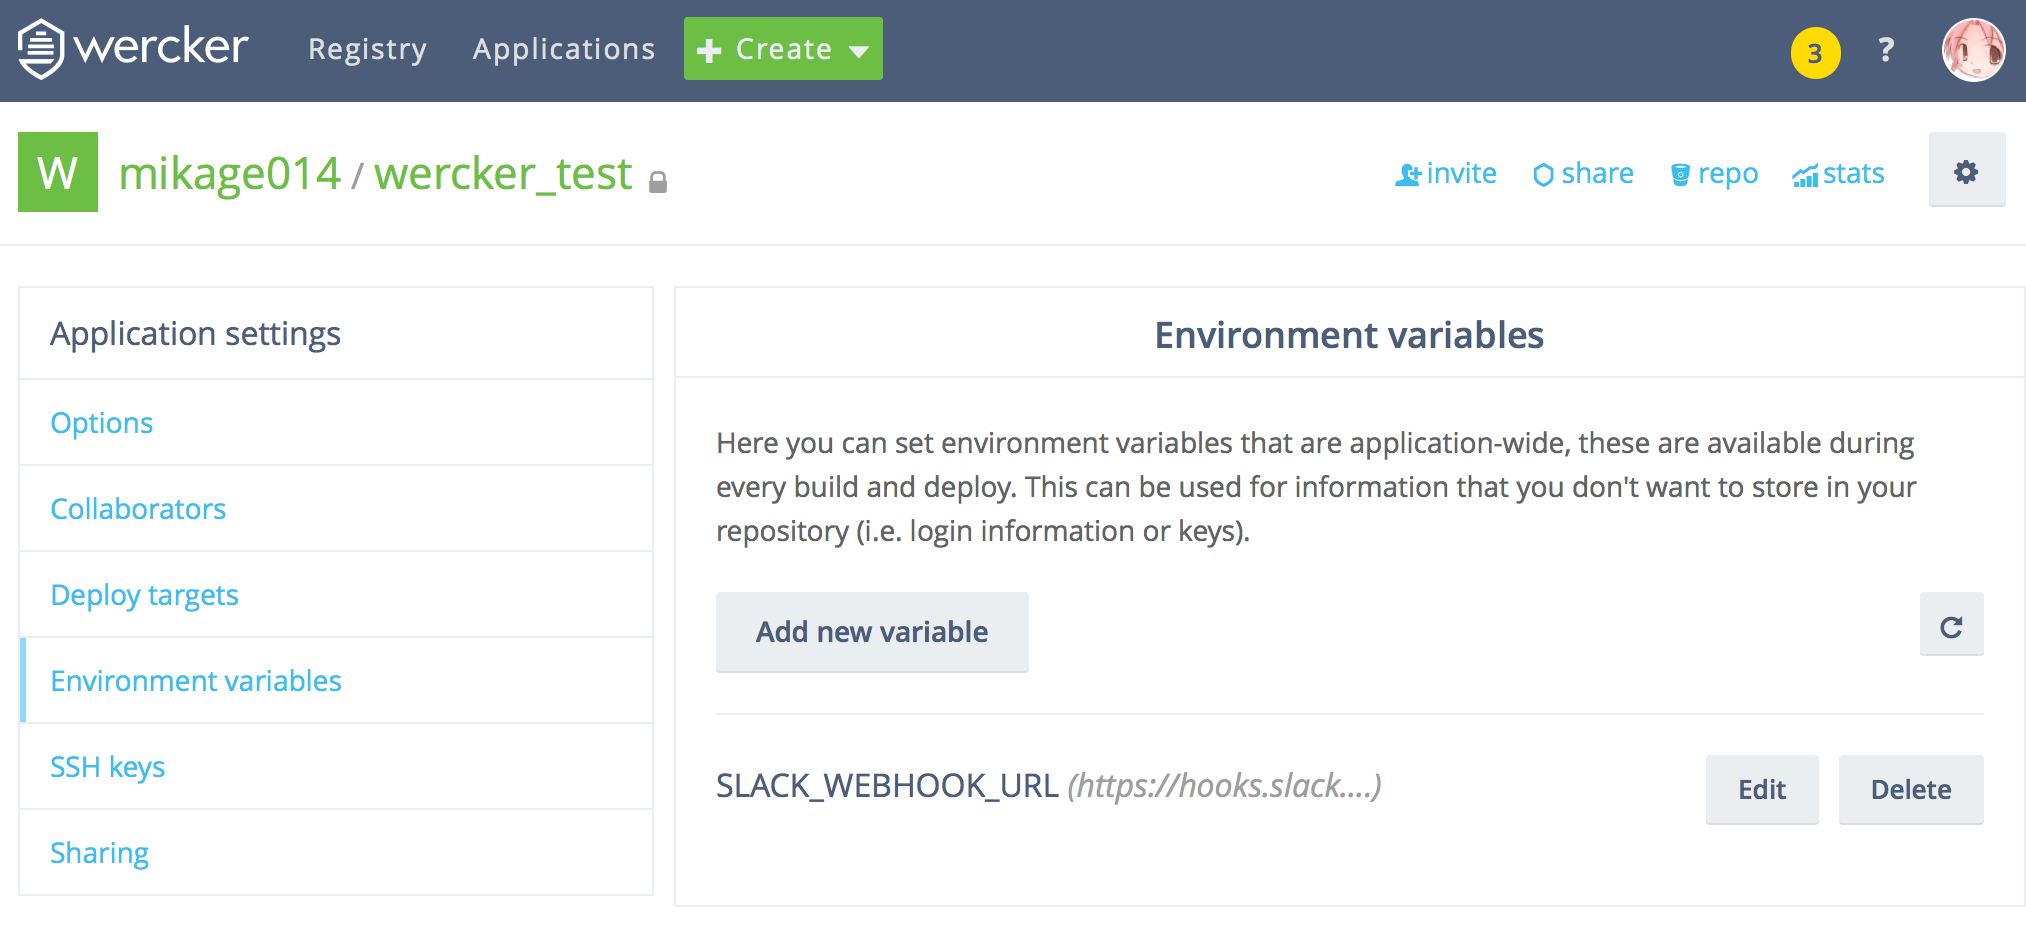
このようにwerckerの環境変数を使うと値を直接wercker.ymlに書かずに済み、セキュアな情報がリポジトリに残ることを避けられます。
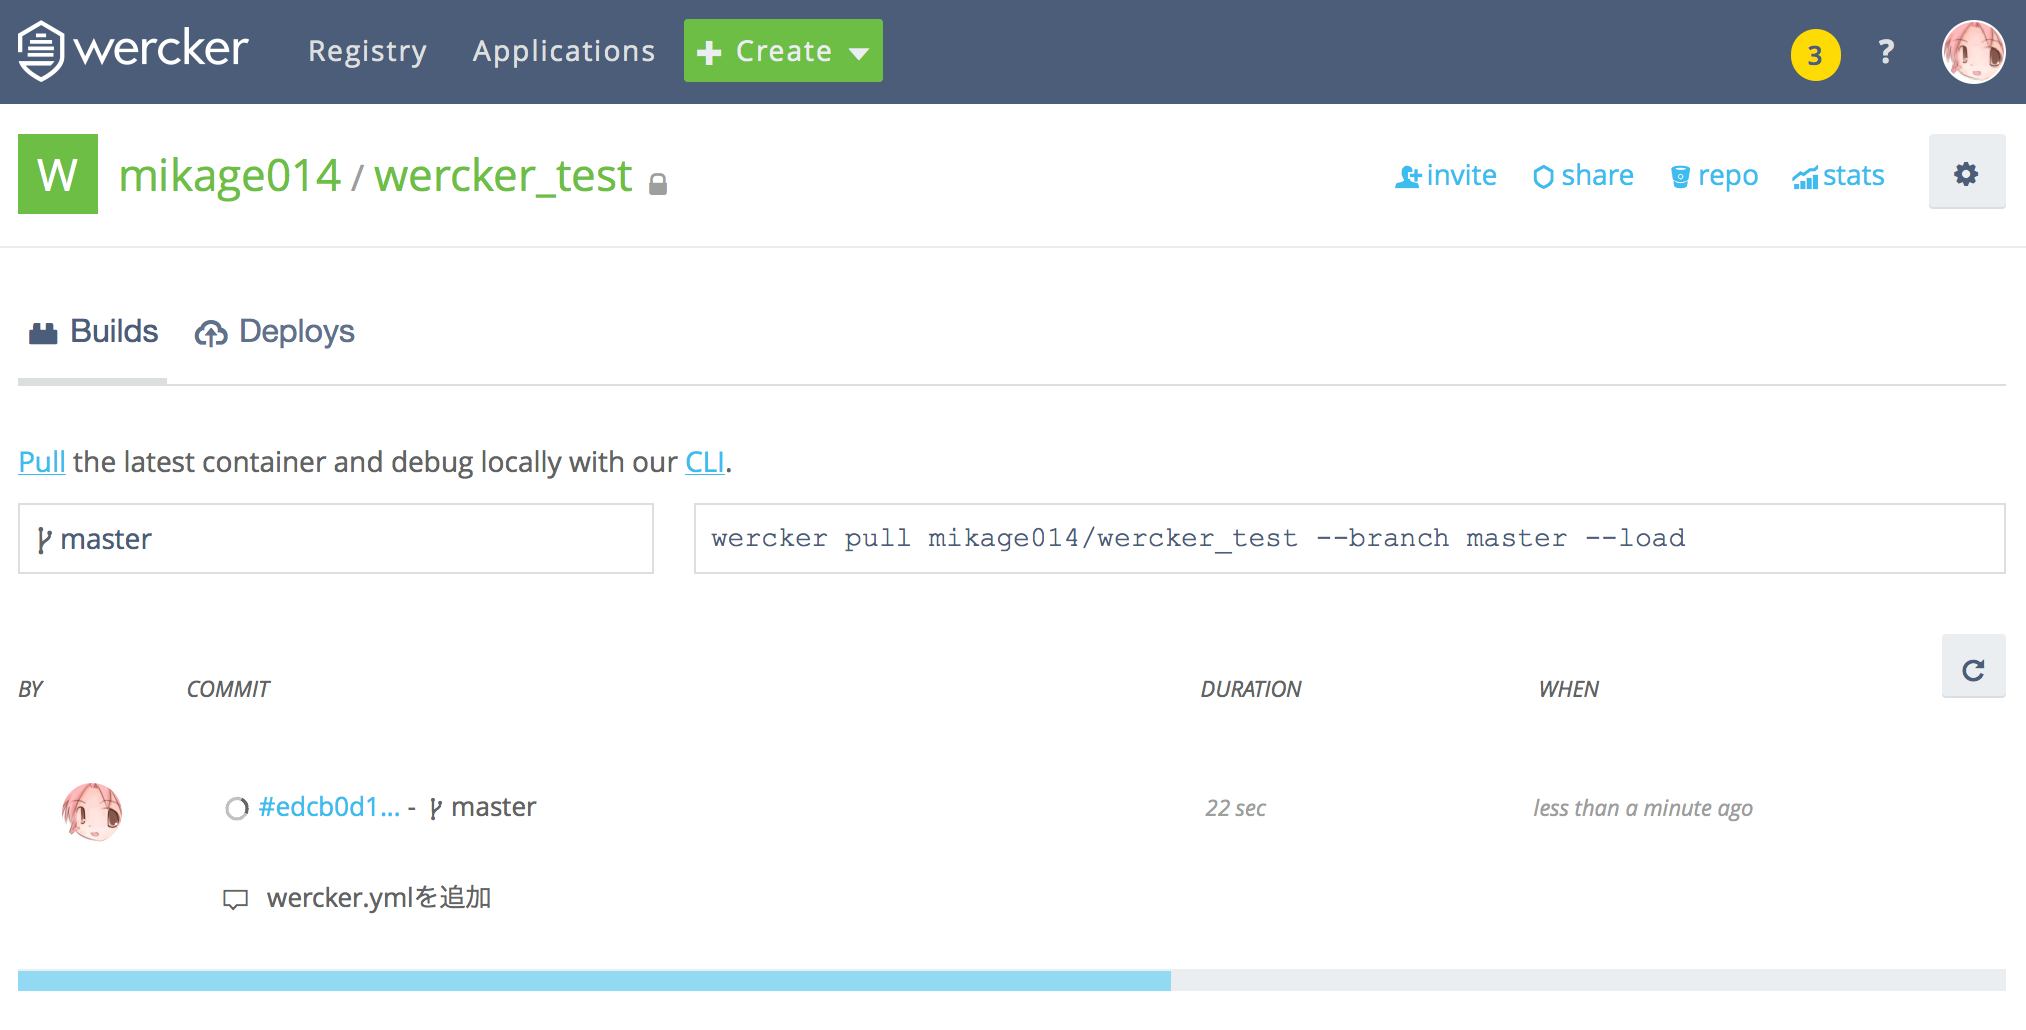
1-5. 自動ビルドの確認
通知まで設定できたらwercker.ymlをコミットし、リモートリポジトリにpushします。
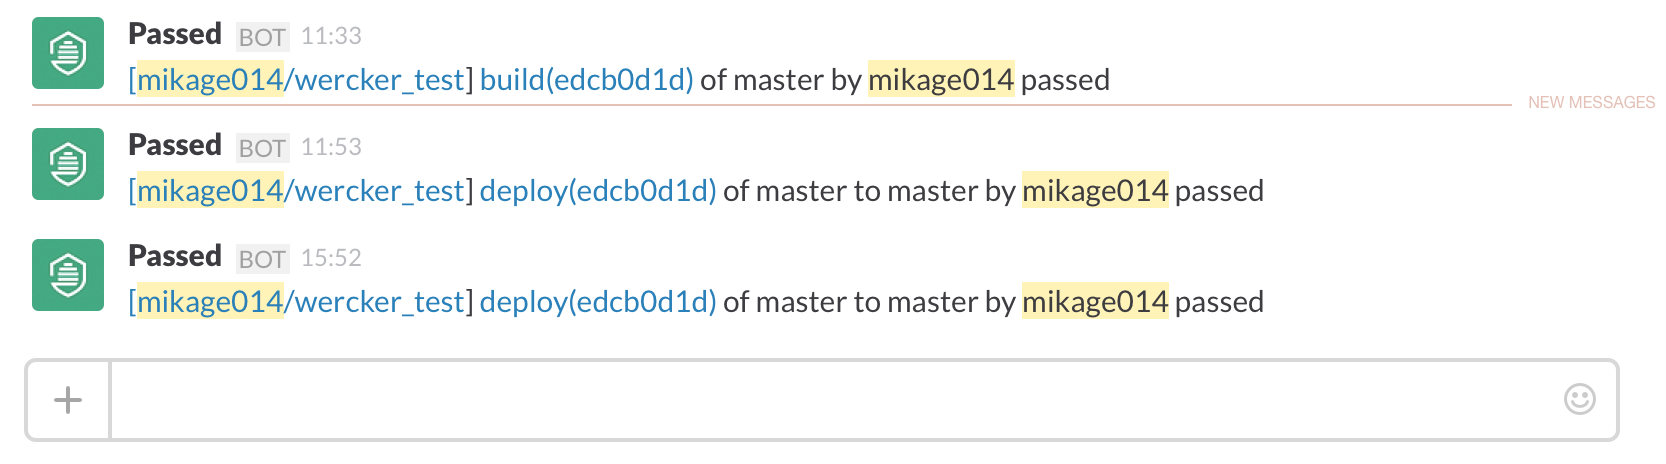
werckerがリポジトリの変更を検知して自動的にビルドが始まり、ビルド結果がSlackに通知されるはずです。
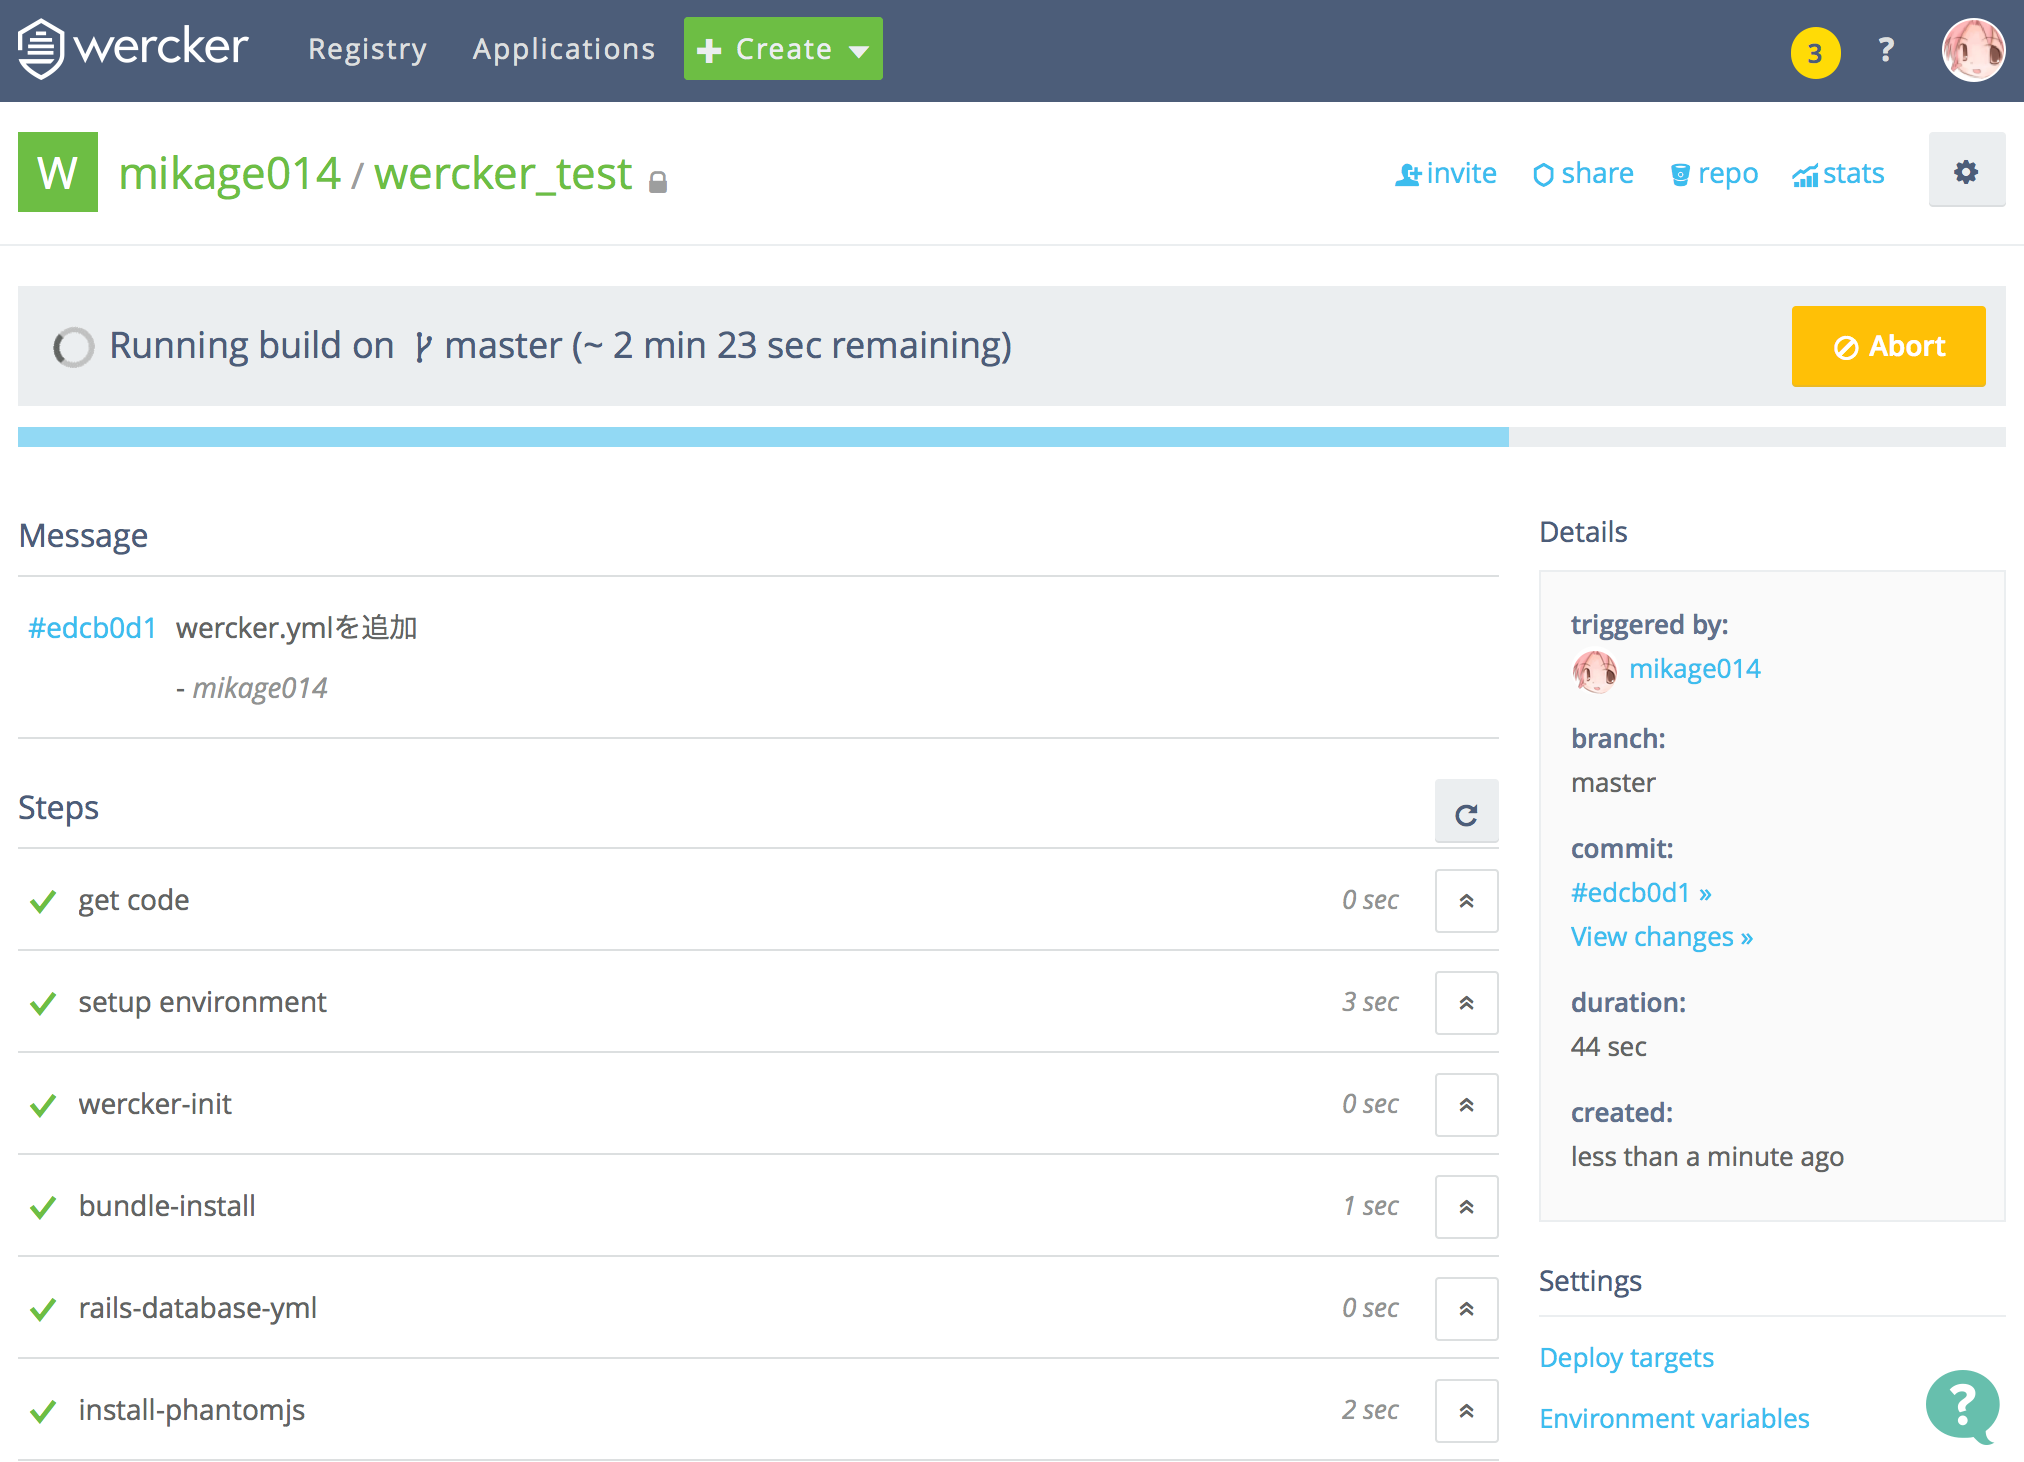
werckerのアプリのホームを開いていれば自動的に最新のビルドの状況が表示されます。
ビルドを選択すると詳細画面で各ステップのコンソールログを確認できます。
そしてビルド結果がSlackに通知されます。

2. werckerからherokuへのデプロイ
herokuのアプリ名、APIキー、SSH Keyを設定してwerckerからherokuにデプロイできるようにします。
stagingブランチのビルドが成功したらherokuのステージング環境に自動デプロイ、というようなことができます。
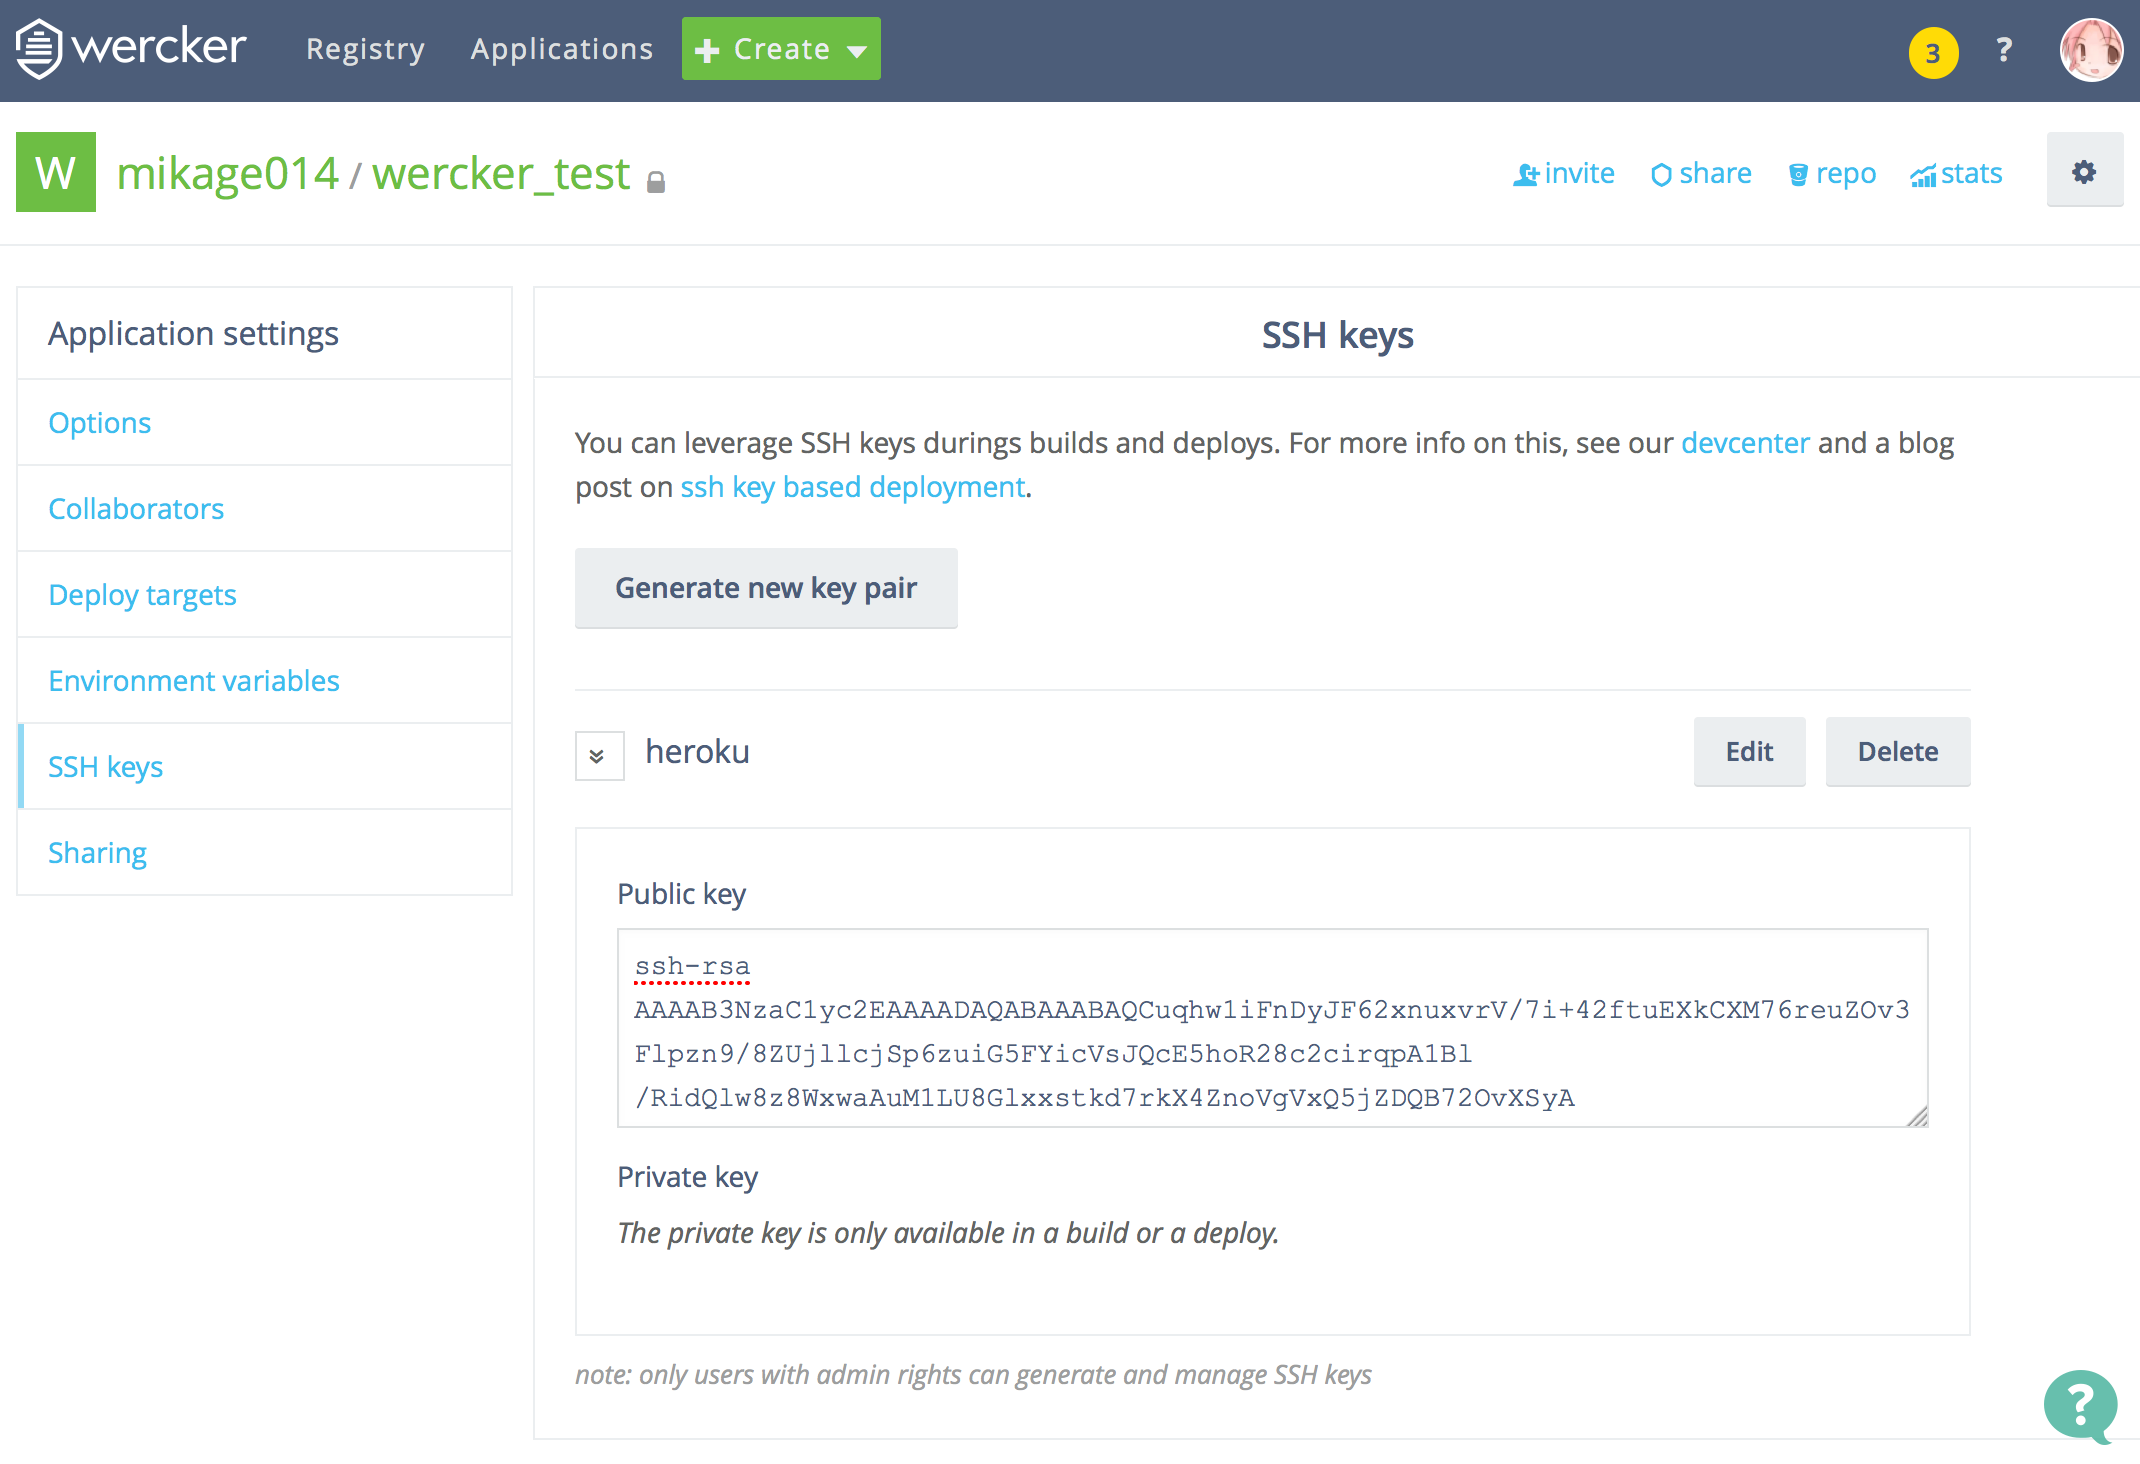
2-1. werckerでデプロイ用のSSH Keyを作成
werckerの画面で、アプリの設定(右上の歯車)> SSH Keys > Generate new key pair でSSH Keyを生成します。
キーの名前は heroku としておきます。
2-2. herokuのAPIキーを取得
werckerからherokuへデプロイするため、APIキーを取得します。
herokuの管理画面で、Manage Account > API Key > Show API Key... でAPIキーを取得します。
2-3. werckerでデプロイ先の設定
werckerの画面で、アプリの設定(右上の歯車)> Deploy targets > Add deploy target でデプロイターゲットを作成します。
- Custom deployで作成(wercker v2では15/09/02時点でこれしか選べない)
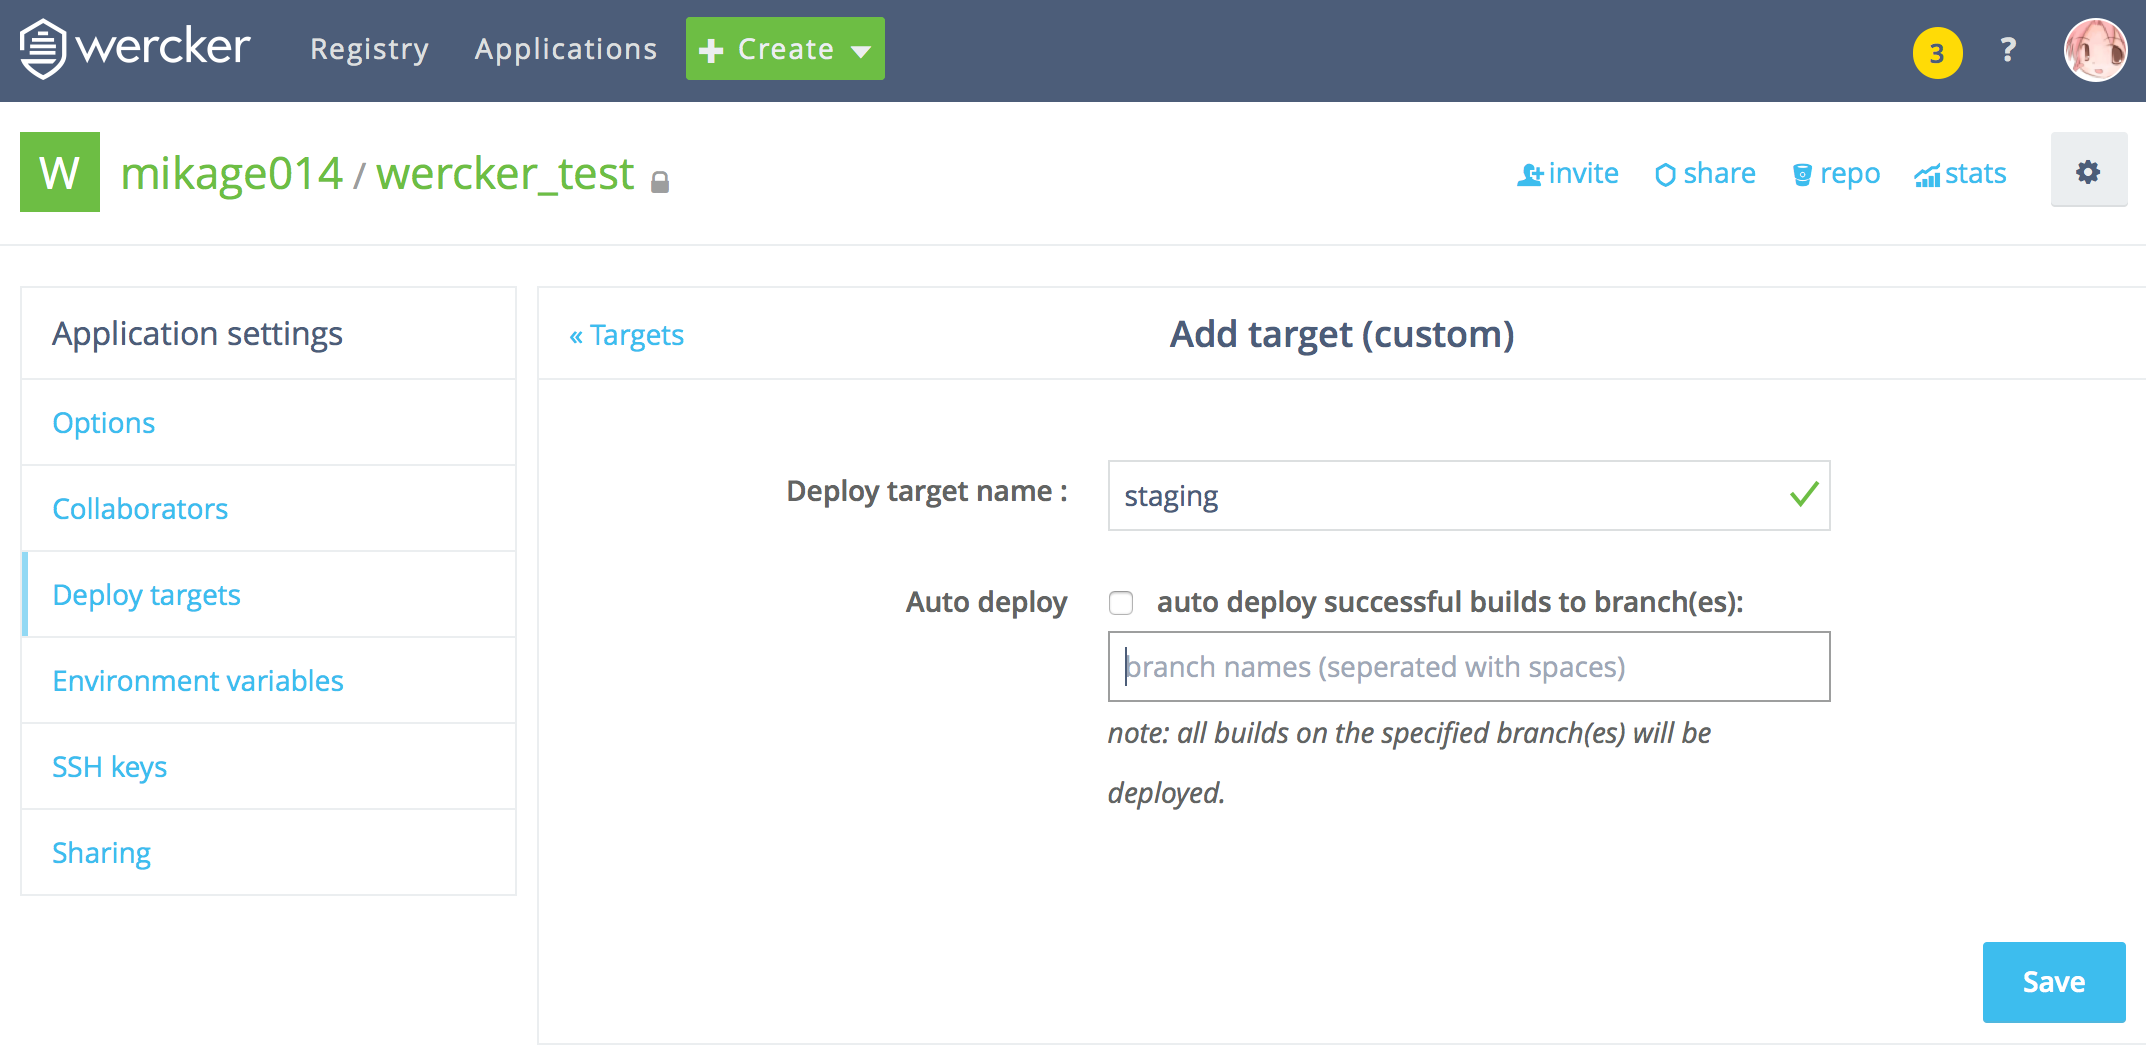
Deploy target name : master または staging など
Auto deploy : 一旦なしで作成
saveするとデプロイ時に使う環境変数の設定に進みます。

ここで、アプリ名と先程取得したheroku APIキー、SSH Keyを設定します。
| キー | Type | 値 |
|---|---|---|
| HEROKU_APP_NAME | text | [herokuのアプリ名] |
| HEROKU_KEY | text | [herokuのAPI Key] |
| HEROKU_SSH_KEY | SSH Key pair | heroku |
環境変数を設定した後、必ずsaveしてください。saveしないとターゲットの作成からやり直しになります。
環境変数を設定するとき、privateにすると鍵マークが付き画面上で見えなくなります。ここではHEROKU_KEYをprivateに設定しています。
2-4. デプロイの確認
werckerのアプリのホームから、成功したビルドを選んで、Deploy To > master(先程作った名前)を選択します。
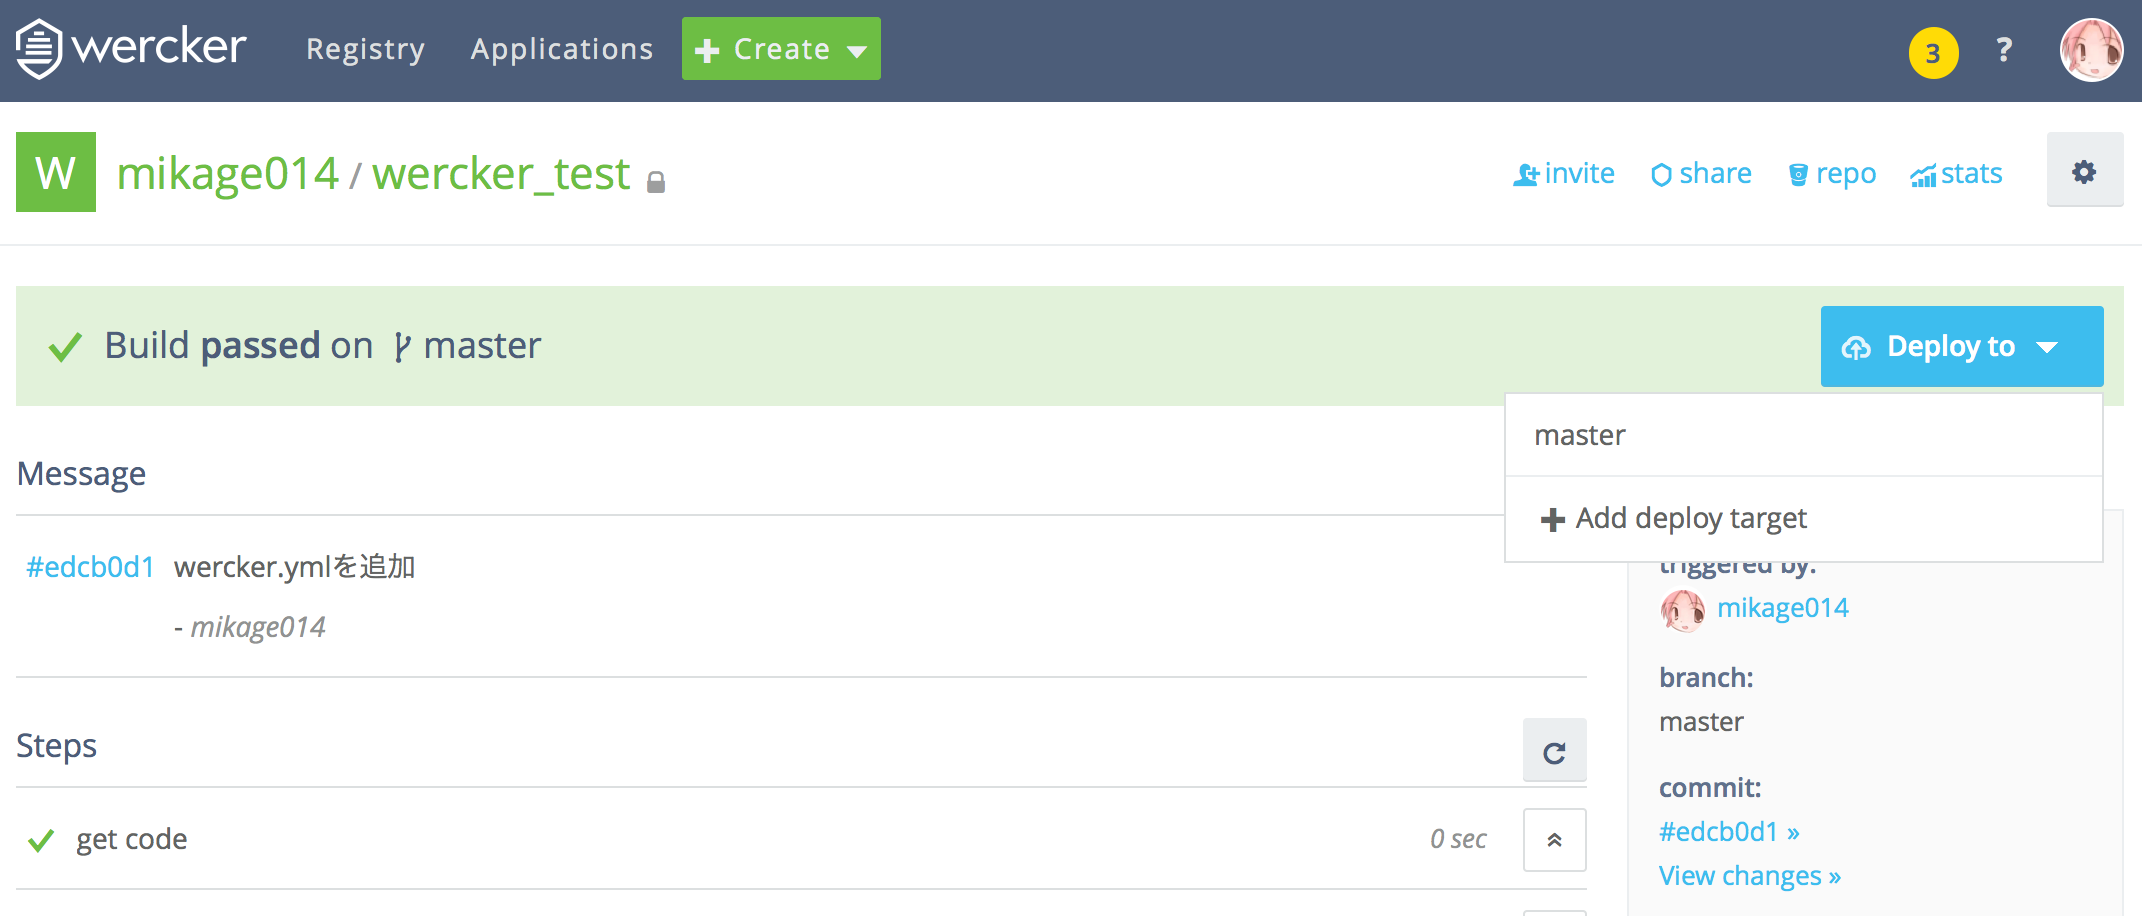
herokuアプリを開いてデプロイされていることと、Slackへの通知が確認できれば、設定完了です!
3. トラブルシューティング
run.sh でこける
source "/pipeline/script-895cb5e0-523f-4c70-a98e-098752470162/run.sh" < /dev/null
rake aborted!
ExecJS::RuntimeUnavailable: Could not find a JavaScript runtime. See https://github.com/rails/execjs for a list of available runtimes.
run.sh でこけるときはGemfileに therubyracer を追加してみましょう。
# See https://github.com/sstephenson/execjs#readme for more supported runtimes
gem 'therubyracer',  platforms: :ruby
未解決事項
デプロイ中のログに key-nameが指定されてないからrandom ssh keyを生成したよ! という表示と、herokuからSSH key was addedというメールが毎回飛んでくるのでSSH Keyの設定が正しくないかもしれません。
no key-name specified, will generate key and add it to heroku
generating random ssh key for this deploy
generated ssh key deploy-15117@wercker.com for this deployment
Adding ssh key to Heroku account
4. 参考サイト
WerckerCliが便利だった
http://qiita.com/k-motoyan/items/248346b5e4b3abbafc50
-> Dockerベースになったのでboot2dockerを使ってローカルでwercker.ymlのタスクのチェックができるようになっています。
step-rails-database-yml
https://github.com/wercker/step-rails-database-yml/blob/master/run.sh
-> postgresqlに接続できなかったときにpostgresql-dockerを指定すると参照する環境変数が変わって接続できるようになることが分かりました。
wercker Classic(Andorian)からDocker enable(Ewok)に移行する
http://natural-hokke.hateblo.jp/entry/2015/06/02/180557
-> postgresql-docker も含めwercker.ymlに必要な設定が簡潔にまとまってます。
--environment flag not working for wercker build on local machine. #21
https://github.com/wercker/support/issues/21
-> ローカルでwercker.ymlのタスクを走らせる場合、ローカルで環境変数X_HOGEにセットしておくとboot2docker上で走るwerckerタスクにHOGEとして渡されます。一時的っぽい仕様なので将来変わるかも・・?
5. werckerを動かすまでのポイント
-
動くようになるまでの間、wercker.ymlを直してはpush、が続くのでwercker.ymlの確認専用のアプリを作っておくとリポジトリが汚れなくて済みます。Gemfileをコピーしてきて、tableが1つ、テストが1つあれば十分です。
-
WerckerCliが便利だったを参考に、ローカルでwercker.ymlのタスクのチェックをする方法も良いです。ただ、毎回bundle installがフルに走るので回線とディスクスペースとPCのスペックに余裕がないとキツい感じです。
-
上手く動かないときはDockerImageのドキュメント、読み込んでいるモジュールのソース(rails-database-yml等)を見ると、必須のオプションや設定可能なオプションなど、ヒントが得られると思います。