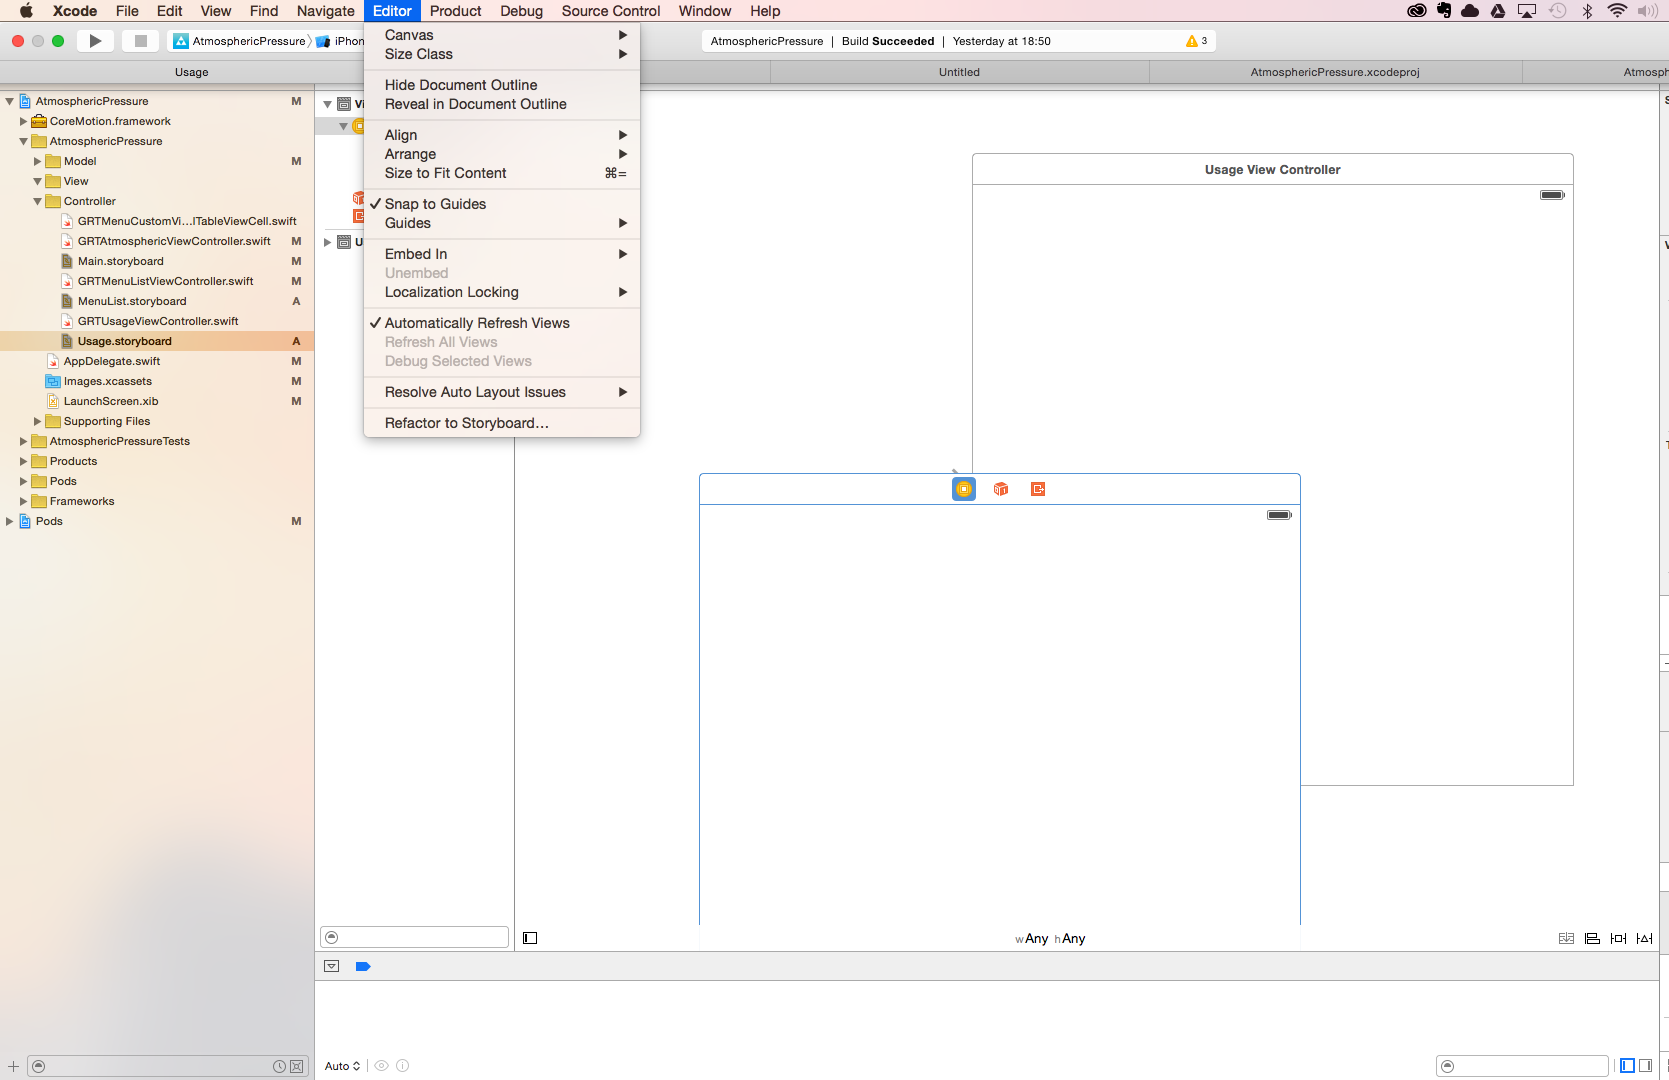
xcode7から付いた機能である「Refactor to Storyboard」を使ってみました。
storyboardを分割する理由
storyboardが一つしかないと共同で開発しているときに、お互いで修正しあえないため。
手順
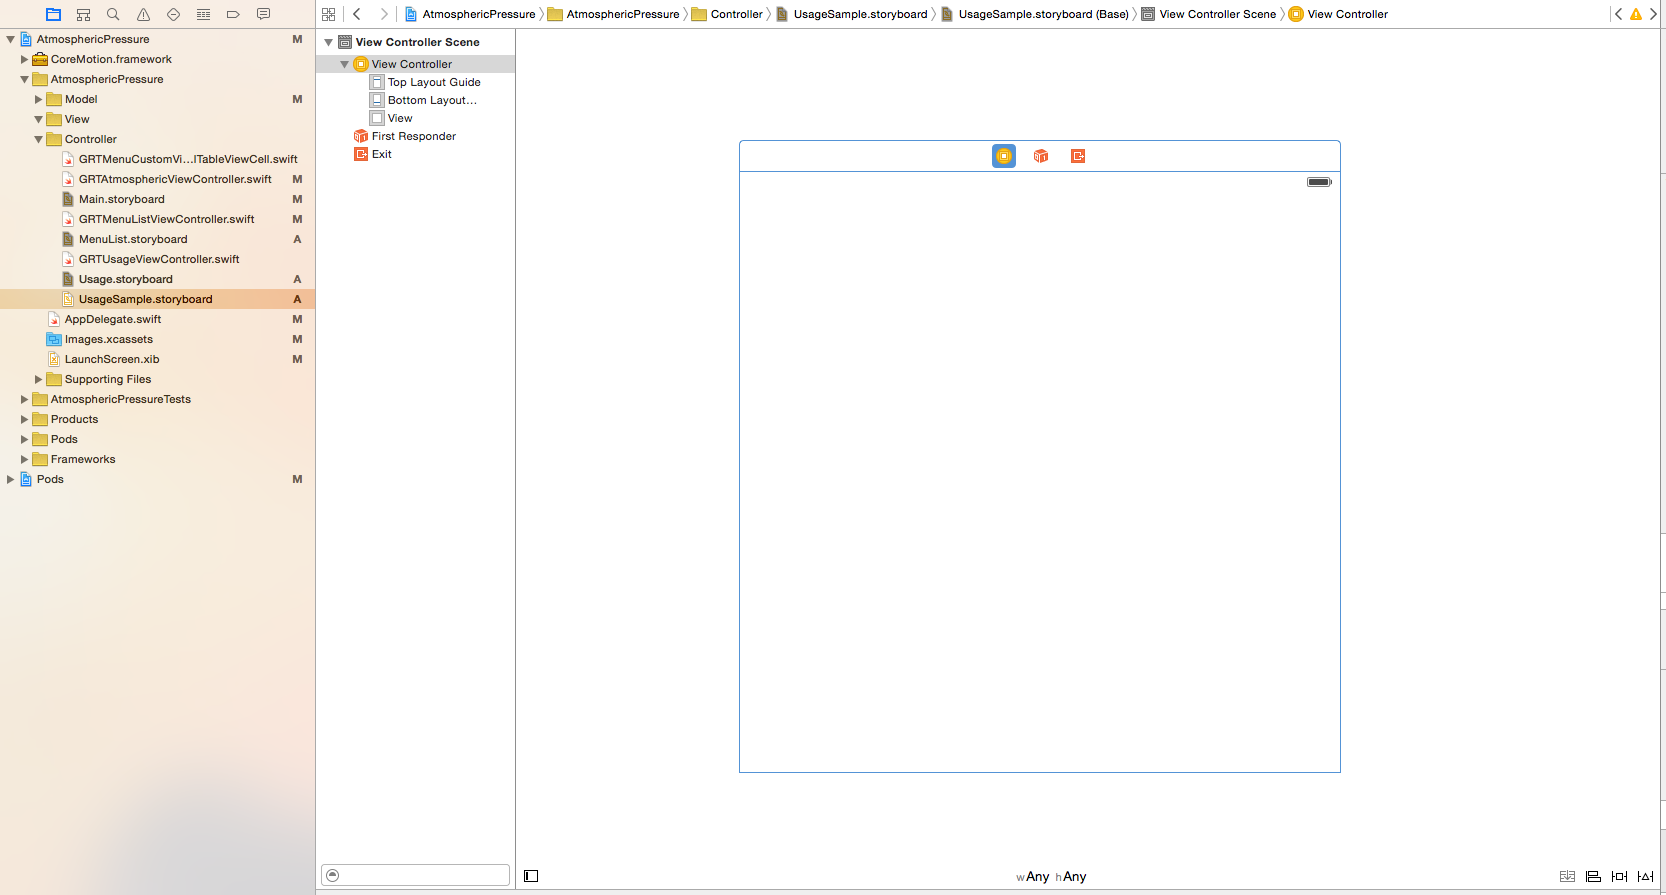
- 分割したいview controllerを選択した状態で、Edit -> Refactor to Storyboard を選択し、作成するstoryboardの名前を入力してください。今回は「UsageSample」としました。
注意
ViewControllerでstoryboardを呼び出しているコードがある場合はそちらも合わせて修正する必要があります。
例えば、「Main」storyboardから「Usage」storyboardを分割したとき、実際にソースでUsageを呼び出している箇所がエラーを吐きます。そのため、下記のように修正する必要が有ります。
修正前
let mainSB = UIStoryboard(name: "Main", bundle: nil)
修正後
let mainSB = UIStoryboard(name: "Main", bundle: nil)
let usageSB = UIStoryboard(name: "Usage", bundle: nil)
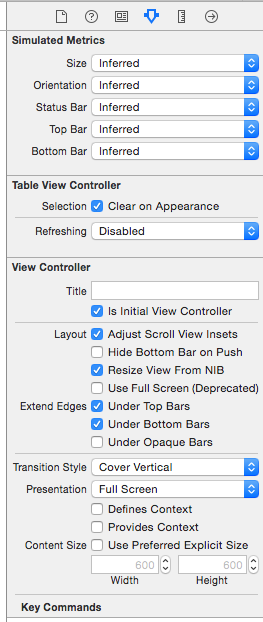
また、一つのstoryboardに対して初期viewControllerを指定できるため、選択したstoryboad内にある初期viewControllerを設定します。下記画像にあるようにviewcontroller -> Is Initial View Controllerにチェックを入れます。
そうすると、今までstoryboard内のViewControllerを下記のように呼び出していましたが、修正後は綺麗に呼び出しが可能となります。
修正前
targetVC = storyboard.instantiateViewControllerWithIdentifier("GRTAtmosphericViewController") as! GRTAtmosphericViewController
修正後
targetVC = mainSB.instantiateInitialViewController() as! GRTAtmosphericViewController


