この記事はNCC Advent Calendar 2018の2日目の記事です.
アドベントカレンダー内で勝手にやってるMetalの連載も2日目です.
勝手にやってるMetal連載
最近Metalを初めて楽しくなっちゃったのでたくさんoutputしてみる会です.
- Rendererを作る
- プロシージャルモデリングをして表示する ← イマココ
- フラグメントシェーダで遊ぶ
プロシージャルモデリングっぽいことをする.
プロシージャルモデリングとは...🤔
プロシージャルモデリングとは,「ルール・セットによって3Dモデルを生成すること」らしいです.
CG界隈は全然専門ではないので,とりあえず「ローカル座標系をプログラミングで作成する」くらいの意味で捉えています🙄
はい,やっていき.
2Dでやって見る
まずは2DでModelを作ってみます.
目標はこんな感じ.
正n角形をたくさん並べてエモい絵を作ってみましょう.
これが自分のiPhoneの上で動くんです.控えめに言って楽しすぎる.
iPhoneXのフレームが少ない端末の上で動くのめっちゃ綺麗です.新型iPadPro欲しい...
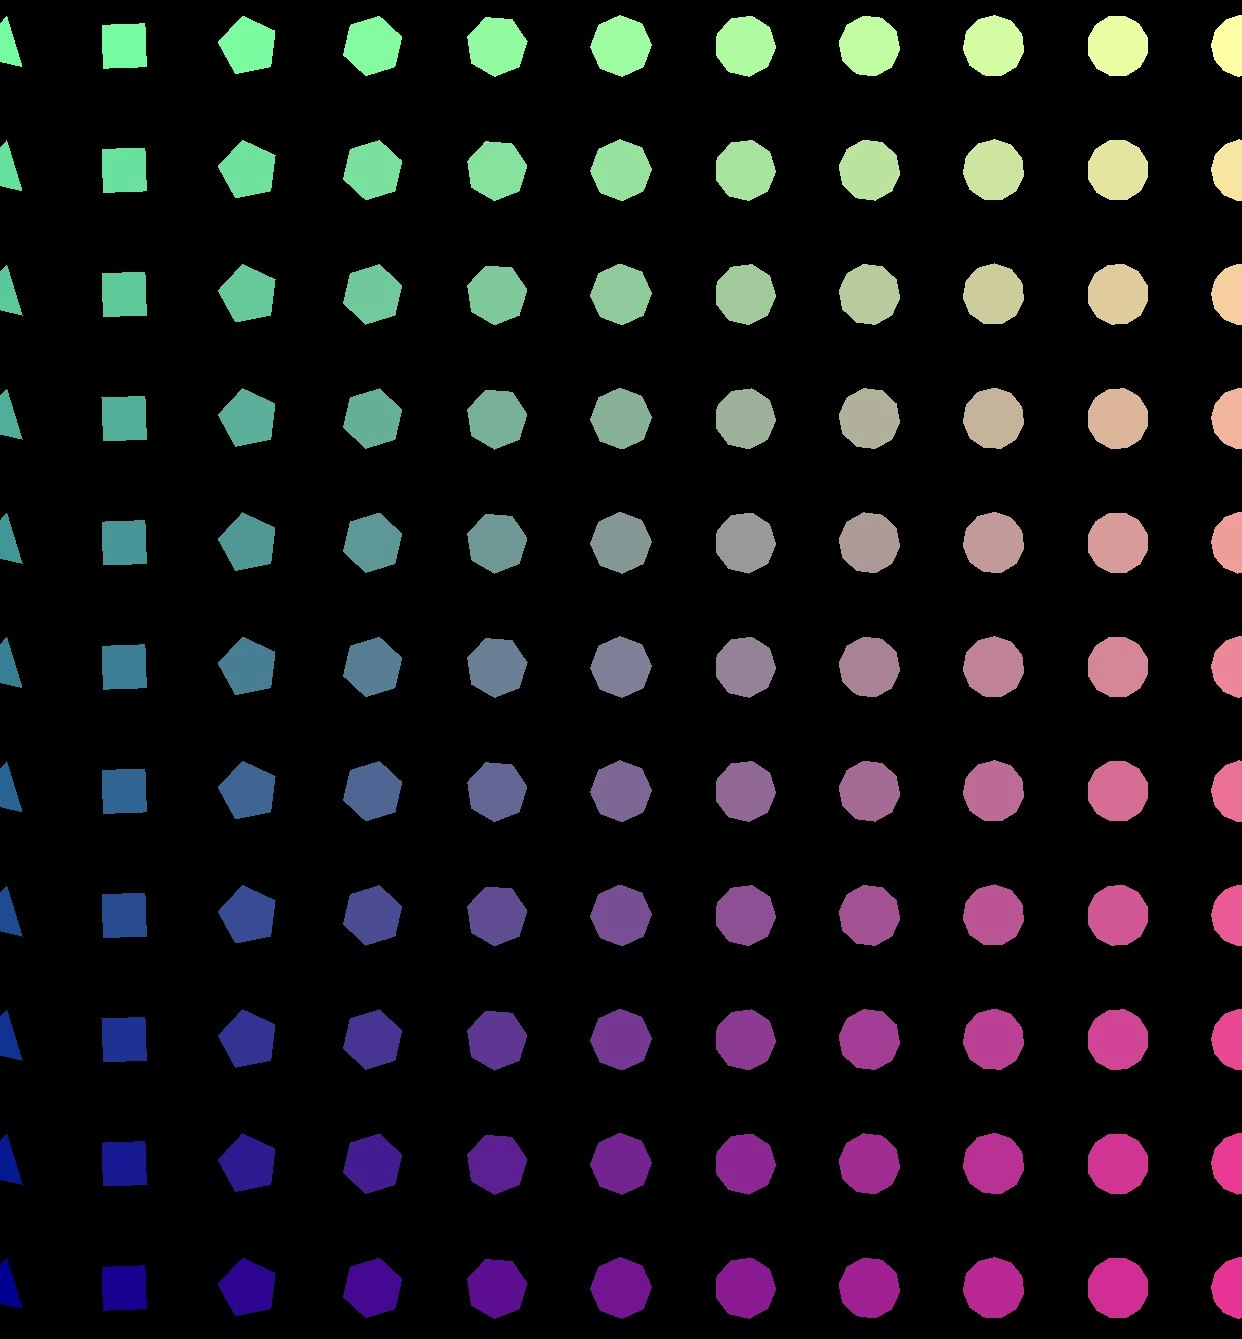
正3角形から正13角形まで並べて,縦にも
この多角形を,なんとか三角形の集合で作りたいと思います.
正6角形だったら下のような感じ.円周上のn点を用いて正n角形を作っていきたいと思います.
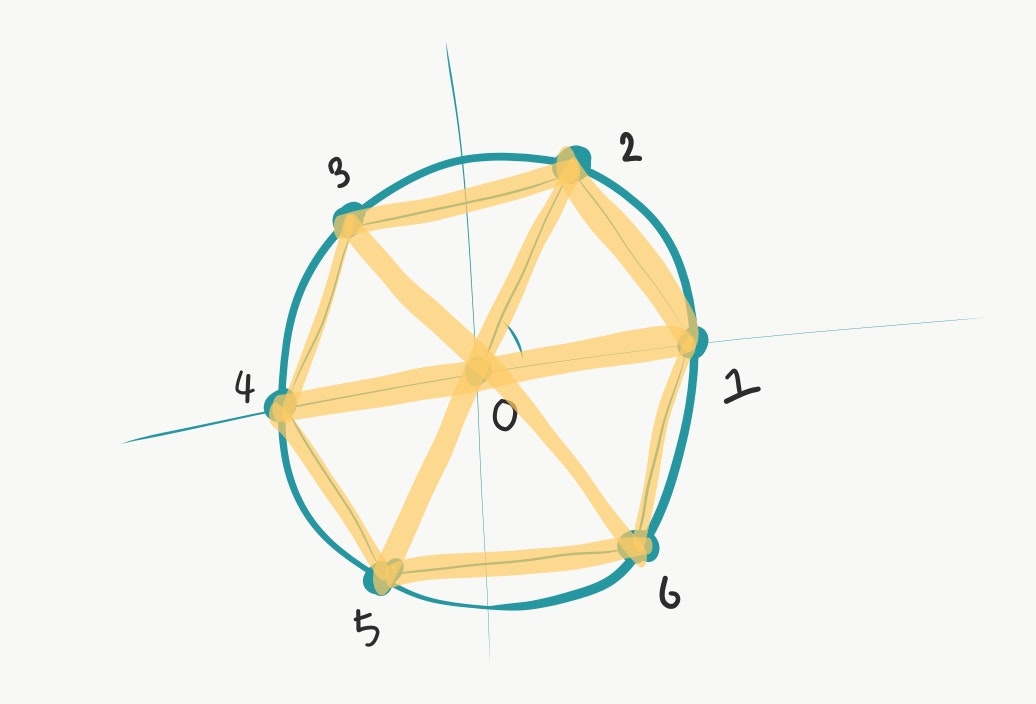
この画像上の頂点座標と各頂点のインデックスを利用すれば
[0,1,2][0,2,3][0,3,4][0,4,5][0,5,6][0,6,1]
の頂点をつなげた三角形を用意すれば,正n角形を作れそうです.
Modelを定義する
まずはモデルのProtocolから定義しておきたいと思います.
それぞれのVertex(頂点)は
-
offset(ポリゴンの中心の位置) -
position(中心からの相対位置)- この場合は円周上の座標
-
Color(頂点の色)
の情報を保持しています.
offset + positionがローカル座標系となります.
カンタンに後述しますが,ポリゴン自体はoffsetの場所に来て欲しいが.回転縮小などの処理を適用したいという人のために,positionを分離して宣言しています.
また,今回の作成するモデルの最小構成として,
-
vertices(モデルの各頂点) -
indices(モデルを構成する各3角形ポリゴンを構成する頂点のIndex) -
triangles- indicesの順番でverticesを並べたもの
typealias Position = float3
typealias Color = float4

struct Vertex {
    var offset: float3
    var position: float3
    var color: float4
}

protocol MAModel {
    var vertices: [Vertex]! { get }
    var indices: [Int]! { get }
    var triangles: [Vertex]! { get }
}
struct RegularPolygon: MAModel {

    // Model Protocol
    var vertices: [Vertex]!
    var indices: [Int]!

    // RegularPolygonのデータ
    var r: Float!
    var n: Int!

    // Triangleデータ
    var triangles: [Vertex]! { return indices.map({i->Vertex in vertices[i]})}

    init(center: Position, r: Float, n: Int, Color c: Color) {
        self.r = r
        self.n = n
        vertices = [Vertex]()
        indices = [Int]()
        generatePolygon(center: center, r: r, n: n, color: c)
    }

    mutating private func generatePolygon(center: Position, r: Float, n: Int, color: Color) {
        vertices = []
        indices = []
        vertices.append(Vertex(offset: center, position: Position(0,0,0), color: color))
        for i in Array(0..<n).map({n -> Float in Float(n)}) {
            let theta = 2 * Float.pi * (i / Float(n))
            let x = r * cos(theta)
            let y = r * sin(theta)
            vertices.append(Vertex(offset: center, position: float3(x, y ,0), color: color) )
        }
        Array(0..<n).map({i->[Int] in [0, 1+i, 1+(i+1)%n]}).forEach({indices += $0})
    }
}
このポリゴンを,ViewControllerのクラスで呼び出して,Rendererに渡してあげましょう.
class RegularPolygonsVC: UIViewController {
    private var renderer: Renderer!

    override func viewDidLoad() {
        super.viewDidLoad()
        guard let mtlDevice = MTLCreateSystemDefaultDevice() else {
            print("Metal is not supported on this device")
            return
        }
        let mtkView = MTKView(frame: view.frame, device: mtlDevice)
        mtkView.device = mtlDevice
        mtkView.framebufferOnly = true
        mtkView.preferredFramesPerSecond = 60
        renderer = Renderer(metalKitView: mtkView)

        view = mtkView

        var polygonVertices = [Vertex]()
        for i in -5..<6 {
            for j in -5..<6 {
                let x = Float(i)/Float(5)
                let y = Float(j)/Float(5)
                let regPoly = RegularPolygon(center: float3(x, y, 0), r: 0.08, n: 8+i, Color: Color(x: (1+x)/2, y: (1+y)/2, z: 0.7, w: 1.0))
                polygonVertices += regPoly.triangles
            }
        }
        renderer.setVertices(polygonVertices)
        renderer.start()
    }
}
また,今回の設計上,前回で作成したRendererから変更点があります.
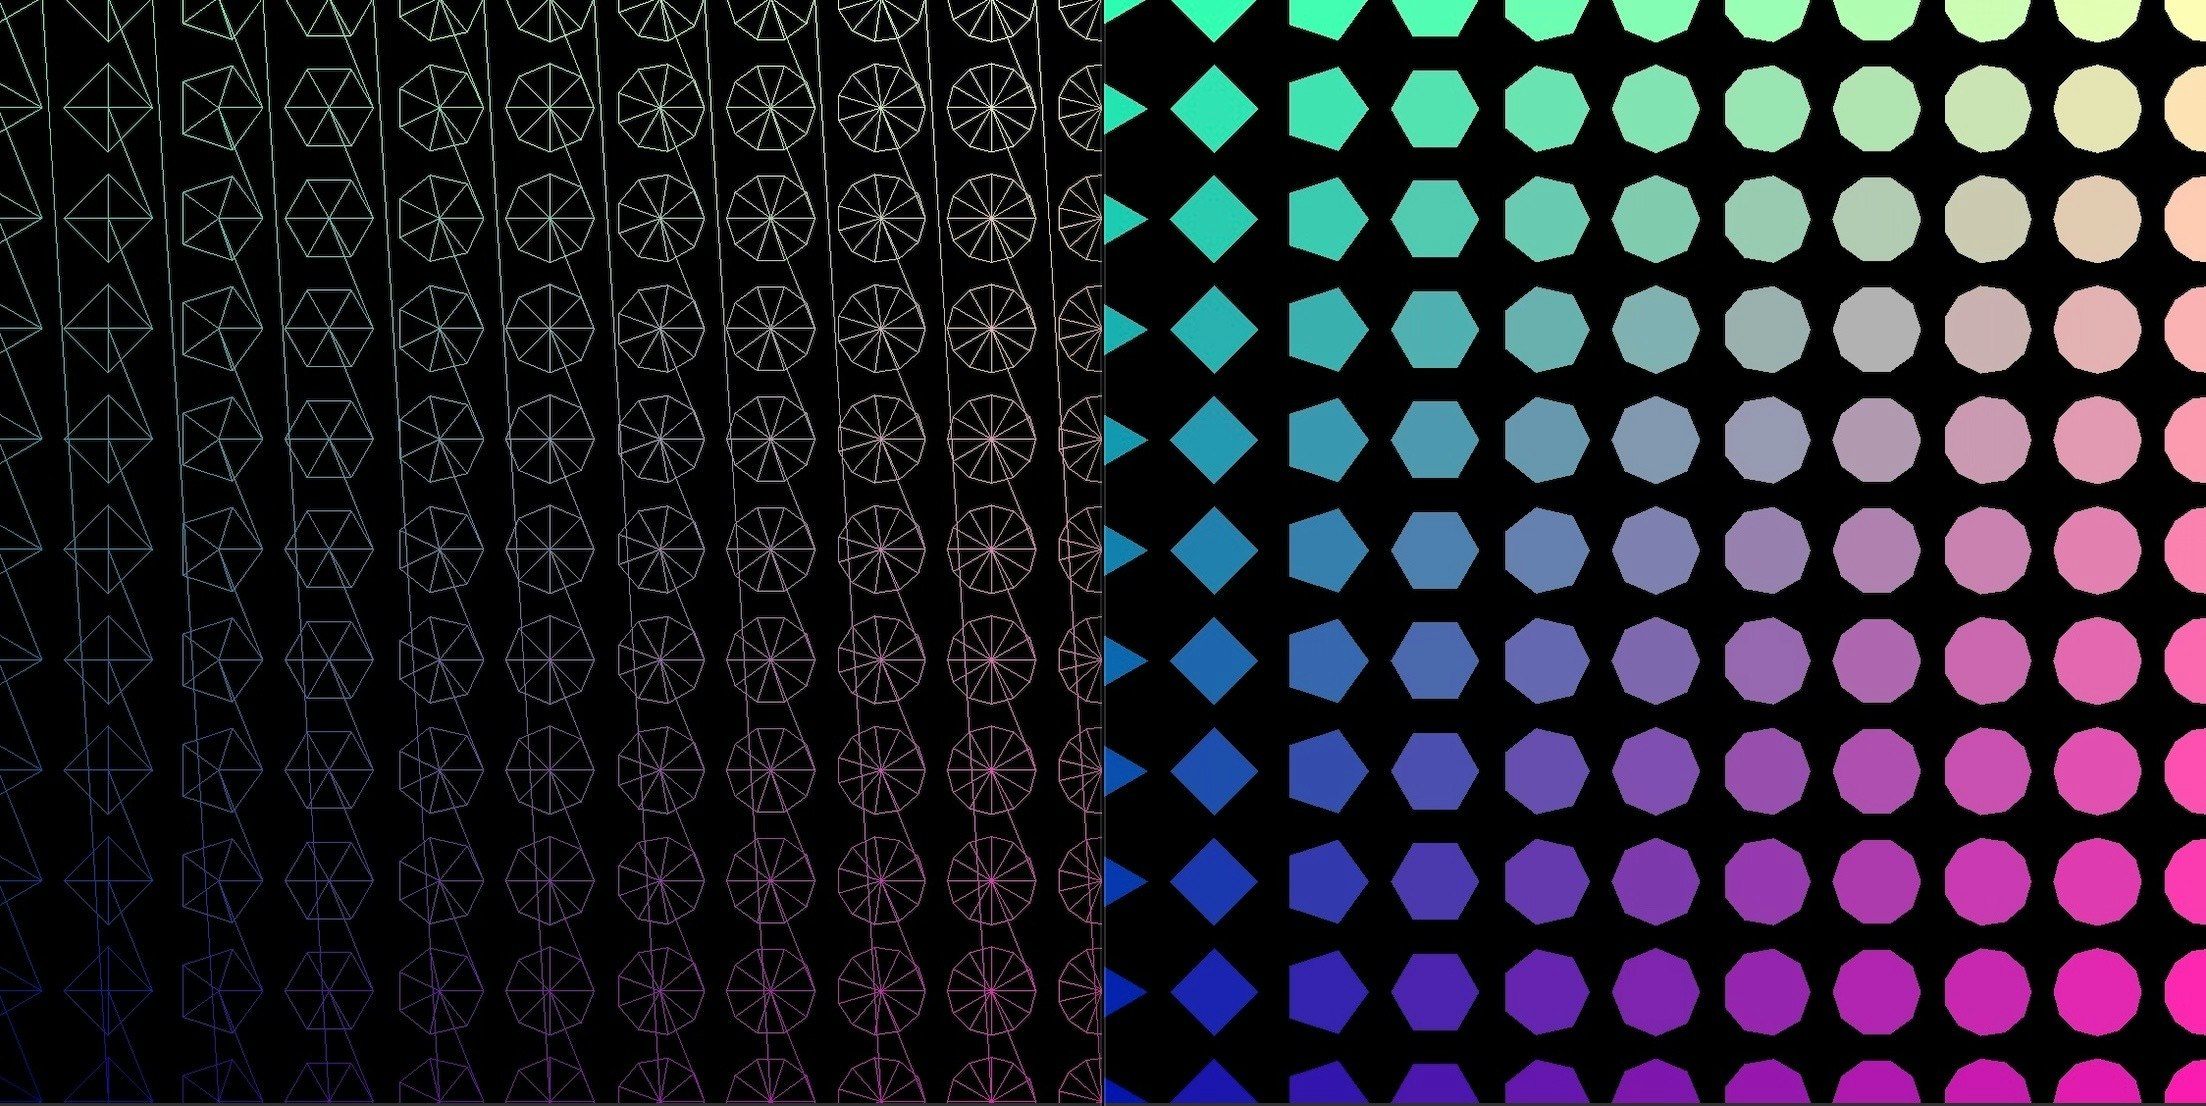
MTKViewDelegateのdrawメソッドの中のdrawIndexedPrimitivesがdrawPrimitivesに変わってます
//        commandEncoder?.drawIndexedPrimitives(type: .triangle, indexCount: indices.count, indexType: .uint16, indexBuffer: indexBuffer, indexBufferOffset: 0)

        commandEncoder?.drawPrimitives(type: .lineStrip, vertexStart: 0, vertexCount: vertices.count)
モデリングした感じがわかるように,.lineStripと.triangleを設定したのを並べてみました.
vertexシェーダで回転させる.
MAModelないで,わざわざoffsetプロパティを持たせてみましたが,これはvertexシェーダ内でそれぞれのポリゴンを回転させるためです.
↓.metalだとシンタックスハイライトがつかないので, .cppにしてみた
vertexシェーダ内でそれぞれのポリゴンのPositionプロパティ(半径rの円周上)にrotateMatrixという変数(時間t分だけ回転させる行列)を掛け合わせることで,単位円周上で回転させてから,offsetを足し,本来ポリゴンの中心が来て欲しいところに移動させます.
# include <metal_stdlib>
using namespace metal;

struct VertexIn {
    float3 offset;
    float3 position;
    float4 color;
};

struct Uniforms {
    float time;
    float aspectRatio;
    float2 touch;
};
struct VertexOut {
    float4 pos [[ position ]];
    float4 color;
    float time;
    float2 touch;
};

vertex VertexOut vertexDay2(constant VertexIn *vertexIn [[buffer(0)]],
                            constant Uniforms &uniforms [[buffer(1)]],
                            uint vid [[ vertex_id ]]) {
    float t = uniforms.time;
    float4x4 rotateMatrix = float4x4(float4(cos(t), sin(2.0*t), 0, 0),
                                  float4(-sin(3.0*t), cos(4.0*t), 0, 0),
                                  float4(0,0,1,0),
                                  float4(0,0,0,1));

    float3 offset = vertexIn[vid].offset;
    float3 position = vertexIn[vid].position;
    float4 rotatedPos = float4(offset, 0.0) + rotateMatrix * float4(position, 1.0);
    float4 color = vertexIn[vid].color;
    VertexOut out;

    rotatedPos.y *= uniforms.aspectRatio;

    out.pos = rotatedPos;
    out.color = color;
    out.time = uniforms.time;
    out.touch = uniforms.touch;
    return out;
}

fragment half4 fragmentDay2(VertexOut vertexIn [[stage_in]]) {
    float4 c = vertexIn.color;
    return half4(c);
}
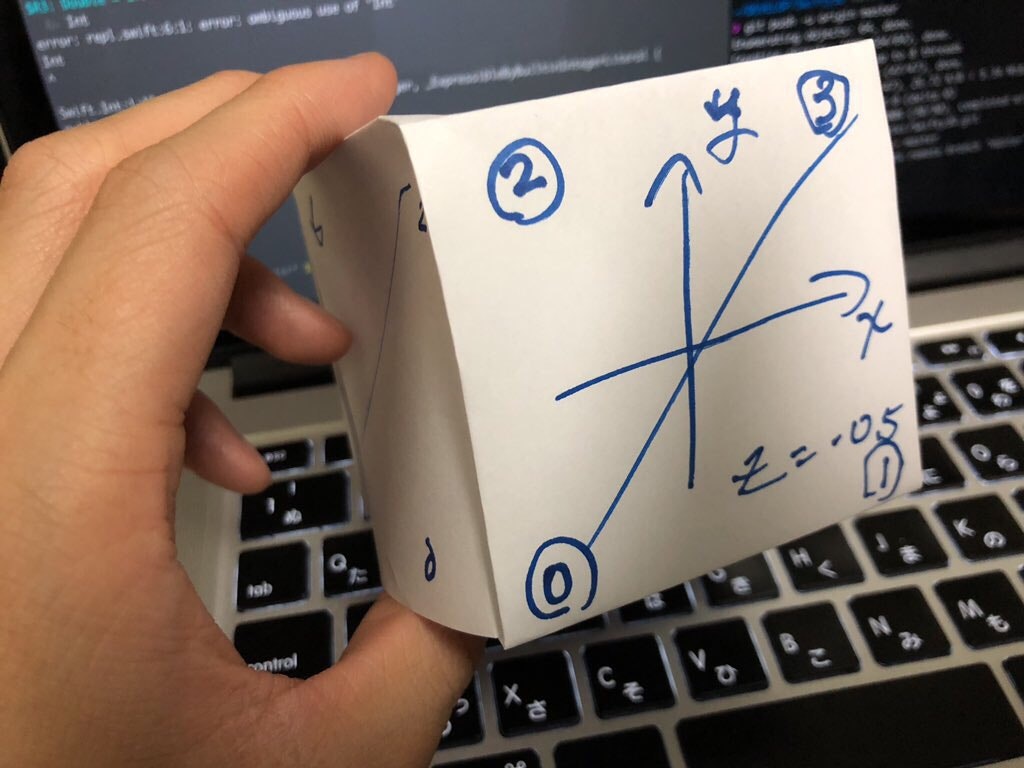
3Dでやって見る...?
こんなツイートをしていましたが,これもプロシージャルモデリングですね笑笑
最終手段すぎる
— Mi↑ki↓ (@miki_fms) November 11, 2018
Metalを使った表現の楽しいところ.
MSL(Metal Shading Language)を使って描画をするのはとても楽しいです.
個人的にとてもお気に入りなのは,この記事で書いたようなshadingのためのリソースをSwiftを使ってかけるところです.
WebGLでJSを使って色々設定,宣言するのがあまり得意じゃないので,Swiftでできるshader環境は,とても楽しいのです...!!
ソースコード
連載用のgithubにあげてあります!Day2です.