VirtualBoxにCentos7のサーバを予め構築してあるのでそこにWordpressを導入してみます。
CentOS7にWordPress導入
[root@localhost ~]# less /etc/redhat-release
CentOS Linux release 7.6.1810 (Core)
OSイメージはCentOS-7-x86_64-Minimal-1810.isoを使用
1.MariaDBインストール
[root@localhost ~]# yum -y install mariadb-server
次のコマンドを実行し、MariaDBを起動する。
[root@localhost ~]# systemctl start mariadb
次のコマンドを実行し、OS起動時、自動でMariaDBも起動するようにする。
[root@localhost ~]# systemctl enable mariadb
Created symlink from /etc/systemd/system/multi-user.target.wants/mariadb.service to /usr/lib/systemd/system/mariadb.service.
2.MariaDBセットアップ
[root@localhost ~]# mysql_secure_installation

NOTE: RUNNING ALL PARTS OF THIS SCRIPT IS RECOMMENDED FOR ALL MariaDB
      SERVERS IN PRODUCTION USE!  PLEASE READ EACH STEP CAREFULLY!

In order to log into MariaDB to secure it, we'll need the current
password for the root user.  If you've just installed MariaDB, and
you haven't set the root password yet, the password will be blank,
so you should just press enter here.

Enter current password for root (enter for none):
デフォルトではパスワードが未設定のため、何も入力せずreturnキーを押す。
OK, successfully used password, moving on...

Setting the root password ensures that nobody can log into the MariaDB
root user without the proper authorisation.

Set root password? [Y/n]
パスワード設定するかどうか
設定すると以下のようになる
New password:
Re-enter new password:
Password updated successfully!
Reloading privilege tables..
 ... Success!


By default, a MariaDB installation has an anonymous user, allowing anyone
to log into MariaDB without having to have a user account created for
them.  This is intended only for testing, and to make the installation
go a bit smoother.  You should remove them before moving into a
production environment.

Remove anonymous users? [Y/n]
anonymousユーザを消すか
消す Y
Remove anonymous users? [Y/n] Y
 ... Success!

Normally, root should only be allowed to connect from 'localhost'.  This
ensures that someone cannot guess at the root password from the network.

Disallow root login remotely? [Y/n]
rootのリモートログインをさせないか
許可する n
Disallow root login remotely? [Y/n] n
 ... skipping.

By default, MariaDB comes with a database named 'test' that anyone can
access.  This is also intended only for testing, and should be removed
before moving into a production environment.

Remove test database and access to it? [Y/n] Y
 - Dropping test database...
 ... Success!
 - Removing privileges on test database...
 ... Success!

Reloading the privilege tables will ensure that all changes made so far
will take effect immediately.

Reload privilege tables now? [Y/n] Y
 ... Success!

Cleaning up...

All done!  If you've completed all of the above steps, your MariaDB
installation should now be secure.

Thanks for using MariaDB!
完了!
3.DBの作成
MariaDBにログイン
[root@localhost ~]# mysql -u root -p
Enter password:
Welcome to the MariaDB monitor.  Commands end with ; or \g.
Your MariaDB connection id is 4
Server version: 5.5.60-MariaDB MariaDB Server

Copyright (c) 2000, 2018, Oracle, MariaDB Corporation Ab and others.

Type 'help;' or '\h' for help. Type '\c' to clear the current input statement.

MariaDB [(none)]>
”wordpress”という名前のDBを作成してみます
MariaDB [(none)]> create database wordpress;
Query OK, 1 row affected (0.00 sec)
作成したデータベースを確認
MariaDB [(none)]> show databases;
+--------------------+
| Database           |
+--------------------+
| information_schema |
| mysql              |
| performance_schema |
| wordpress          |
+--------------------+
4 rows in set (0.03 sec)
4.PHPの導入
yumでインストール
[root@localhost ~]# yum install php php-mysql php-mbstring php-gd
インストールバージョンの確認
[root@localhost ~]# php --version
PHP 5.4.16 (cli) (built: Oct 30 2018 19:30:51)
Copyright (c) 1997-2013 The PHP Group
Zend Engine v2.4.0, Copyright (c) 1998-2013 Zend Technologies
5.Apacheの導入
yumでインストール
[root@localhost ~]# yum install httpd
apache起動
[root@localhost ~]# systemctl start httpd.service
起動確認
[root@localhost ~]# systemctl status httpd
● httpd.service - The Apache HTTP Server
   Loaded: loaded (/usr/lib/systemd/system/httpd.service; disabled; vendor preset: disabled)
   Active: active (running) since 木 2019-08-15 18:47:24 JST; 15s ago
     Docs: man:httpd(8)
           man:apachectl(8)
 Main PID: 17846 (httpd)
   Status: "Total requests: 0; Current requests/sec: 0; Current traffic:   0 B/sec"
   CGroup: /system.slice/httpd.service
           tq17846 /usr/sbin/httpd -DFOREGROUND
           tq17848 /usr/sbin/httpd -DFOREGROUND
           tq17849 /usr/sbin/httpd -DFOREGROUND
           tq17850 /usr/sbin/httpd -DFOREGROUND
           tq17851 /usr/sbin/httpd -DFOREGROUND
           mq17852 /usr/sbin/httpd -DFOREGROUND

 8月 15 18:47:23 localhost.localdomain systemd[1]: Starting The Apache HTTP ...
 8月 15 18:47:23 localhost.localdomain httpd[17846]: AH00558: httpd: Could n...
 8月 15 18:47:24 localhost.localdomain systemd[1]: Started The Apache HTTP S...
Hint: Some lines were ellipsized, use -l to show in full.
6.WordPressの導入
curlでダウンロードし、
/var/www/html(ドキュメントルートに配置してみます
[root@localhost ~]# cd /var/www/html
[root@localhost ~]# curl -LO http://ja.wordpress.org/latest-ja.tar.gz
  % Total    % Received % Xferd  Average Speed   Time    Time     Time  Current
                                 Dload  Upload   Total   Spent    Left  Speed
100   162  100   162    0     0    452      0 --:--:-- --:--:-- --:--:--   452
100 11.3M  100 11.3M    0     0   725k      0  0:00:15  0:00:15 --:--:--  929k
解凍
[root@localhost html]# tar -vzxf latest-ja.tar.gz
アクセスできるよう所有者変更
[root@localhost html]# chown -R apache. wordpress
apacheの設定ファイルをviで編集しドキュメントルートを以下に変更
DocumentRoot "/var/www/wordpress" ←ドキュメントルートをこれに変更
←ディレクトリ設定もこのように追記
Options Indexes FollowSymLinks
AllowOverride All
Order allow,deny
Allow from all
7.Apache起動し画面表示を確認
apache起動
[root@localhost html]# systemctl start httpd
”http://サーバIPアドレス/wordpress”
早速、Webブラウザでアクセスしてみると…
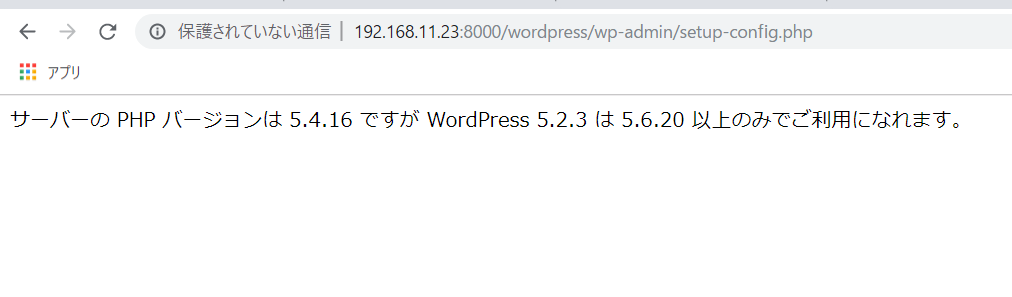
え!!!!!
PHP5.6以降が必要...
8.PHP導入 やり直し
↑でPHP5.6以降が必要と判明、新バージョンのPHPを入れなおします。
古くて怒られた古いPHPを削除
yum remove php-*
標準のyumリポジトリにはなかったので別のリポジトリから取り寄せることにします。
最新PHPを取り扱ってるリポジトリを導入
yum install epel-release
yum install http://rpms.famillecollet.com/enterprise/remi-release-7.rpm
新たにPHPをインストール
yum -y install --enablerepo=remi,remi-php73 php php-mbstring php-xml php-xmlrpc php-gd php-pdo php-pecl-mcrypt php-mysqlnd php-pecl-mysql
改めてwordpressにアクセスしてみます。
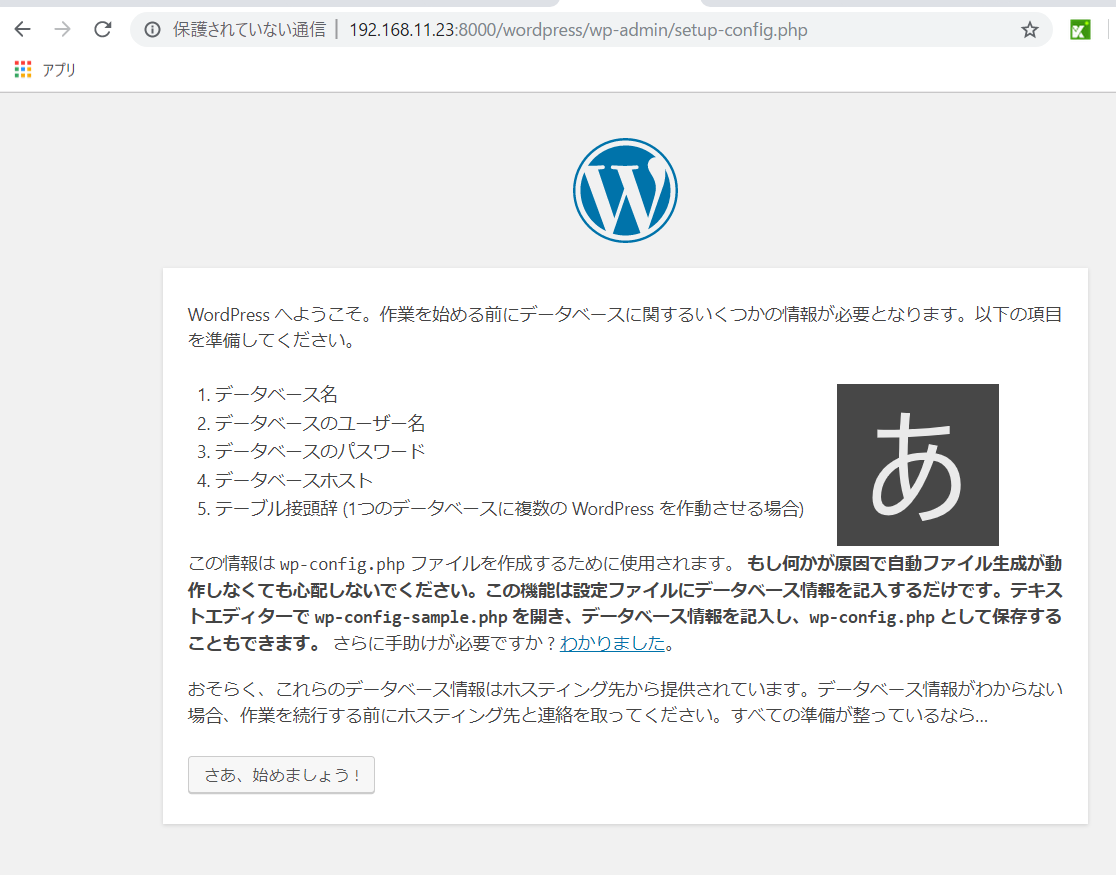
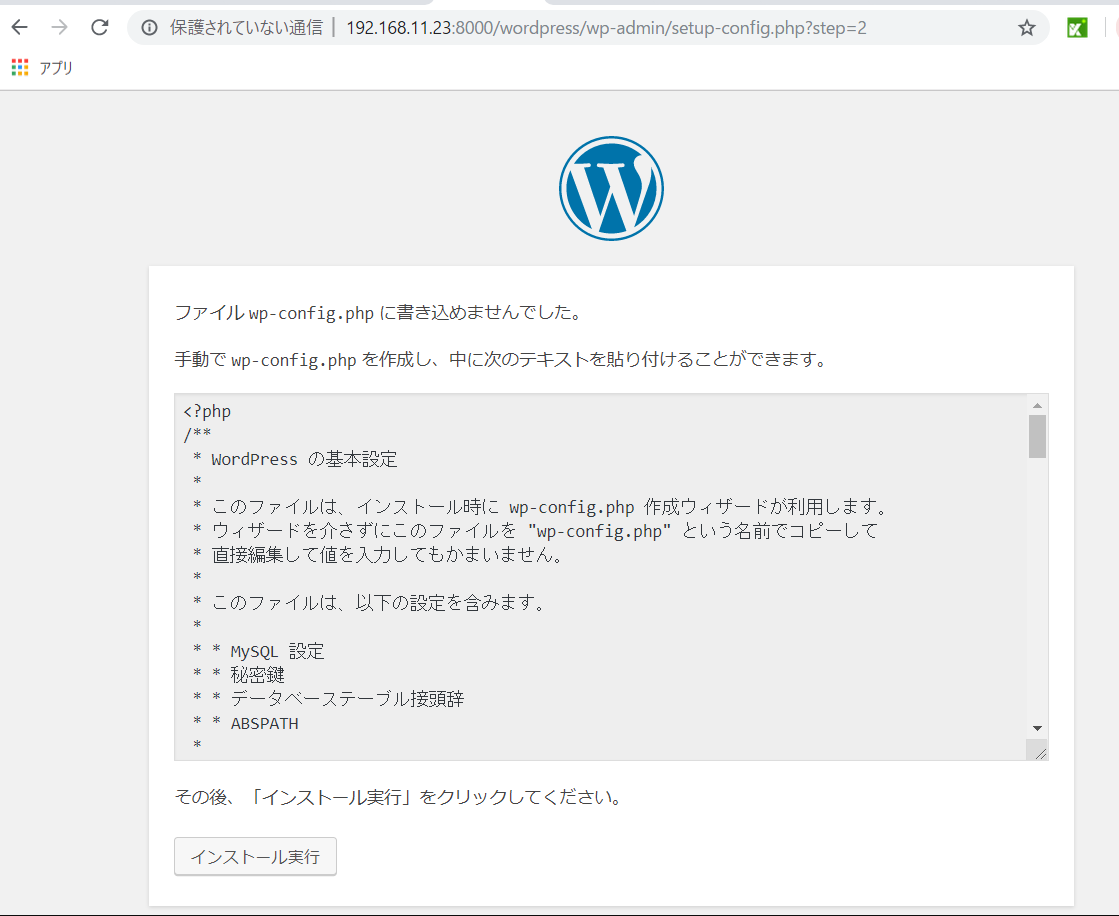
wp-config.phpを書き込めなかったようなので手動で作成して進みましょう。
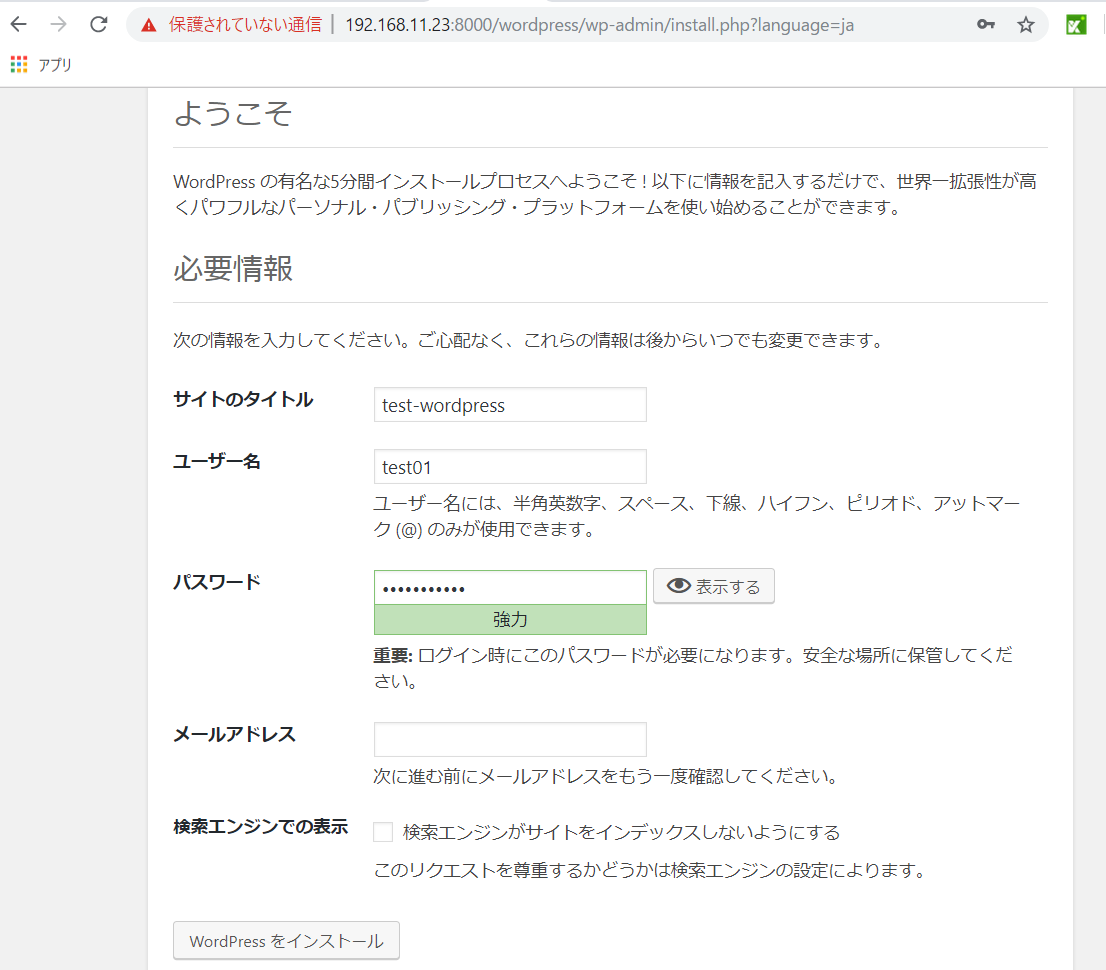
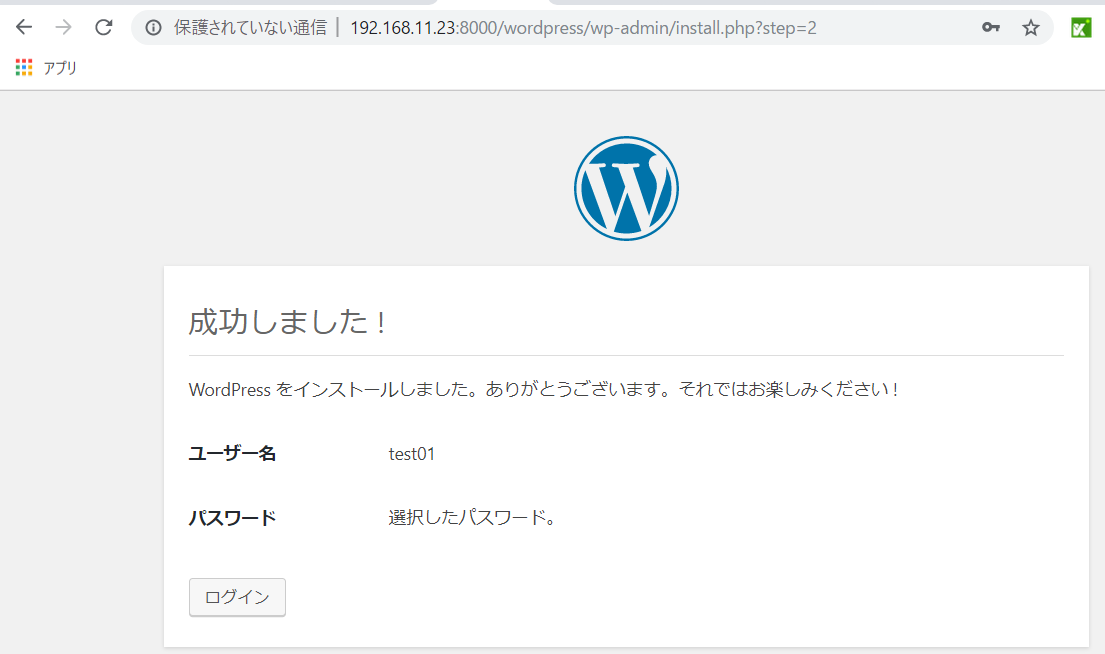
管理ユーザの作成
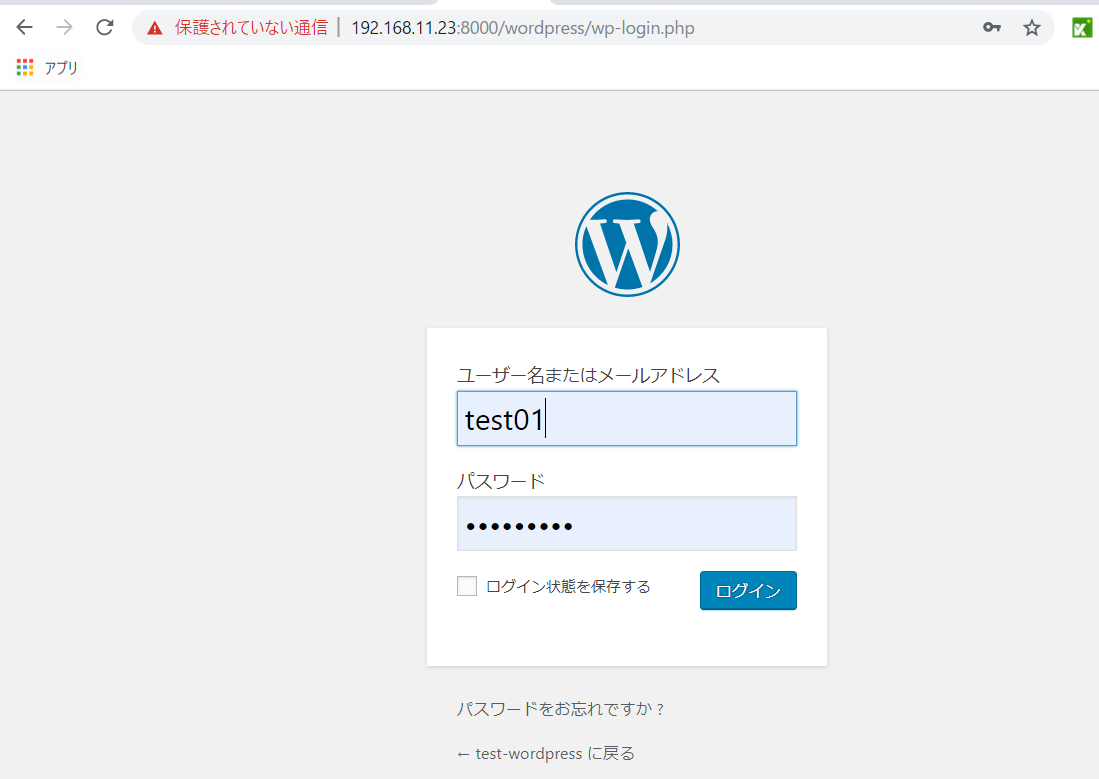
作成したユーザでログイン
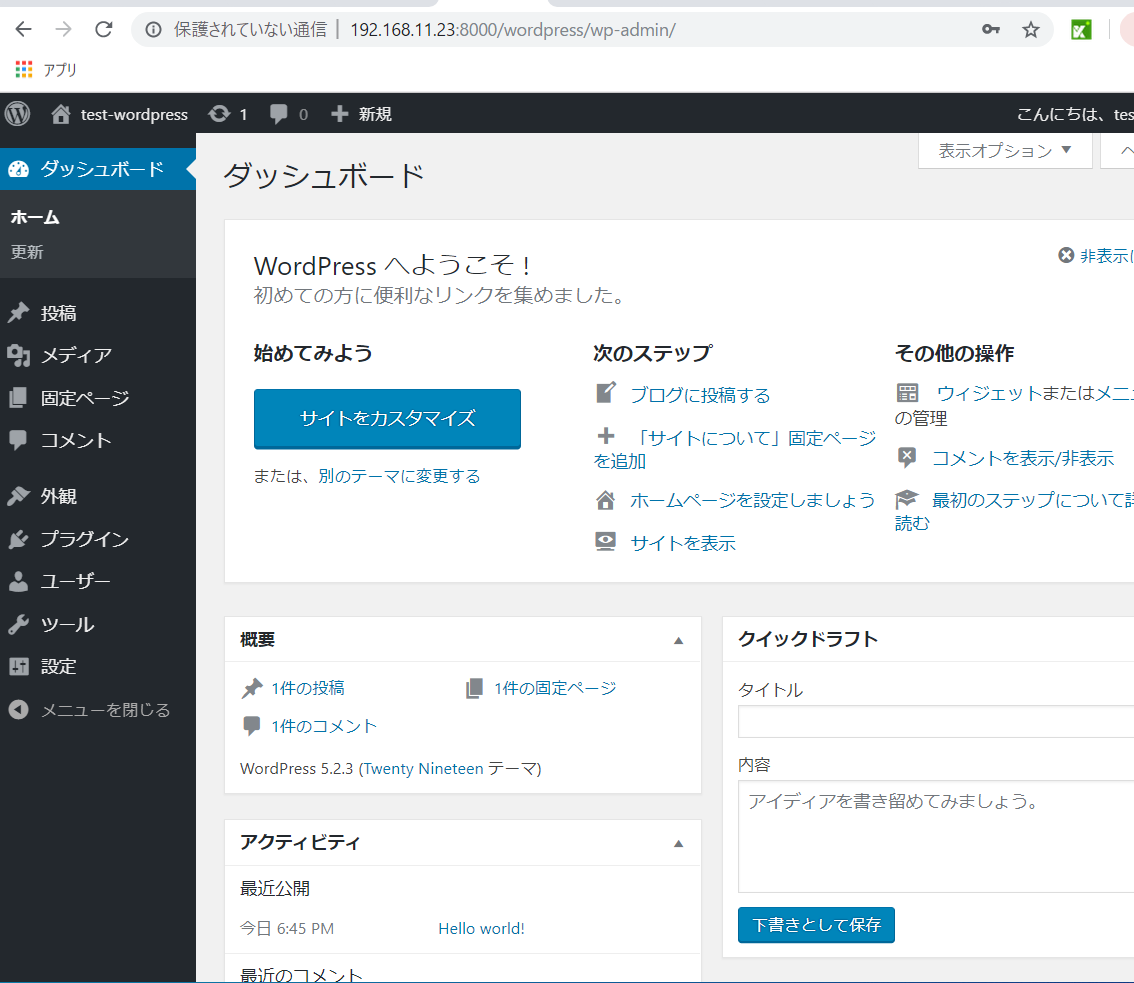
管理画面(ダッシュボード)
2019年4月頃から、WordPress5.2にはPHPバージョン5.6.20以降が必要という条件になっているようです。Centos7の標準yumで何も考えずPHPを導入すると条件範囲外の5.4が入ってくるという...
すっかりこの罠にはまってしまいました。
バージョン等の推奨環境については事前の確認が必要ですね。
ロケットニュース24やオリエンタルランドのHPやスターウォーズ公式HPなどWordPressでできているサイトは無数にあるようです。
テンプレートやプラグインが豊富にありカスタマイズしやすいのが人気の理由だそうです。
構築だけでなくカスタマイズも勉強しがいがありそうですね。