Vagrant上で動くUbuntuのデスクトップ(GUI)環境が欲しくなったので、手順をまとめました。
環境
ホストOS: Windows 10 Home 64bit
ゲストOS: Ubuntu-16.04
VirtualBox: 5.1.14
Vagrant: 1.9.1
※BIOSレベルで仮想化支援機能(VT-x/AMD-V)の有効化が必要です。
VirtualBoxをインストール
以下よりダウンロードしてインストールします。
https://www.virtualbox.org/wiki/Downloads
http://www.oracle.com/technetwork/server-storage/virtualbox/downloads/index.html?ssSourceSiteId=otnjp
Vagrantをインストール
以下よりダウンロードしてインストールします。
https://www.vagrantup.com/downloads.html
Ubuntu環境の初期化
DOSプロンプトを起動し、ubuntu16というディレクトリを作ります。
>cd c:/
>mkdir vagrant
>cd vagrant
>mkdir ubuntu16
>cd ubuntu16
ubuntu環境の初期化をします。
>vagrant init bento/ubuntu-16.04
Vagrantfileの設定
テキストエディタなどでVagrantfileを編集します。
私は以下のようにしました。
# -*- mode: ruby -*-
# vi: set ft=ruby :

Vagrant.configure("2") do |config|
  config.vm.box = "bento/ubuntu-16.04"

  # ローカルへのポート3000アクセスをvmのポート3000に転送(Web開発で必要な場合)
  config.vm.network "forwarded_port", guest: 3000, host: 3000

  # Windowsローカル環境から、192.168.33.10で接続
  config.vm.network "private_network", ip: "192.168.33.10"

  config.vm.provider "virtualbox" do |vb|
    vb.gui = true
    vb.memory = "2048" # メモリは2GB

    vb.customize [
      "modifyvm", :id,
      "--vram", "256", # ビデオメモリ確保(フルスクリーンモードにするため)
      "--clipboard", "bidirectional", # クリップボードの共有
      "--draganddrop", "bidirectional", # ドラッグアンドドロップ可能に
      "--cpus", "2", # CPUは2つ
      "--ioapic", "on" # I/O APICを有効化
    ]
  end
end
vmの起動
以下でUbuntuのBoxを取得し、vmの起動を行います。
> vagrant up
Ubuntuの設定
vmが起動したら、id vagrant / pw vagrantでログインします。
シェルが表示されたら以下でパッケージを更新します。
$ sudo apt-get update
$ sudo apt-get upgrade
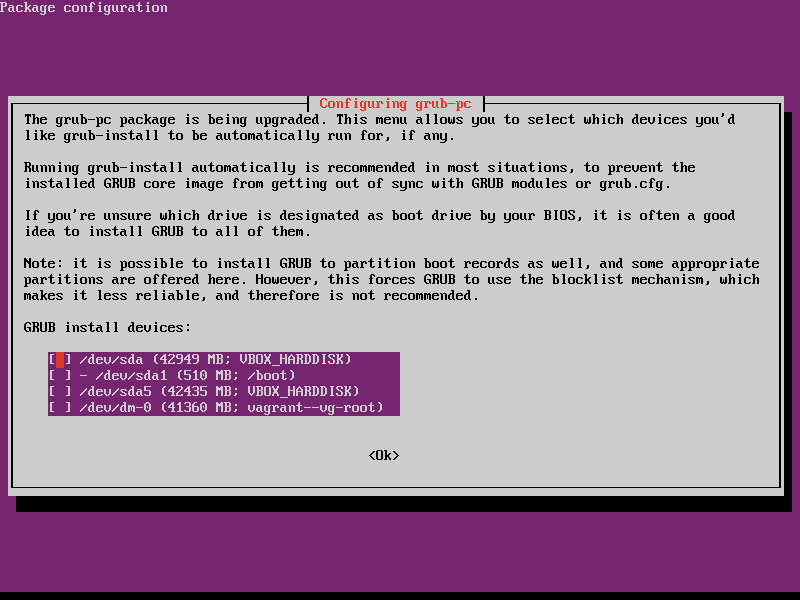
途中で「Configuring grub-pc」の画面が出たら、なにもチェックせずにOKし、進んでいきます。
(TabでOKをフォーカスしてEnter)
次にubuntu-desktopをインストールします。
$ sudo apt-get install ubuntu-desktop
かなり時間がかかります。
終わったら再起動します。
$ sudo reboot
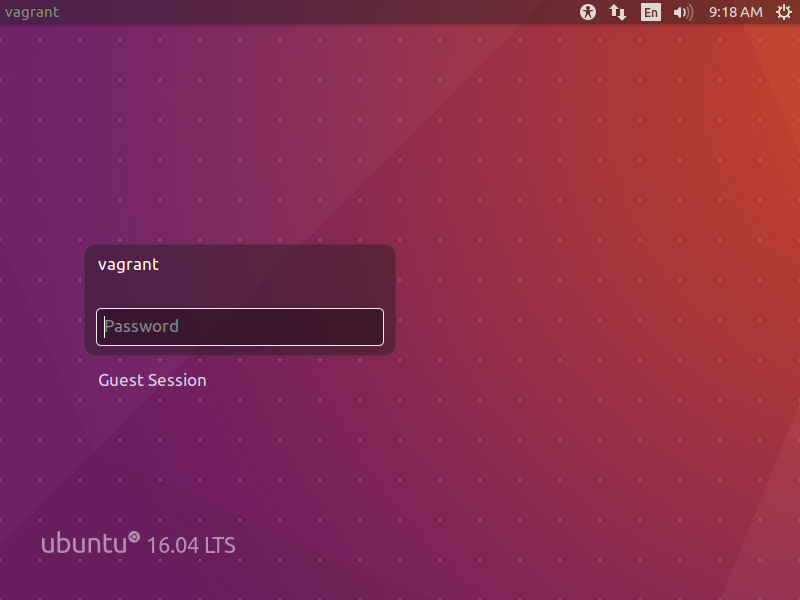
ログイン
ログイン画面が表示されたら、vagrantユーザーでログインしましょう。
これで、Vagrant上でUbuntuのGUI環境を利用できるようになりました。
その他の設定
日本語入力の設定は以下の記事がとてもわかりやすかったです。
http://qiita.com/shishamo_dev/items/238f6e5060fb838827f6
また、タイムゾーンの設定もしておきましょう。
GUI上から、「System Settings -> Time & Date」から設定できます。
しっかり行う場合は、
http://qiita.com/azusanakano/items/b39bd22504313884a7c3
こちらの記事などをご覧ください。

