開発環境
・Ruby: 2.5.7
・Rails: 5.2.4
・Vagrant: 2.2.7
・VirtualBox: 6.1
・OS: macOS Catalina
アカウント作成
1.下記リンクにアクセスする。
Font Awesome Start画面
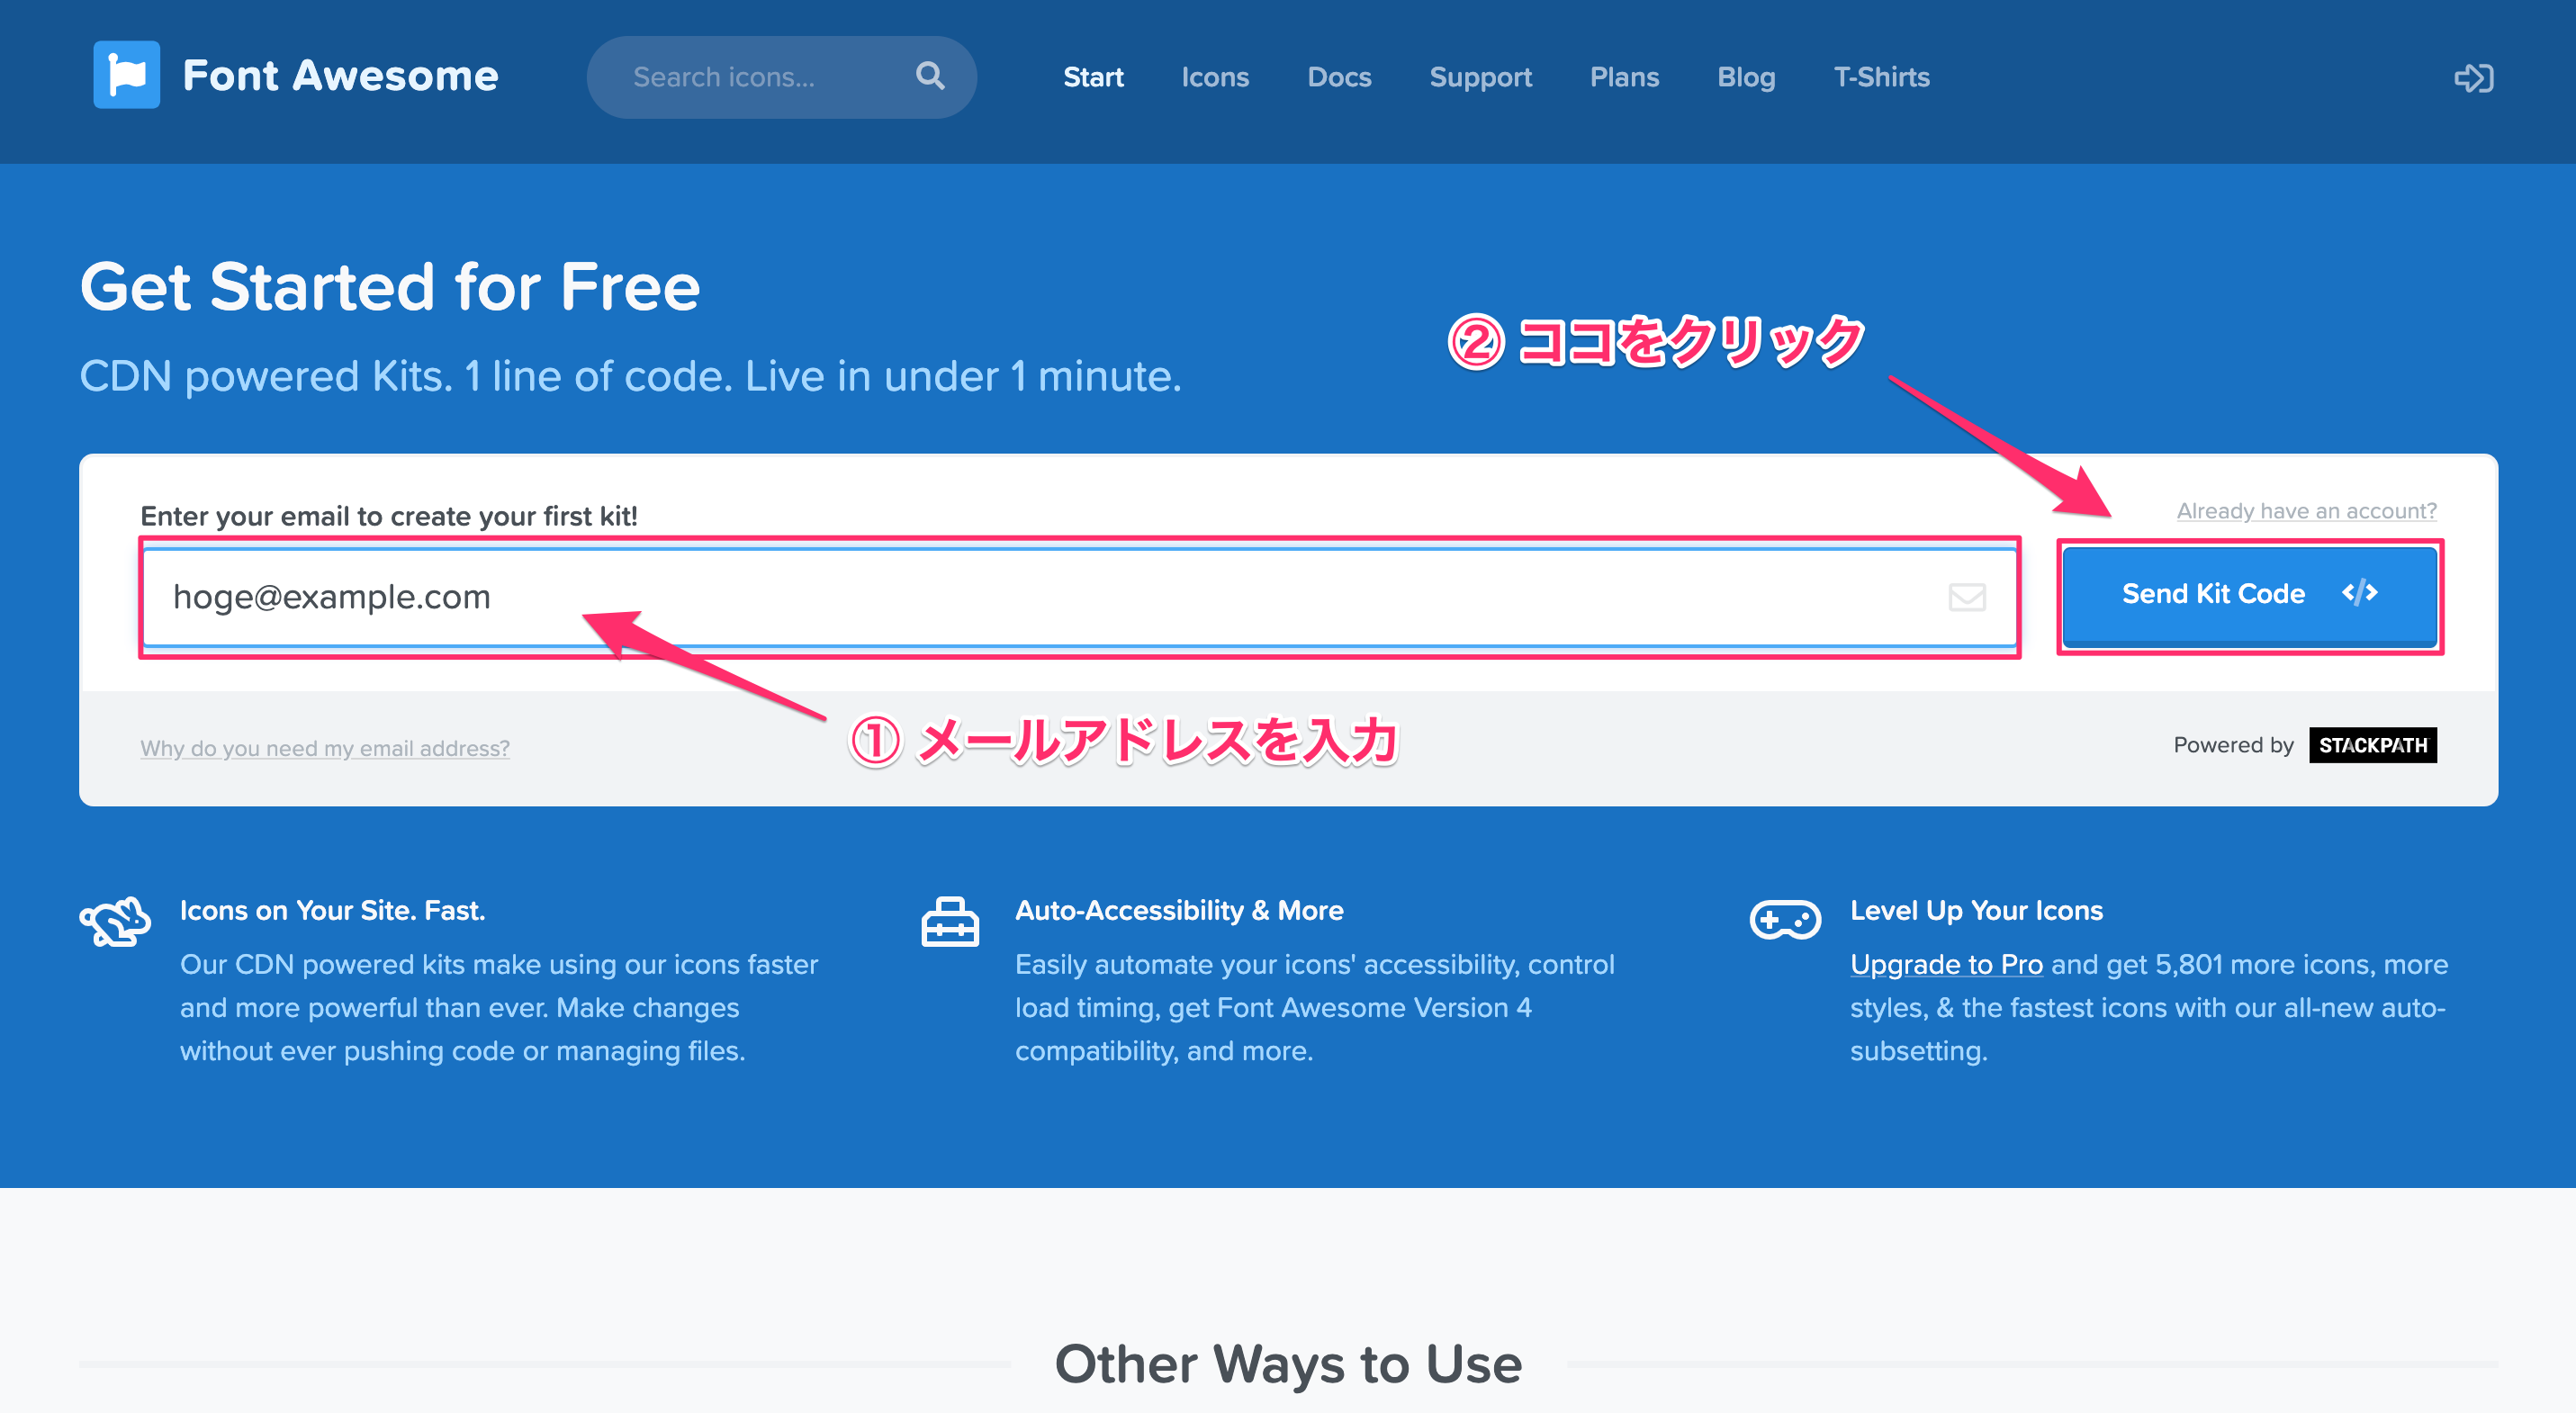
2.メールアドレスを入力し、「Send Kit Code」をクリックする。
3.確認メールが届くので「Click to Confirm Your Email Address + Set Things Up」というリンクにアクセスする。
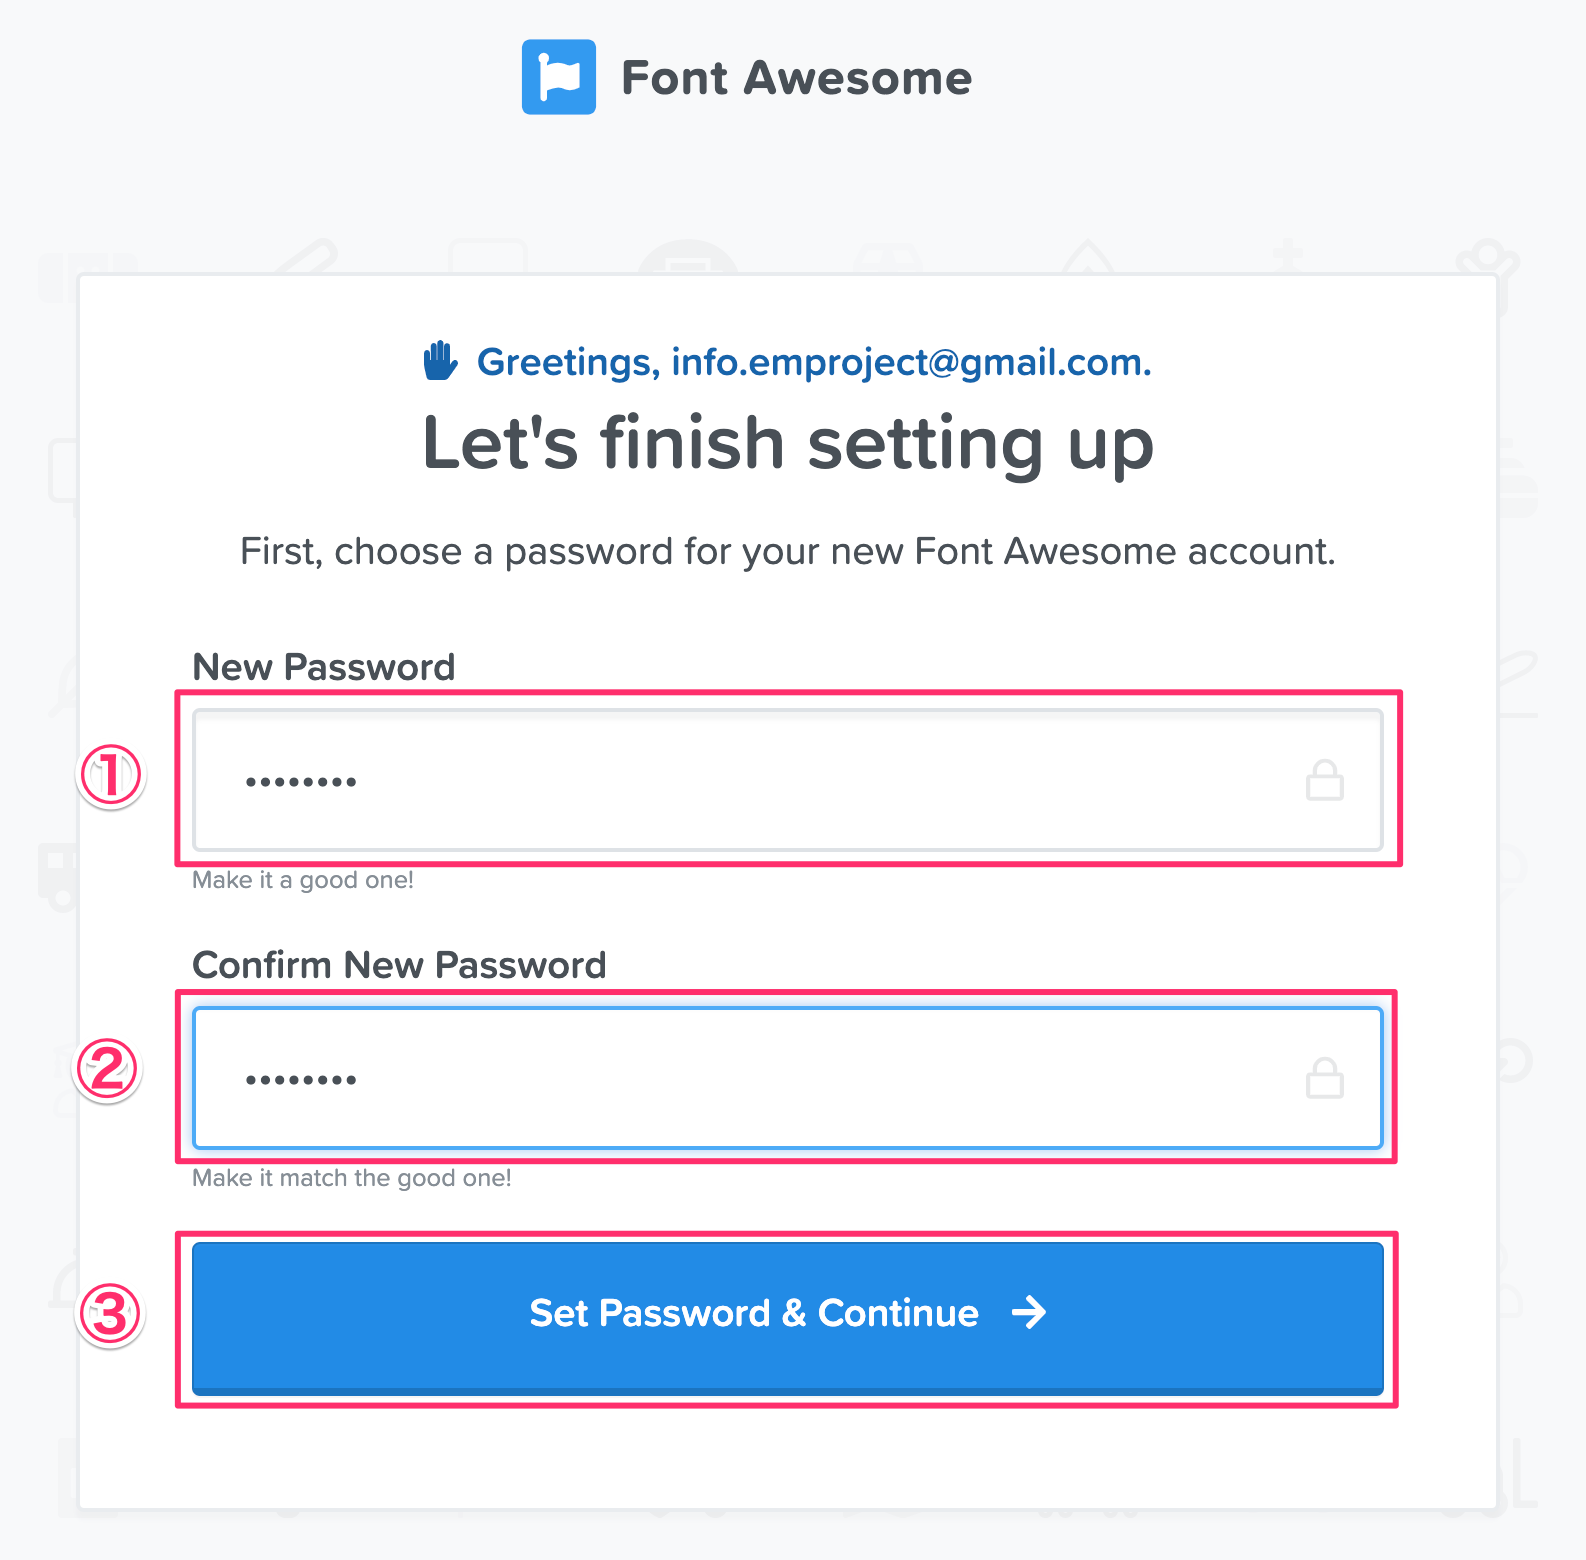
4.下記画面に遷移するので、パスワードを入力して「Set Password & Continue」をクリックする。
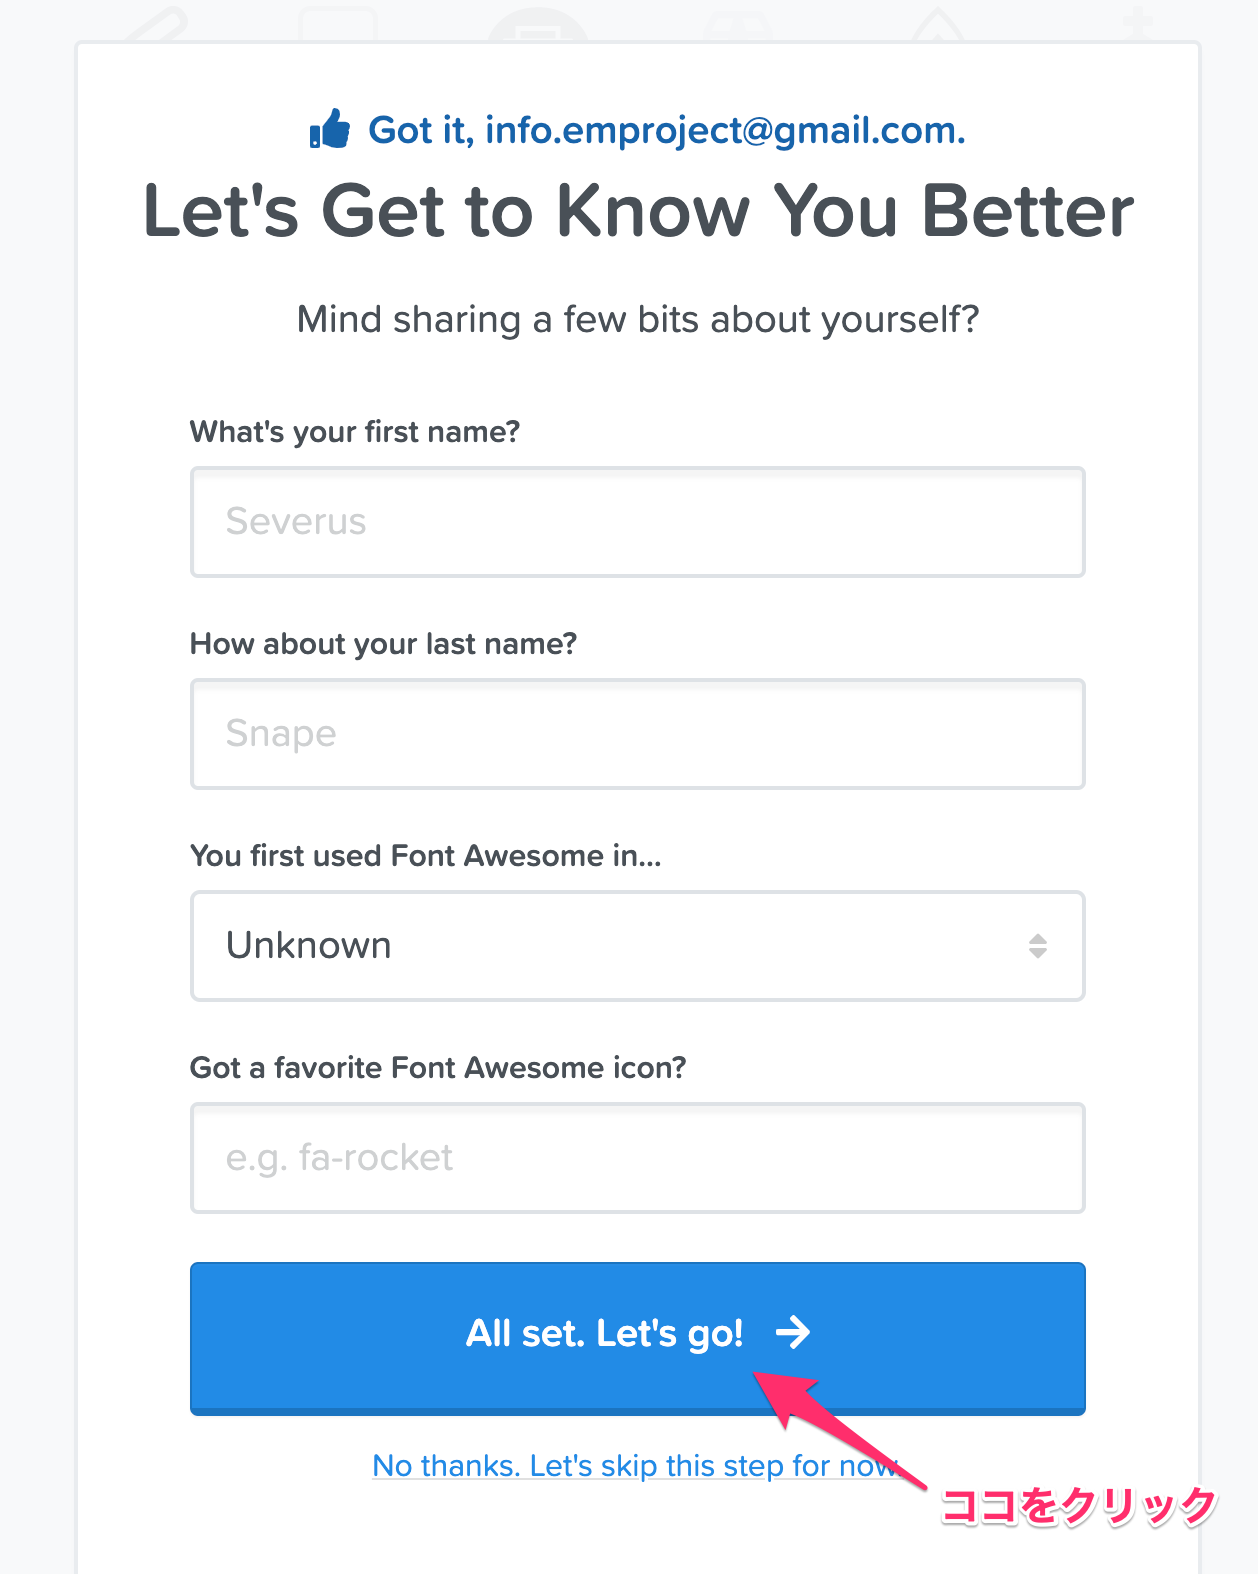
5.プロフィール情報入力画面に遷移するが、今は特に設定する必要も無いので、
何も入力せずに「All set.Let's Go!」をクリックする。
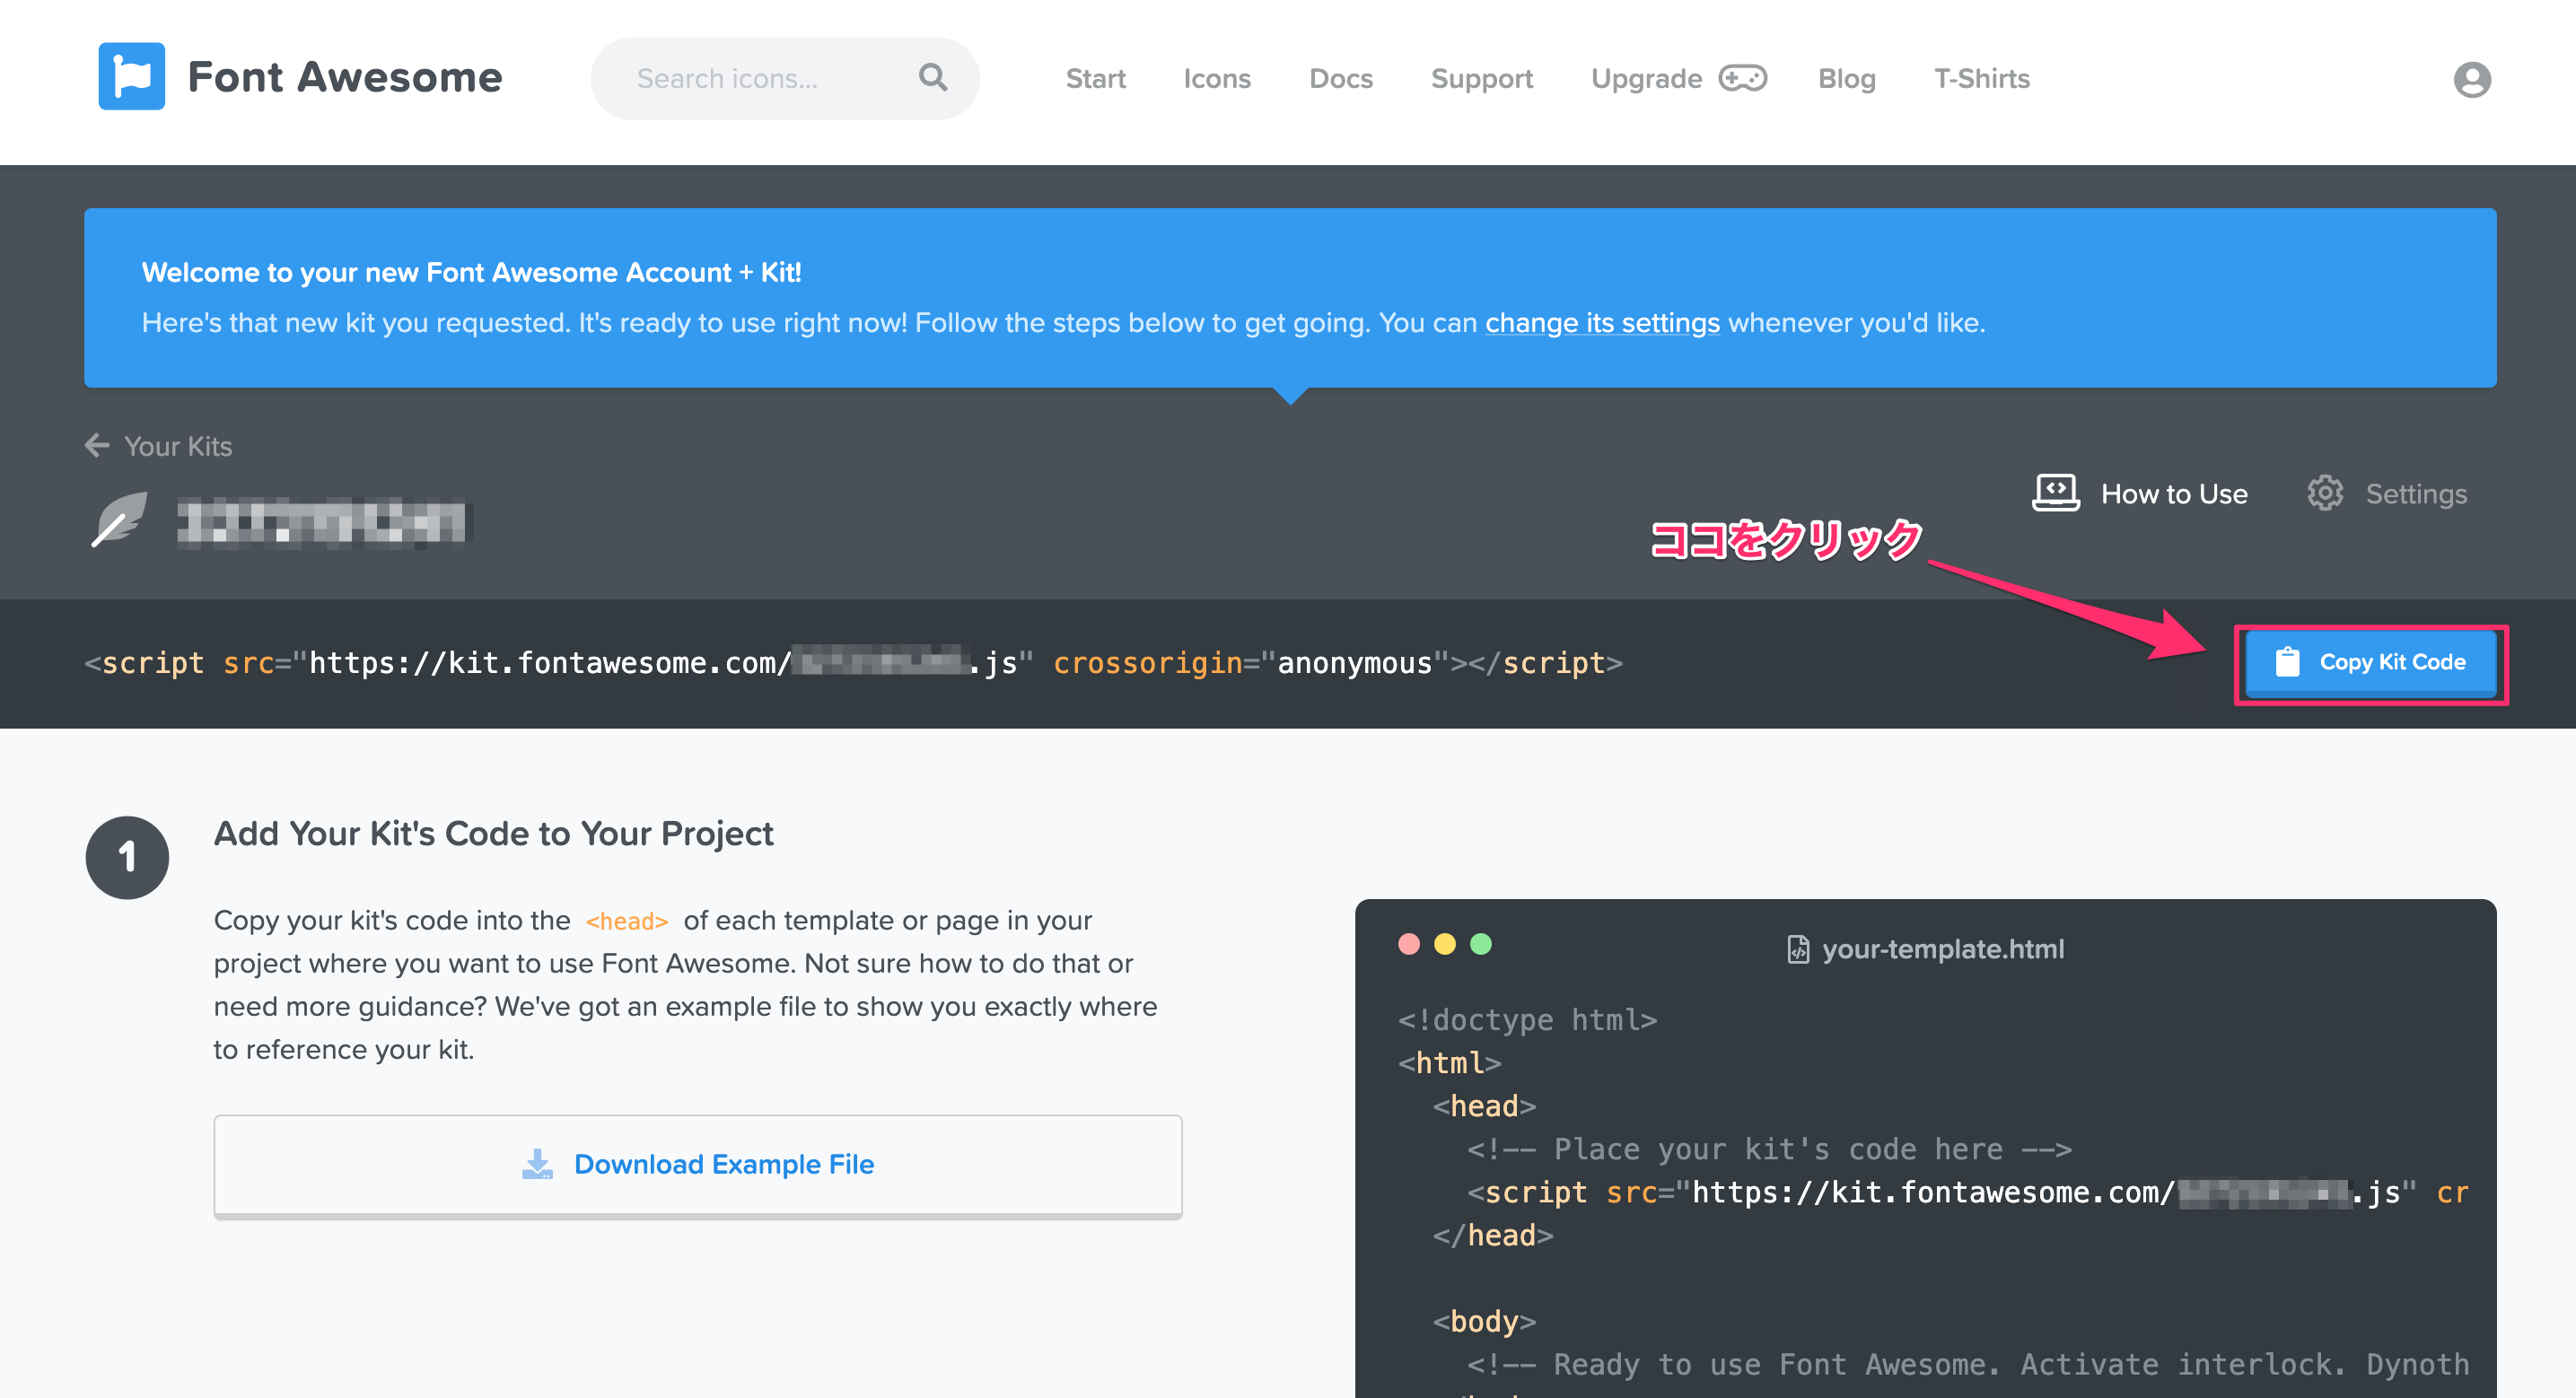
6.下記画面に遷移するので、「Copy Kit Code」をクリックして、コードをコピーする。
Rails側の操作
1. 「application.html.slim」を編集
先ほどコピーしたコードを貼り付けて、Slim形式に変換する。
doctype html
html
  head
    title
      | Font Awesomeテスト
    = csrf_meta_tags
    = csp_meta_tag
    = stylesheet_link_tag    'application', media: 'all', 'data-turbolinks-track': 'reload'
    = javascript_include_tag 'application', 'data-turbolinks-track': 'reload'
    / 追記
    script src='https://kit.fontawesome.com/c51513dd6c.js' crossorigin='anonymous'
2. アイコンを表示
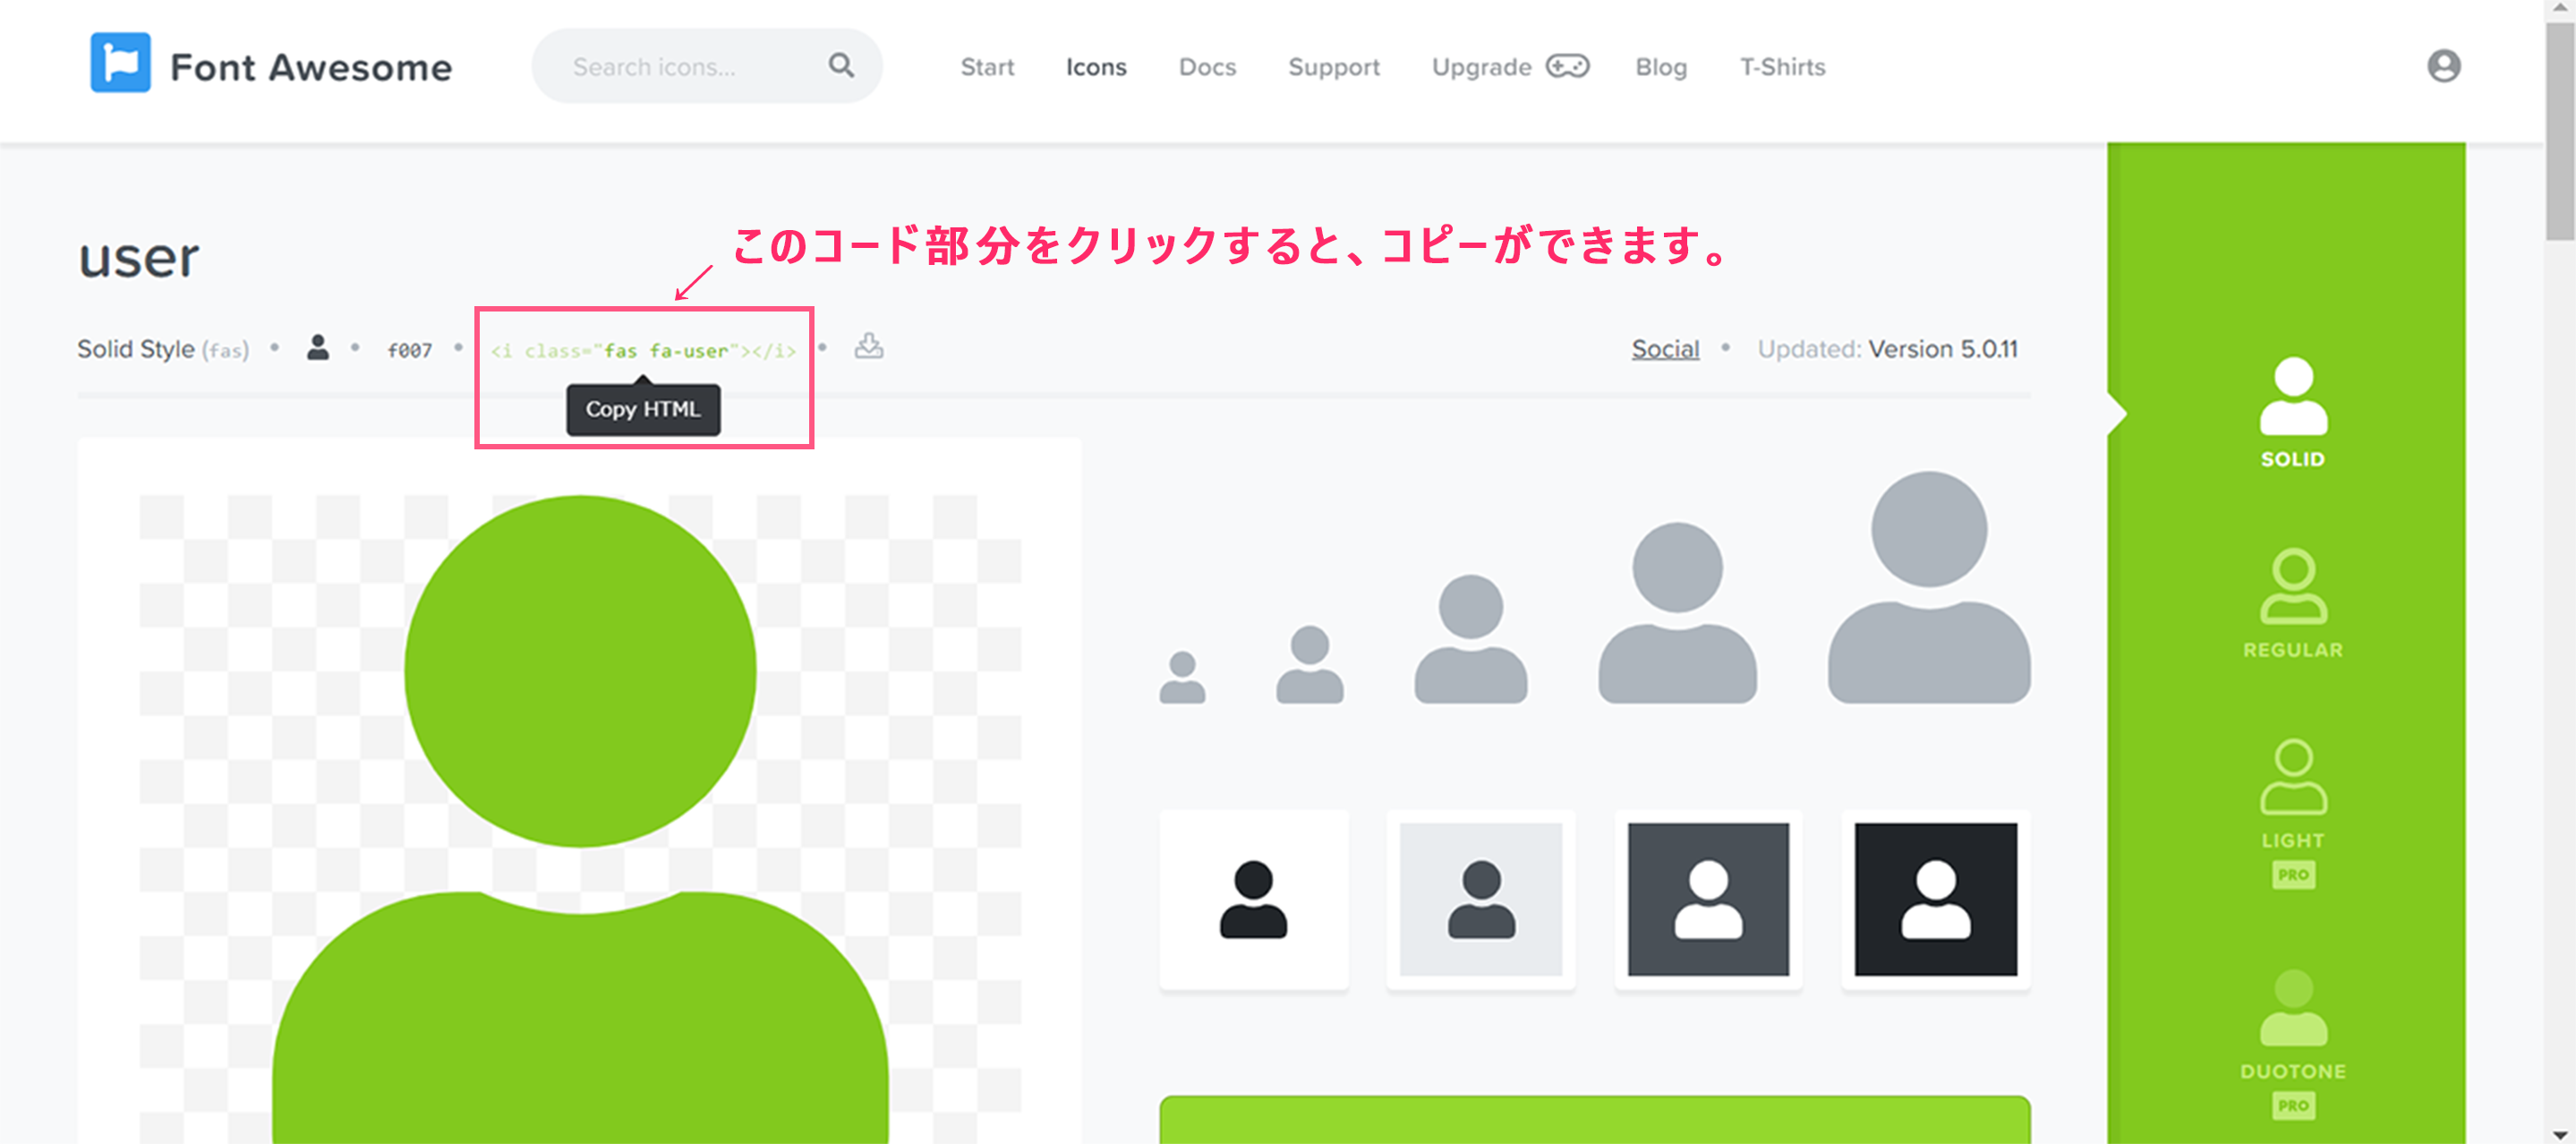
①下記サイトにアクセスし、使用したいアイコンをクリックする。
Font Awesome Icon一覧
③下記の様にHTMLに記述するとアイコンが表示されます。
i.far.fa-heart
