はじめに
再来月開催予定(コロナの影響で無理?)のCVPR2020 に acceptされた論文から以下
[1] S. Saito, et. al. "PIFuHD: Multi-Level Pixel-Aligned Implicit Function for High-Resolution 3D Human Digitization"
のまとめ。
arXiv:
https://arxiv.org/abs/2004.00452
project ページ:
https://shunsukesaito.github.io/PIFuHD/
githubのページは用意されてるが、現状(4/18)ではコードがupされてない。
https://github.com/shunsukesaito/PIFuHD
関連論文として、著者のサイトーさんが ICCV に出した PIFu モデル。
https://arxiv.org/abs/1905.05172
とそれに対する私のまとめ:
https://qiita.com/masataka46/items/86588703ed24265ba4a0
概要
- 画像から人の形状を復元するモデル
- ベースは著者らが以前作成した PIFu モデル
- coarse-to-fine な手法で高解像度な surface 出力する
手法
ベースの PIFu な部分。
詳細は昨日まとめた PIFu 参照
https://qiita.com/masataka46/items/86588703ed24265ba4a0
ここではざっくりと。
${\bf X} = ({\bf X}_x, {\bf X}_y, {\bf X}_z) \in \mathbb{R}^3$ ・・・カメラ座標での位置
$x = \pi ({\bf X})$ ・・・それを画像へ project した入力画像上の座標
${\bf I}$ ・・・入力画像
$\Phi (x, {\bf I})$ ・・・入力画像をconvolution層で encode したもの
この encode したものと depth から多層パーセプトロンで陰関数を求める。
f({\bf X}, {\bf I}) = g(\Phi (x, {\bf I}), {\bf X}_x) \tag{1}
この陰関数が $1$ の時に体表面の内側、$0$ の時に外側、境界(つまり体表面)を $0.5$ とする。
f({\bf X}, {\bf I}) =\begin{cases}
    1 & if \ {\bf X} \ is \ inside \ mesh \ surface \\
    0 & otherwise
  \end{cases}
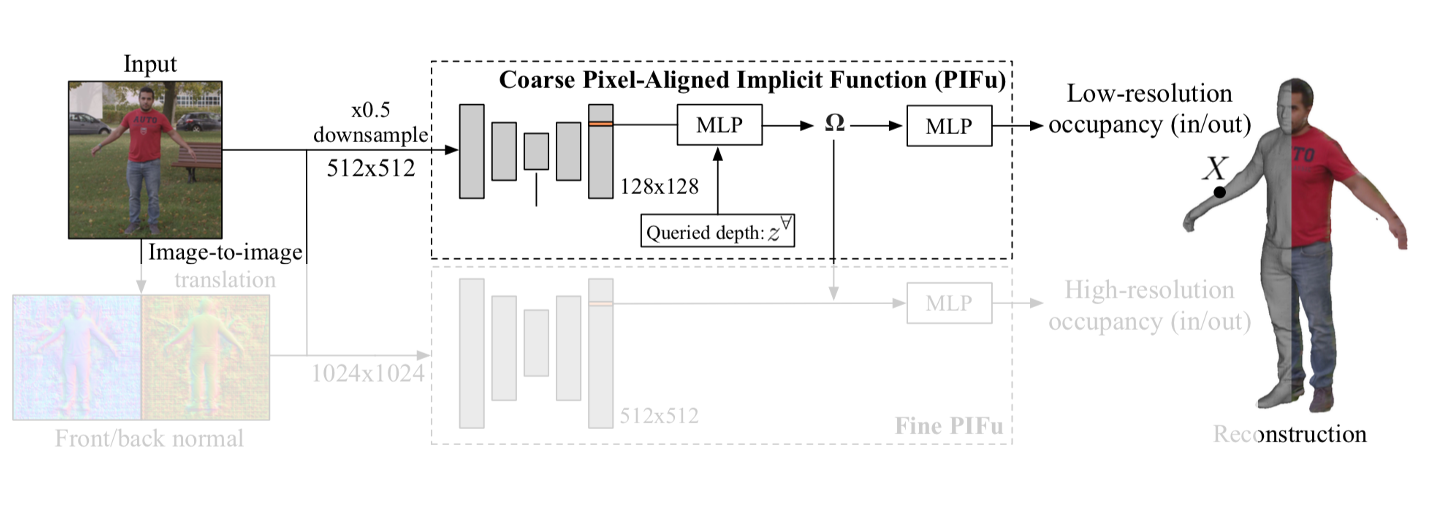
PIFu と違う点1:Front-to-Back inference
PIFu と違う点の1つ目は、以下の左側のように画像からは見えてない人の後ろ側を先に推定する点。
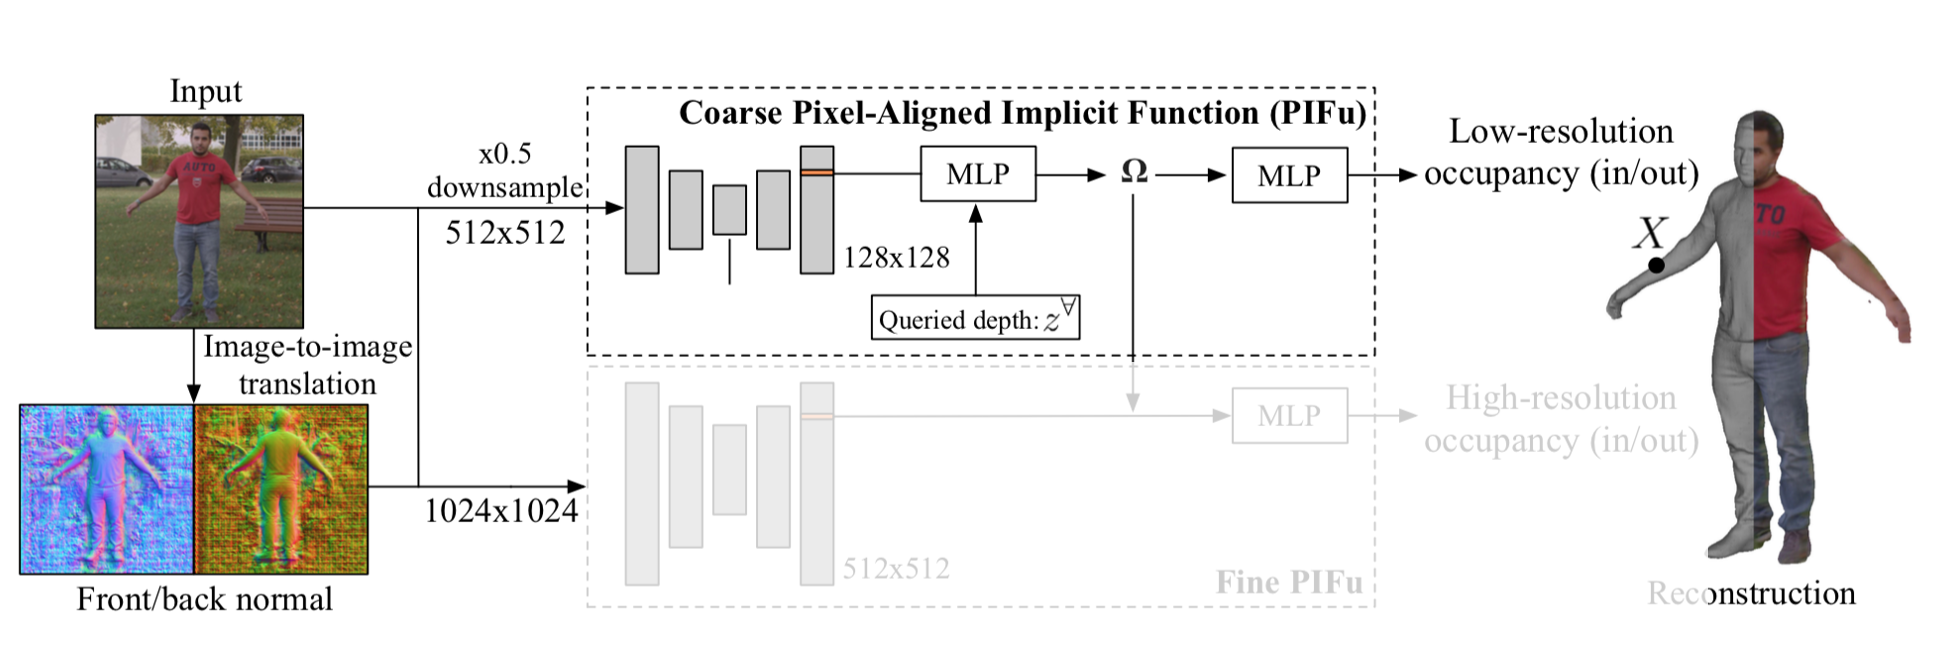
従来の PIFu ではこの仕組みの中で見えてない後ろ側を推定していた。これにより PIFu の役割が増え、学習が困難になっていた。
そこで、本手法では pix2pixHD を用いて後ろ側、及び前側の正規化したものを推定させる。
よって PIFu ユニットに入力されるのは 512x512 の入力画像 ${\bf I}_L$ と 前側の normal map ${\bf F}_L$ と後ろ側の normal map ${\bf B}_L$ 。これを反映して(1)式の陰関数を書き直すと
f^L({\bf X}, {\bf I}) = g^L(\Phi^L (x_L, {\bf I}_L, {\bf F}_L, {\bf B}_L), {\bf X}_x) \tag{2}
って感じ。
PIFu と違う点2:multi-level な PIFu
PIFu と違う点の2つ目は以下の図の Fine PIFu 部分のような refine する部分を加えた点。
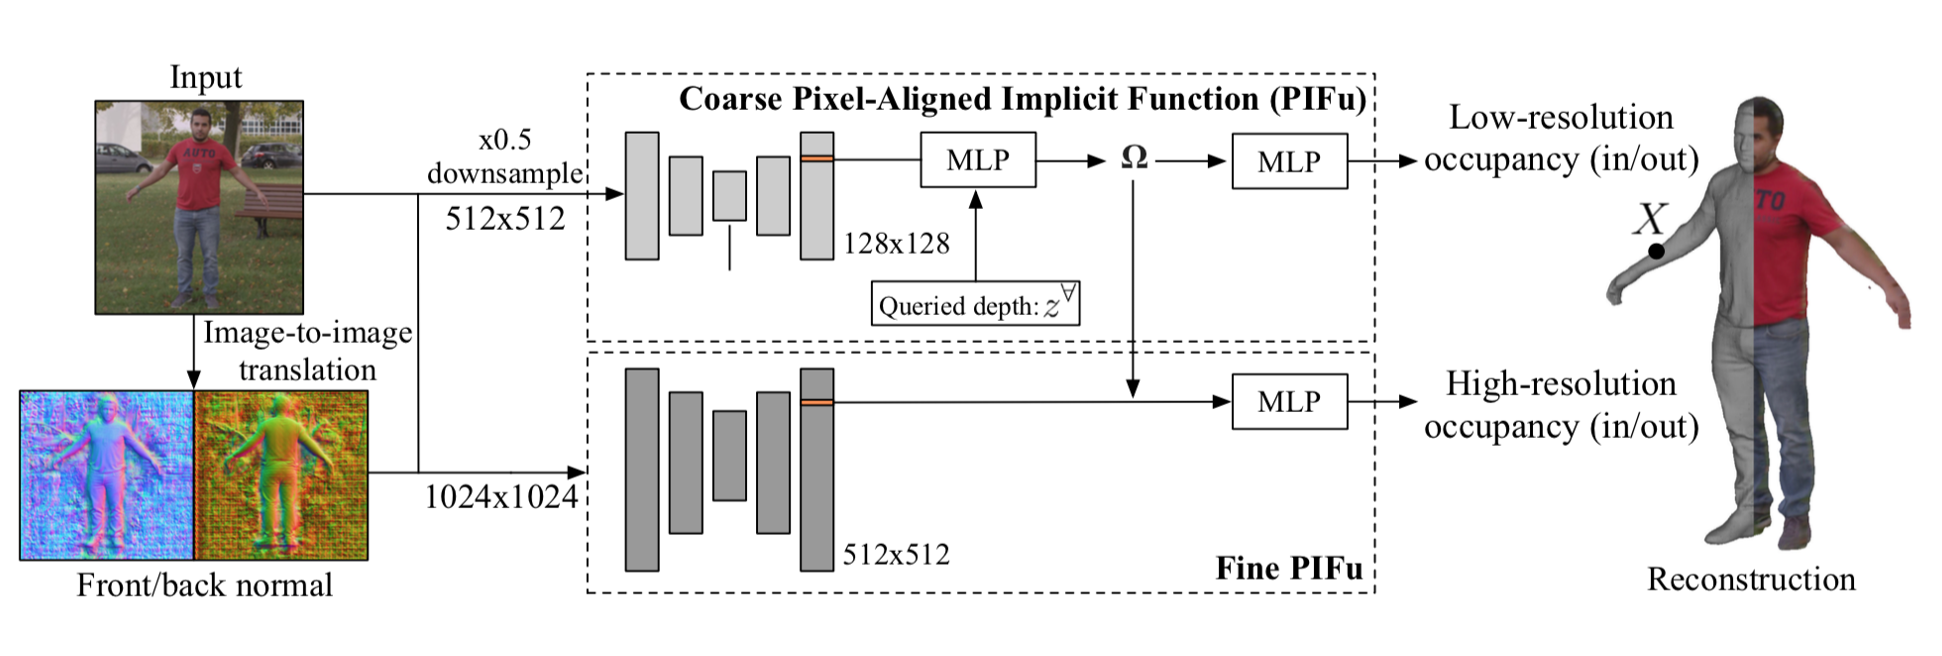
この Fine PIFu は後に PIFu でencodeされた $\Phi$ が加わるので、それに対する refine な部分を学習すると考えられる。
Fine PIFu からの出力は
f^H({\bf X}, {\bf I}) = g^H(\Phi^H (x_H, {\bf I}_H, {\bf F}_H, {\bf B}_H), \Omega ({\bf X})) \tag{3}
Loss
Loss も PIFu から変化している。PIFu では L2 だったが、本手法は binary cross entropy としている。(なぜか不明)
$f^L({\bf X})$ と $f^H({\bf X})$ とをまとめて $f^{(L,H)}({\bf X})$ と書いて、
\mathcal{L}_o = \sum_{x \in \mathcal{S}} \lambda f^* ({\bf X}) \log f^{(L,H)}({\bf X}) + (1-\lambda)(1-f^*({\bf X}))\log \left( 1 - f^{(L,H)}({\bf X}) \right) \tag{4}
とする。$f^*$ は target。$\lambda$ は各項の重みを調整する係数。$\mathcal{S}$ は体表面(付近)。データのサンプリング方法は PIFu と同様。
実験と結果
1. 定量的評価
RenderPeople dataest 及び BUFF dataset を用いて各種メトリクスで評価した結果は以下。

PIFu 単体とあまり変わらない印象。
2. 定性的評価
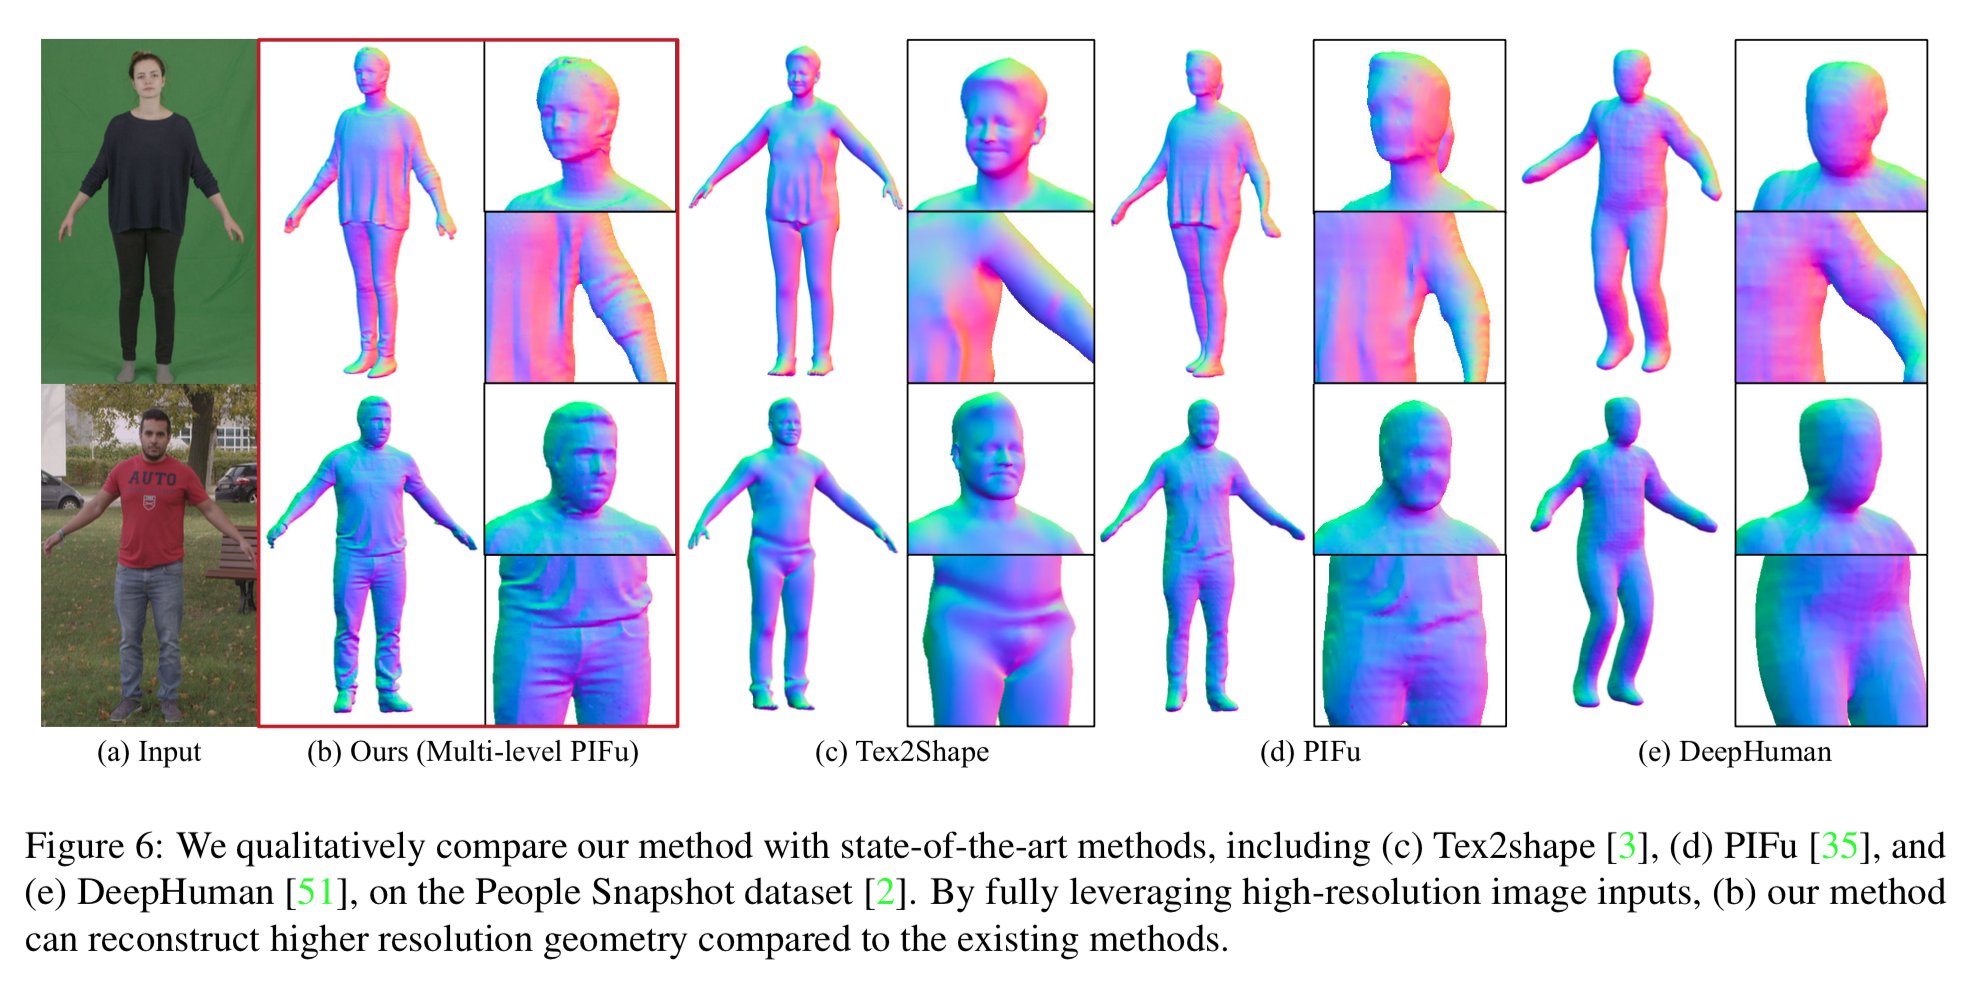
他の手法と比べると正確かつ繊細だが、やはり PIFu 単体とあまり変わらない印象。
3. ablatio study
1)Fine module だけ、2) それに global image feature を加えたもの、3)PIFu 単体、4)本手法 とで比較したものは以下。
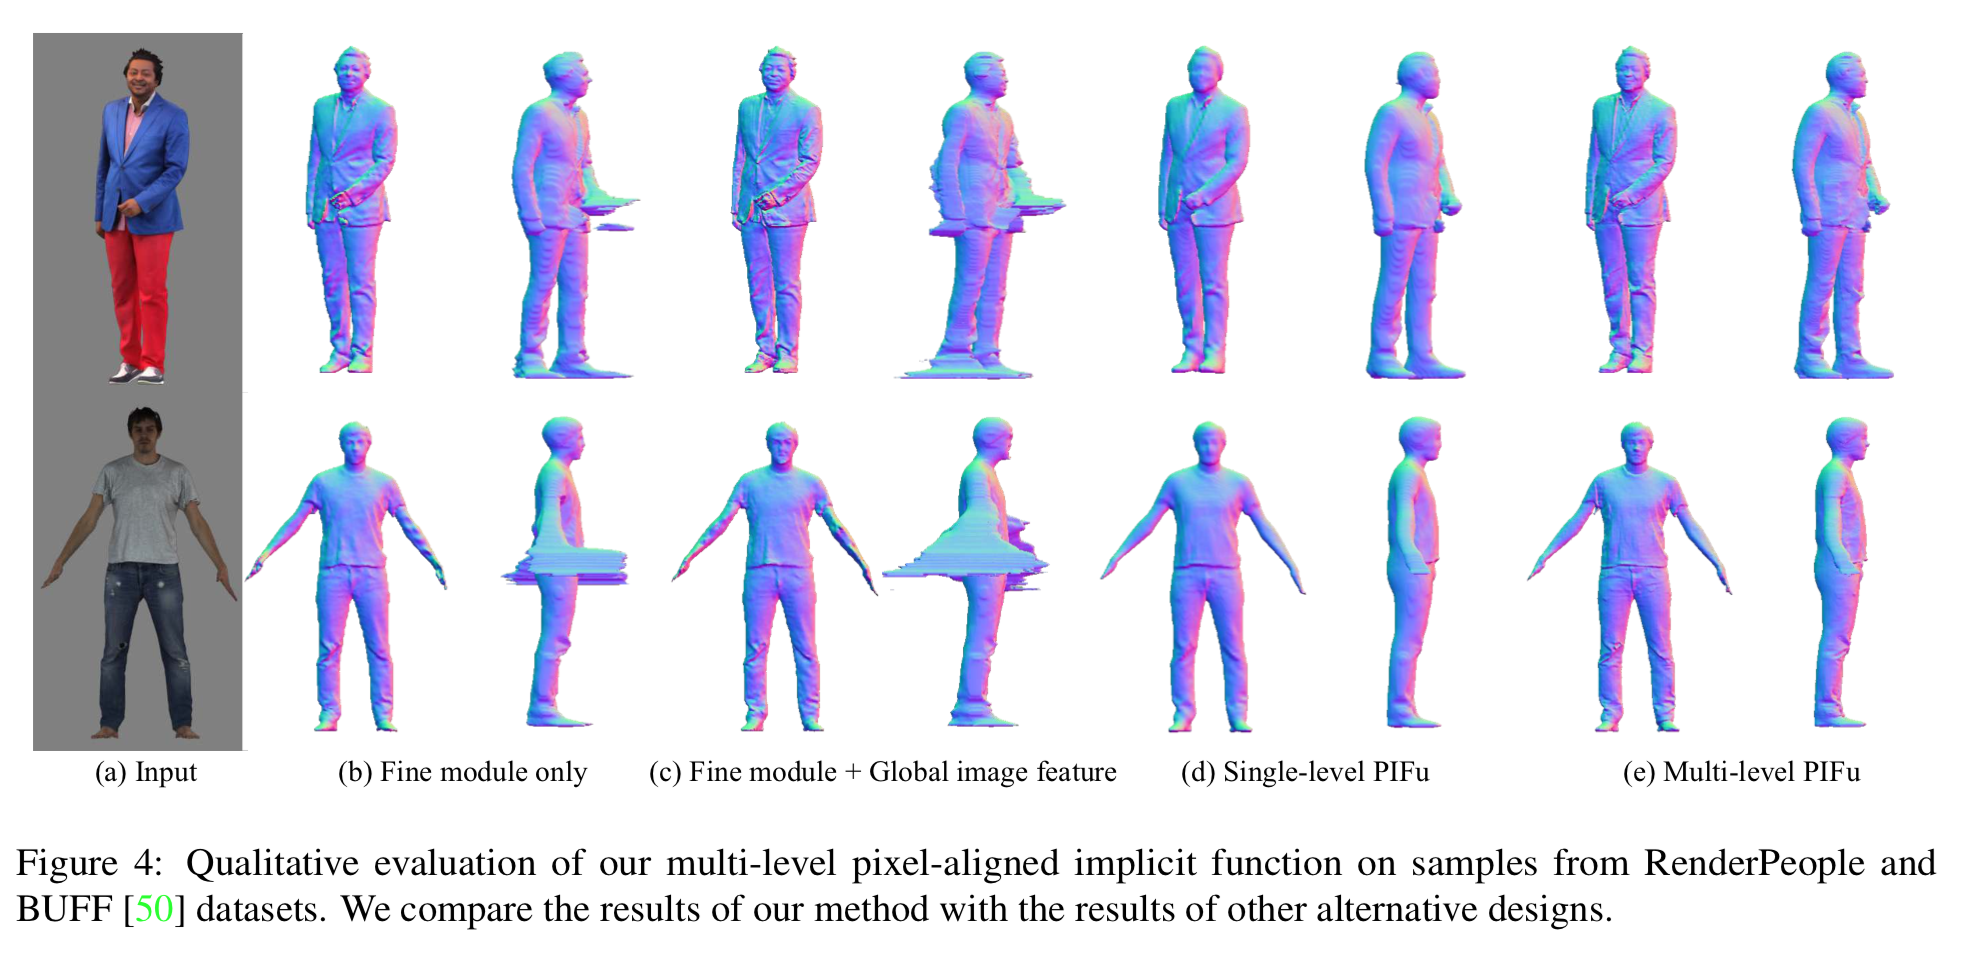
こう見ると PIFu 単体と比べて、より繊細になっている気がする。