Visual Studio 2012で作成された既存のプロジェクトをGitHubにアップする手順のメモ。
Visual Studio Tools for Git のインストール
-
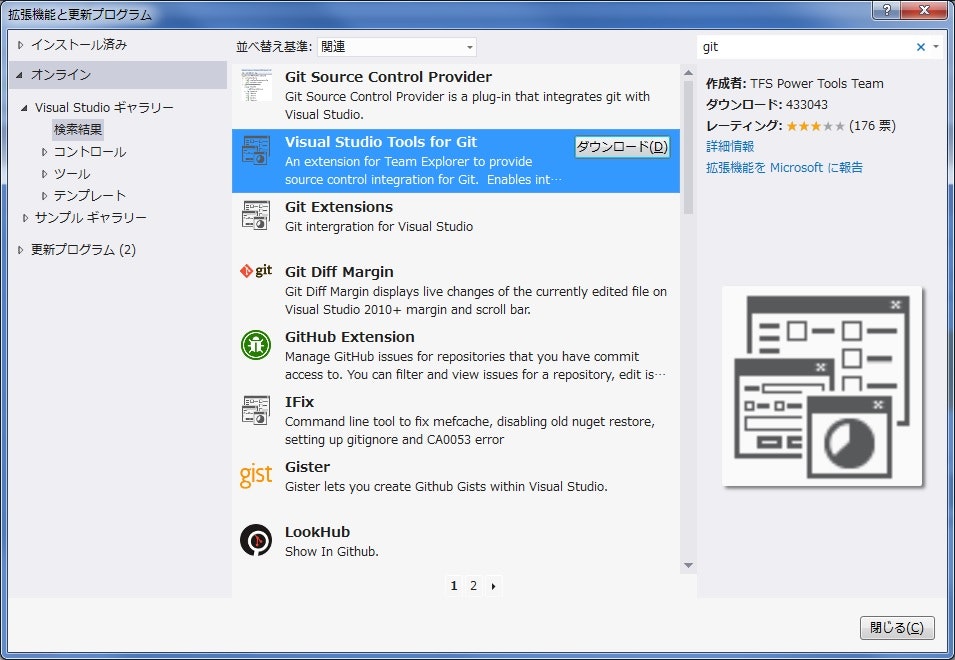
Visual Studio のツールメニューより「拡張機能と更新プログラム」を選択します。
-
オンラインのVisual Studioギャラリーからgitで検索をかけると「Visual Studio Tools for Git」が見つかるのでダウンロード。
-
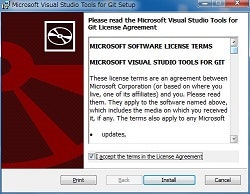
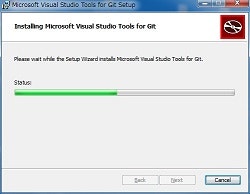
インストーラがダウンロードされたら、実行してインストール開始。
| Install | ... | Finish |
|---|---|---|
 |
 |
 |
- 終わったら一度Visual Studioを再起動します。
ソース管理にVisual Studio Tools for Gitを設定
-
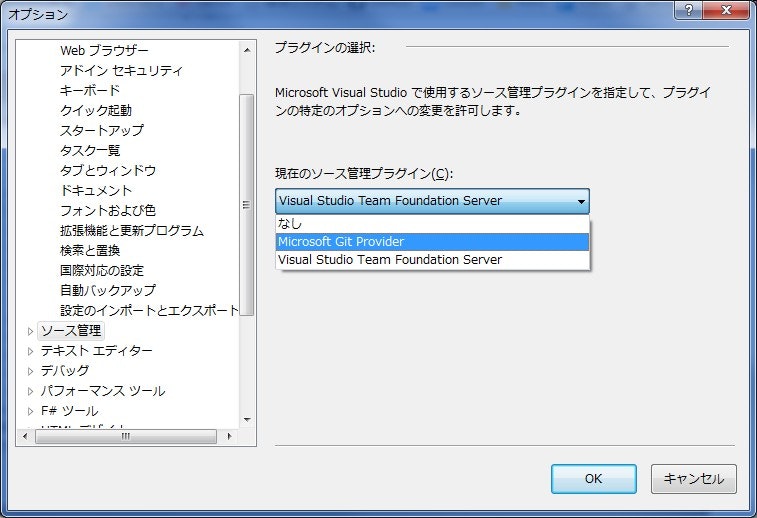
ツールメニューのオプションから「ソース管理」を選択し、現在のソース管理プラグインから「Microsoft Git Provider」を選択。
-
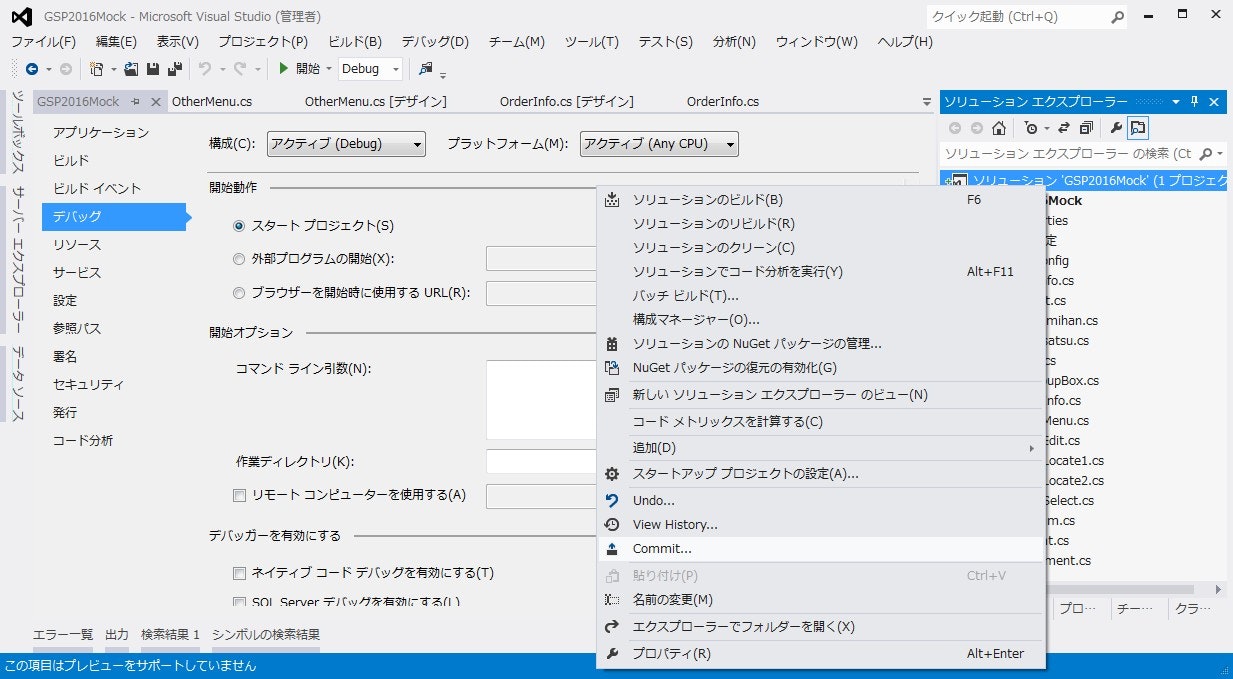
ソリューションを右クリックし、「Add Solution to Source Controll ...」を選択します。
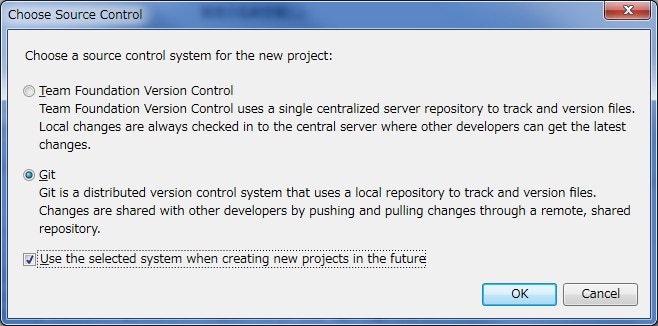
ソール管理に何を使うか聞かれるので、Gitを選択しましょう。
※新規プロジェクトを作るときもGitで管理する場合は下のチェックも入れときましょう
初めてのコミット
…そのままじゃコミットできませんでした。
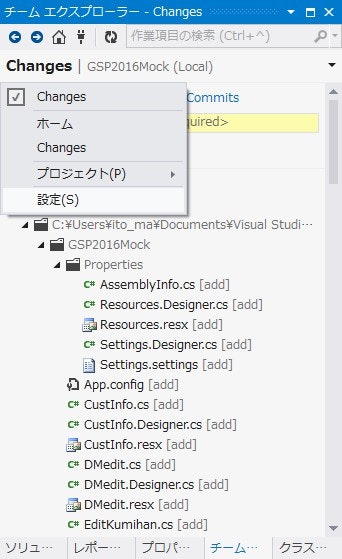
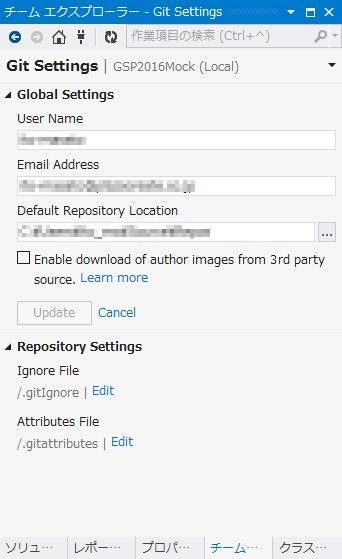
Gitの設定する必要があるので、チームエクスプローラのChangesのあたりの▼をクリックして設定してやります。
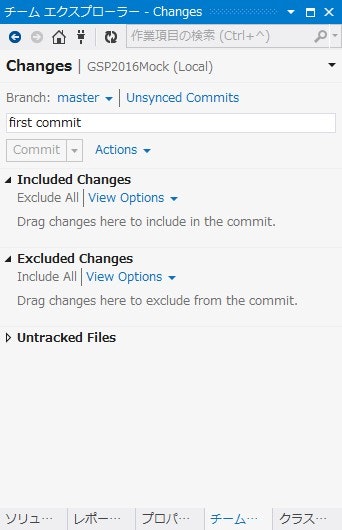
今度はコミットできるようになるので、コメント入れてコミットしてあげます。
| 設定 | Gitの設定入力 | Commit |
|---|---|---|
 |
 |
 |
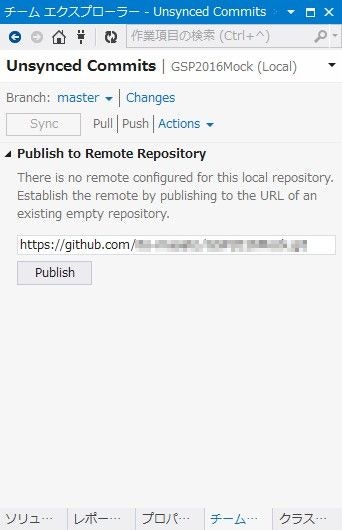
リモートリポジトリの設定が出るのでURLを入れます(リモートリポジトリはあらかじめGitHubで作っておきます)。
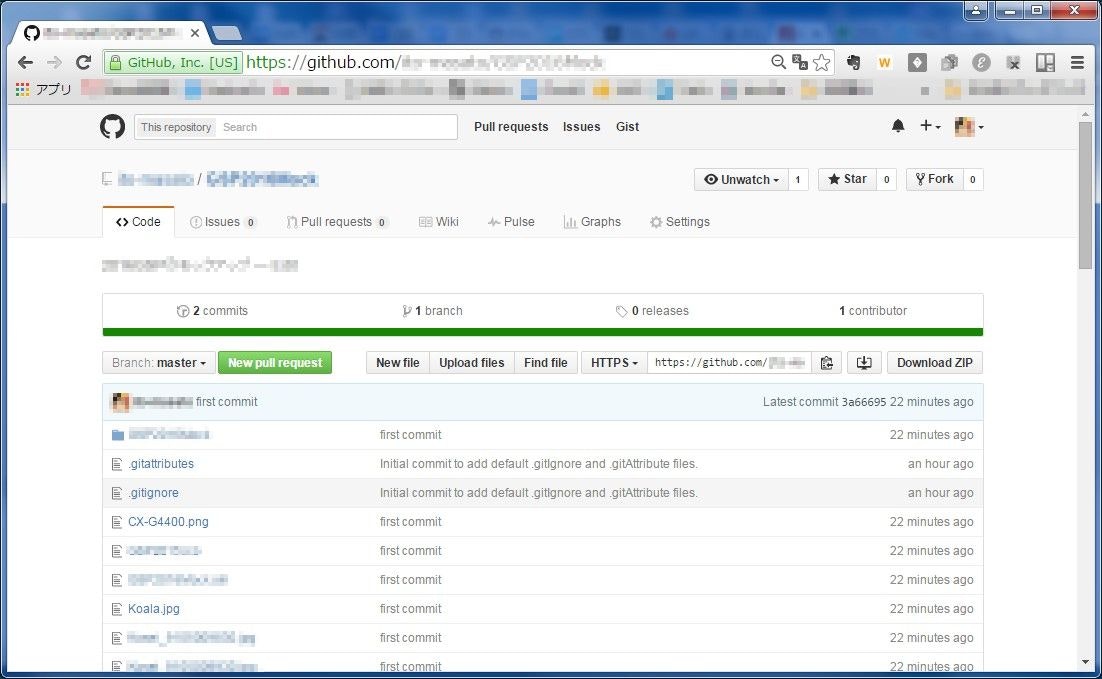
Publishボタンが有効になるのでクリックするとGitHubに反映されます。
| リモートリポジトリのURL入力 |
|---|
 |
