はじめに
最近、仕事で ArgoCD を使用する機会がありました。
ArgoCD は kubernetes 専用の GitOps ツール(= Git を情報源として CI/CD を提供するツール)ですが、正直この手の CI/CD ツールはあまり使用したことがなく、どのようなものなのかいまいちピンと来ていませんでした。
そこで、実際に手元の環境で使用し、まずは理解してみることを試みた際のメモとなります。
必要なもの
kubernetes クラスタ
kubernetes として Pod がデプロイできる環境なら minikube など含め何でもよいと思います。
※ 今回は自宅の ESXi 上に 2 ワーカーノード構成のシンプルな kubernetes クラスタを用意しました。
[root@bastion ~]# kubectl get nodes
NAME                          STATUS   ROLES           AGE     VERSION
k8s-worker01.myhomelab.test   Ready    <none>          3h20m   v1.28.8
k8s-worker02.myhomelab.test   Ready    <none>          3h14m   v1.28.8
k8s-master.myhomelab.test     Ready    control-plane   3h26m   v1.28.8
事前にテスト用の NAMESPACE を作成しておきます。
[root@bastion ~]# kubectl create ns test
また、CoreDNS の場合はデフォルトだと外部の名前解決ができない場合があるので Forwarder を追加しておきます。
[root@bastion ~]# kubectl -n kube-system edit cm coredns
  :
apiVersion: v1
data:
  Corefile: |
    .:53 {
        errors
        health {
           lameduck 5s
        }
        ready
        kubernetes cluster.local in-addr.arpa ip6.arpa {
           pods insecure
           fallthrough in-addr.arpa ip6.arpa
           ttl 30
        }
        prometheus :9153
        forward . 192.168.3.11 <<< 既存の forward 設定を削除し、使用している DNS を入れる
        cache 30
        loop
        reload
        loadbalance
    }
 :

/* 設定を CoreDNS Pod に反映 */
[root@bastion ~]# kubectl -n kube-system scale deployment coredns --replicas=0
[root@bastion ~]# kubectl -n kube-system scale deployment coredns --replicas=2
Git
普段使用している Github のアカウントで問題ないです。
外部通信ができない環境であれば kubernetes クラスタからアクセス可能なインターナルに Gitlab を立てる、などでもよいと思います(もちろん kubernetes 上にデプロイしても〇)。
手順
ArgoCD をデプロイする
クイックスタート の通りに yaml をダウンロードし、デプロイします。
[root@bastion ~]# kubectl create namespace argocd
[root@bastion ~]# kubectl apply -n argocd -f https://raw.githubusercontent.com/argoproj/argo-cd/stable/manifests/install.yaml
すべての Pod が起動していれば OK。
[root@bastion ~]# kubectl -n argocd get po
NAME                                                READY   STATUS    RESTARTS   AGE
argocd-application-controller-0                     1/1     Running   0          179m
argocd-applicationset-controller-6c8fbc69b5-6g5tl   1/1     Running   0          179m
argocd-dex-server-59bd76d76-jsq2s                   1/1     Running   0          179m
argocd-notifications-controller-6b66d47b45-j5v9r    1/1     Running   0          179m
argocd-redis-66d9777b78-ql7dk                       1/1     Running   0          179m
argocd-repo-server-b9957974f-zlr69                  1/1     Running   0          179m
argocd-server-5d8d58455f-fqvfs                      1/1     Running   0          179m
argocd-server という svc が外部からの接続を担っています。Ingress を設定してもよいですが、ポートフォワードを使用するとお手軽です。
以下の場合、踏み台サーバの 12345/tcp を argocd-server にフォワードしています
[root@bastion ~]# kubectl -n argocd port-forward svc/argocd-server 12345:443 --address='0.0.0.0'&
※ファイアウォールを設定している場合は開放を忘れずに!
[root@bastion ~]# firewall-cmd --add-port=12345/tcp --zone=public --permanent
[root@bastion ~]# firewall-cmd --reload
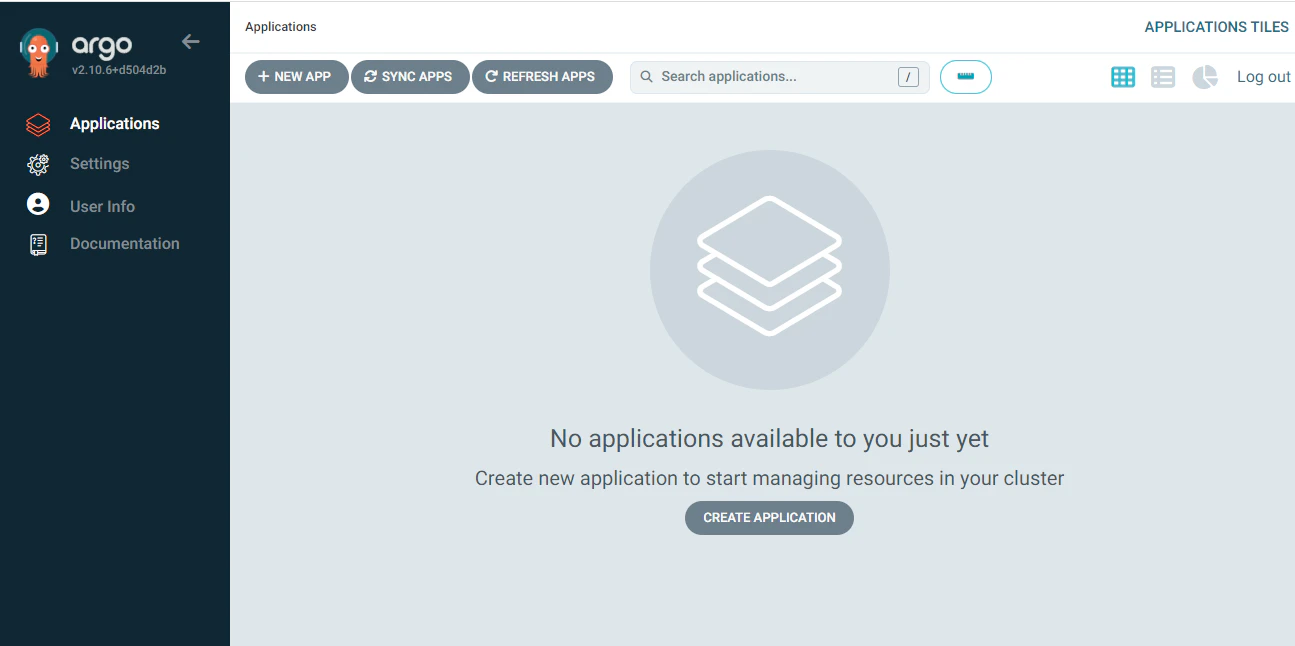
ArgoCD の UI にアクセスする
admin の初期パスワードが secret に記載されているので確認しておきます。
[root@bastion ~]# kubectl -n argocd get secrets argocd-initial-admin-secret -ojsonpath={.data.password} | base64 -d
LAbwc6cOyZcc2PWI
ブラウザで https://<踏み台の IP>:<フォワードしたポート> にアクセスし、admin と上記のパスワードでログインします。

サンプルのアプリケーションを用意する
先述のとおり ArgoCD は GitOps ツールなので、ソースは Git に存在しているアプリケーションとなります。
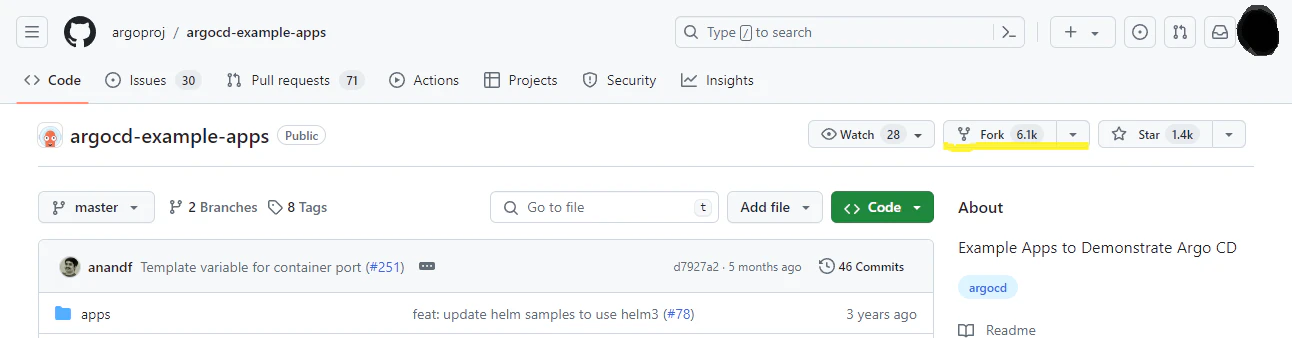
デプロイするアプリケーションは何でもよいですが、公式がサンプルアプリケーション を提供しているのでこれを使用します。
事前に自身の Github レポジトリへ fork しておきます。
アプリケーションを登録
ArgoCD UI の NEW APP からデプロイを開始します。
それぞれ以下のように入力します。
GENERAL
| Application Name | Project Name | SYNC POLICY |
|---|---|---|
| 任意のアプリケーション名 | default | Manual |
SOURCE
| Repository URL | Revision | Path |
|---|---|---|
| https://github.com/<Git アカウント名>/argocd-example-apps.git | HEAD | helm-guestbook(※) |
※Git レポジトリにぶら下がっているディレクトリから選べるようになっています。どれでもよいですが、今回は helm-guestbook を使用します。
DESTINATION
| Cluster URL | Namespace |
|---|---|
| https://kubernetes.default.svc | test |
入力したら CREATE ボタンを押下します。
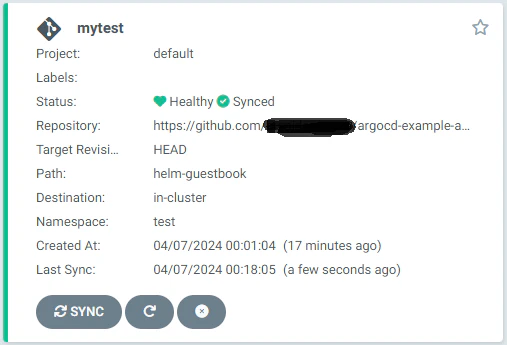
アプリケーションのデプロイ
アプリケーションを登録するとはじめは OutOfSync のステータスになっていますので、SYNC > SYNCHRONIZE と押下し、デプロイを開始します。

Status が Healthy になれば OK です。
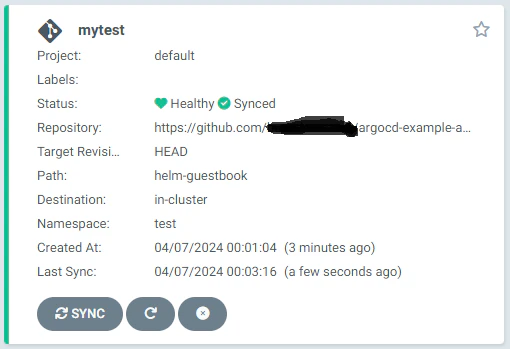
実際に kubernetes 上にもアプリケーションがデプロイされている状況が確認できます。
[root@bastion ~]# kubectl -n test get po
NAME                                     READY   STATUS    RESTARTS   AGE
mytest-helm-guestbook-5cb59f5786-6n7xb   1/1     Running   0          85s
アプリケーションを変更する
ここで、先ほど作成したアプリケーションを変更してみます。
レポジトリを git clone し、image のバージョンを 0.1 から 0.2 に変更します。
[root@bastion ~]# git clone https://github.com/xxxxxxxx/argocd-example-apps.git
[root@bastion ~]# cd argocd-example-apps/helm-guestbook/
[root@bastion helm-guestbook]# vim values.yaml
# Default values for helm-guestbook.
# This is a YAML-formatted file.
# Declare variables to be passed into your templates.

replicaCount: 1

image:
  repository: gcr.io/heptio-images/ks-guestbook-demo
  tag: 0.2 <<<
  pullPolicy: IfNotPresent
 :

[root@bastion helm-guestbook]# git add .
[root@bastion helm-guestbook]# git commit -m 'change application version'
[root@bastion helm-guestbook]# git push origin
Argo UI で REFRESH を行うと再度 OutOfSync になりました。

パネルをクリックして詳細を表示後、上部の DIFF アイコンをクリックすると、変更箇所がハイライトされます。

アプリケーションを最新化する
先ほどのパネルに戻り SYNC > SYNCHRONIZE を再押下します。再度 Synced 状態になれば OK。
kubernetes 上の Pod も最新化され、設定変更が反映されていることが分かります。
[root@bastion ~]# kubectl -n test get po
NAME                                     READY   STATUS    RESTARTS   AGE
mytest-helm-guestbook-85b5dfc597-sh4rv   1/1     Running   0          55s <<<
[root@bastion ~]# kubectl -n test get po mytest-helm-guestbook-85b5dfc597-sh4rv -ojsonpath={.spec.containers[].image}
gcr.io/heptio-images/ks-guestbook-demo:0.2 <<<
まとめ
いかがだったでしょうか。ここまで ArgoCD による一連の作業を紹介しましたが、Kubernetes と Git の連携が UI によって容易になり、管理性が向上していることが分かったかと思います。
今回は簡単な内容でしたが、今後は実アプリケーションでも理解を深めていきたいと思います。