はじめに
SC(非公式) Advent Calendar 2018 9日目です。
今回はIBMが提供している画像認識API、「Watson Visual Recognition」を使ってみたので備忘を兼ねて手順を雑に記した記事になります。
たまにテキトウなことが書いてあるかもしれませんのでご容赦を...
前提
今回は Node.js と Watson Developer Cloud SDK を使用します。
また、IBMライトアカウントを使用しています。
すでにカスタムモデル作ったりゴニョゴニョやってしまっているので初めてやる方とは表示が少し違うところがあるかも...
まずは
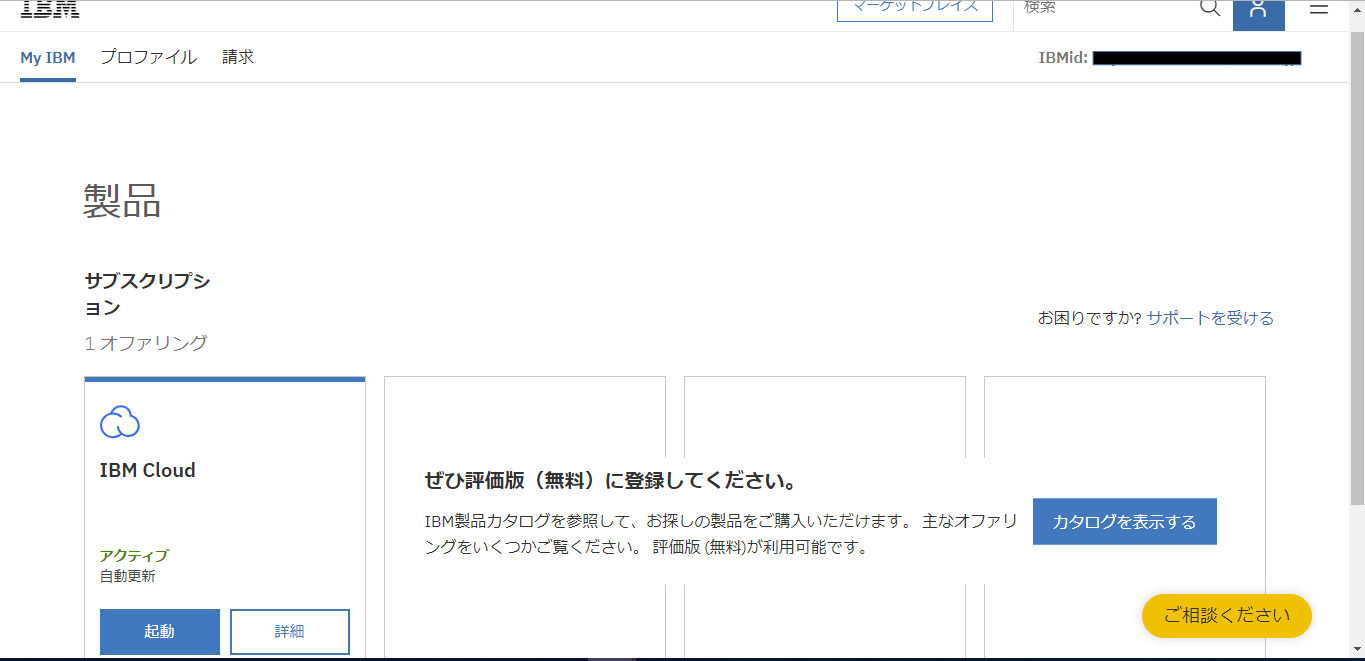
マイページからIBMクラウドに入ります
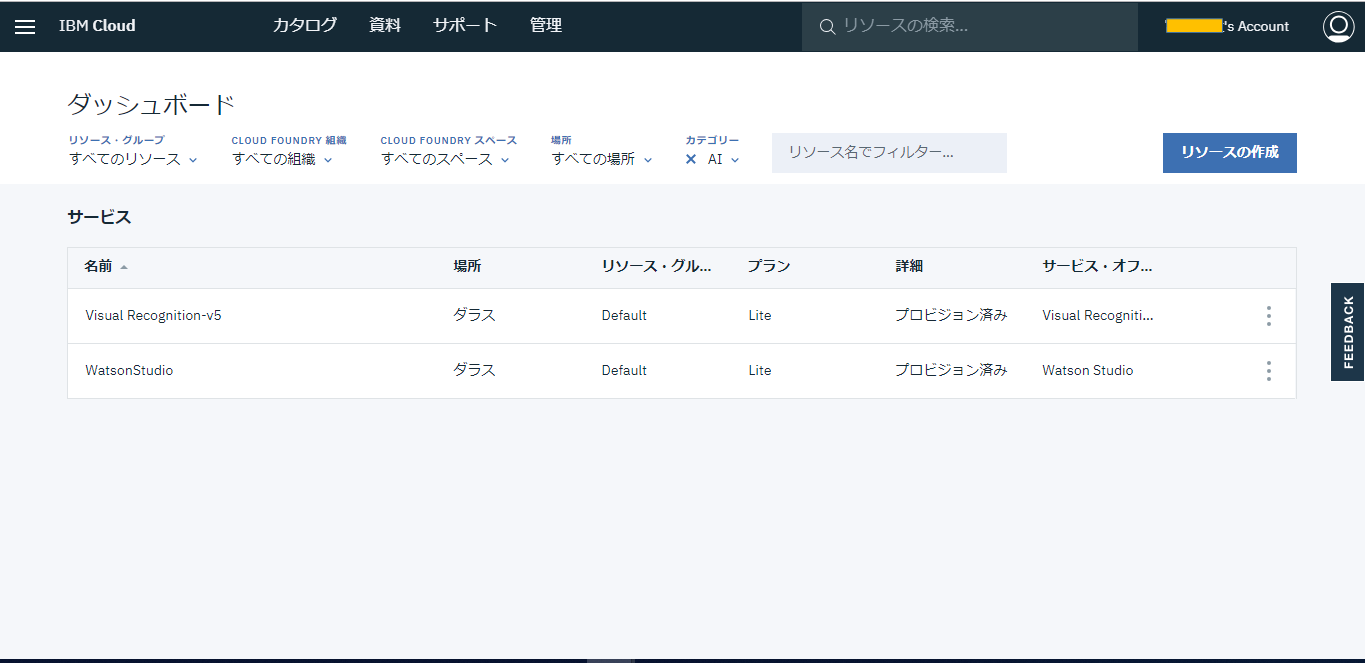
すると以下のような画面になると思います。
以前作成したVisual Recognitionのリソースがあるので今回はそれを使います。
※初めての場合は「リソースの作成」から作成できるはず。
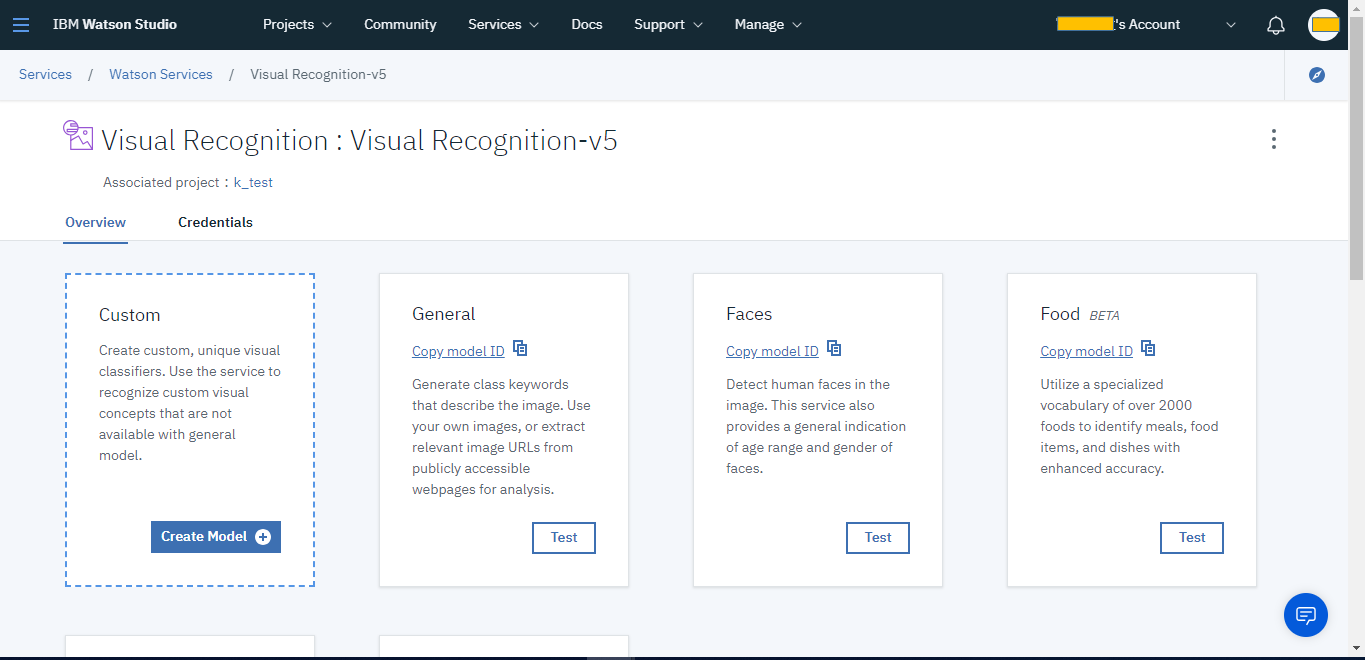
リソースを選択したら「ツールの起動」を選択

これで今回の開発環境であるWatsonStudioを起動しました。
もともとある程度学習されているので、この段階でAPIをたたいてみましょう。
使ってみる
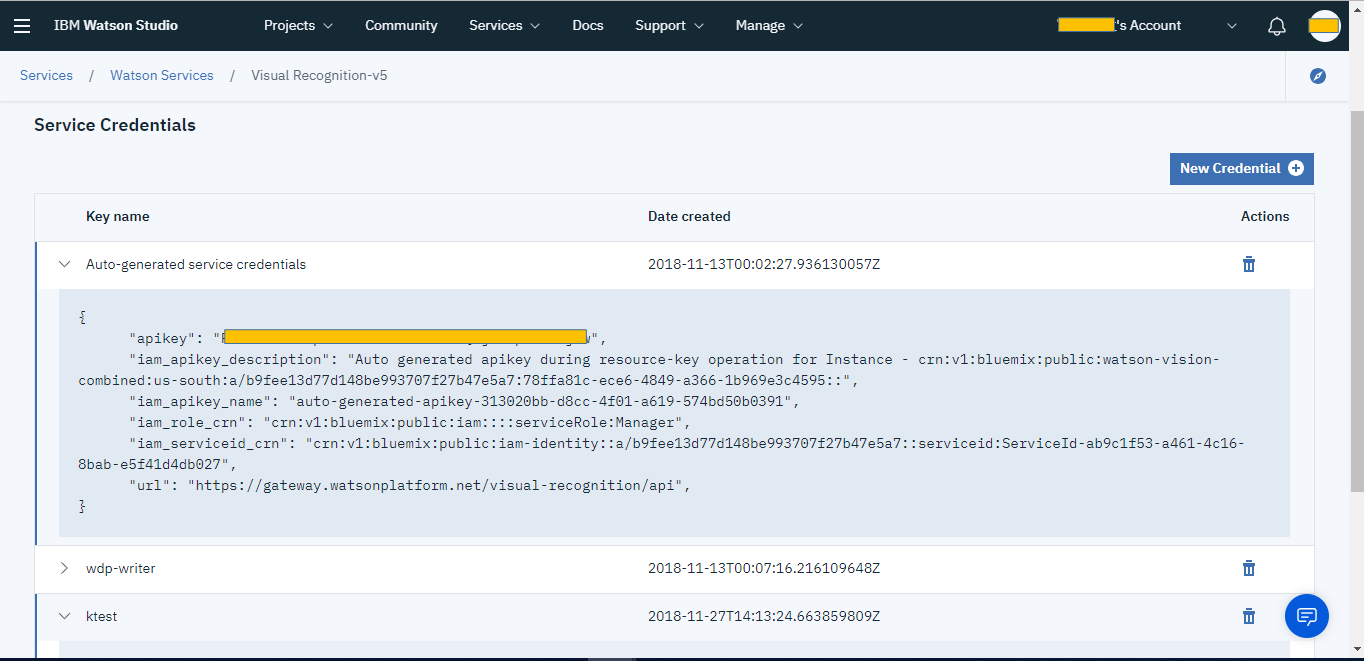
クレデンシャルから、認証情報を取得できます。どれでもいいっぽいですけど今回は一番上のを使います。

以下のスクリプトを実行します。
参考サイトのほぼ丸パクリですが、「API Key」と「URL」は上記で取得したものを書きます。
//. test1.js
var fs = require( 'fs' );

//. https://www.npmjs.com/package/watson-developer-cloud
var vr_v3 = require( 'watson-developer-cloud/visual-recognition/v3' );

var vr = new vr_v3({
  url: "https://gateway.watsonplatform.net/visual-recognition/api",
  version: '2018-03-19',
  iam_apikey: "[上で取得したAPI Key]"
});

var filename = 'me.jpg';
if( process.argv.length >= 3 ){
  filename = process.argv[2];
}

var params = {
  images_file: fs.createReadStream( filename ),
  classifier_ids: ["default"]
};

vr.classify( params, function( err, result ){
  if( err ){
    console.log( err );
  }else{
    console.log( JSON.stringify( result, null, 2 ) );
  }
});
ちなみに、今回使うme.jpgは犬の像と並ぶ私の画像を使います。(マスクはかかっていませんが...)
SDKをインストールして
$ npm install watson-developer-cloud
実行結果は以下になります。
$node test1.js
{
  "images": [
    {
      "classifiers": [
        {
          "classifier_id": "default",
          "name": "default",
          "classes": [
            {
              "class": "animal breeding",
              "score": 0.647
            },
            {
              "class": "zoo keeping",
              "score": 0.561
            },
            {
              "class": "hitching post",
              "score": 0.512,
              "type_hierarchy": "/support/hitching post"
            },
            {
              "class": "support",
              "score": 0.512
            },
            {
              "class": "puppeteer",
              "score": 0.5,
              "type_hierarchy": "/person/entertainer/puppeteer"
            },
            {
              "class": "entertainer",
              "score": 0.5
            },
            {
              "class": "person",
              "score": 0.5
            },
            {
              "class": "fish",
              "score": 0.6
            },
            {
              "class": "dog",
              "score": 0.593
            },
            {
              "class": "Animal Tending",
              "score": 0.601
            },
            {
              "class": "bottle green color",
              "score": 0.738
            },
            {
              "class": "greenishness color",
              "score": 0.56
            }
          ]
        }
      ],
      "image": "me.jpg"
    }
  ],
  "images_processed": 1,
  "custom_classes": 0
}
ほお~、「animal breeding」「zoo keeping」「person」「dog」など結構当ってますね!
「fish」はどこから来たのか気になりますが(笑)
おわりに
今回はWatson Visual Recognitionで既存の学習済みモデルを使用しました。
いい感じに画像を識別してくれますが、少し学習不足のようですね(メガネクイッ
仕方ありませんねぇ、私が調教して学習させてあげましょう。
ということで次回はカスタムモデルを作って試してみたいと思います。
簡単でしたが、ありがとうございました。
参考サイト