Twitterログイン機能について学習するため、簡素なテストアプリを作成してみることにしたので、その一連の流れを記しておきます。
大きな流れとしては以下のようになります。
- アプリを作成する
- gem「Devise」を導入
- Twitterにアプリを登録し、key情報を取得
- gem「dotenv-rails」を導入して、セキュリティ強化
- Twitterログイン機能の実装
それでは順番に解説していきます!
アプリを作成する
まずはrails newでアプリを作成します。
$ rails new twitter-login-app
作成したアプリのディレクトリへ移動します。
$ cd twitter-login-app
「Devise」を追加
ログイン機能を使用するため、Deviseというgemを使用します。
gem 'devise'
$ bundle install
Deviseをインストールします。
$ rails g devise:install
Running via Spring preloader in process 807
      create  config/initializers/devise.rb
      create  config/locales/devise.en.yml
Deviseで使用するViewファイルを作成します。
$ rails g devise:views
Running via Spring preloader in process 843
      invoke  Devise::Generators::SharedViewsGenerator
      create    app/views/devise/shared
      create    app/views/devise/shared/_error_messages.html.erb
      create    app/views/devise/shared/_links.html.erb
      invoke  form_for
      create    app/views/devise/confirmations
      create    app/views/devise/confirmations/new.html.erb
      create    app/views/devise/passwords
      create    app/views/devise/passwords/edit.html.erb
      create    app/views/devise/passwords/new.html.erb
      create    app/views/devise/registrations
      create    app/views/devise/registrations/edit.html.erb
      create    app/views/devise/registrations/new.html.erb
      create    app/views/devise/sessions
      create    app/views/devise/sessions/new.html.erb
      create    app/views/devise/unlocks
      create    app/views/devise/unlocks/new.html.erb
      invoke  erb
      create    app/views/devise/mailer
      create    app/views/devise/mailer/confirmation_instructions.html.erb
      create    app/views/devise/mailer/email_changed.html.erb
      create    app/views/devise/mailer/password_change.html.erb
      create    app/views/devise/mailer/reset_password_instructions.html.erb
      create    app/views/devise/mailer/unlock_instructions.html.erb
Deviseを使用するモデルを作成します。
$ rails g devise user
Running via Spring preloader in process 886
      invoke  active_record
      create    db/migrate/20200316050323_devise_create_users.rb
      create    app/models/user.rb
      invoke    test_unit
      create      test/models/user_test.rb
      create      test/fixtures/users.yml
      insert    app/models/user.rb
       route  devise_for :users

$ rails db:migrate
これでDeviseに対応したuserモデルが作成されました!
Twitterにアプリを登録し、key情報を取得
Twitterログインを実装するため、Twitter Developersへアプリケーション情報を登録します。
未承認の方は申請の手続きからになります。
以下の記事が参考になるかと思います。
Twitter API 登録 (アカウント申請方法) から承認されるまでの手順まとめ ※2019年8月時点の情報
登録の際、webサイトURLを指定する箇所を「localhost:3000」などローカル環境のアドレスにするとエラーが表示され登録することができないので、適当なアドレスを入力しておきます。
callback urlには、http://localhost:3000/users/auth/twitter/callback と追加し、「Allow this application to be used to Sign in with Twitter」のチェックボックスにチェックを入れておきます。
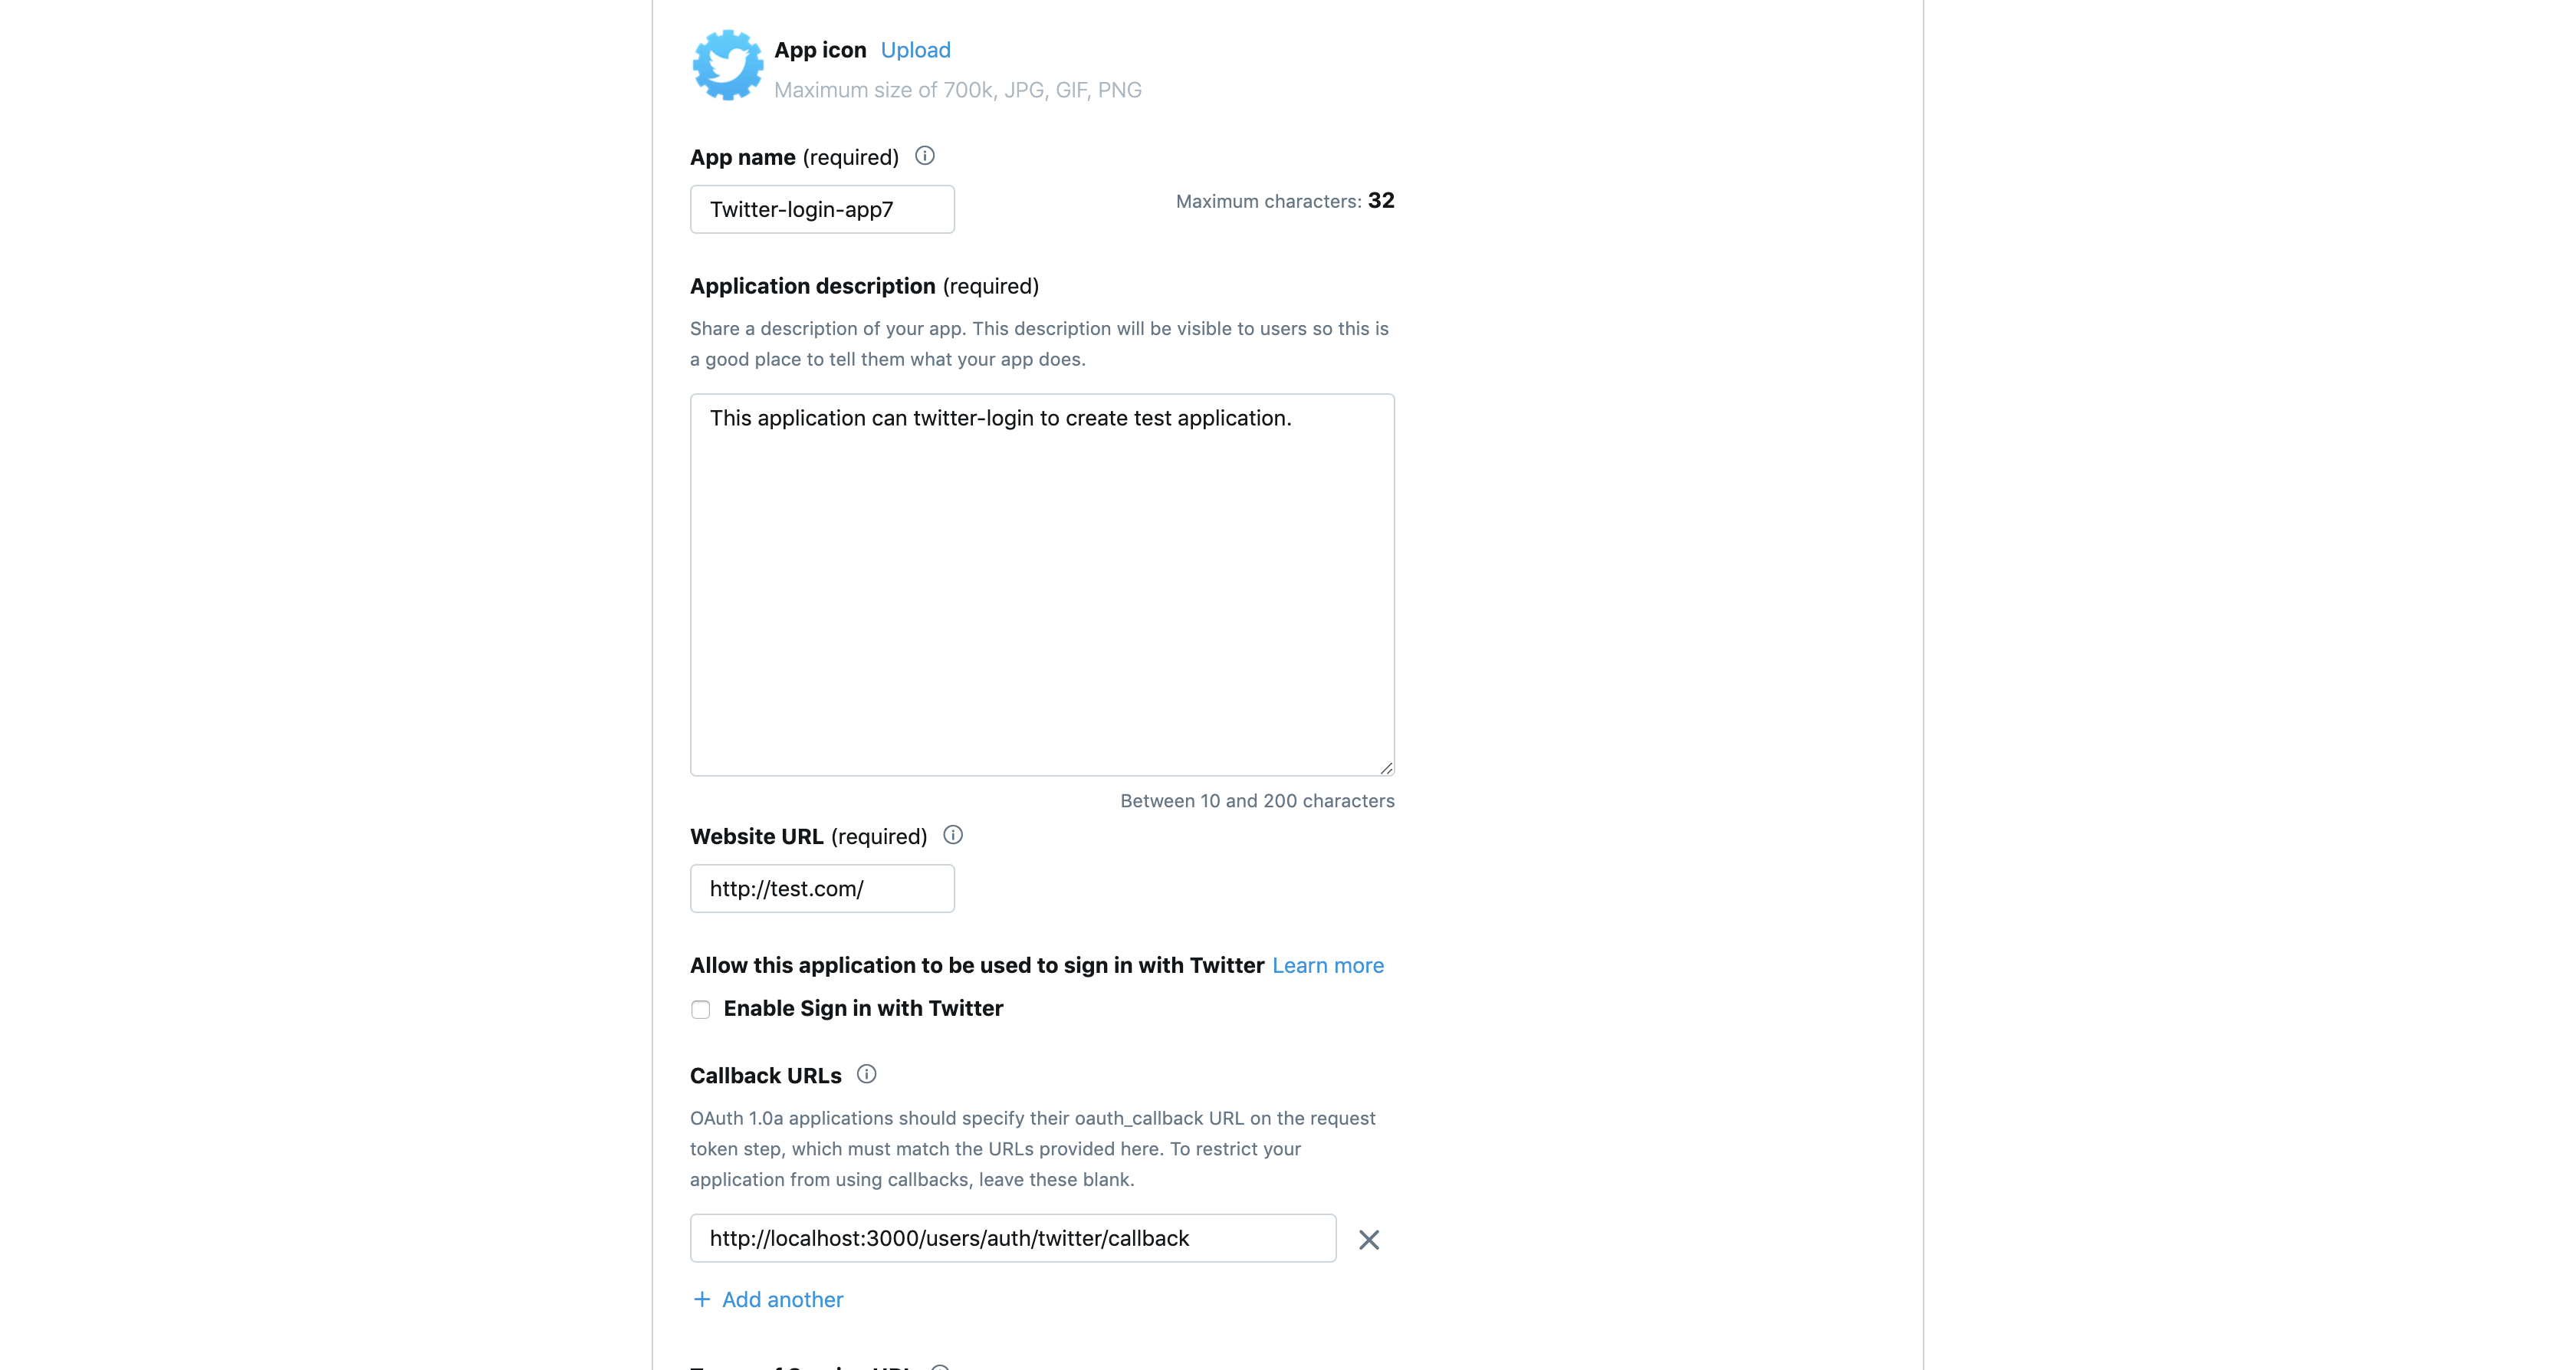
アプリケーション作成後、API keyとAPI secret keyの情報を取得しておきます。
「dotenv」を導入して、セキュリティ強化
Twitetrから取得したAPI keyやAPI secret keyの情報をGitなどに公開してしまうと、悪意のある第三者に利用され、損害が発生してしまうリスクがあります。
そのためこうした知られたくない情報は、非公開な情報として扱う必要があります。
そうした時に便利なのが、「dotenv」というgemです。
gem 'dotenv-rails'
$bundle install
その後、Gemfileと同じ位置に「.env」を作成し、先ほどのkey情報を記述します。
# Using Twitter API
TWITTER_API_KEY=API key
TWITTER_SECRET_KEY=API secret key
続いて「.gitignore」を編集します。
ここにファイル名を追加することで、特定のファイルをGitの管理対象から除外することができます。
# See https://help.github.com/articles/ignoring-files for more about ignoring files.
#
# If you find yourself ignoring temporary files generated by your text editor
# or operating system, you probably want to add a global ignore instead:
#   git config --global core.excludesfile '~/.gitignore_global'

# Ignore bundler config.
/.bundle

# Ignore the default SQLite database.
/db/*.sqlite3
/db/*.sqlite3-journal

# Ignore all logfiles and tempfiles.
/log/*
/tmp/*
!/log/.keep
!/tmp/.keep

# Ignore uploaded files in development
/storage/*
!/storage/.keep

/node_modules
/yarn-error.log

/public/assets
.byebug_history

# Ignore master key for decrypting credentials and more.
/config/master.key
.env  #ここを追記
Twitterログインの実装
Twitterログインは「Oauth」という認証機能を使用します。
まずは必要なgemをインストールします!
gem 'omniauth'
gem 'omniauth-twitter'
gemをインストールします。
$ bundle install
先ほど追加したuserモデルにカラムを追加します。
$ rails g migration AddColumnsToUsers uid:string provider:string
Running via Spring preloader in process 91573
      invoke  active_record
      create    db/migrate/20200316073244_add_columns_to_users.rb

$ rails db:migrate
config/initializers/devise.rbを編集します。
Devise.setup do |config|

  #<省略>

  # ==> OmniAuth
  # Add a new OmniAuth provider. Check the wiki for more information on setting
  # up on your models and hooks.
  # config.omniauth :github, 'APP_ID', 'APP_SECRET', scope: 'user,public_repo'

  config.omniauth :twitter, ENV['TWITTER_API_KEY'], ENV['TWITTER_SECRET_KEY']

 #<省略>
end
userモデルに:omniauthableを追加します。
class User < ApplicationRecord
  # Include default devise modules. Others available are:
  # :confirmable, :lockable, :timeoutable, :trackable and :omniauthable
  devise :database_authenticatable, :registerable,
         :recoverable, :rememberable, :validatable, :omniauthable
end
続けて以下のメソッドを追加します。
ログインしたアカウントを確認し、初めてログインする場合は新しくアカウントを作成するメソッドになります。
class User < ApplicationRecord
  # Include default devise modules. Others available are:
  # :confirmable, :lockable, :timeoutable, :trackable and :omniauthable
  devise :database_authenticatable, :registerable,
         :recoverable, :rememberable, :validatable, :omniauthable

  def self.find_for_oauth(auth)
    user = User.where(uid: auth.uid, provider: auth.provider).first

    unless user
      user = User.create(
        uid:      auth.uid,
        provider: auth.provider,
        email:    User.dummy_email(auth),
        password: Devise.friendly_token[0, 20]
      )
      user.save!
    end

    current_user = user
  end

    private

      def self.dummy_email(auth)
        "#{auth.uid}-#{auth.provider}@example.com"
      end
end
コールバック処理を行うため、app/controllers/users/omniauth_callbacks_controller.rbというコントローラーを作成します。
class Users::OmniauthCallbacksController < Devise::OmniauthCallbacksController

  def twitter
    callback_from :twitter
  end

  private

  def callback_from(provider)
    provider = provider.to_s

    @user = User.find_for_oauth(request.env['omniauth.auth'])

    if @user.persisted?
      flash[:notice] = I18n.t('devise.omniauth_callbacks.success', kind: provider.capitalize)
      sign_in_and_redirect @user, event: :authentication
    else
      session["devise.#{provider}_data"] = request.env['omniauth.auth']
      redirect_to new_user_registration_url
    end
  end
end
ルーティングを追加します。
Rails.application.routes.draw do
  devise_for :users, controllers: { omniauth_callbacks: 'users/omniauth_callbacks' }
end
ログインページ作成
Twitterログイン元のページを作成します。
$rails g controller login index
app/views/login/index.html.erbに、Twitterログインのリンクなどを追加します。
ログイン時はログアウトのリンクを、ログアウト時はログインのリンクを表示できるようにするため、sessionコントローラーを作成します。
$rails g controller session destroy
sessionコントローラーを以下のように変更します。
ログイン時に保存されるsession情報を削除し、rootにリダイレクトする処理です。
class SessionsController < ApplicationController
  def destroy
    reset_session
    redirect_to root_path
  end
end
ログイン成功時は「Hello,world!」の文字が表示されるようにします。
<% if user_signed_in? %>
  <%= link_to 'Twitter Logout', sessions_destroy_path %>
<% else %>
  <%= link_to 'Twitter Login', user_twitter_omniauth_authorize_path %>
<% end %>

<% if user_signed_in? %>
  Hello, world!
<% end %>
ルーティングを追加します。
Rails.application.routes.draw do
  root 'login#index'
  get 'sessions/destroy'

  devise_for :users, controllers: { omniauth_callbacks: 'users/omniauth_callbacks' }
  # For details on the DSL available within this file, see http://guides.rubyonrails.org/routing.html
end
実際にログインしてみる
まずはサーバーを起動します。
$cd twitter-login-app
$rails s
localhost:3000にアクセス・・・
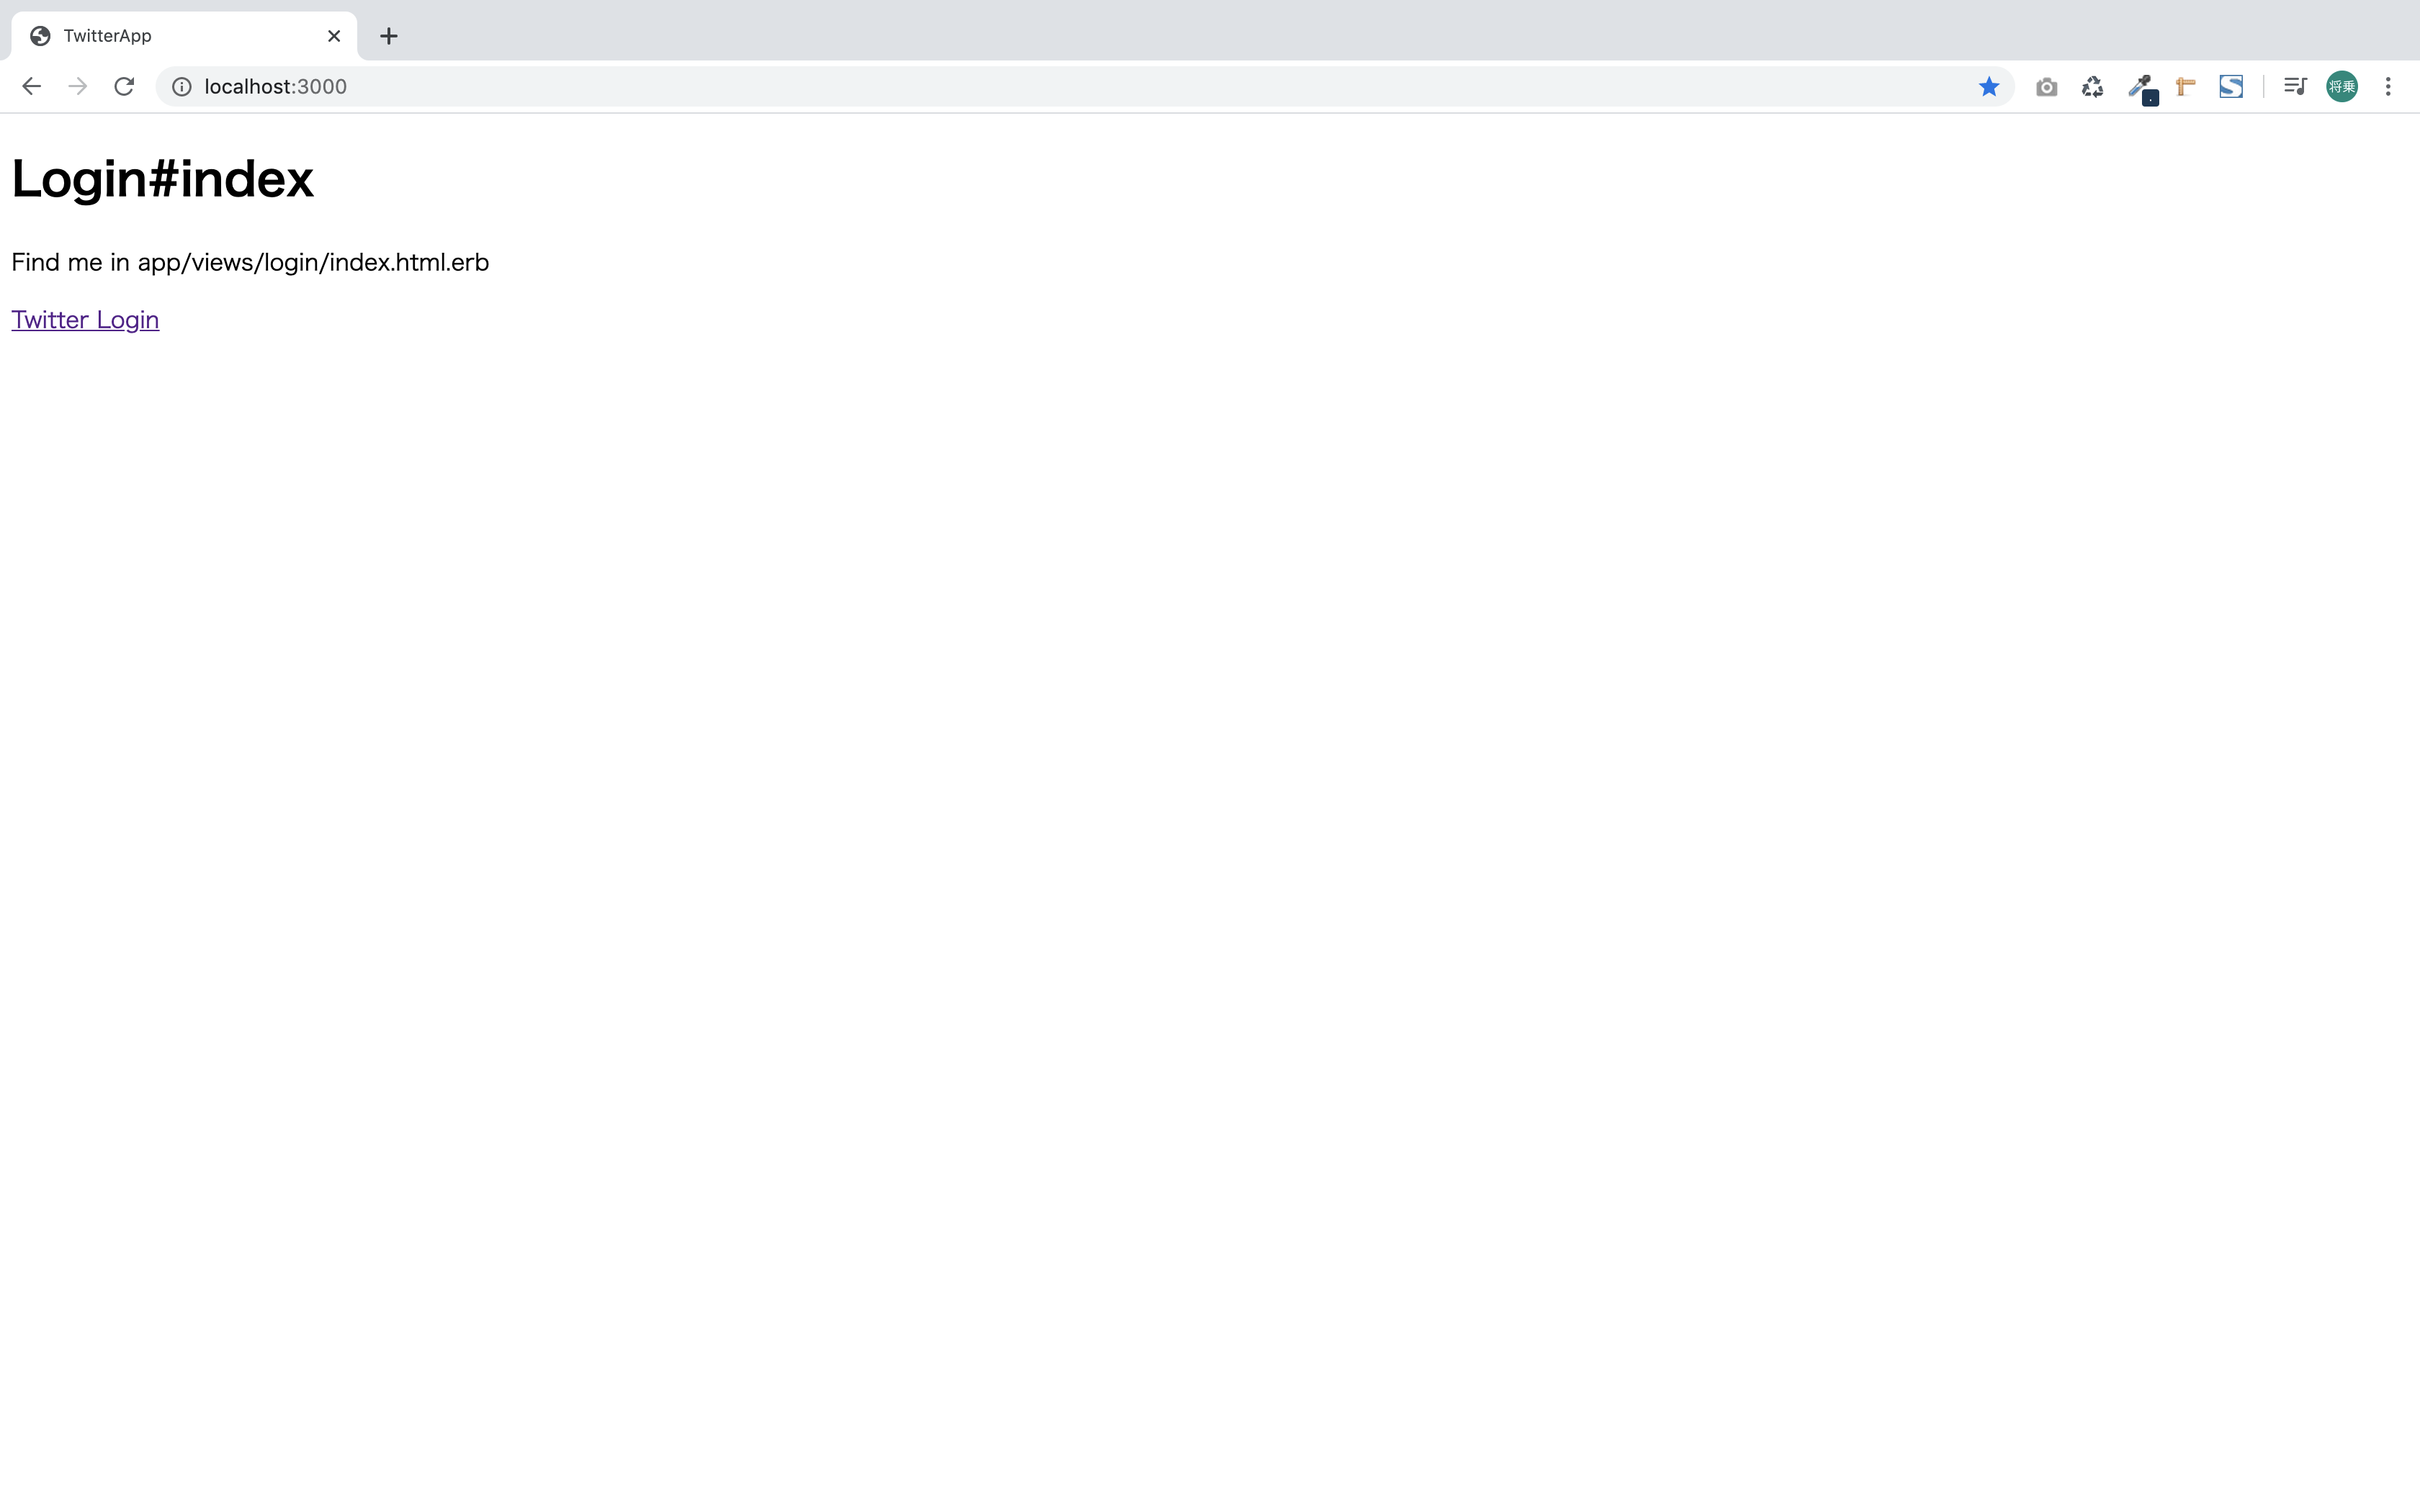

無事ログインでき、リンク表示もログアウトになっています!