前提
SESにドメイン、アドレスを設定済み。
SESでメールの送信制限を緩和済み。
メール送信設定
サーバ作成
MarketplaceのAMIを使って、EC2インスタンスを起動。
インスタンスの設定はよしなにやってください。動かすだけならデフォルトで問題ないです。

SMTPサーバの設定
作成したインスタンスにSSHでログインして、設定ファイルを編集。
vi /opt/bitnami/apps/redmine/htdocs/config/configuration.yml
  email_delivery:
    delivery_method: :smtp
    smtp_settings:

      address: "SESで確認"
      port: 587
      domain: "あなたのドメイン"
      authentication: :login
      user_name: "SESで作成されたユーザー"
      password: "SESで作成されたパスワード"
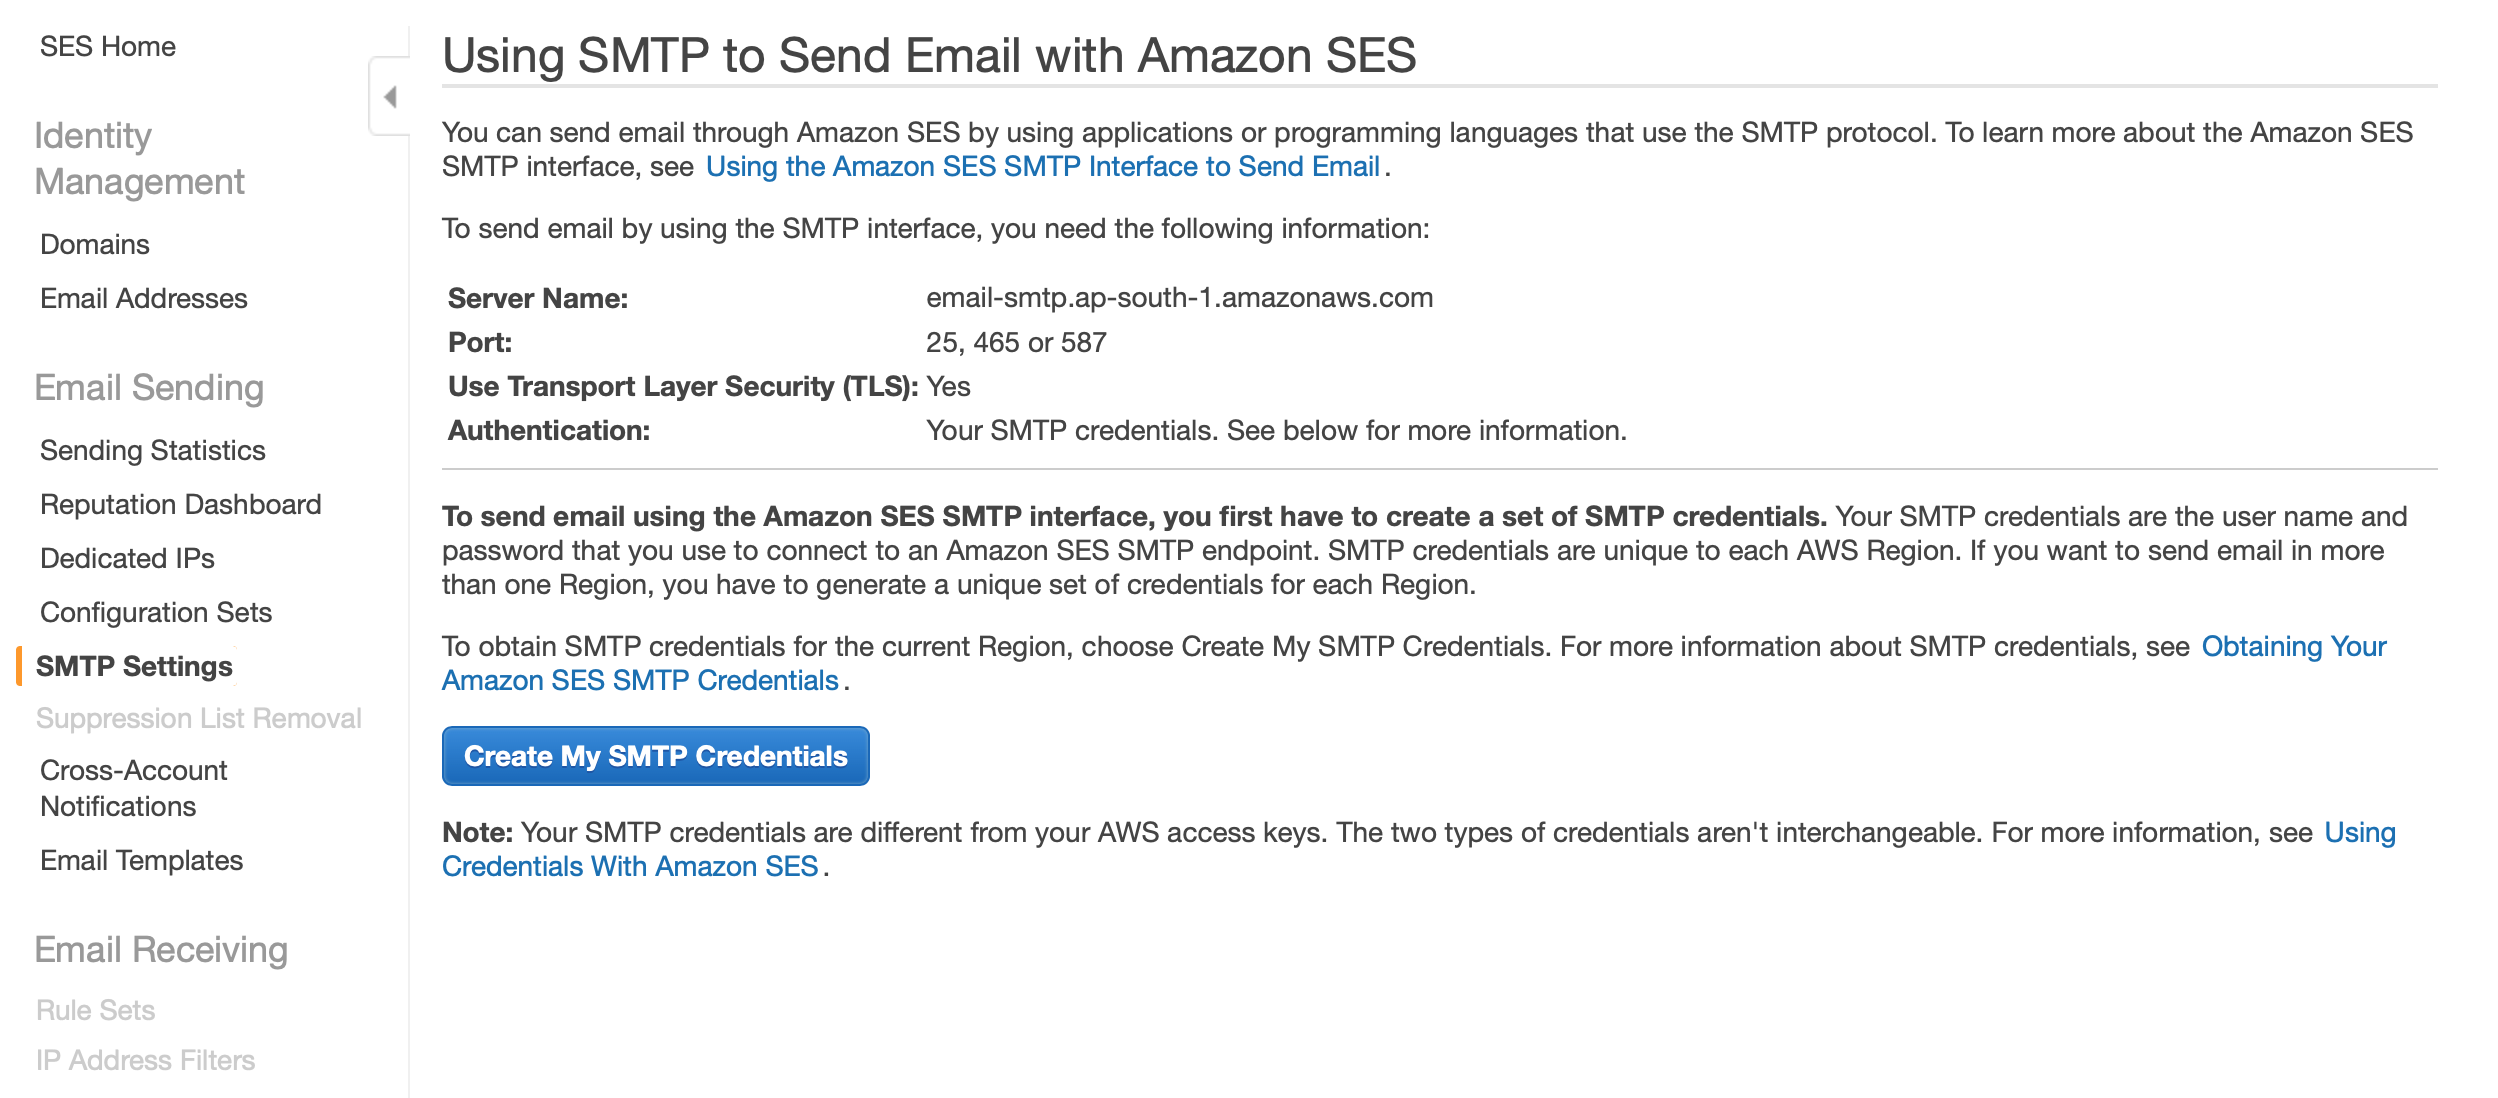
入力項目はSESで確認。SMTP SettingsのServer Nameが上記のaddressです。

続いて、「Create My SMTP Credentials」をクリック。
続けて「作成」をクリックして、ユーザー、パスワードを作成し、上記のユーザー、パスワードに記載します。
ドメインはSESで設定しているドメインを記載してください。
(""も必要です)
メール送信テスト
設定の反映には再起動が必要ですが、その前にadminユーザーのパスワードを確認しておきます。
/home/bitnami配下のbitnami_credentialsに書かれています。
パスワードをメモしたら、インスタンスを再起動します。
再起動できたら、インスタンスのDNSまたはIPをブラウザで入力。Redmineのログイン画面が開きます。

IDにuser、パスワードに先ほど確認したパスワードを入力してログイン。
メール送信テスト用に、先に右上のMy Accountから自分のアドレスを修正します。

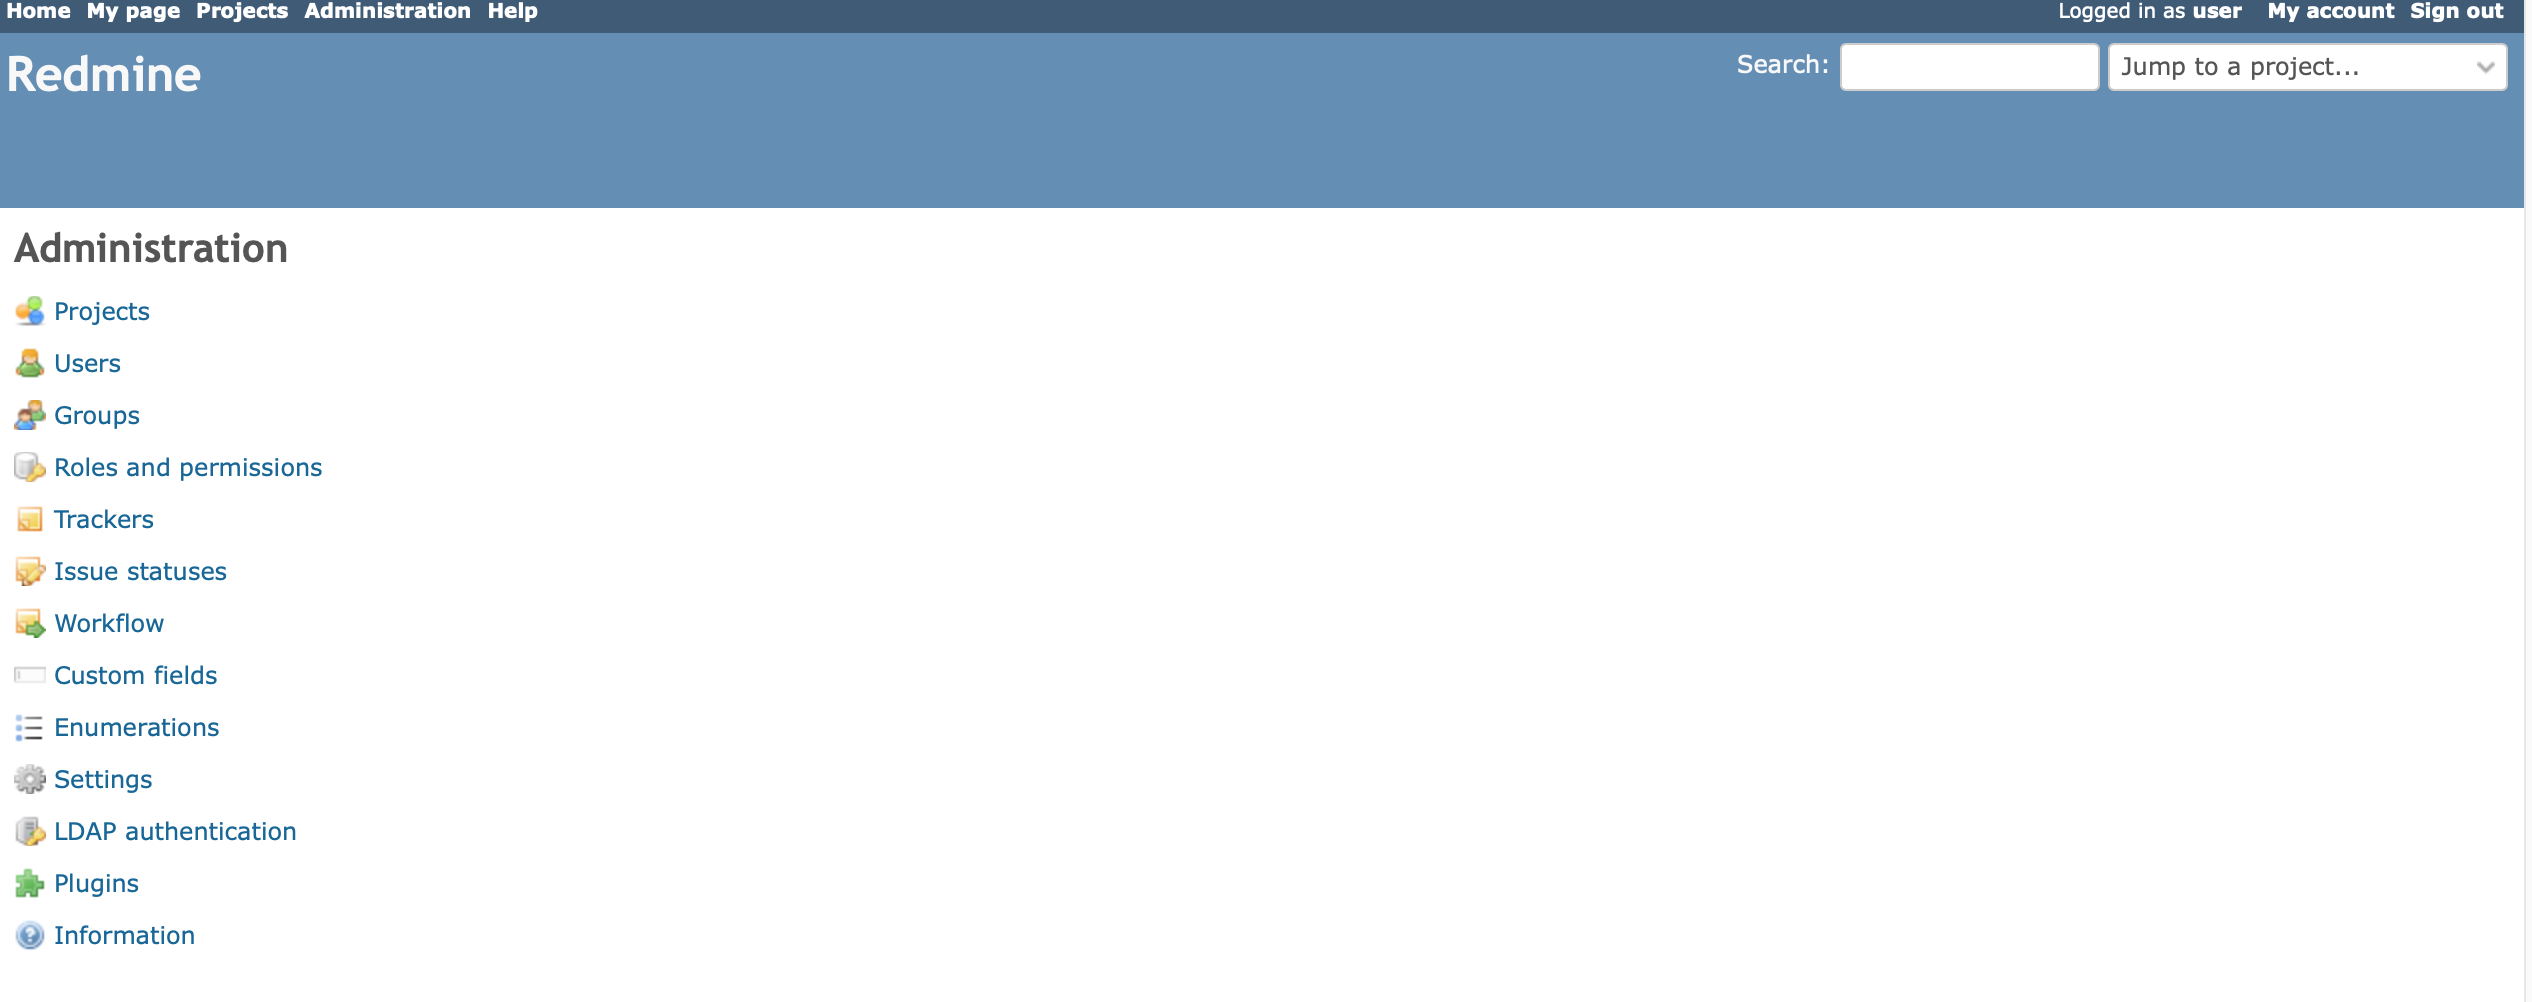
続けて、画面左上のAdministrationから、Settings。

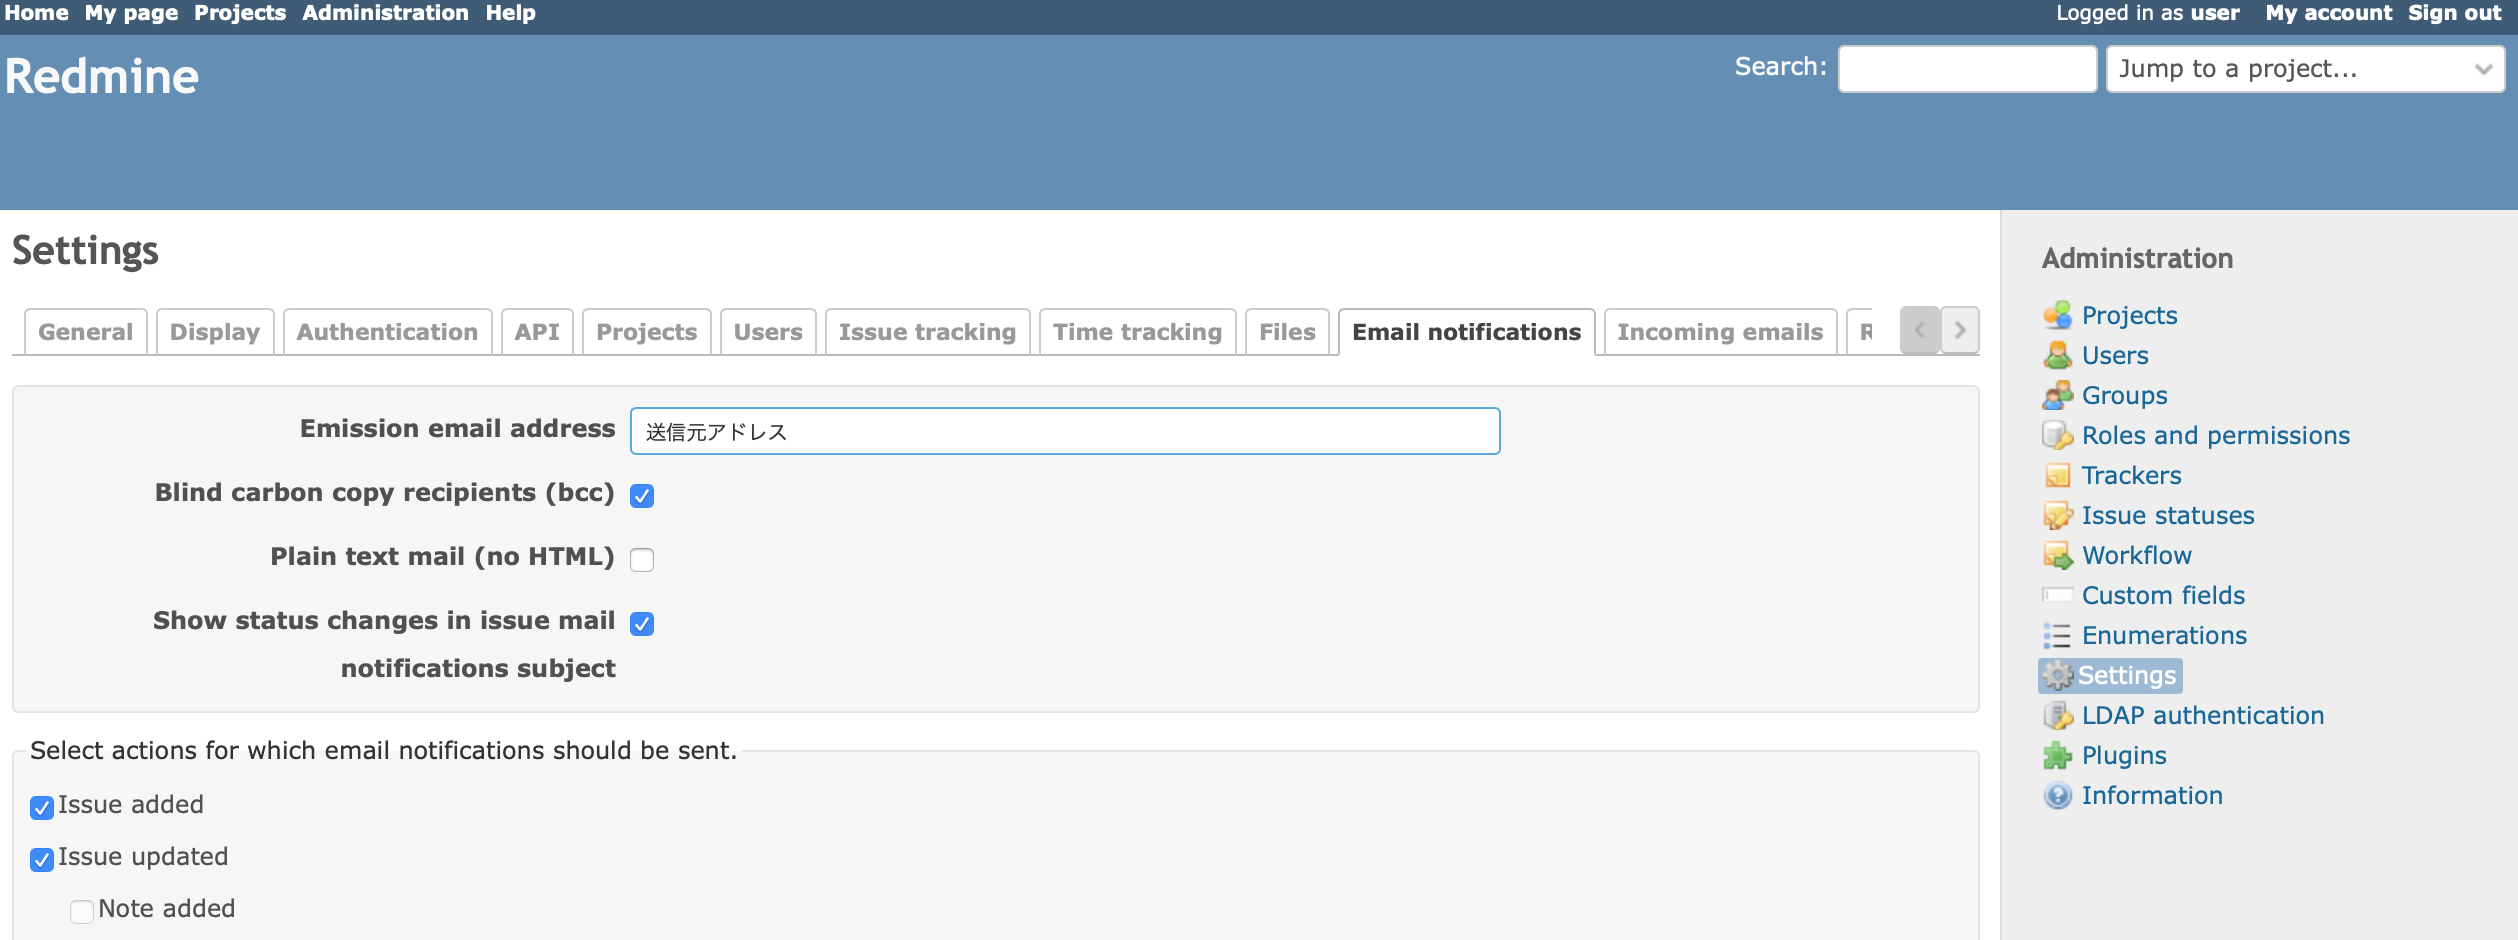
Email Notificationへ。送信元メールアドレスを設定します。
ページ下までスクロールして保存ボタンをクリック。


続いて、ページ下部右にあるSend a test emailでテストメールを送信します。
問題なくメールが届けば、設定完了です。