はじめに
前回 エッジでサンプルを動かす記事を書きましたが、今回はエッジ(MLKitやTensorflowLite)ではなく、FirebaseMLのCloudAPIを利用してみました。
他にもありますが、今回は以下のAPIを試すために、Androidのサンプルアプリを作成しました。
- Text Recognition
- Image Labeling
- Landmark recognition
サンプルアプリについて
写真を撮ると、その画像をFirebaseMLのCloudAPIに投げ、結果を表示します。
右上のボタンでAPIを切り替えられます。

準備
サンプルアプリを動かすための準備です。
- Firebaseプロジェクトを作成します。
-
app配下にgoogle-services.jsonを置きます。 - Firebaseプロジェクトのプランを、Blazeに変更します。
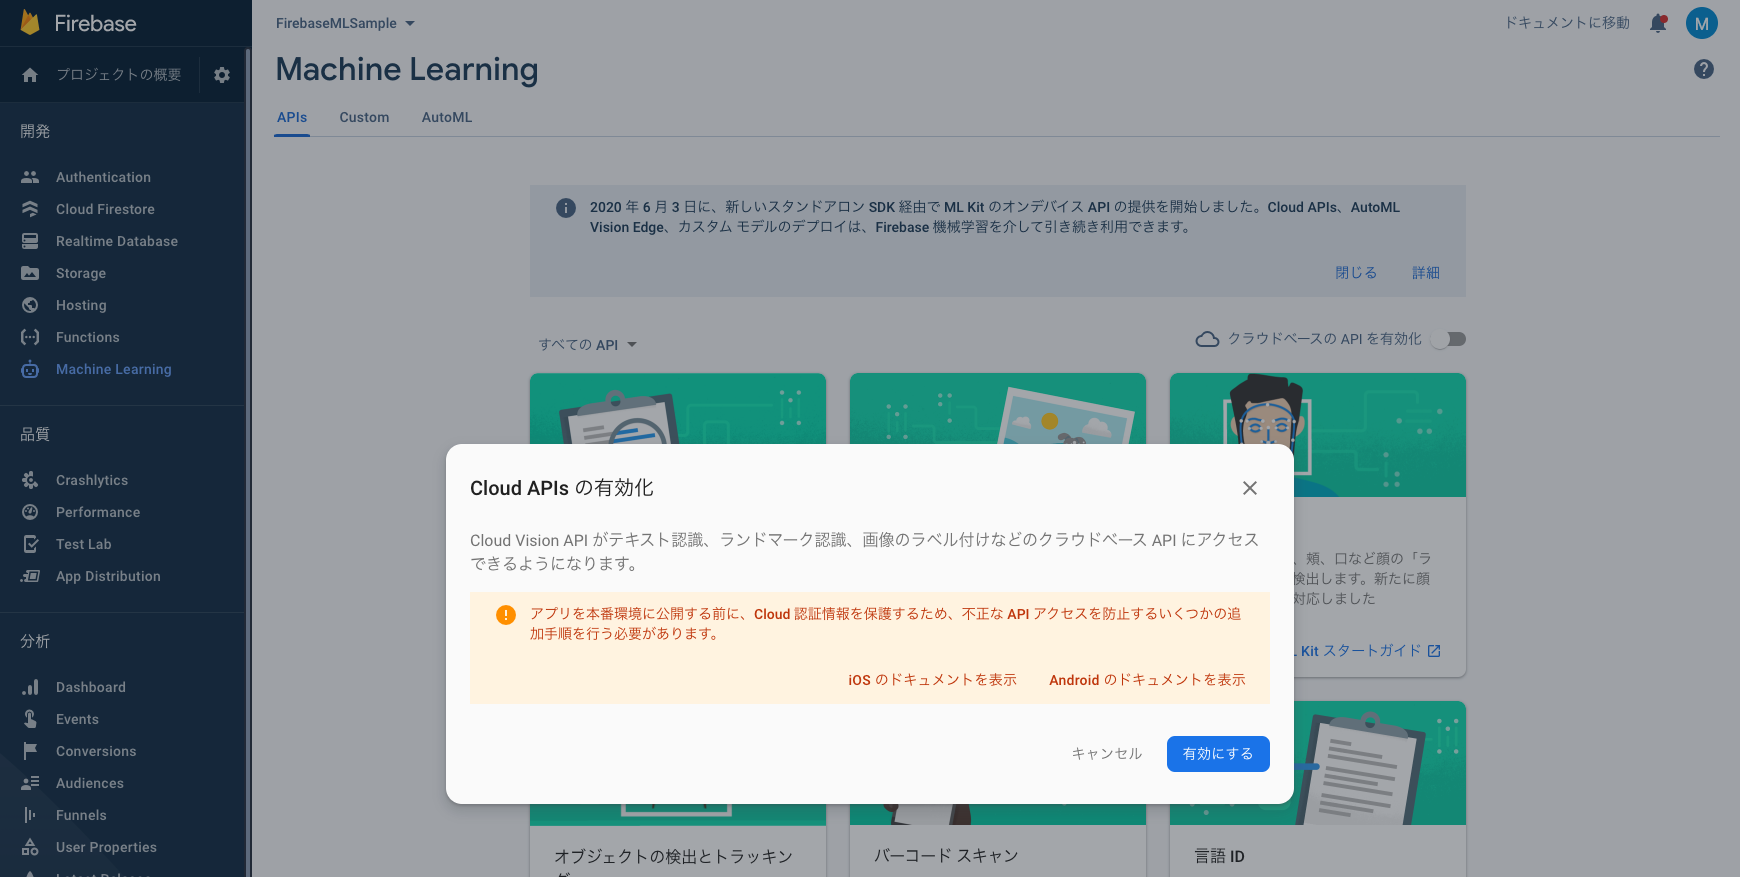
- Firebaseコンソール > Machine Learning に行き、Cloud APIsを有効にします。
MLKitとの違い
オンデバイス向けであるMLKitと被っていそうなAPIがありますが、機能差分があります。
この差分は、Firebaseコンソールで確認することができるので、気になったらコンソールで確認するのが良いです。
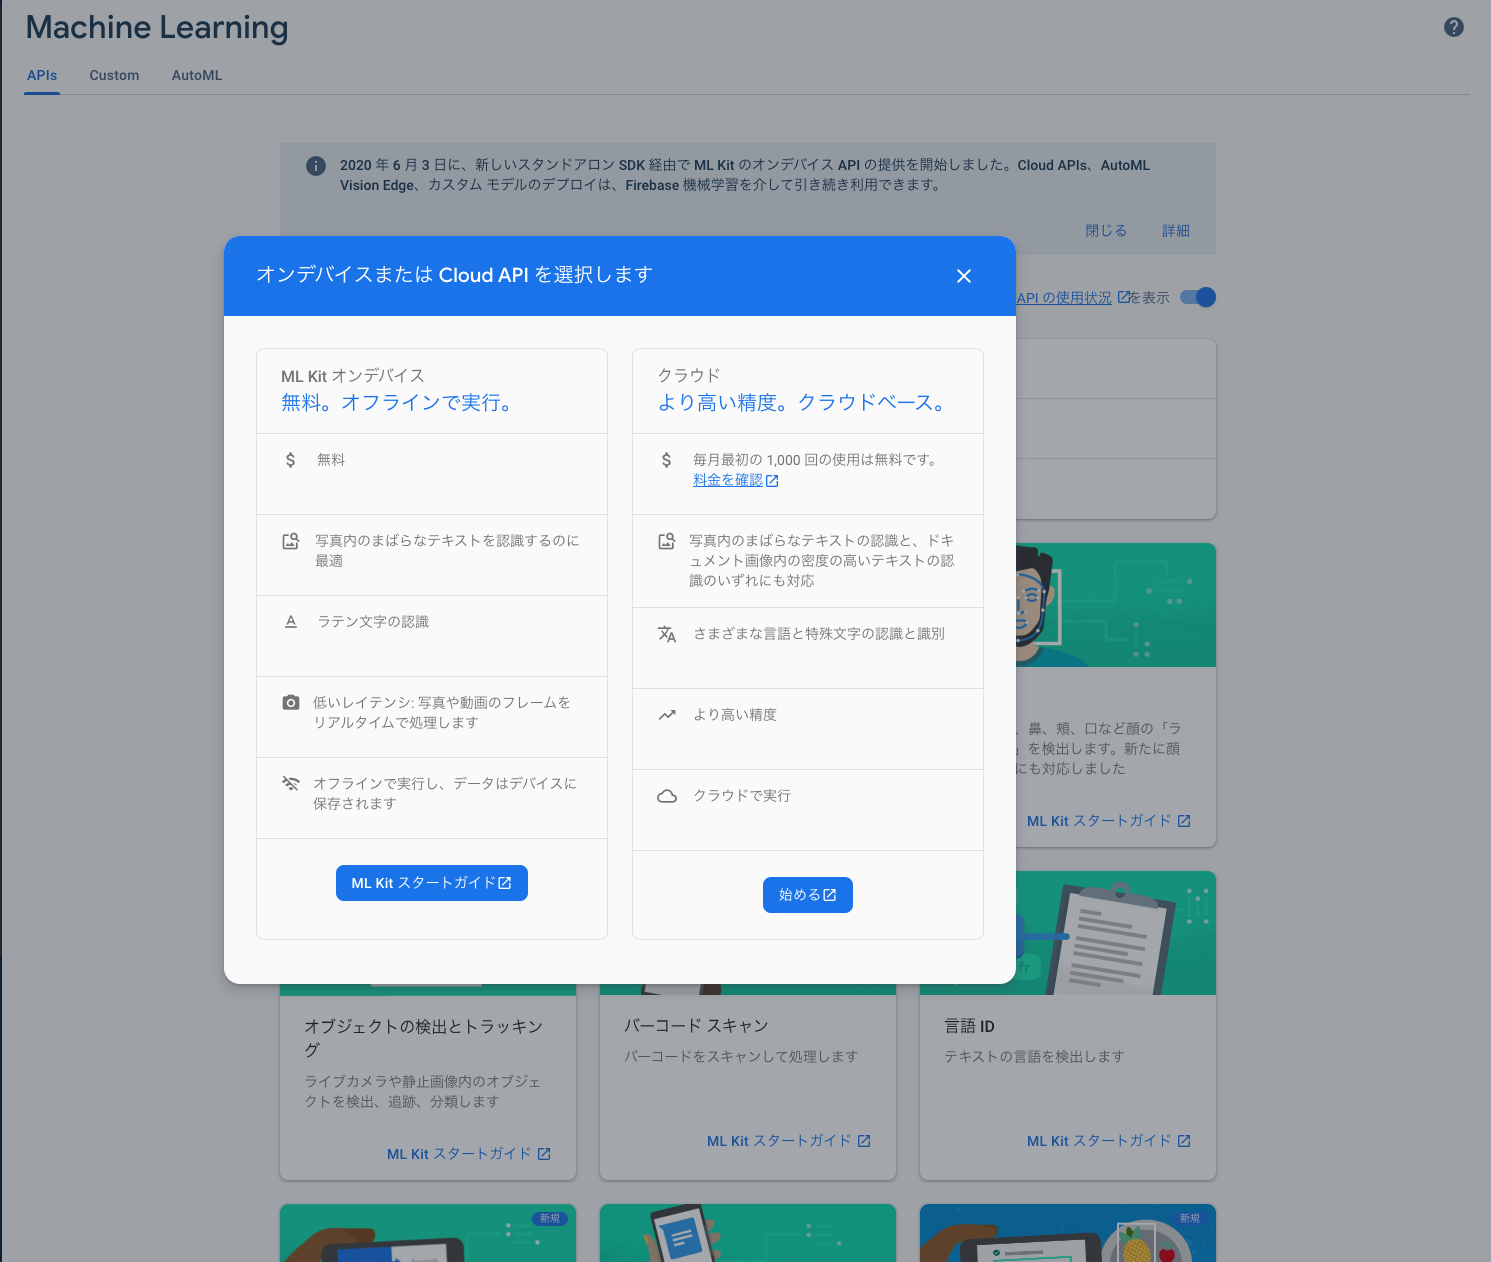
大雑把ですが、基本的にどのAPIもMLKitの方が識別までの処理は高速で、モデルの精度はCloudAPIの方が良いようです。
端末側で処理をするか、クラウドで処理するかの違いが、大きく出てる部分じゃないかなと思います。
VisionAPIとの違い
GCPでもVisionAPIが提供されていますが、同じです。FirebaseMLの裏はVisionAPIです。
GCPコンソール上でVisionAPIの使用状況を確認することができます。
FirebaseMLのCloudAPIでは提供されていない機能が、GCPのVisionAPIにはあります。
動作確認
サンプルアプリを動かしていきます。
Text Recognition
/**
 * text recognition by ML Vision Api.
 *
 * https://firebase.google.com/docs/ml/android/recognize-text
 */
private fun processImageByCloudTextRecognizer(photoFile: File) {
    // ヒントを与える
    val options = FirebaseVisionCloudTextRecognizerOptions.Builder()
        .setLanguageHints(listOf("ja"))
        .build()
    val detector = FirebaseVision.getInstance().getCloudTextRecognizer(options)

    val bitmap = BitmapFactory.decodeFile(photoFile.absolutePath)
    detector.processImage(FirebaseVisionImage.fromBitmap(bitmap))
        .addOnSuccessListener { firebaseVisionText ->
            Log.d(TAG, "sucess text recognition: recognizedText = ${firebaseVisionText.text}")
        }
        .addOnFailureListener { e ->
            Log.d(TAG, "failed text recognition: errorMessage=${e.message}")
            e.printStackTrace()
        }
}
MLKitは英語(ラテン文字)のみの対応でしたが、CloudAPIは日本語も認識してくれます。
これぐらい綺麗に字が並んでいると、ほぼ完璧に認識してくれるようです。

Image Labeling
private fun processImageByCloudLabelDetector(photoFile: File) {
    val bitmap = BitmapFactory.decodeFile(photoFile.absolutePath)
    FirebaseVision.getInstance().cloudImageLabeler
        .processImage(FirebaseVisionImage.fromBitmap(bitmap))
        .addOnSuccessListener { labels ->
            Log.d(TAG, "success image labeling: labelsSize=${labels.size}")
        }
        .addOnFailureListener { e ->
            Log.d(TAG, "failed image labeling: errorMessage=${e.message}")
            e.printStackTrace()
        }
}
rubber duckyなどのラベルが検出されました。(有名なおもちゃなんでしょうか。)

Landmark recognition
private fun processImageByCloudLandmarkDetector(photoFile: File) {
    val bitmap = BitmapFactory.decodeFile(photoFile.absolutePath)
    FirebaseVision.getInstance().visionCloudLandmarkDetector
        .detectInImage(FirebaseVisionImage.fromBitmap(bitmap))
        .addOnSuccessListener { landmarks ->
            Log.d(TAG, "success landmark recognition: landmarksSize=${landmarks.size}")
        }
        .addOnFailureListener { e ->
            Log.d(TAG, "failed landmark recognition: errorMessage=${e.message}")
        }
}
一応認識されましたが、Macbookの画面を撮っているので、精度が低くなっているのかなと思います。(端末内の画像を選べる機能を作ればよかった。。)

まとめ
今回3つ試しましたが、用途によってはこちらも使えそうだなという印象でした。
ユースケースに合わせて適切に使っていきたいですね。
余談
サンプルアプリで、プレビュー画面で取得できる画像を都度APIに投げてもよかったんですが、
そうすると結構な呼び出し回数になり、高額な請求が怖かったのでやらなかったです。。
また、ネットワークレイテンシもあるので、リアルタイム性が必要なときには不向きかもしれません。
エッジかクラウドか、ユースケースによって適切に使い分けましょう。