phpmyadminのインストール
nginx上でphpとDBが動いてることを前提で。
最新版入手
https://www.phpmyadmin.net/
$ unzip phpMyAdmin-x.x.x-all-languages.zip
$ mv phpMyAdmin-x.x.x-all-languages phpmyadmin
$ sudo mv phpmyadmin/ /usr/share/
$ sudo chwon -R nginx.nginx /usr/share/phpmyadmin
phpmyadminの設定
テンプレートからコピー、下記の部分に暗号化用のパスフレーズ追記
$ sudo mv /usr/share/phpmyadmin/config.sample.inc.php config.inc.php

~~
/**
 * This is needed for cookie based authentication to encrypt password in
 * cookie. Needs to be 32 chars long.
 */
$cfg['blowfish_secret'] = 'ここに32文字以上のフレーズを入力'; /* YOU MUST FILL IN THIS FOR COOKIE AUTH!
~~
nginxの設定
設置したいサーバの設定ファイルに追記してやる。
ついでに自宅IPからのアクセスのみアクセス許可を与える。(またはbasic認証)
$ sudo vi /etc/nginx/conf.d/hogehoge.conf

server {
~~
location /phpmyadmin {
        root /usr/share;
        index index.php;

        allow 192.168.1.0/24;
        deny all;

        # basic認証の場合は.htpaaswdを用意して下記2行を付記
        auth_basic "basic authentication";
        auth_basic_user_file "/usr/share/phpmyadmin/.htpasswd";

        location ~ ^/phpmyadmin.+\.php$ {
            fastcgi_pass unix:/var/run/php/php7.4-fpm.sock; #使用してるphp-fpmのverで
            fastcgi_index index.php;
            fastcgi_param SCRIPT_FILENAME $document_root$fastcgi_script_name;
            include fastcgi_params;
        }
    }
~~
}
nginx再起動
$sudo service nginx restart
エラー対処
phpMyAdmin 環境保管領域が完全に設定されていないため、いくつかの拡張機能が無効になっています。理由についてはこちらをご覧ください。代わりにデータベースの操作タブを使って設定することもできます。
phpmyadmin用のDBを作ってやる。
作成用のスクリプトが用意してあるので簡単。
sqlフォルダ内にあるcreate_tabes.sqlがあるのでそれを使うので、ローカルから参照できる場所にコピーしておく。
$ ll /usr/share/phpmyadmin/sql
total 36
drwxr-xr-x  2 nginx nginx  4096 Feb 24 01:05 ./
drwxr-xr-x 13 nginx nginx  4096 Apr 17 08:48 ../
-rw-r--r--  1 nginx nginx 10949 Feb 24 01:05 create_tables.sql
-rw-r--r--  1 nginx nginx  1665 Feb 24 01:05 upgrade_column_info_4_3_0+.sql
-rw-r--r--  1 nginx nginx   671 Feb 24 01:05 upgrade_tables_4_7_0+.sql
-rw-r--r--  1 nginx nginx  5691 Feb 24 01:05 upgrade_tables_mysql_4_1_2+.sql
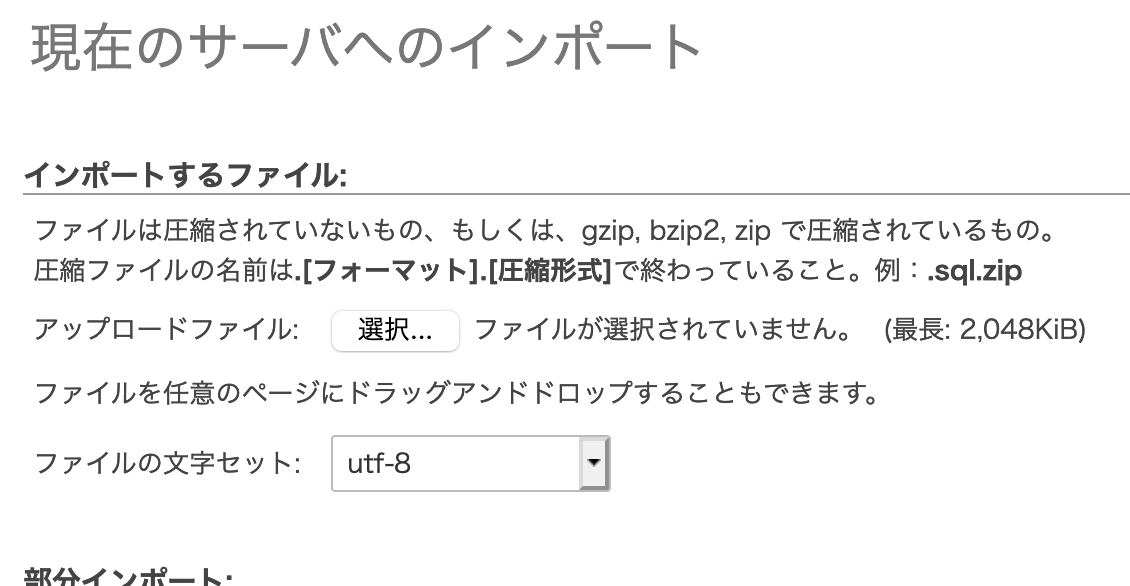
ブラウザでphpmyadminを開きUIの上部メニューからインポート。
アップロードファイルの選択でcreate_table.sqlを選んでインポート実行
設定ファイルに追記された下記の行をコメントアウトする。
$ sudo vi /usr/share/phpmyadmin/config.inc.php

~~
/* Storage database and tables */
// $cfg['Servers'][$i]['pmadb'] = 'phpmyadmin';
// $cfg['Servers'][$i]['bookmarktable'] = 'pma__bookmark';
// $cfg['Servers'][$i]['relation'] = 'pma__relation';
// $cfg['Servers'][$i]['table_info'] = 'pma__table_info';
// $cfg['Servers'][$i]['table_coords'] = 'pma__table_coords';
// $cfg['Servers'][$i]['pdf_pages'] = 'pma__pdf_pages';
// $cfg['Servers'][$i]['column_info'] = 'pma__column_info';
// $cfg['Servers'][$i]['history'] = 'pma__history';
// $cfg['Servers'][$i]['table_uiprefs'] = 'pma__table_uiprefs';
// $cfg['Servers'][$i]['tracking'] = 'pma__tracking';
// $cfg['Servers'][$i]['userconfig'] = 'pma__userconfig';
// $cfg['Servers'][$i]['recent'] = 'pma__recent';
// $cfg['Servers'][$i]['favorite'] = 'pma__favorite';
// $cfg['Servers'][$i]['users'] = 'pma__users';
// $cfg['Servers'][$i]['usergroups'] = 'pma__usergroups';
// $cfg['Servers'][$i]['navigationhiding'] = 'pma__navigationhiding';
// $cfg['Servers'][$i]['savedsearches'] = 'pma__savedsearches';
// $cfg['Servers'][$i]['central_columns'] = 'pma__central_columns';
// $cfg['Servers'][$i]['designer_settings'] = 'pma__designer_settings';
// $cfg['Servers'][$i]['export_templates'] = 'pma__export_templates';
~~