〇導入する各ソフトウェアのバージョン
- Anaconda:5.0(Python 3.6)
- CUDA:8.0
- cuDNN:6.0
- Keras:2.1.1
- tensorflow-gpu:1.4.0
〇導入のポイント(2017年12月現在)
- 【1.導入-CUDA8.0のインストール】CUDAは9.0ではなく8.0をインストール ⇒ WindowsのcuDNNはまだCUDA9.0に非対応
- 【2.環境構築】kerasのインストールはコマンドプロントではなくPowerShellで行う ⇒ pipでインストール時に文字コードによる導入失敗を回避
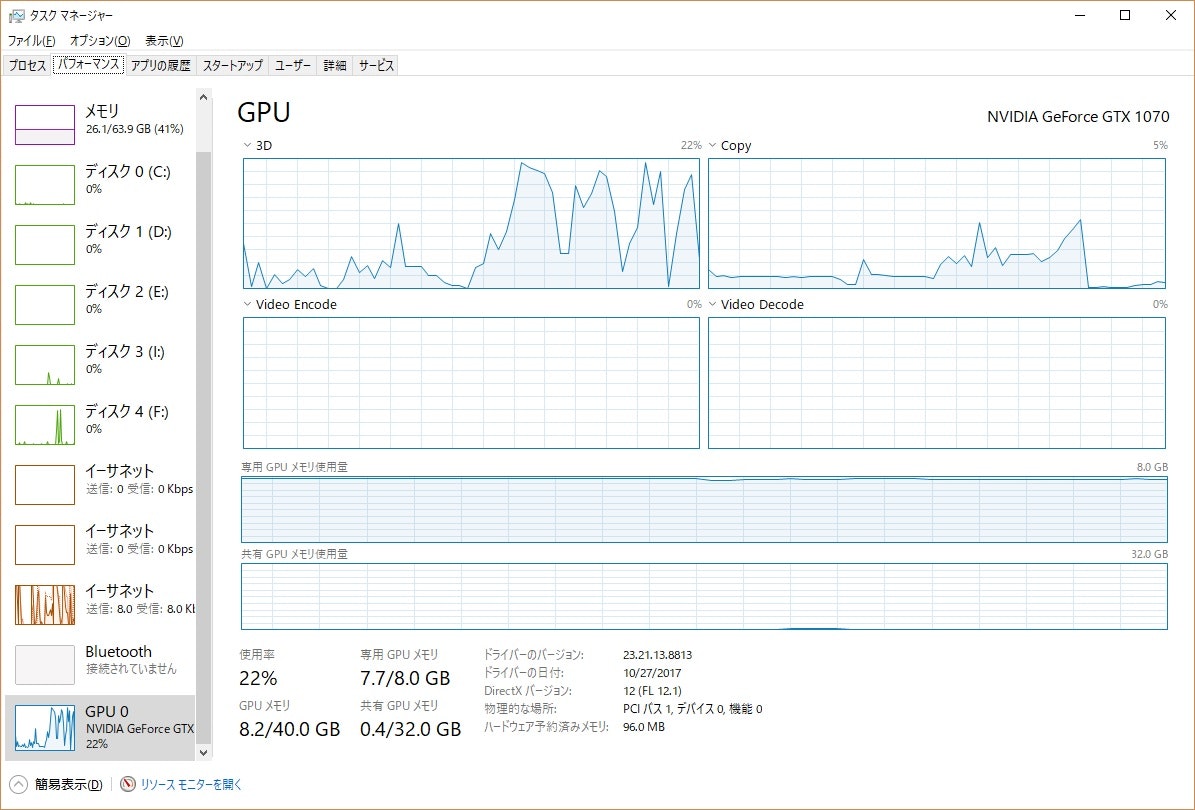
- 【3.利用】Kerasで少し重い処理を行うと「failed to create cublas handle: CUBLAS_STATUS_ALLOC_FAILED」というエラーが発生するためGPUメモリの使用制限を設定する ⇒ TensorFlowのデフォルトだとGPUのメモリを100%まで利用しようとするため、ある程度でGPUのメモリ確保失敗が発生する
1.導入
1.1.CUDA8.0のインストール
CUDA Toolkit 8.0 - Feb 2017
↑「Operating System:Windows, Architecture:x86_64, Version:10」を選択しダウンロード&インストール
1.2.cuDNN6.0のインストール
cuDNN Download
Download cuDNN v6.0 (April 27, 2017), for CUDA 8.0」から「cuDNN v6.0 Library for Windows 10」を選択しダウンロード。
ダウンロードしたファイルを展開し「C:\Program Files\NVIDIA GPU Computing Toolkit\CUDA\v8.0」配下の同じディレクトリに設置(上書き)
1.3.Anaconda 5.0(Python 3.6)のインストール
Download Anaconda Distribution
「Python 3.6 version」の64-Bitをダウンロード&インストール
2.環境構築(KerasとTensorFlowのインストールを含む)
下の作業は「Windows PowerShell」で行うこと。
2.1.仮想環境の作成
conda create -n [仮想環境名] python=3.6
2.2.仮想環境のアクティブ化
activate [仮想環境名]
2.3.TensorFlow(GPU)のインストール
pip install --ignore-installed --upgrade tensorflow-gpu
2.4.Kerasのインストール
pip install keras
3.利用
3.1.「failed to create cublas handle: CUBLAS_STATUS_ALLOC_FAILED」というエラーが発生した場合
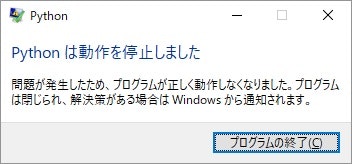
下の様なログが出力されPython自体が落ちます。
[W 10:55:58.509 NotebookApp] Saving untrusted notebook classifier/fine-tuning-vgg16.ipynb
2017-12-23 10:56:26.508105: E C:\tf_jenkins\home\workspace\rel-win\M\windows-gpu\PY\36\tensorflow\stream_executor\cuda\cuda_blas.cc:366] failed to create cublas handle: CUBL
AS_STATUS_ALLOC_FAILED
3.1.1.【対応】必要なライブラリをimport後、下のコードを実行してGPUの使用率を制限する
# TensorFlowのGPUメモリ使用量の制限
import tensorflow as tf
from keras.backend.tensorflow_backend import set_session
config = tf.ConfigProto()
config.gpu_options.per_process_gpu_memory_fraction = 0.8
set_session(tf.Session(config=config))
ログに下の様な使用率が出力されるのでtotalMemoryとfreeMemoryの値を参考に上のper_process_gpu_memory_fractionに使用率を指定
name: GeForce GTX 1070 major: 6 minor: 1 memoryClockRate(GHz): 1.7715
pciBusID: 0000:01:00.0
totalMemory: 8.00GiB freeMemory: 6.64GiB
「6.6 / 8.0 = 0.825」 ⇒「per_process_gpu_memory_fraction = 0.8」
これでバリバリKerasでGPUを利用できます。


