はじめに
Microsoft Igniteの発表でPower Automateの「per user with attended RPA plan」で「Power Automate Desktop」が使用できるようになりました。現時点でPreview版です。
UI Flowsの紹介ページ
https://flow.microsoft.com/ja-jp/ui-flows/
Jumpstart your business with Power Automate’s new desktop RPA solution
https://flow.microsoft.com/en-us/blog/jumpstart-your-business-with-power-automates-new-desktop-rpa-solution/
ここでは、「Power Automate Desktop」のインストール手順を記載します。
操作方法についてもまとめてみましたので併せてご覧ください。
【Power Automateの新しいRPA機能】Power Automate Desktopの操作方法(ExcelとWebブラウザ操作の自動化)
機能紹介記事も作成しました。併せて御覧ください。(2020年9月26日追記)
【Power Automateの新しいRPA機能】Power Automate Desktopで出来ること(全33機能の紹介))
利用前提条件
2020年9月23日時点の前提条件
・Power Automate Attended RPA の有料または試用ライセンスが必要。(試用ライセンスの取得方法は下記に記載しています。)
・管理者権限とPower Automateを使用するWindowsデバイスにサインインする職場または学校のアカウント。
・Windows 10 Pro、Windows 10 Enterprise、Windows Server 2016、または Windows Server 2019 。
・Microsoft Edge(バージョン80以降)またはGoogle Chromeブラウザ。
・Common Data Service databaseを持つ環境。
・サポートされているキーボードが接続されていること。
以下から引用しました。
Set up UI flows and Power Automate Desktop (preview)
前提条件についての追記
Power Automate Desktopは、UI Flowsの1機能として提供されています。
そのため、利用にあたってはCDSやUI Flowsのセットアップが必要となります。
UI Flowsのセットアップについては、RPA HACKさんの記事がCDSやオンプレミスデータゲートウェイのセットアップにも触れています。
これで上手くいくとはこの記事で設定をしたわけでは断言できませんが、少なくとも必要な設定について書かれていると思います。
Power AutomateのRPA機能「UI flows」の始め方
どこからダウンロードするのか
今のところ見つけることができたのは、Power AutomateのUI Flowsの画面からです。
Power Automateのページへアクセスし、Microsoft アカウントやMicrosoft 365アカウントでログインします。
Try the Power Automate Desktop
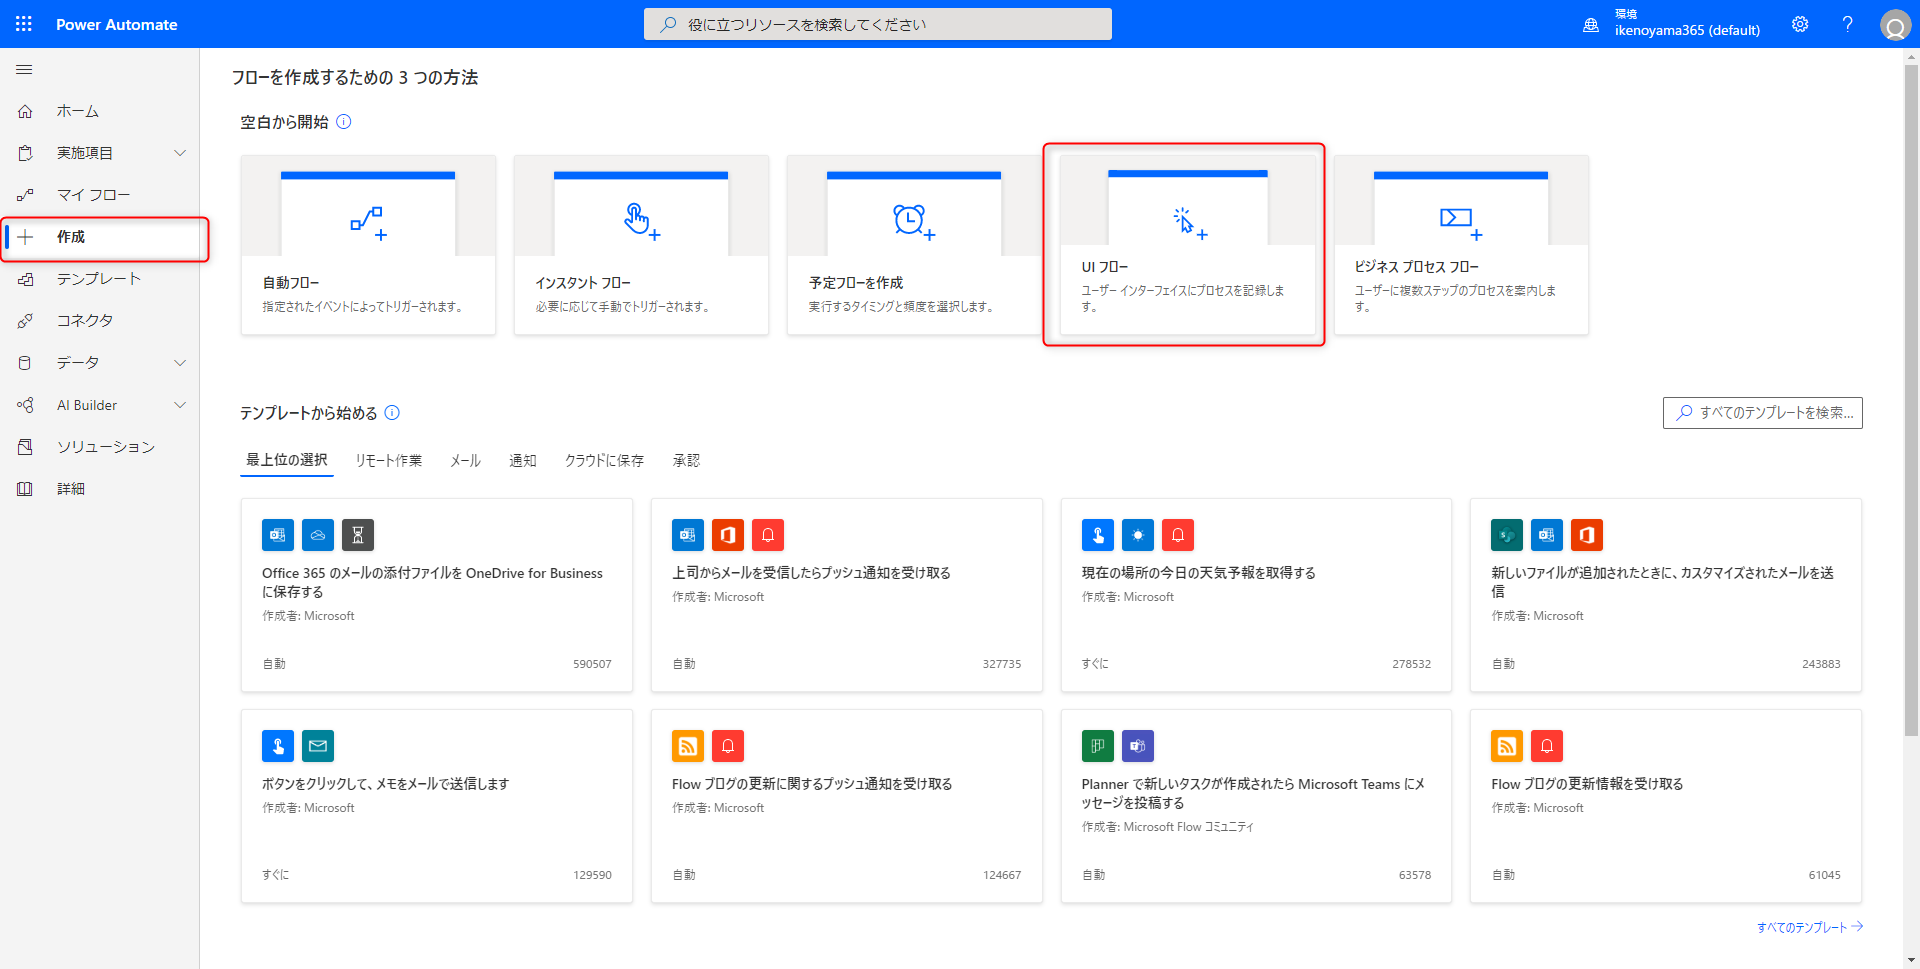
Power Automateの画面が表示されますので、「作成」→「Ui フロー」を選んでください。
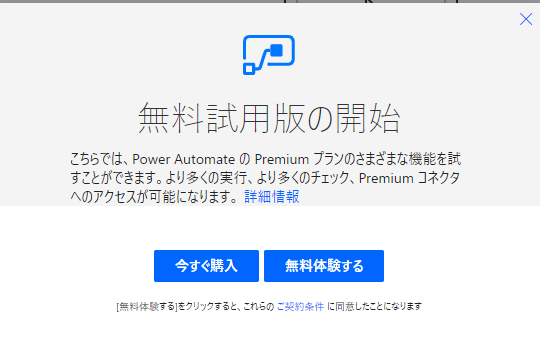
UI Flowの試用版の確認が出たら「無料体験する」を選択してください。
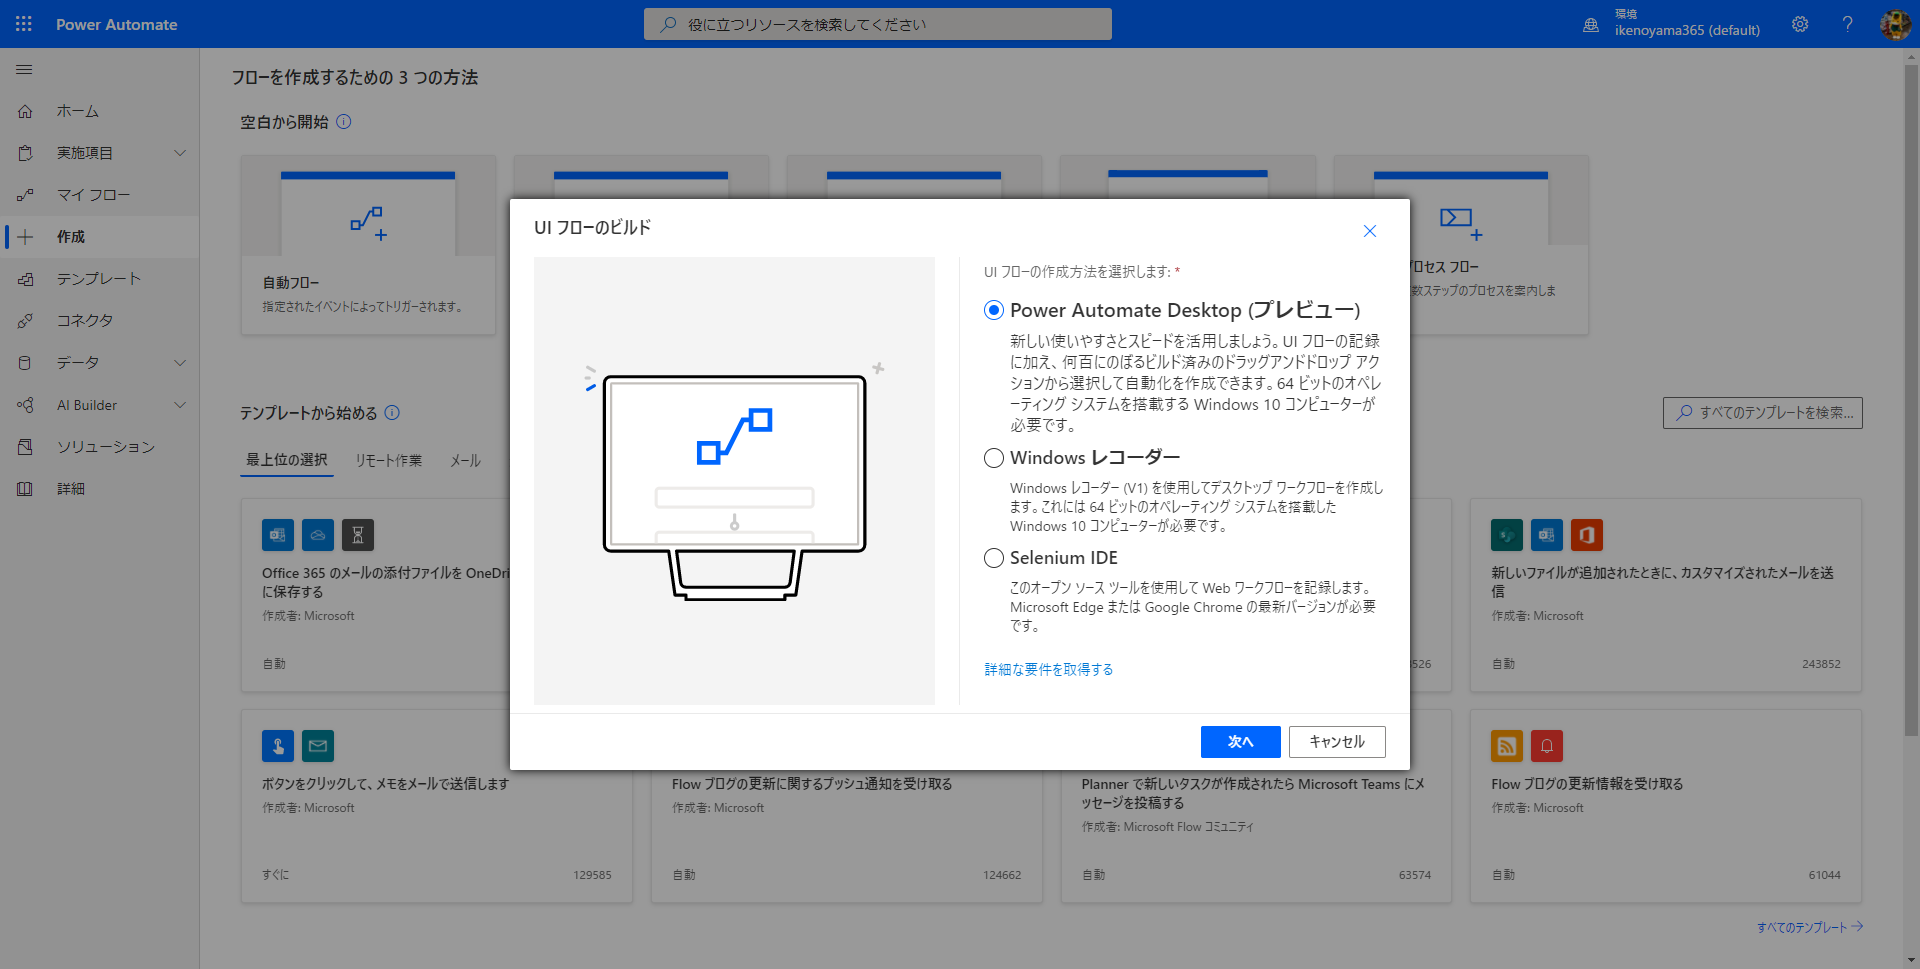
「UI フローのビルド」が表示されたら、「Power Automate Desktop(プレビュー)」を選択し、「次へ」
「Power Automate Desktop アプリを起動しています」が表示されたら「アプリを入手する」を選択してください。
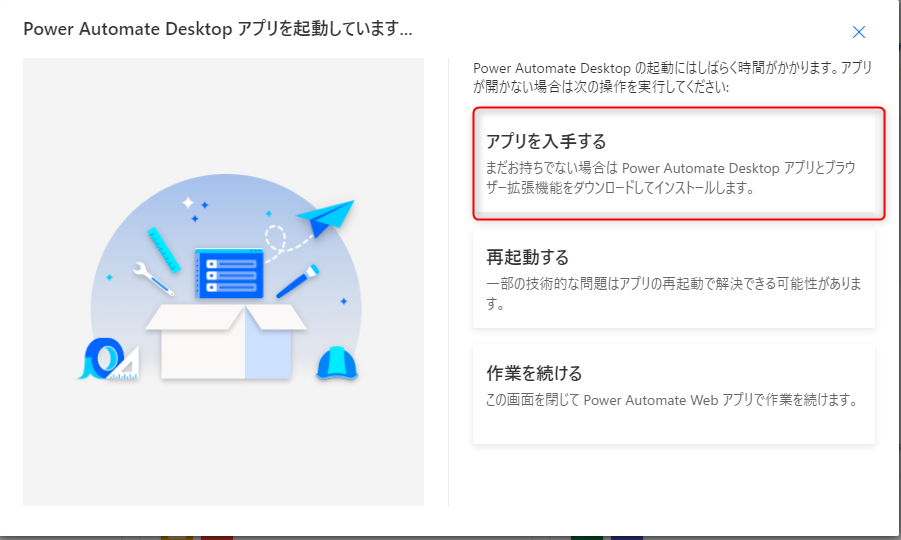
ダウンロードがはじまります。ダウンロードが終わったらインストールを開始します。
インストール手順
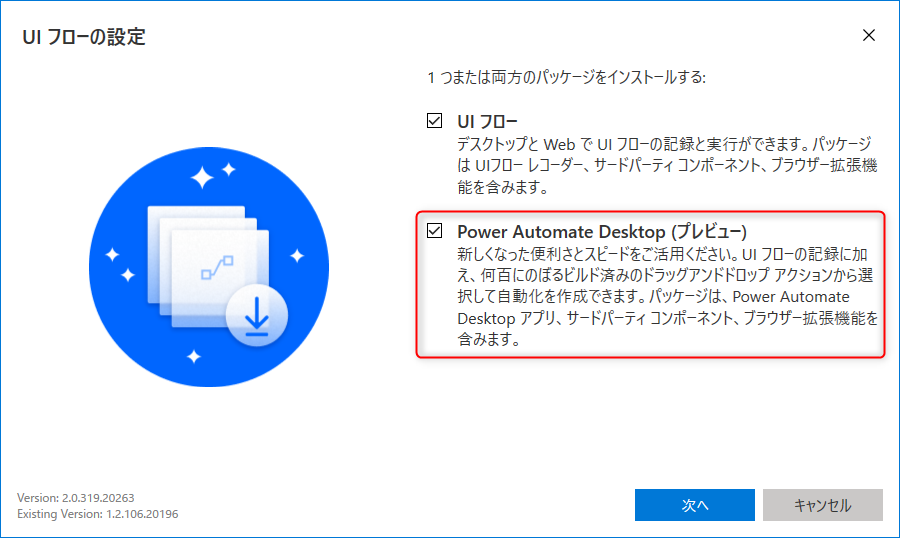
インストールがはじまり、「Power Automate Desktop(プレビュー)」を選択し、「次へ」
「インストールの詳細」で一番下の「[インストール]を選択すると~」の使用条件を確認し、チェックを入れてインストール。

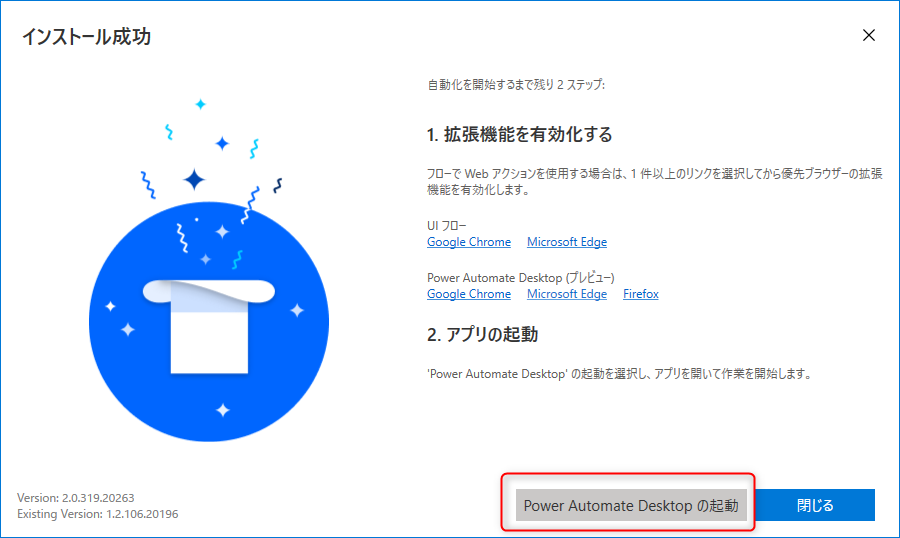
インストール成功の画面が表示されます。
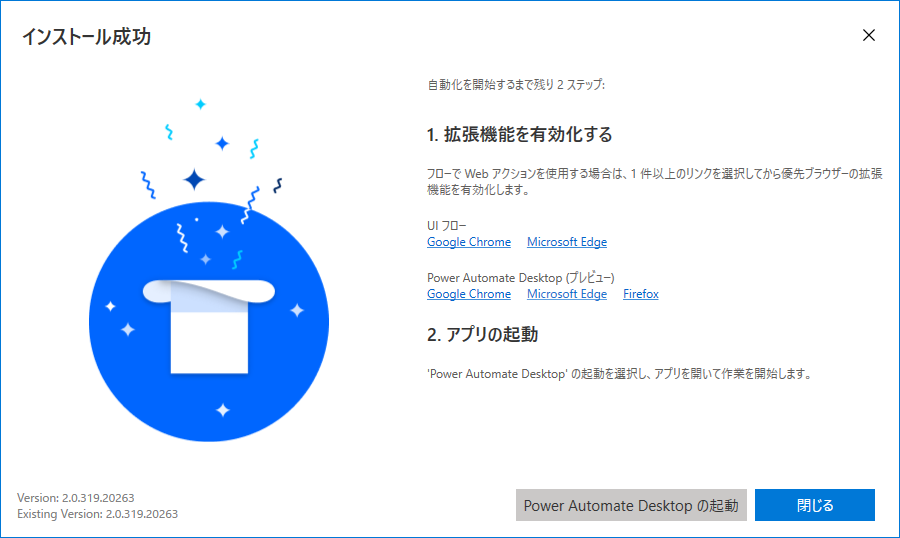
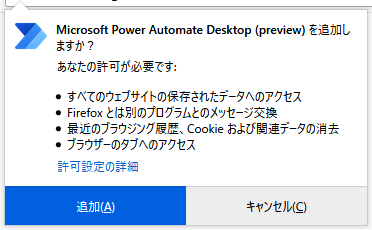
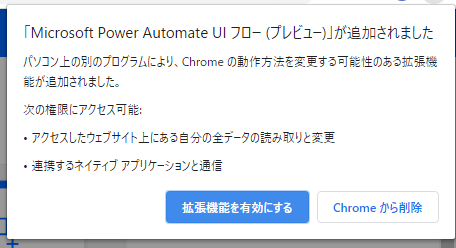
各Webブラウザの拡張機能を有効にするか確認が出るので有効化する。(Webブラウザごとに表示されます。)
Firefox
Chrome
※Edgeはキャプチャ取り忘れ
インストール成功画面の「Power Automate Desktopの起動」をクリックします。
「Power Automate Desktop」が起動します。
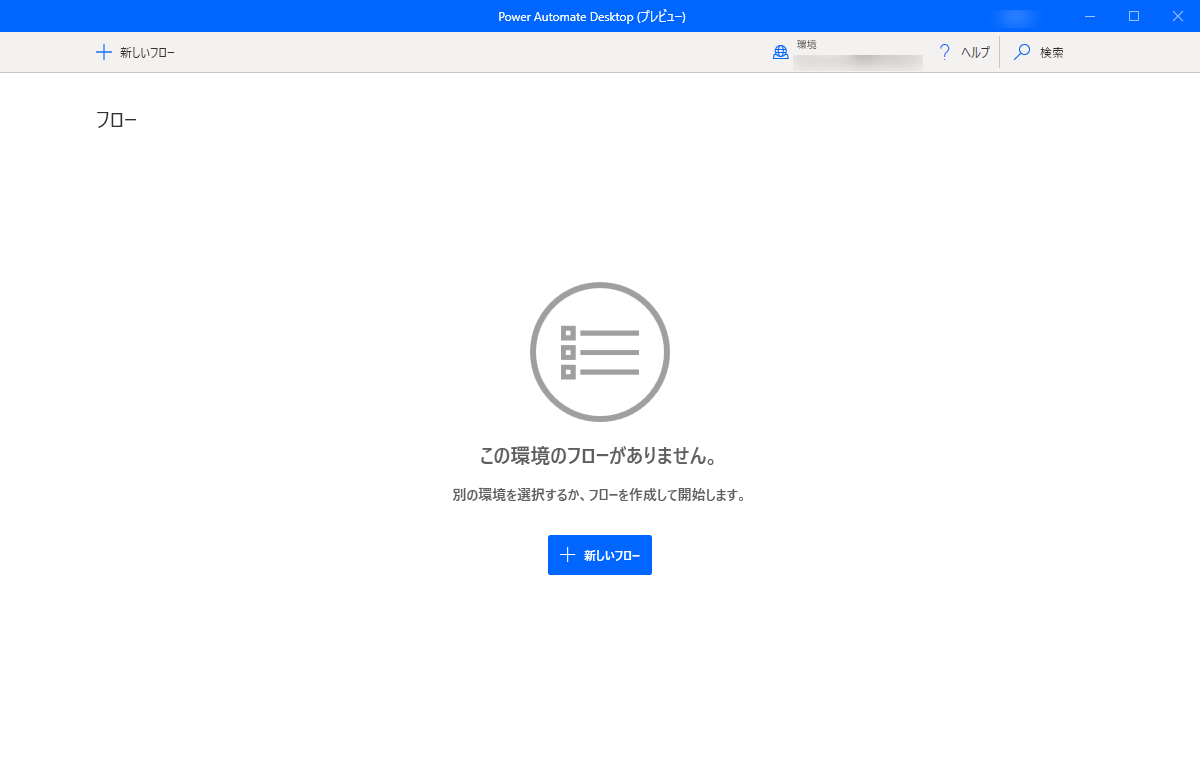
今回はインストールなのでここまでです。
おわり
「Power Automate」の「per user with attended RPA plan」では、「UI Flows」と「WinAutomation」がそれぞれ使用できていましたが、「Power Automate Desktop」は、「UI Flows」の機能として「WinAutomation」をベースに作成され組み込まれた新たなRPA機能ということになるようです。
APIとデスクトップオートメーションの連携がより進むことができ、自動化の範囲が広がるツールだと思いますのでこれからより楽しみです。