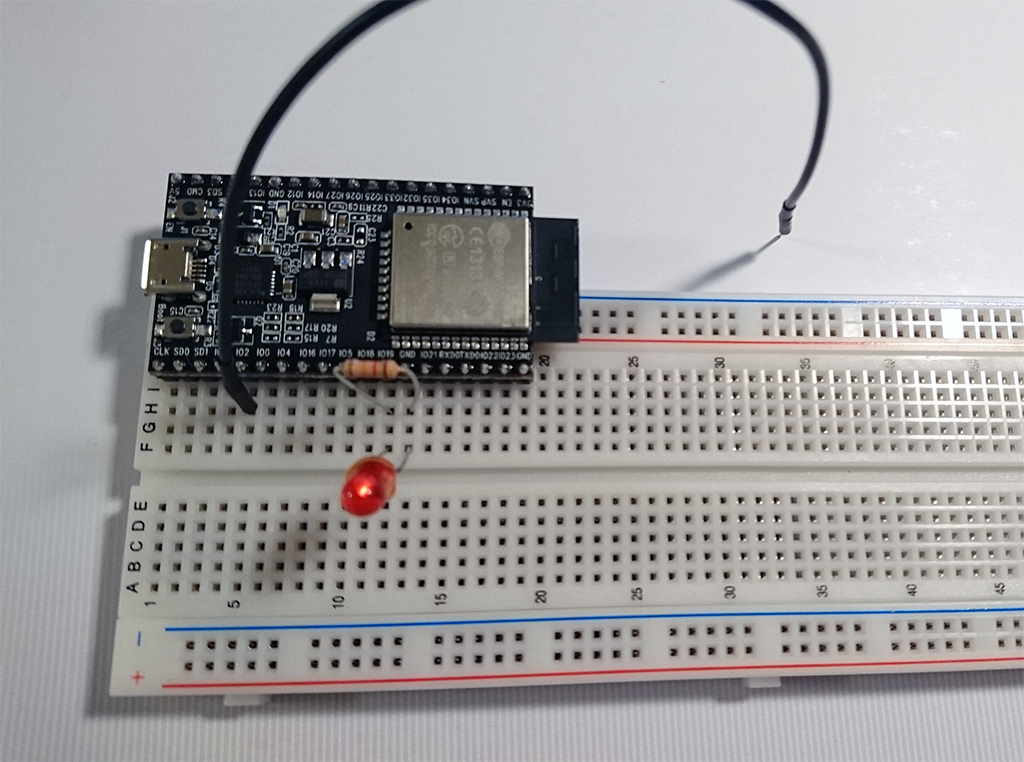
使用した環境、開発ボードなど
- ESP32-DevKitC ESP-WROOM-32 開発ボード
- macOS 10.12 Sierra
- Arduino IDE 1.6.12
- LED 1個
- 抵抗 1個
- ジャンパー線 1本
- ブレッドボード 1個
やりたいこと
ESP32に搭載されている静電タッチインターフェイスを入力デバイスとして、タッチしたらLチカする仕組みを作ります。
準備
-
Arduino IDE をセットアップし、USBドライバをセットアップします。
- USBドライバはCP210x USB - UART ブリッジ VCP ドライバを使用しました。
- ESP32用のArduino CoreはespressifさんのArduino core for the ESP32を使用しました。
- ピン配置はCoreと同じページに載っています。

-
ブレッドボードに ESP32-DevKitC、LED、抵抗、ジャンパー線を接続します。
ピンは片側だけ使うのでこんな感じで接続しました。
Arduino IDE
const int LED = 19;
const int HOLD = 40;
boolean touched = false;

void gotTouch(){
  Serial.println("Got touch!");
  touched = true;
}

void setup() {
    Serial.begin(115200);
    delay(1000);
    pinMode(LED, OUTPUT);
    touchAttachInterrupt(T2, gotTouch, HOLD);
    Serial.println("End setup.");
    delay(1000);
}

void loop(){
    if(touched){
        touched = false;
        digitalWrite(LED, HIGH);
        delay(500);
        digitalWrite(LED, LOW);
    }
}
想定される結果
うまくいけば、IO2に接続したジャンパー線を手で触るとLチカされるはずです。
はまったところ
gotTouch()の中で直接digitalWrite()したら動きませんでした。
参考にしたソースでも、loop()の中で処理しているので何かの理由があるのだと思われます。
