はじめに
Python、最近の機械学習の流行りを受けて、周りにも使っている人が増えている気がします。MacやLinuxでは通常Pythonはインストールされているので良いのですが、Windowsだとひと手間必要です。そこで、WindowsでPythonを使うための環境を構築する手順をごくごく簡単にまとめました。ちなみに、ここではJetBrainsが開発しているPython用のIDEであるPyCharmを使う方法を書いています。
① Pythonのインストール
Python公式サイトからWindows用のPythonインストーラをダウンロードして、インストールします。今回は、2.X系の最新版(ver. 2.7.11 : 2016年6月現在)をインストールしました。インストールパスはデフォルト設定のままCドライブ直下にしました。
② PyCharmのインストール
Pythonのインストールが終わったら、PyCharmをPyCharm公式ページからダウンロードしてインストールします。有料のProfessionalと無料のCommunityがありますが、今回は無料のCommunityをインストールしました。同じ会社が作っているので当たり前かもしれませんが、Android StudioとUIがそっくりですね。
③ PyCharmでのプロジェクトの作成
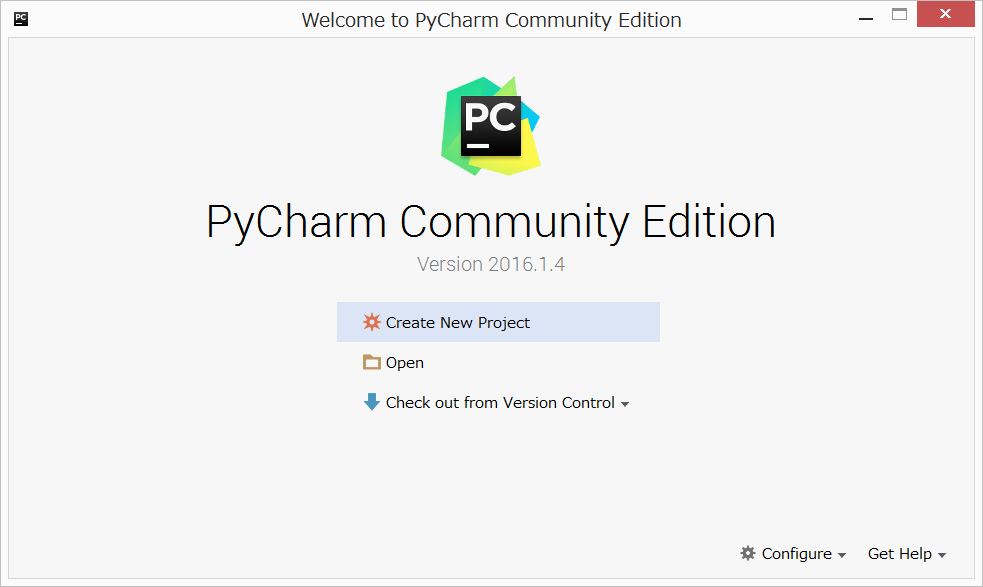
PyCharmを起動すると、以下のようなウィンドウが立ち上がります。
 Create New ProjectをクリックするとNew Projectウィンドウが開くのでLocationのuntitledを適当にリネームしてください。InterpreterはPythonが予めインストールされていれば勝手に記入されます。もし何も記載されていなければ①でインストールしたPythonのパスをマニュアルで入れてください。最後にCreateを押せばプロジェクト作成は完了です。
