TL;DR
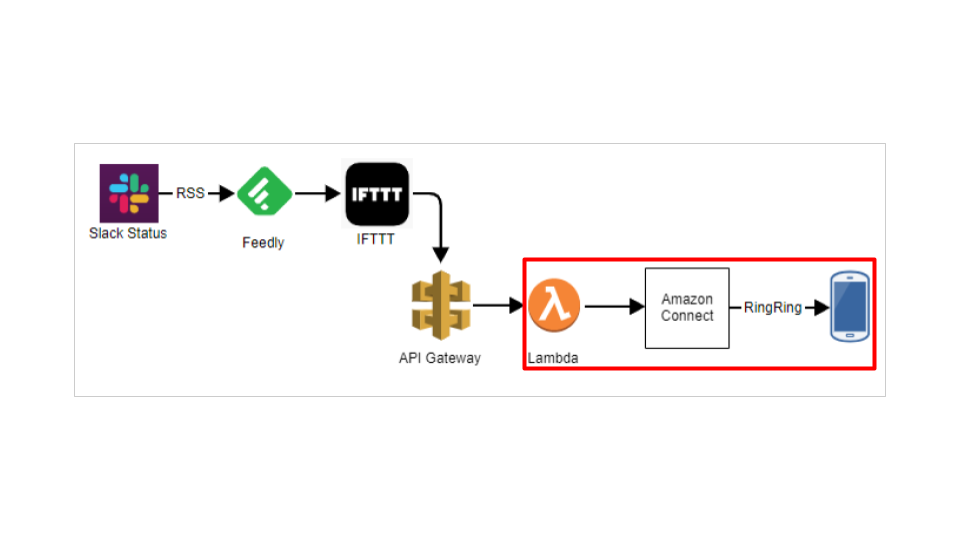
Slack 장애 발생을 전화로 전달받고 싶었습니다.
Amazon Connect의 OutBoundCall(아웃바운드콜) 을 활용해서 구현해보았습니다.
전체 과정에서Lambda > Amazon Connect > Phone부분을 기록하였습니다.
Amazon Connect 설정
Amazon Connect > 인스턴스 추가

(고유의) 액세스 URL을 지정 (예: betahelloworld) > 다음
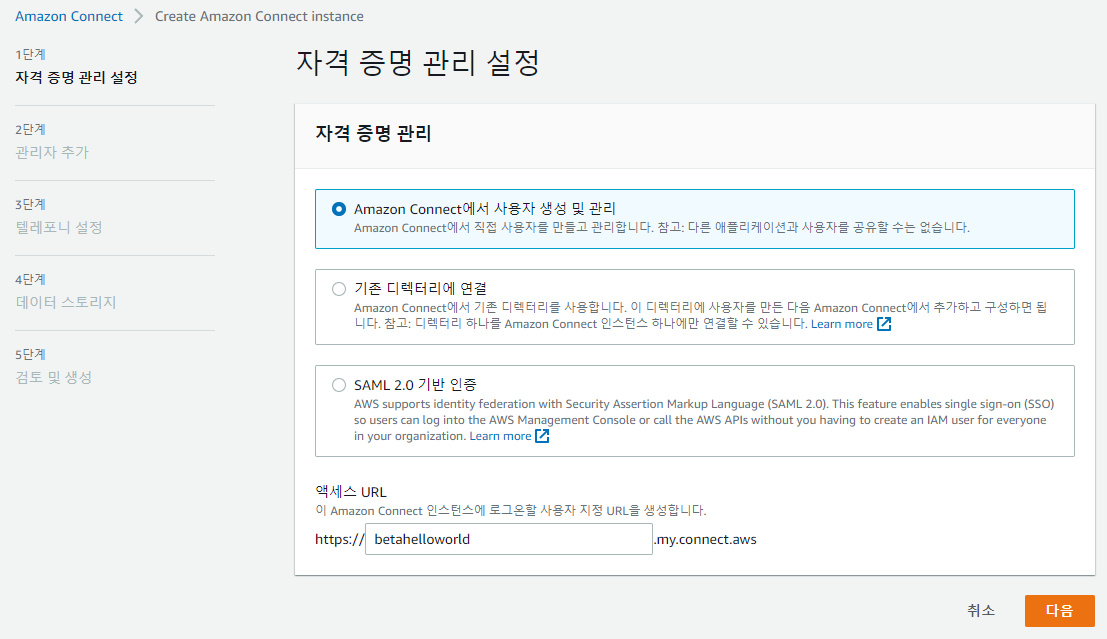
※ 액세스 URL이 고유값이 아니면 최종 단계에서 인스턴스가 추가되지 않습니다. (예: helloworld 경우)

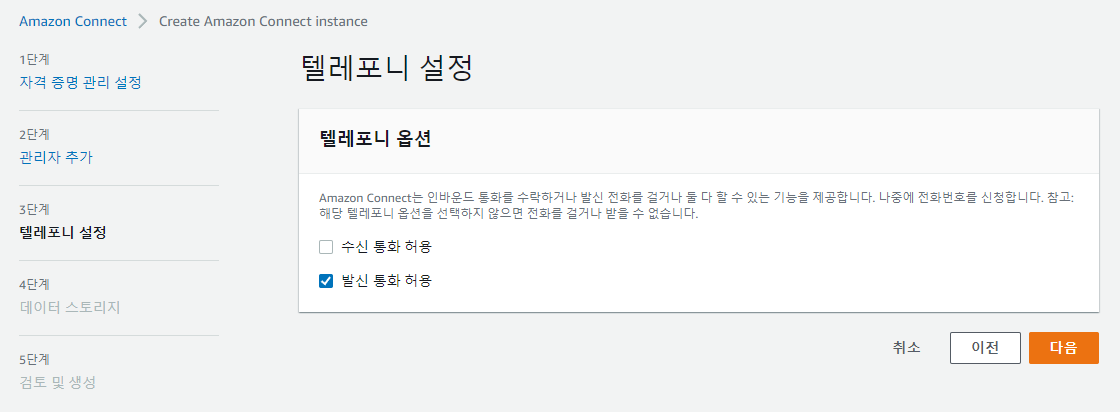
텔레포니 설정 > 발신 통화 허용만 체크 > 다음
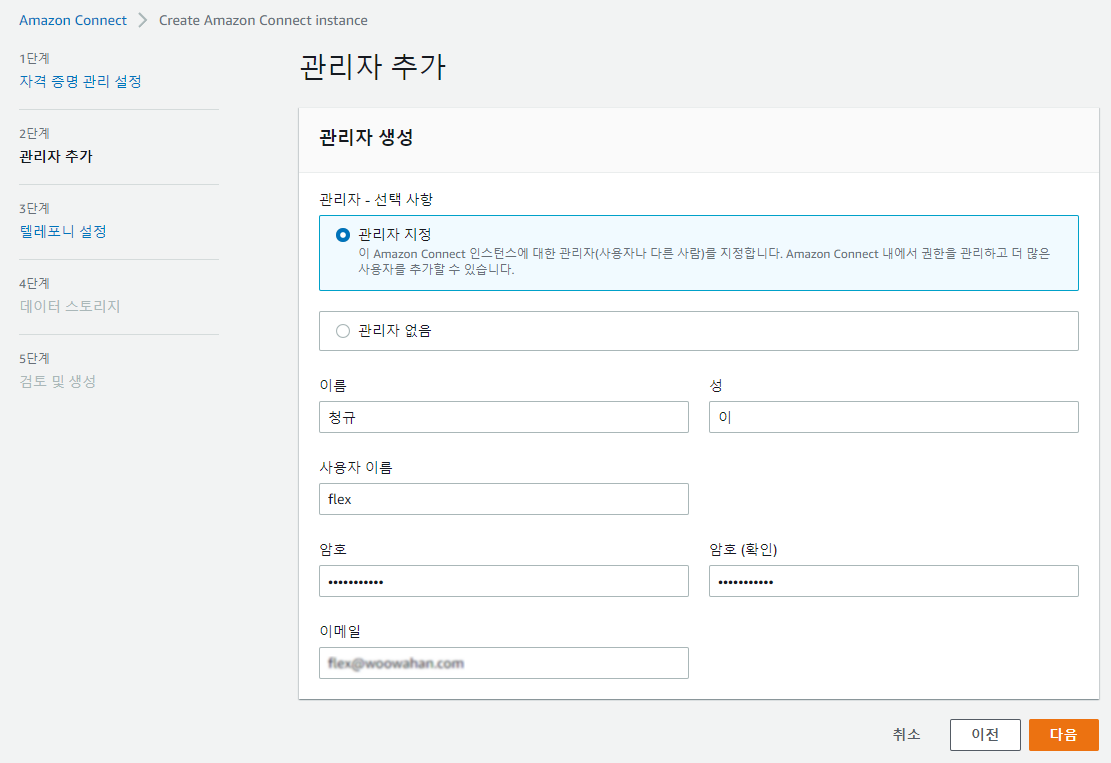
관리자 정보 입력 > 다음 > 데이터 스토리지 > 다음 > 인스턴스 생성
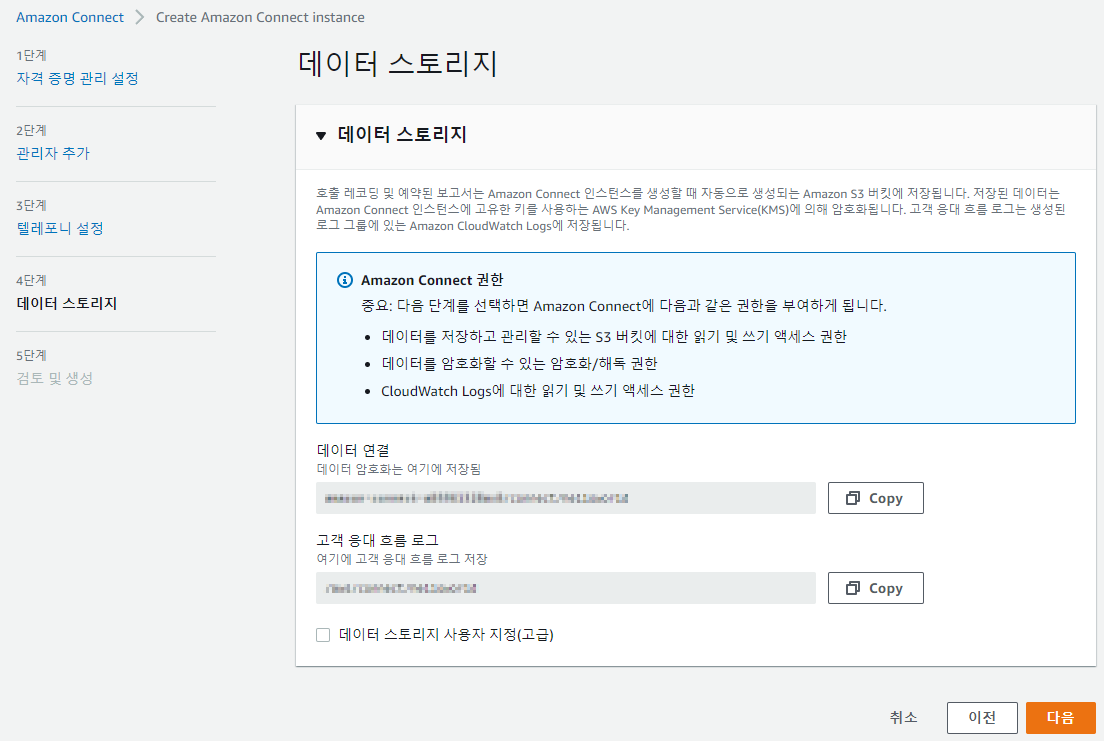
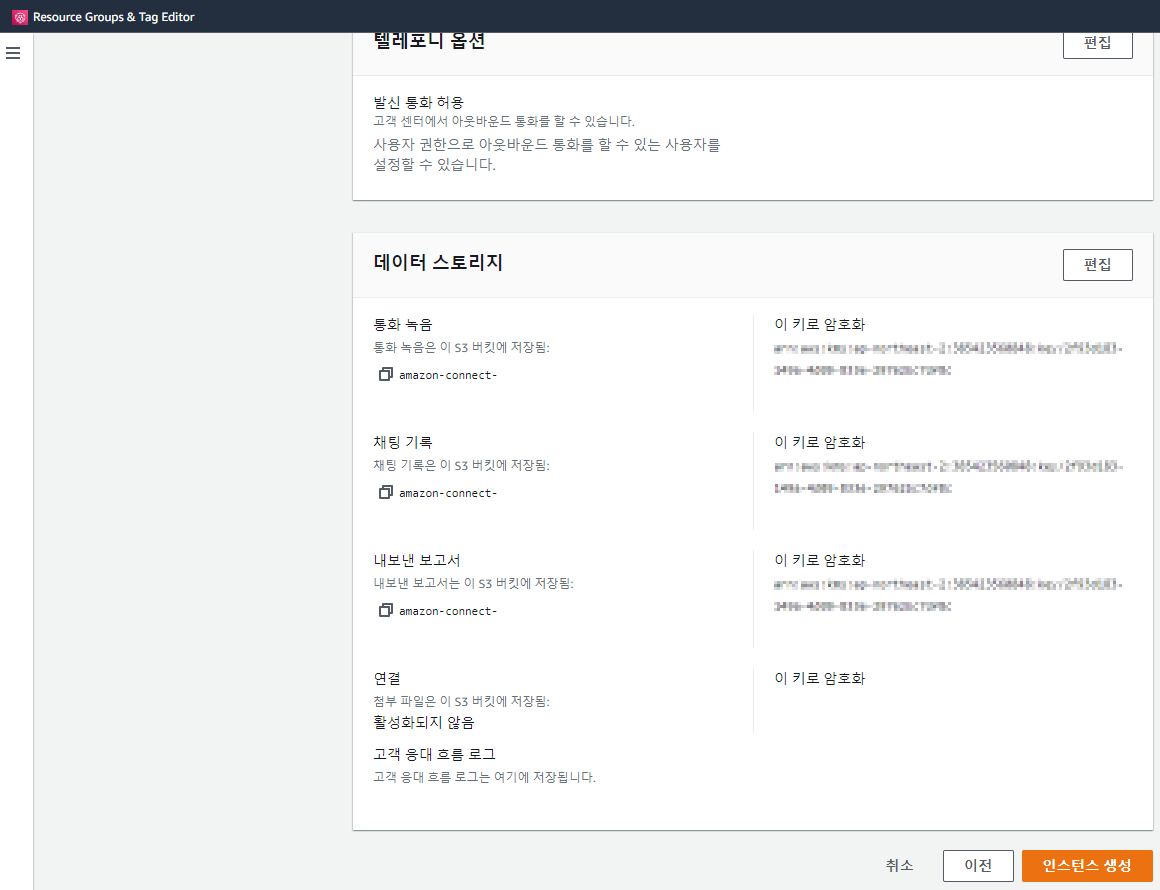
배너확인 : betahelloworld 인스턴스 설정 중 (5분 내외 소요됩니다) > 성공! > 액세스 URL 클릭


Amazon Connect 인스턴스가 생성되었습니다. 인스턴스의 설정이 필요합니다.
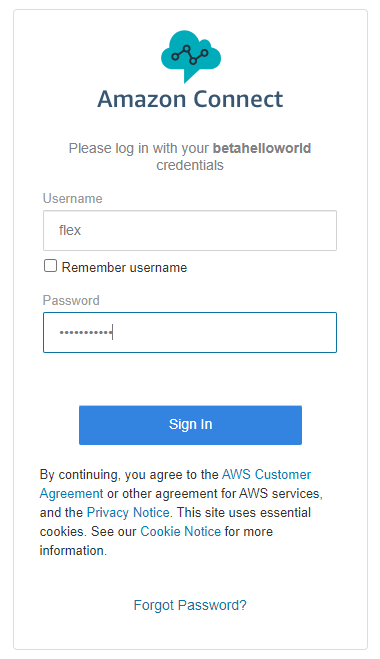
액세스 URL (예: https://betahelloworld.my.connect.aws) > 로그인 > 언어 변경 (한국어)
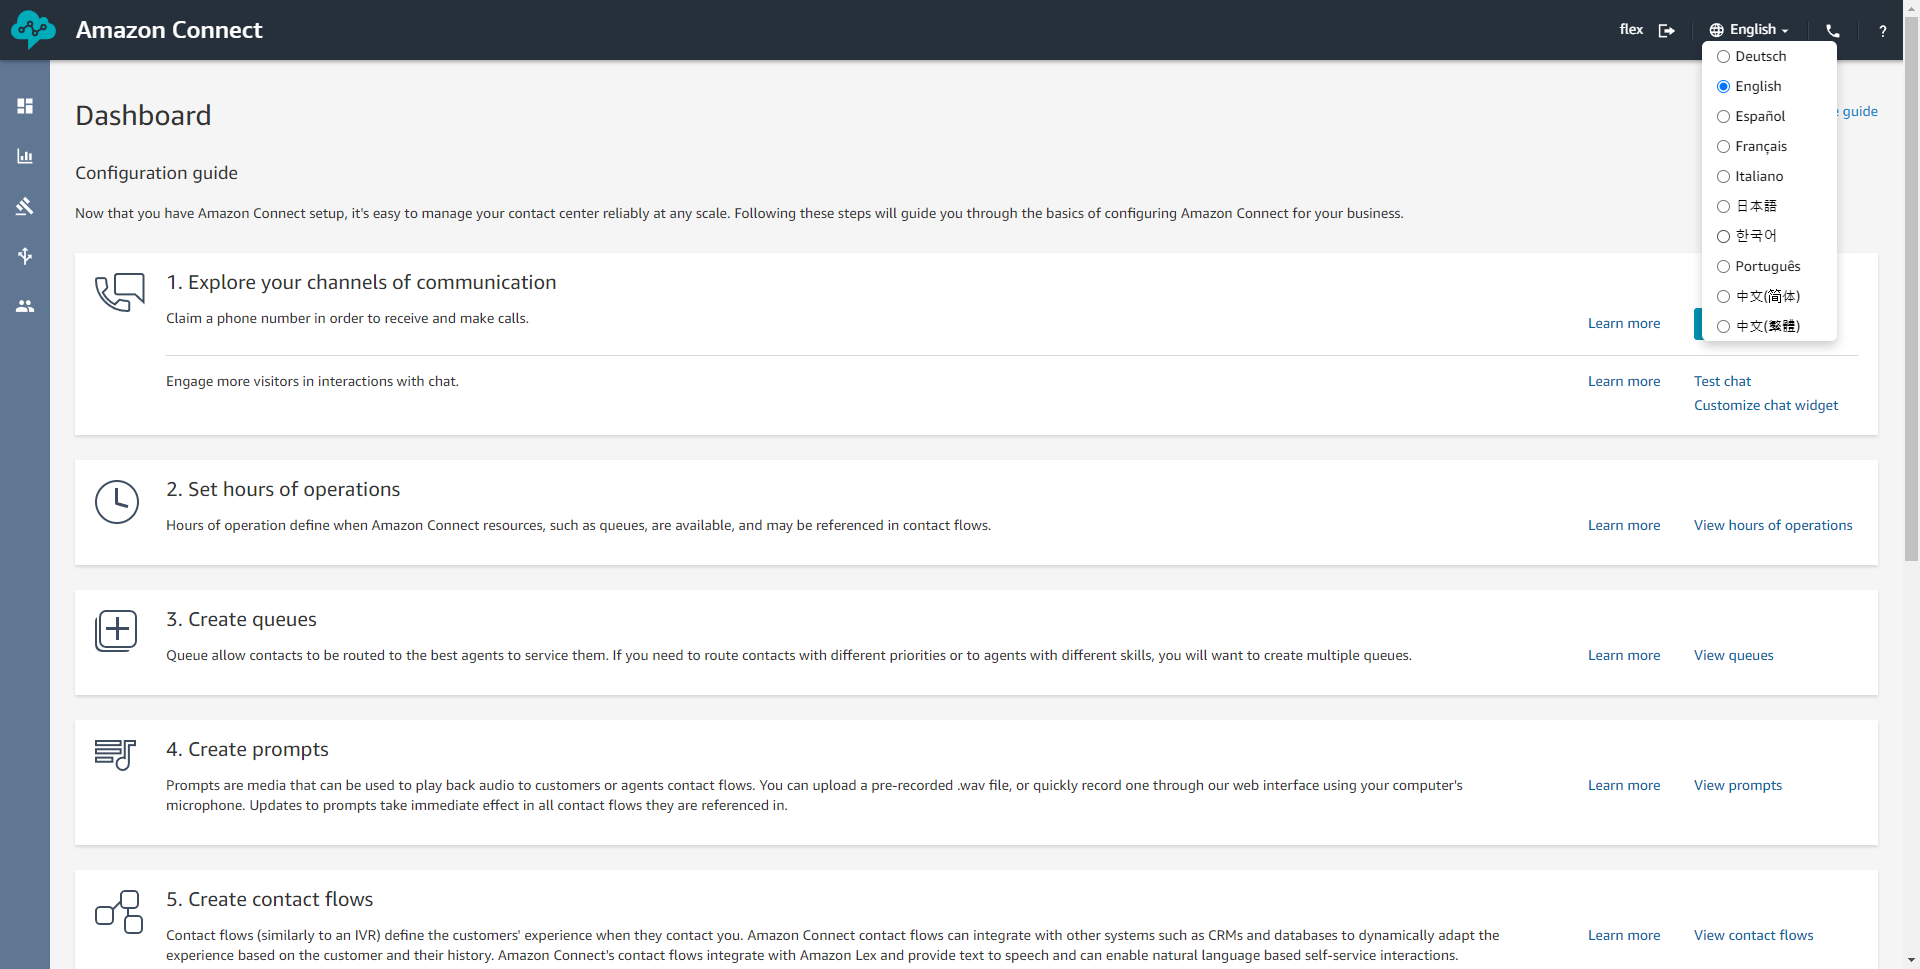
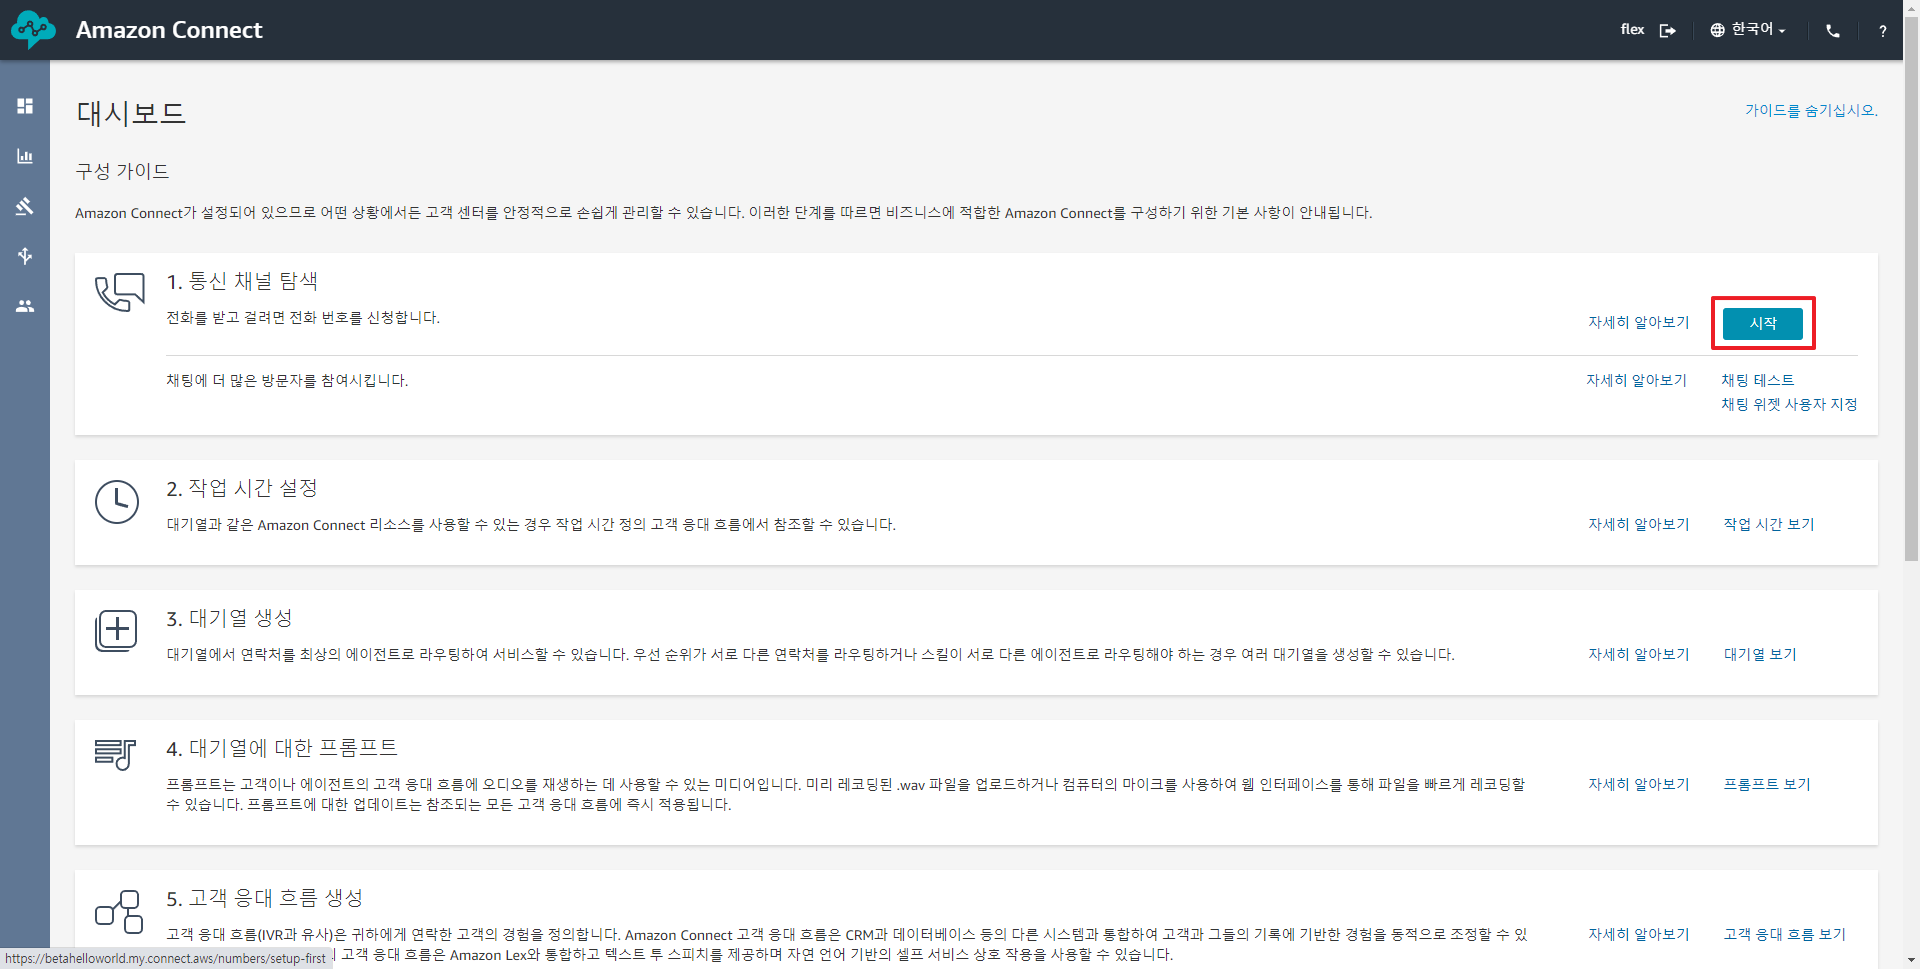
대시보드 > 1. 통신 채널 탐색 > 시작
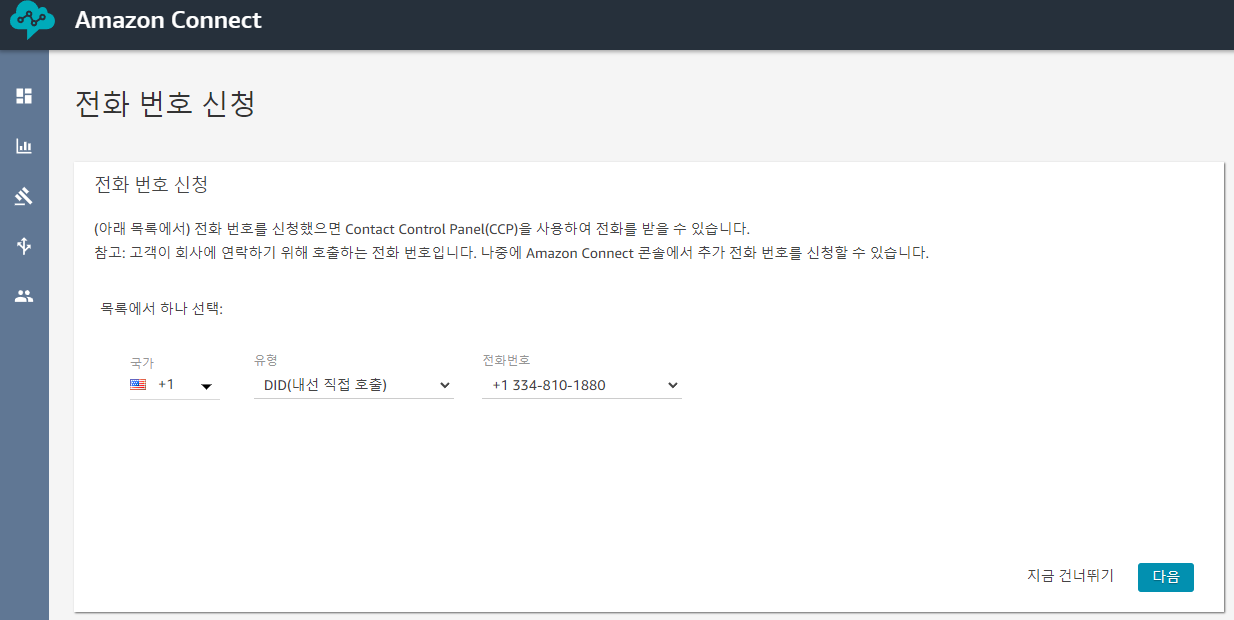
국가 : 미국, 유형 : DID, 전화번호 : 택1 > 다음 > Continue
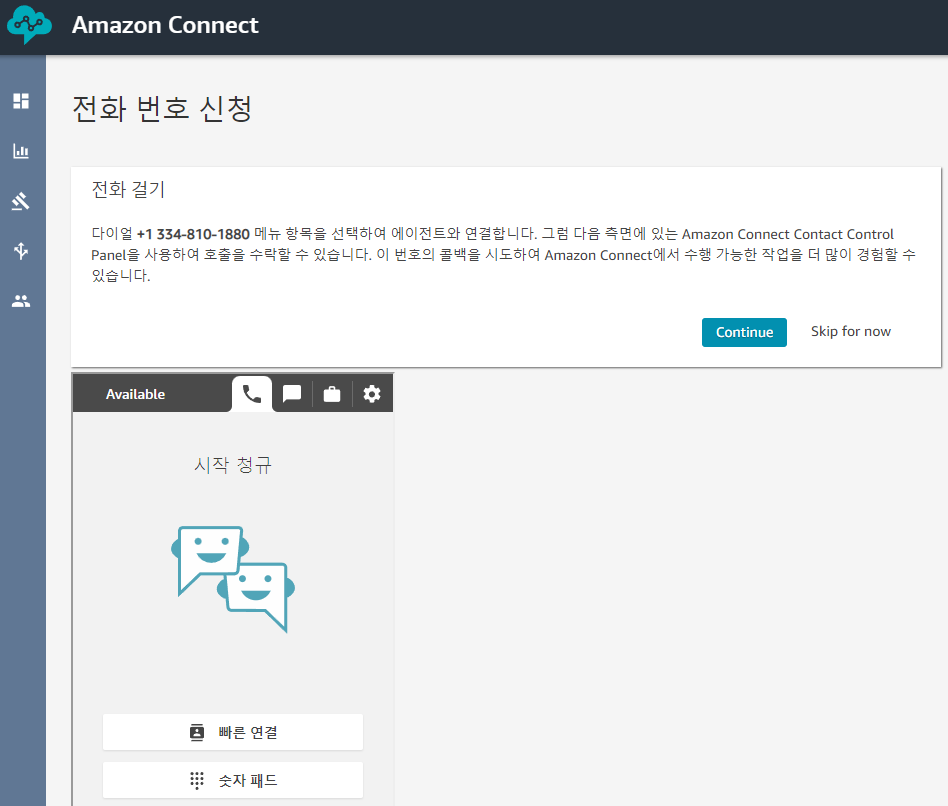
고객 응대 흐름 (전화 워크플로우) 를 생성합니다.
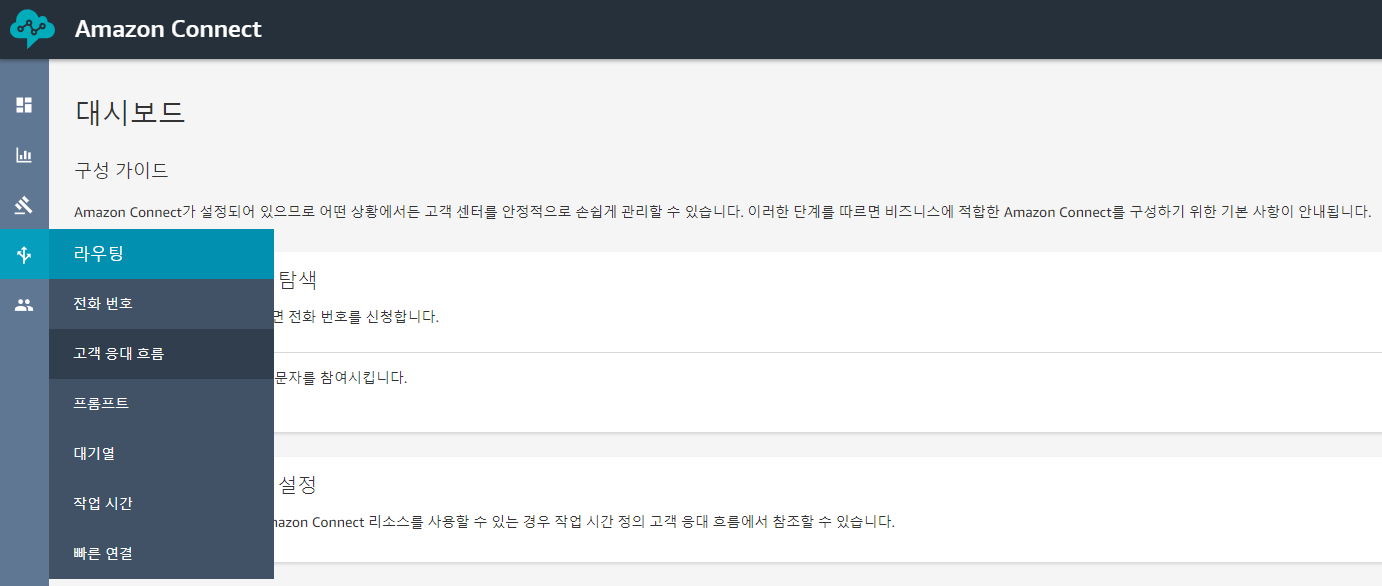
대시보드 > 라우팅 > 고객 응대 흐름 > 고객 응대 흐름 생성
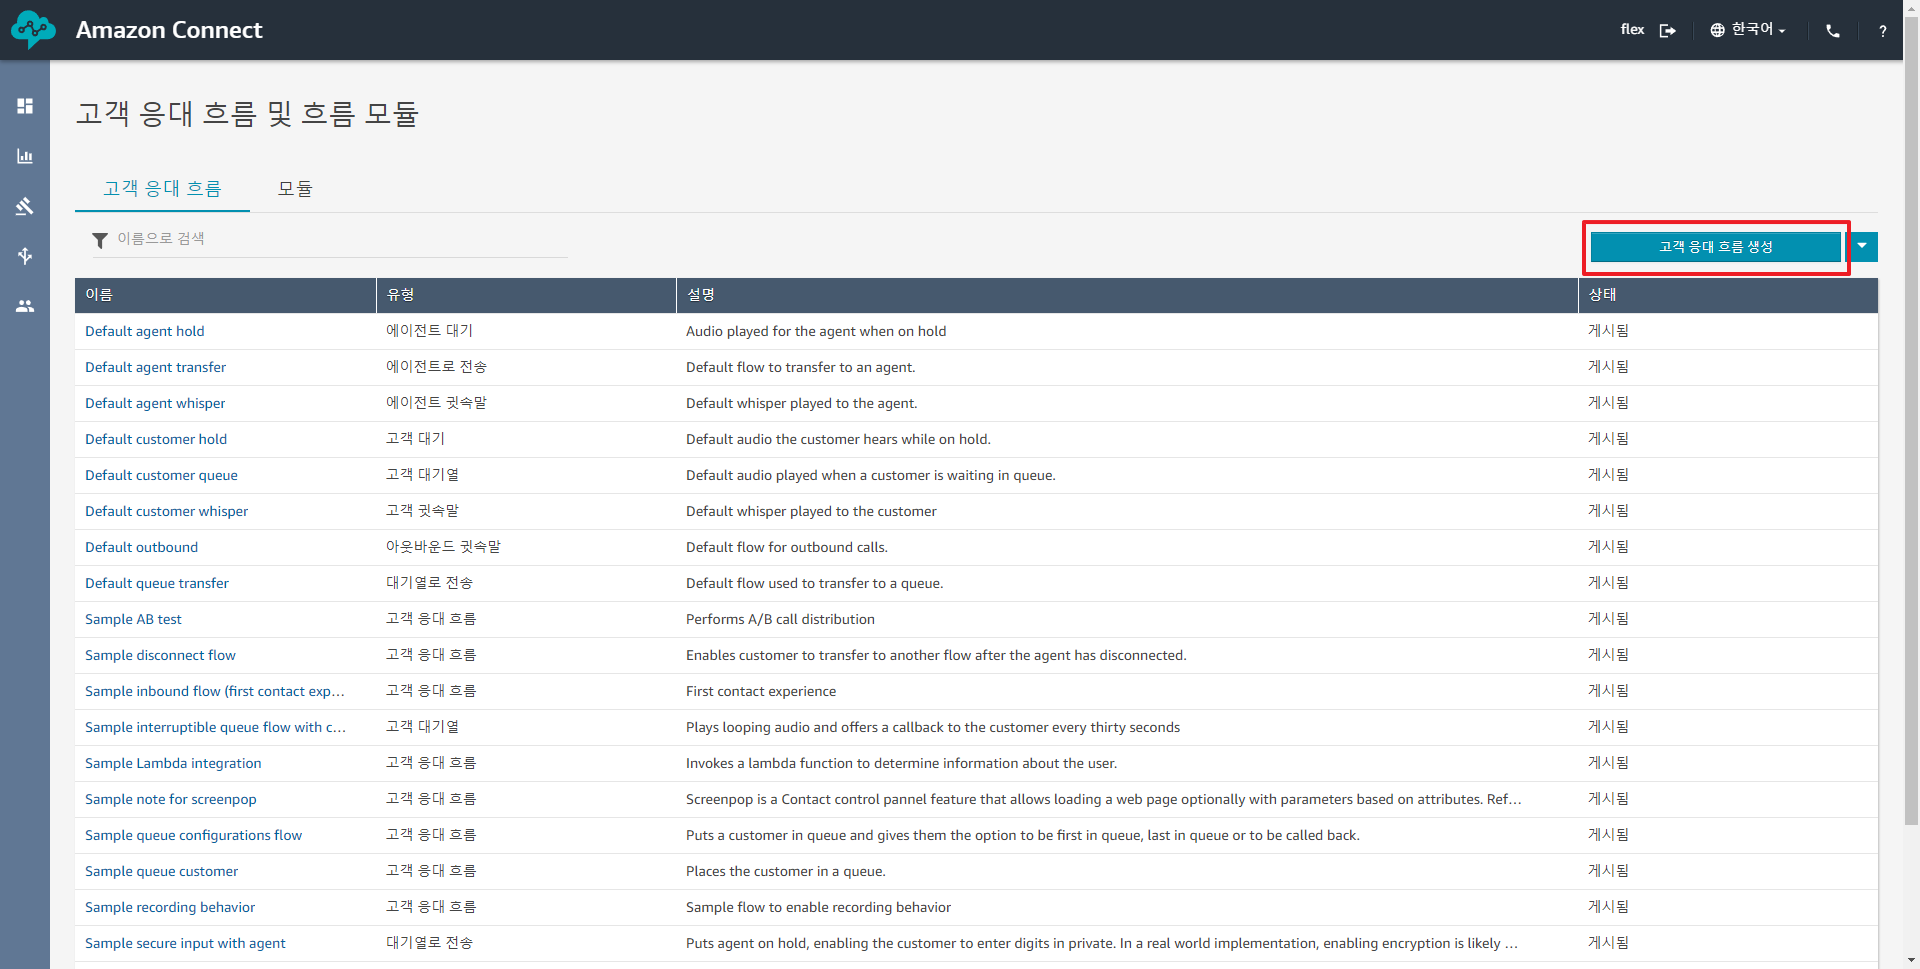
음성설정, 재생 프롬프트, 연결 해제 를 추가합니다.
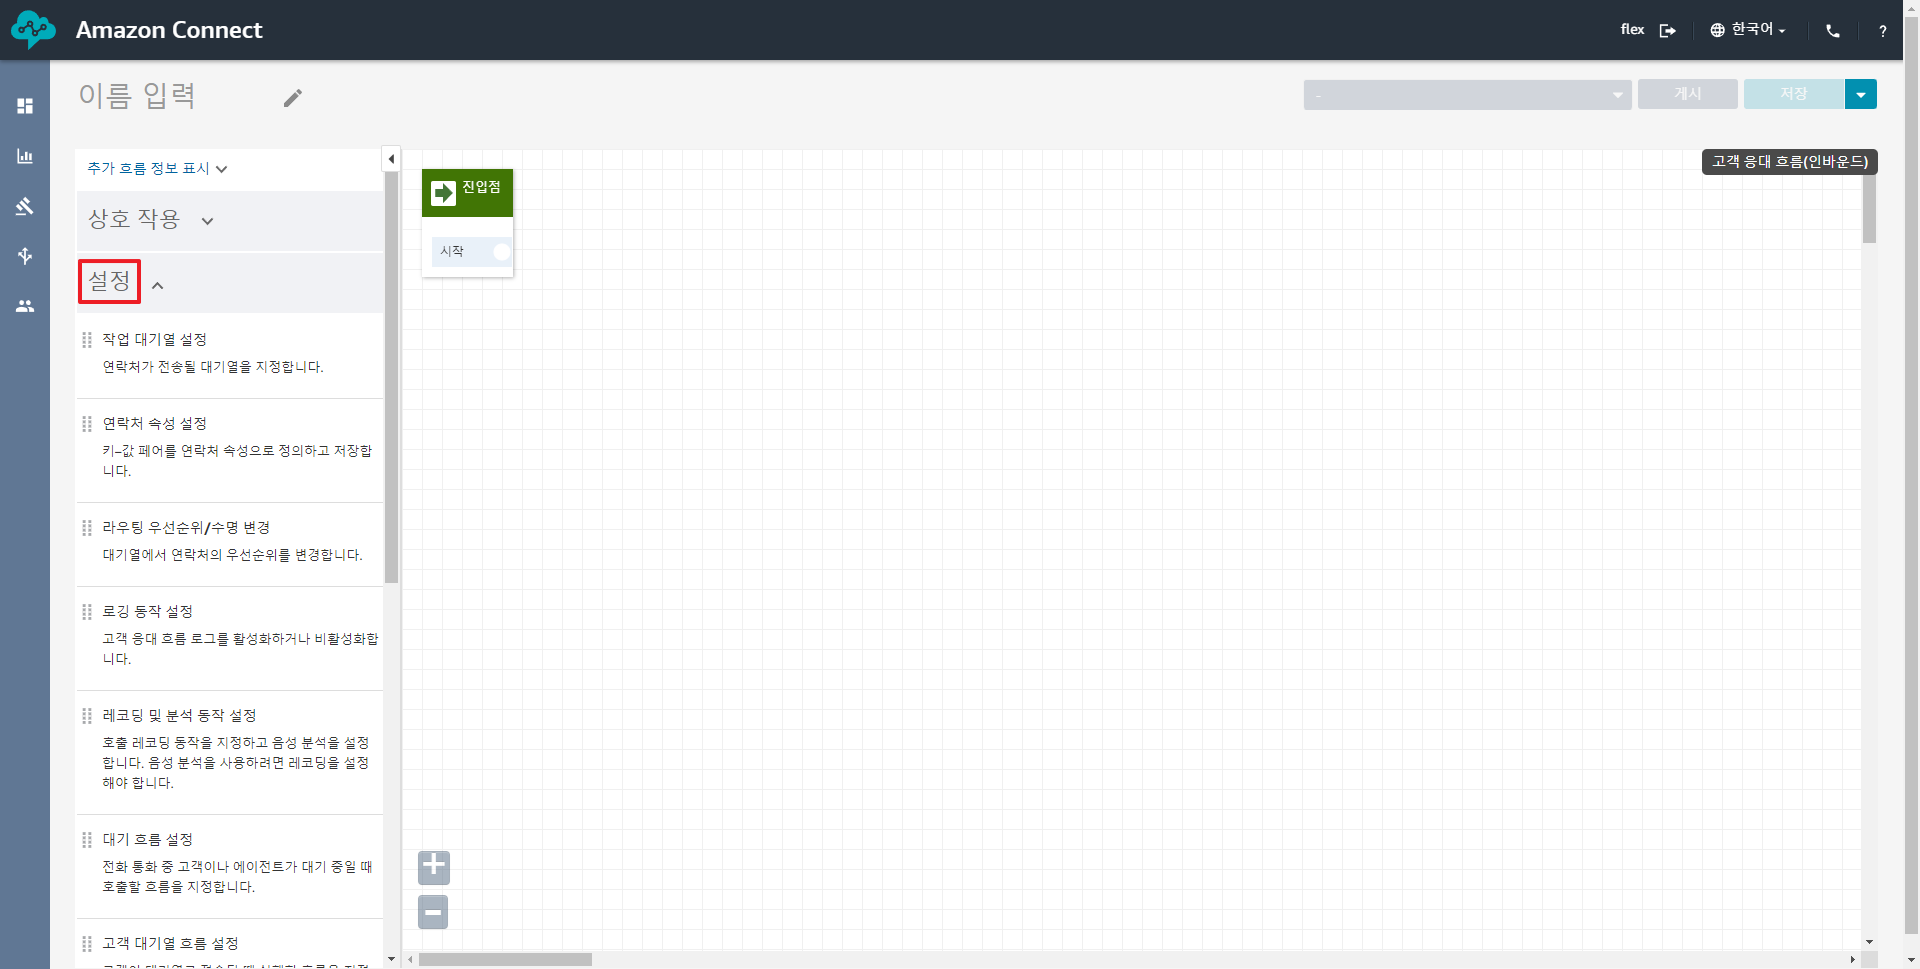
설정 > 음성설정 추가 (드래그앤드랍)
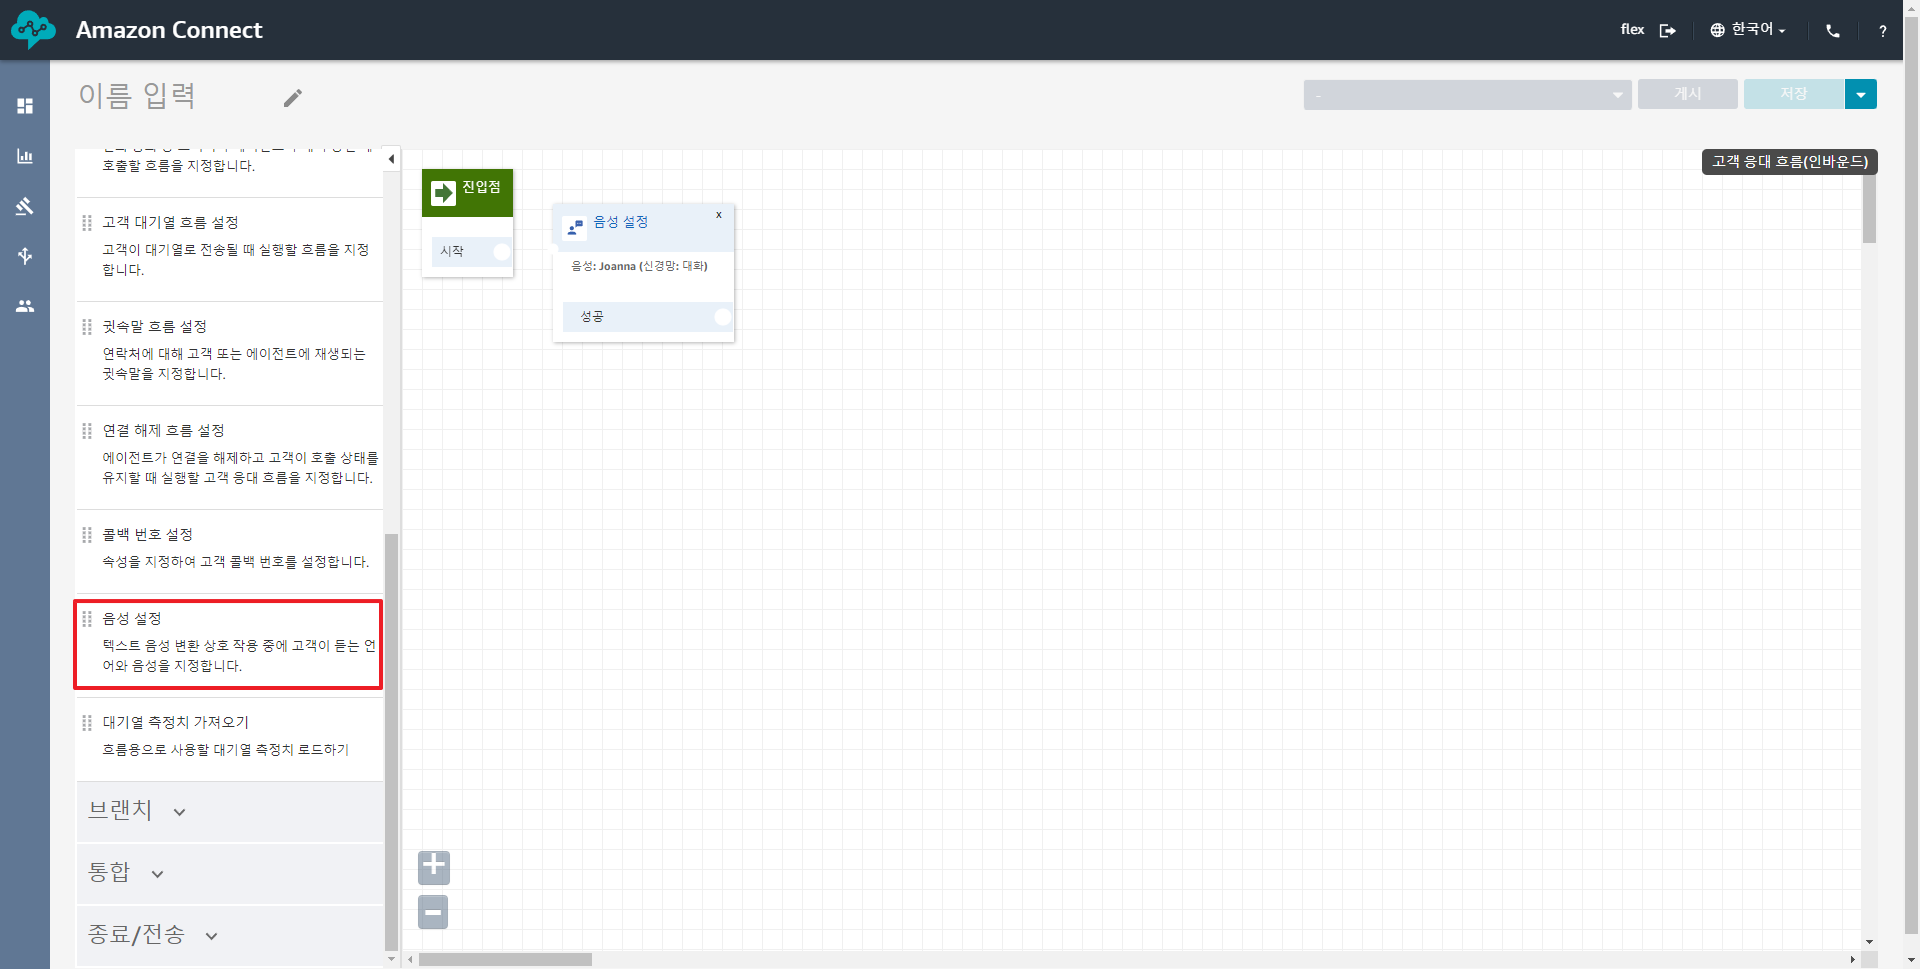
상호 작용 > 재생 프롬프트
종료/전송 > 연결 해제
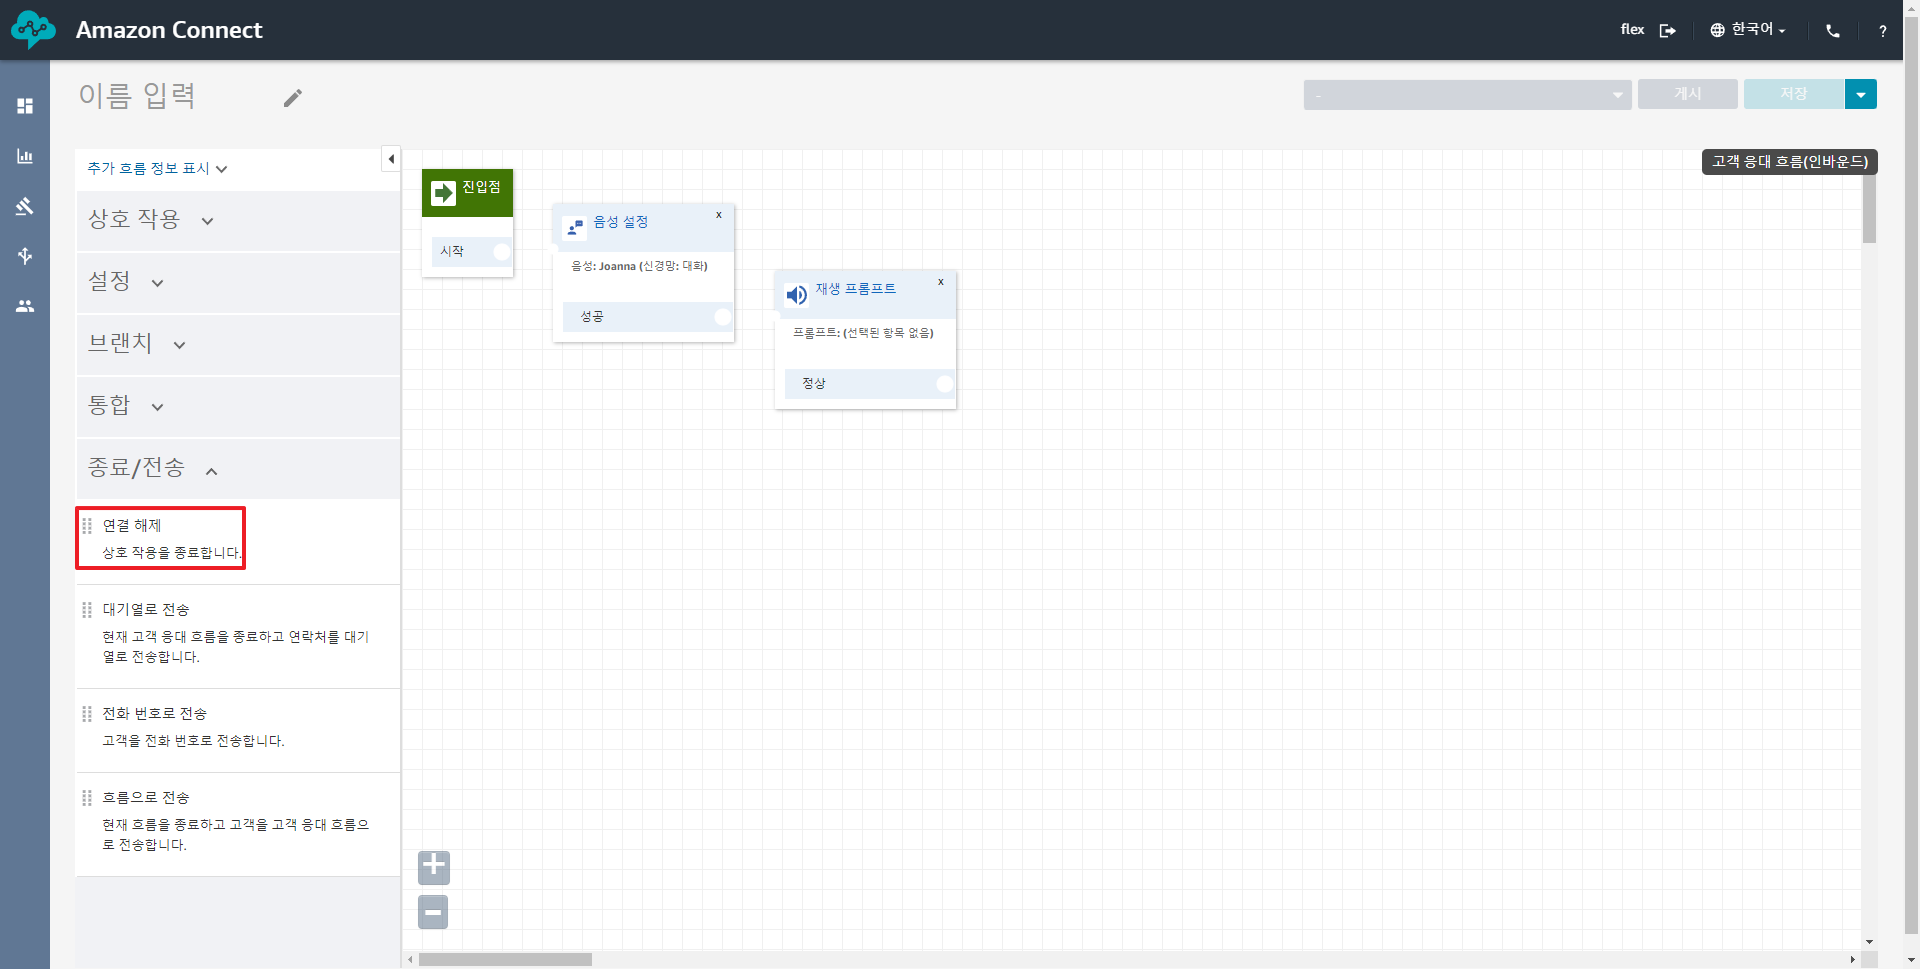
총 4단계인데요.
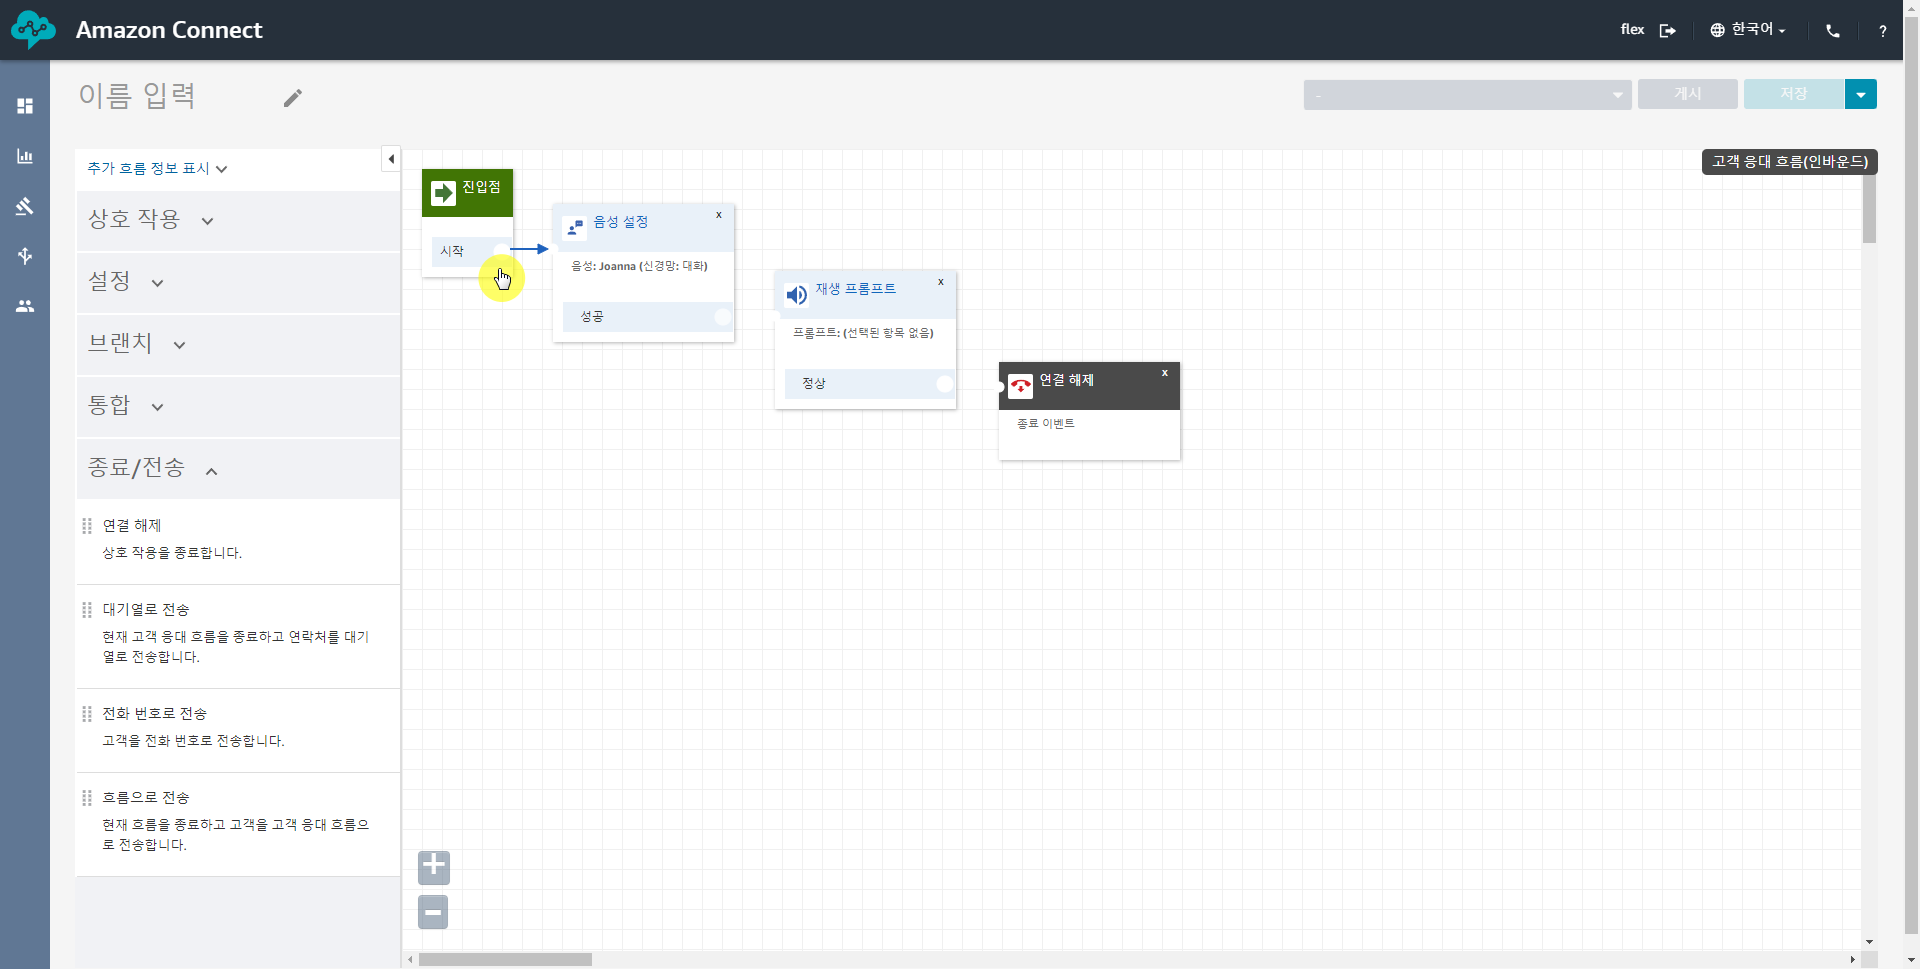
각 단계별로 연결해줍니다. (아래 그림처럼 마우스를 가져가면 선으로 연결할 수 있습니다)
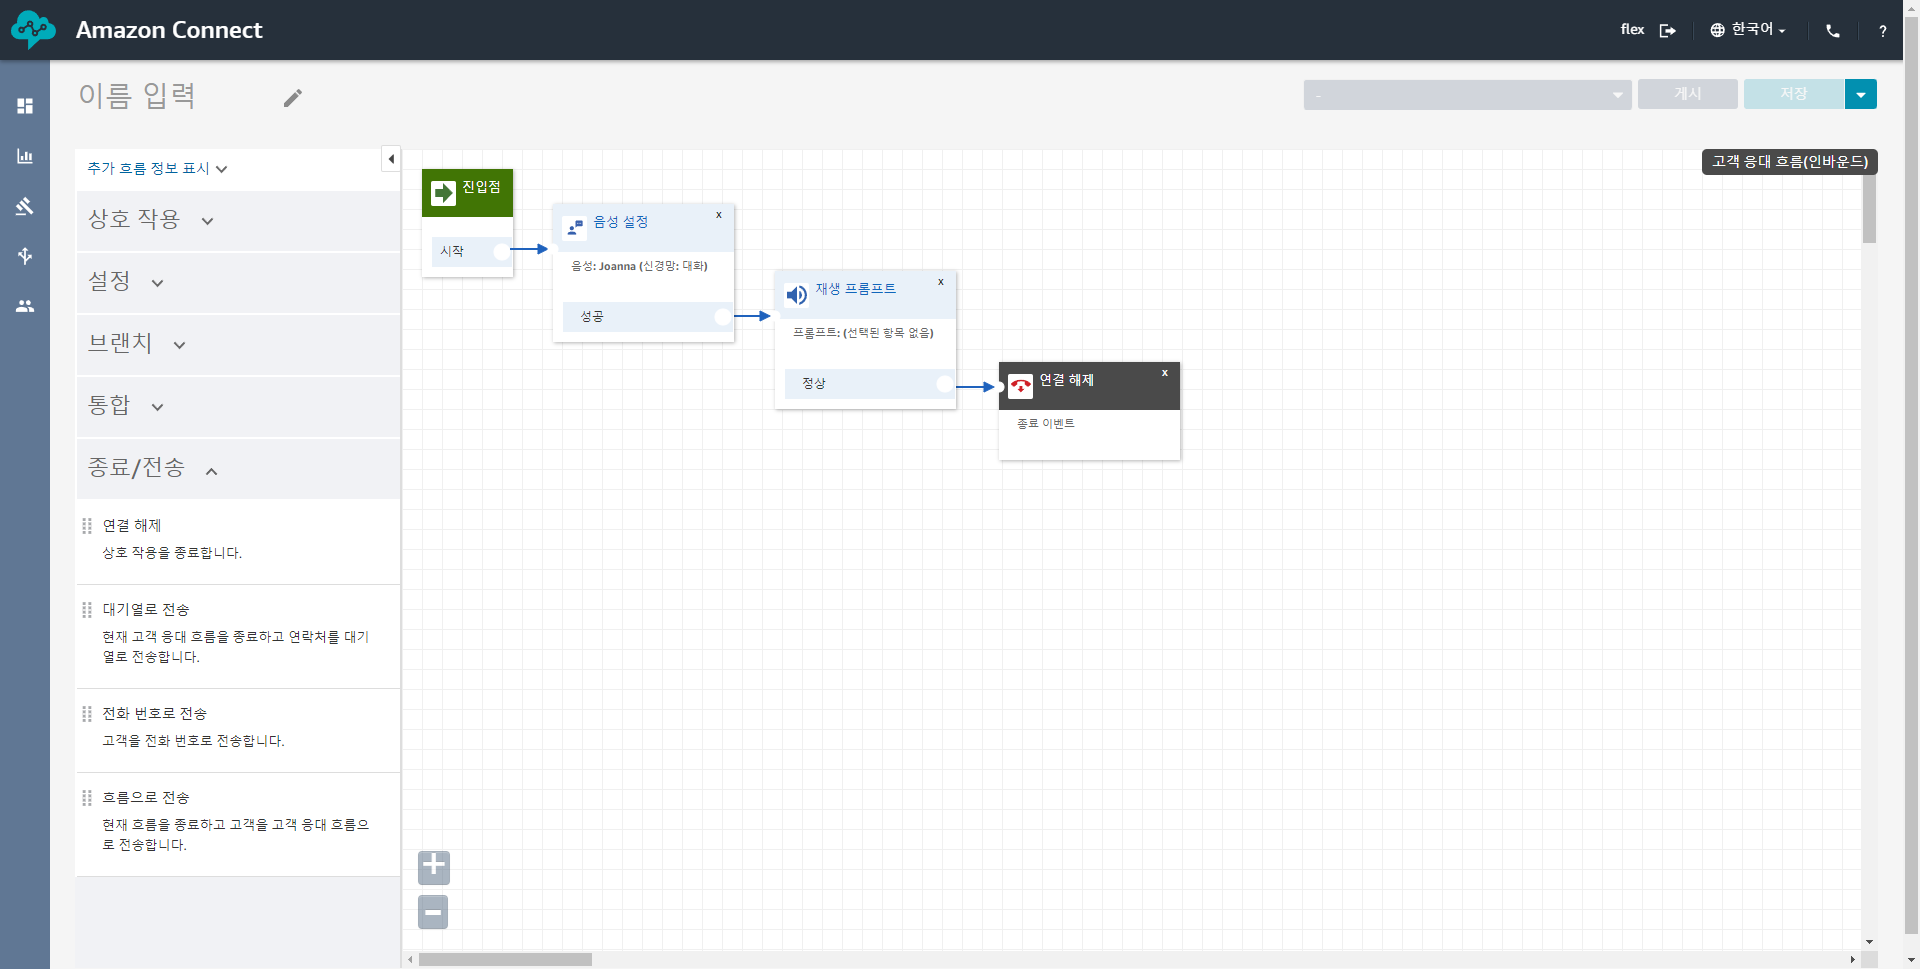
음성 설정 클릭 > 언어 : 한국어, 음성 : Seoyeon > Slave
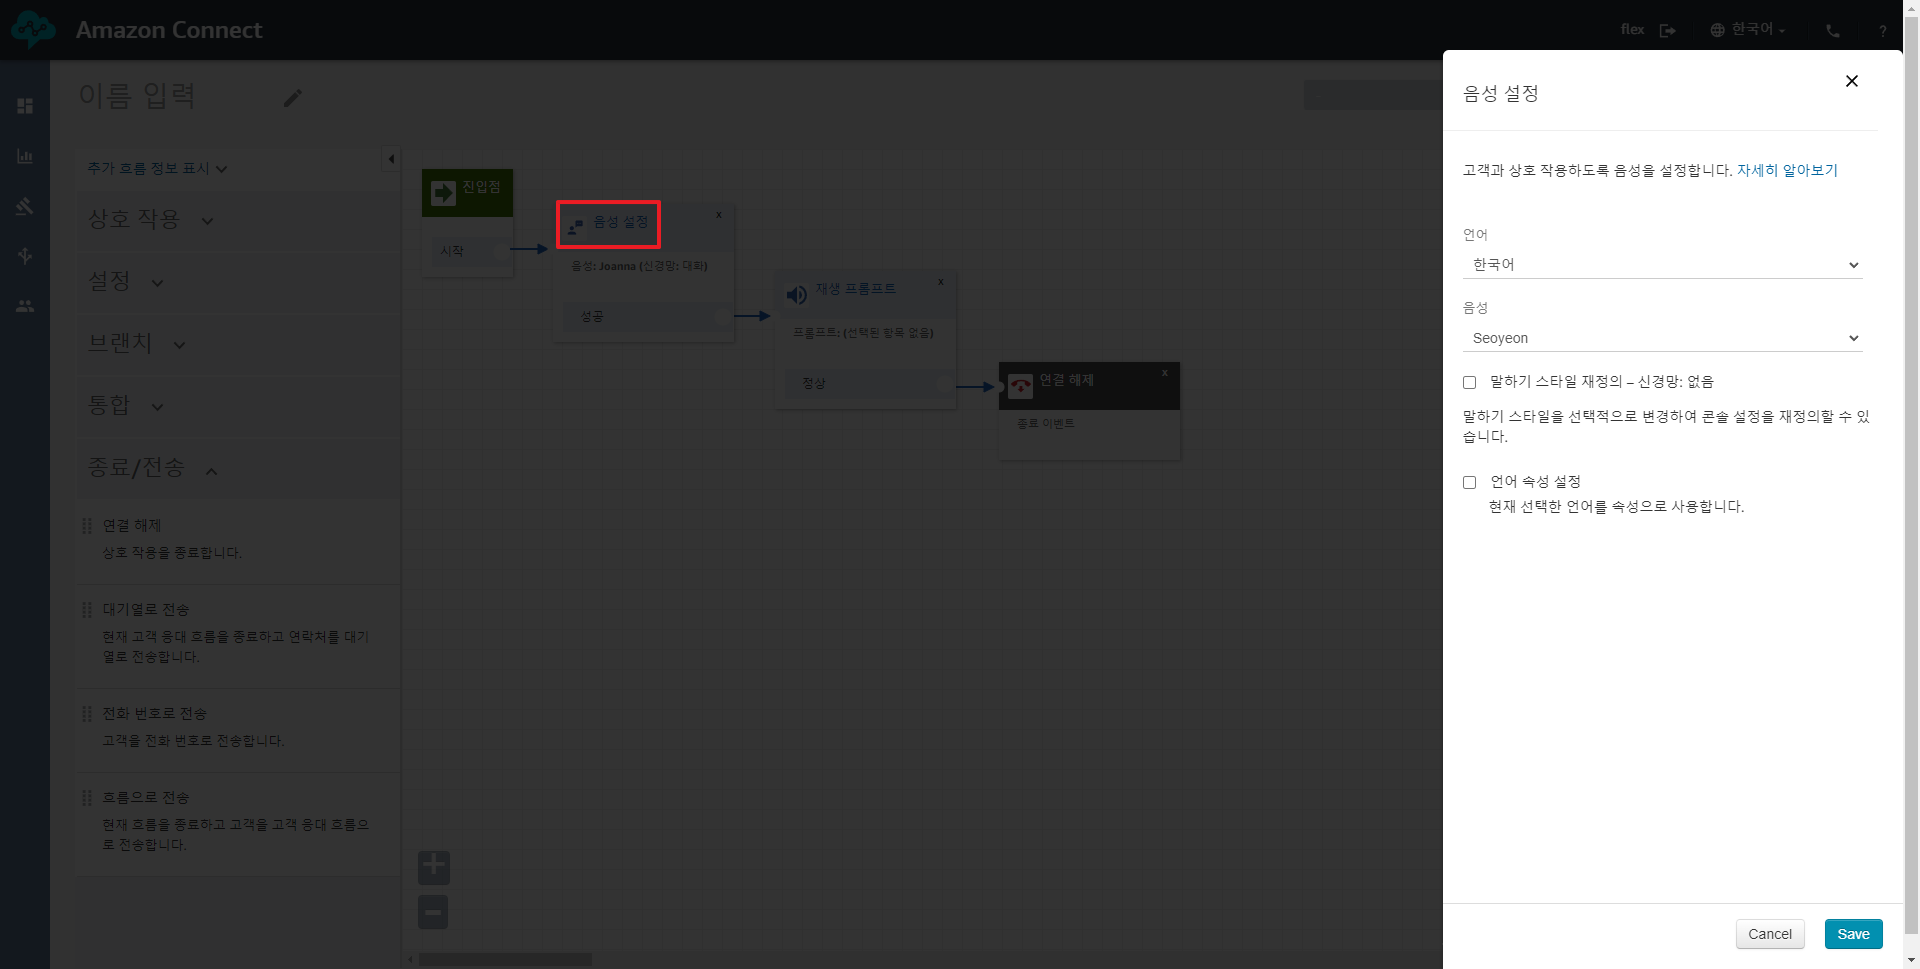
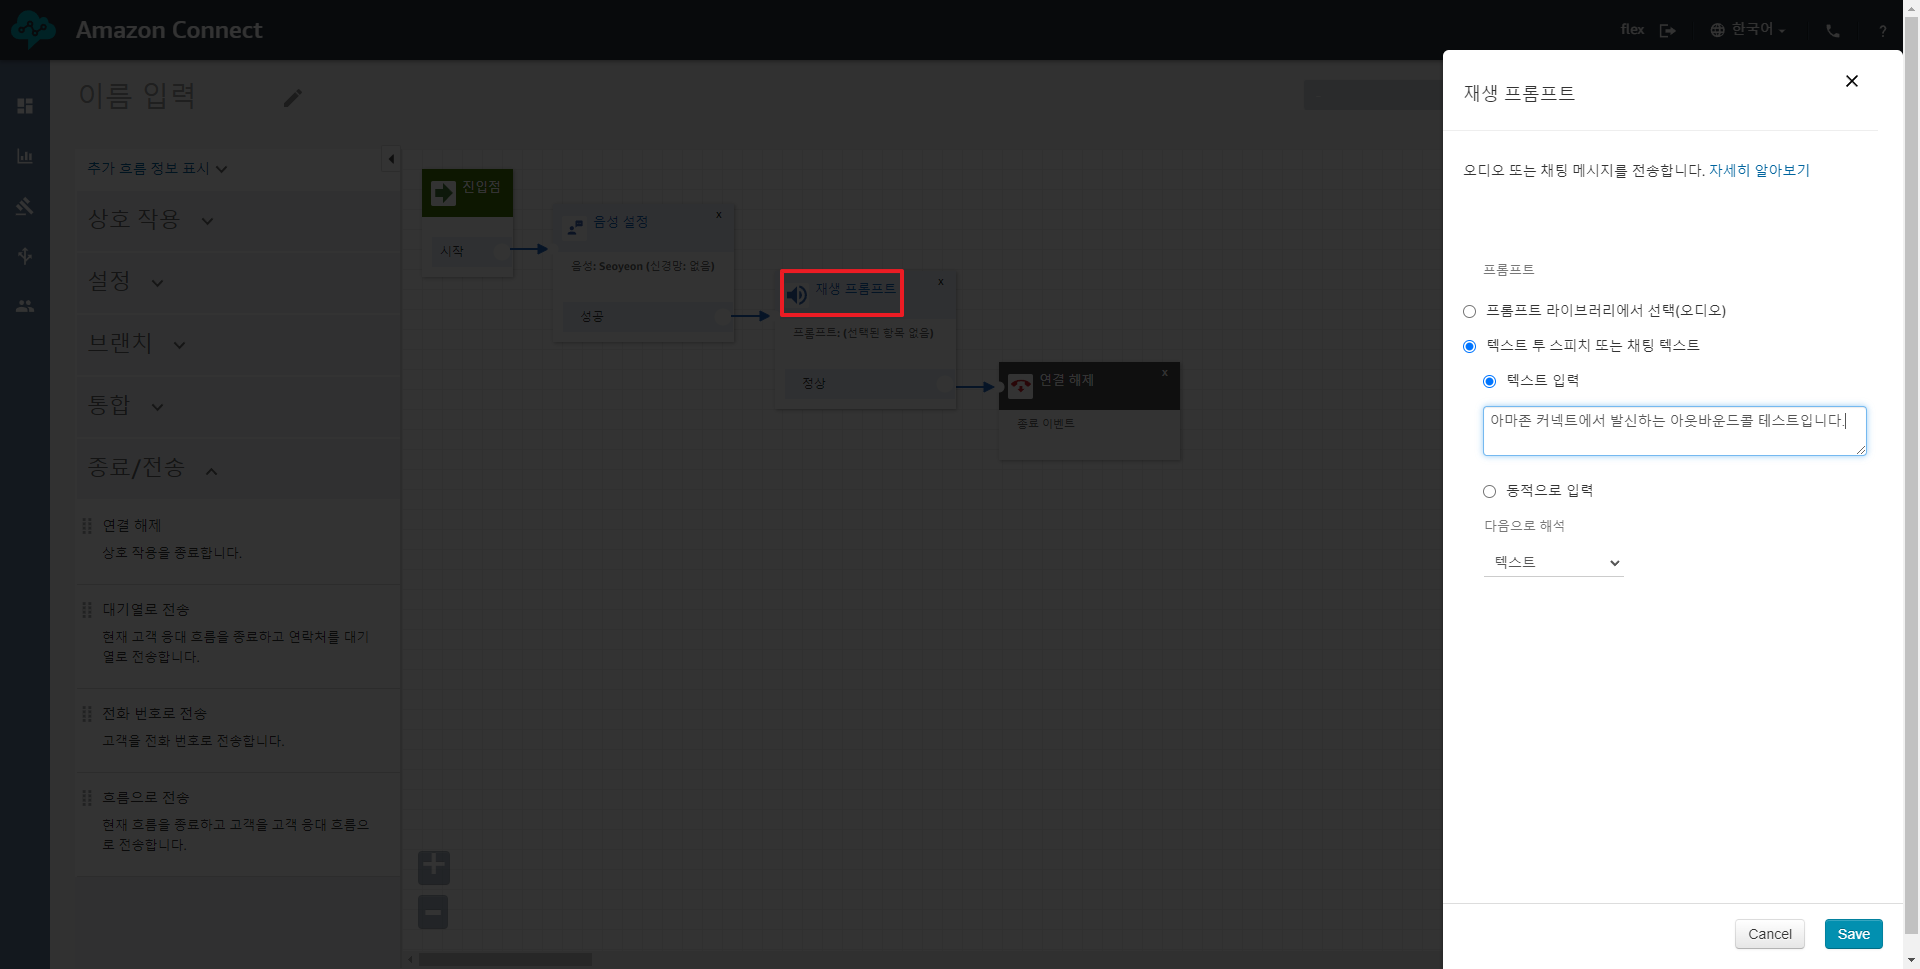
재생 프롬프트 클릭 > 텍스트 투 스피치 또는 채팅 텍스트 > 텍스트 입력 > Save
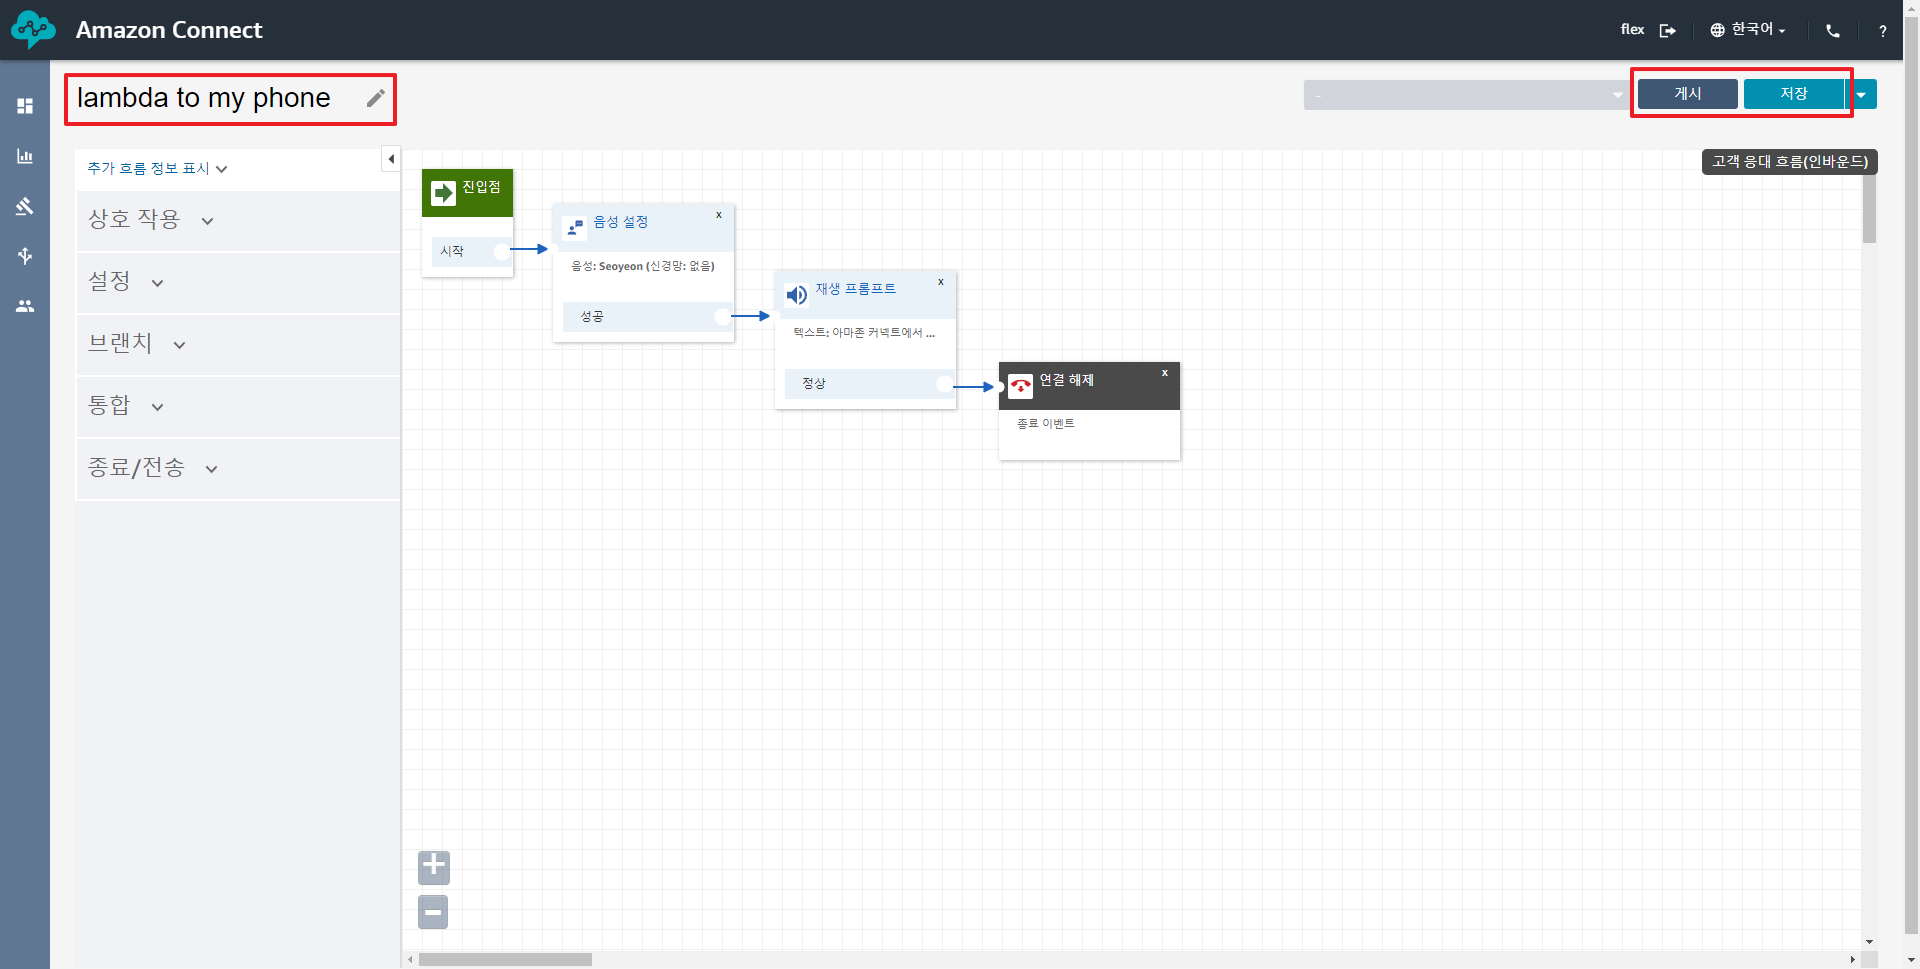
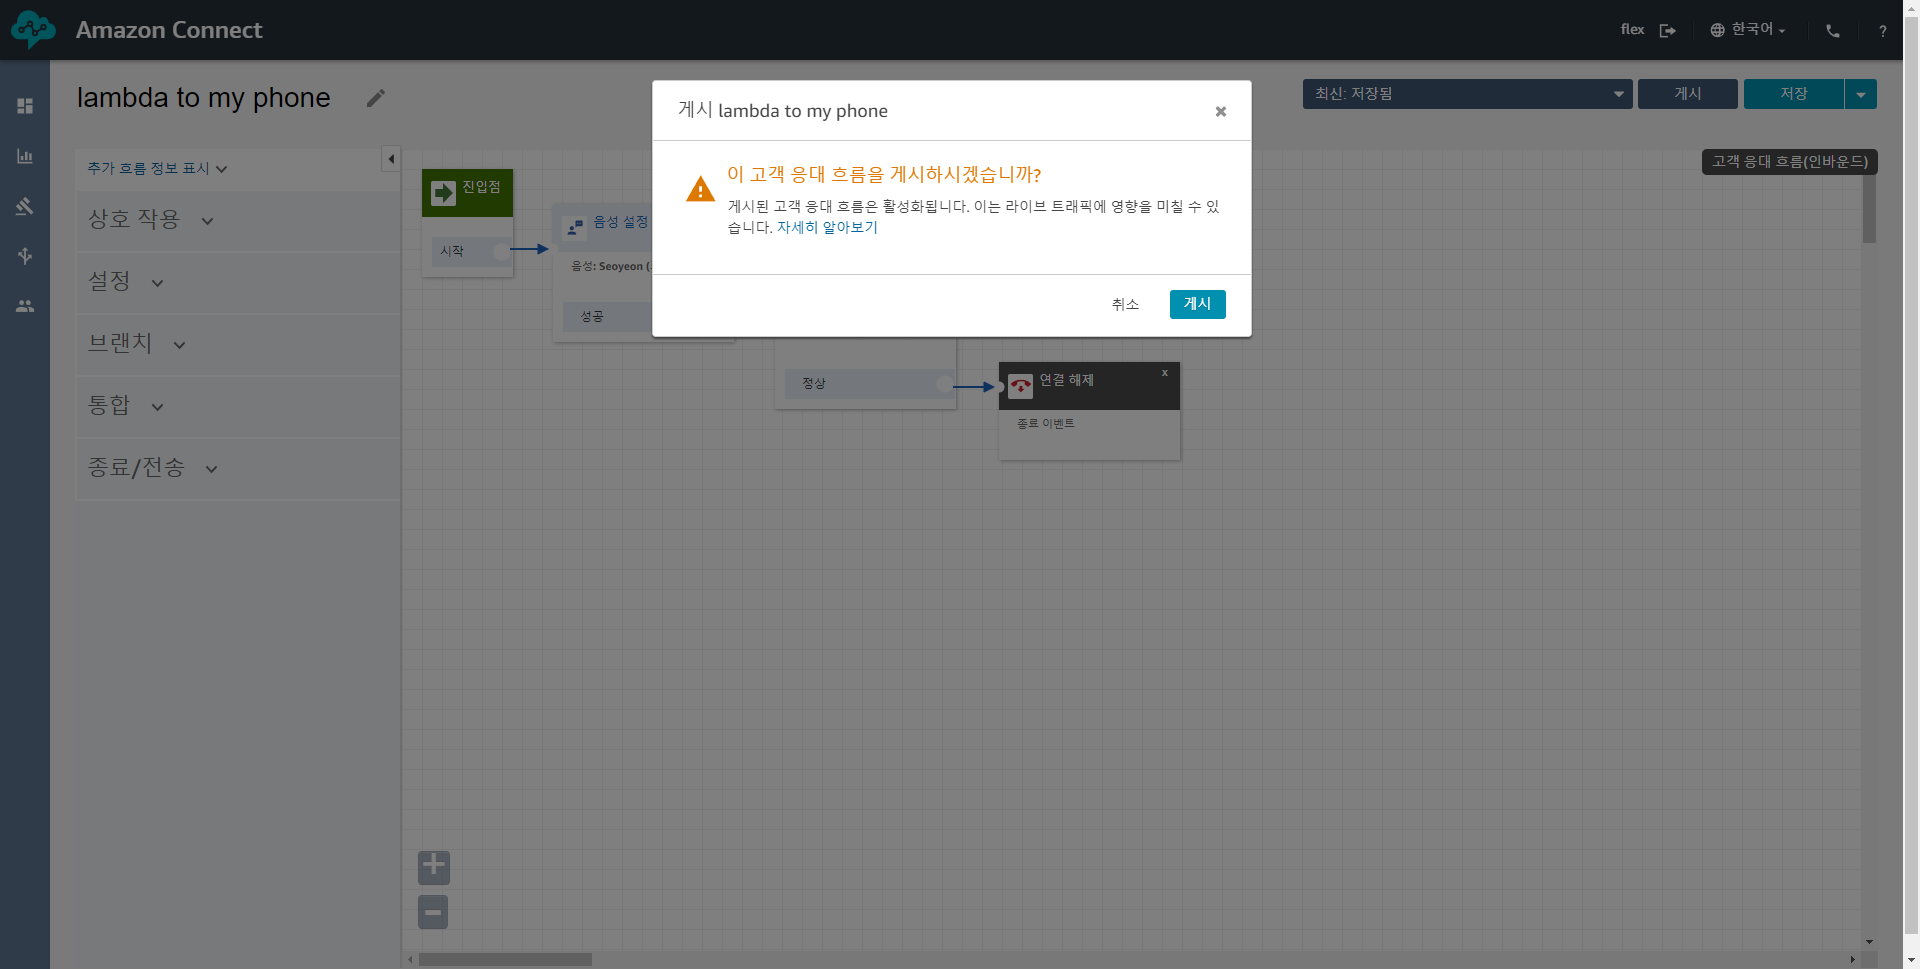
고객 응대 흐름 이름 입력 (예: lambda to my phone) > 저장 > 게시
아마존 커넥트 설정 끝났습니다.
lambda 설정
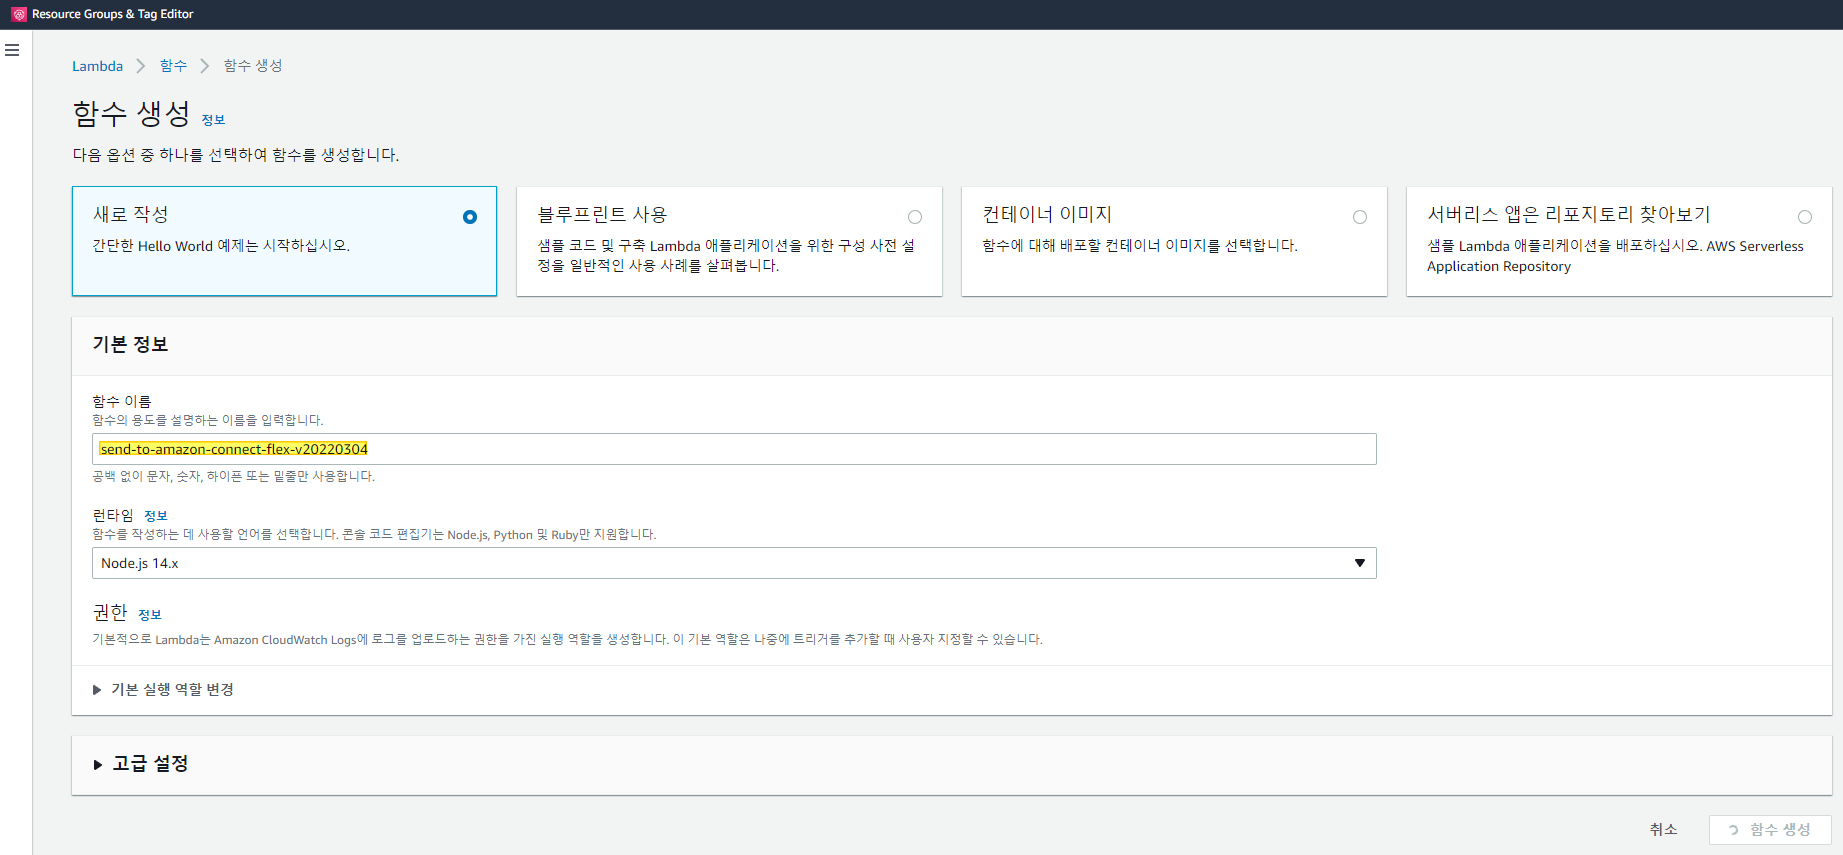
lambda 하나를 생성합니다.
(예: send-to-amazon-connect-flex-v20220304, 런타임 : Node.js 14.x)
코드 작성
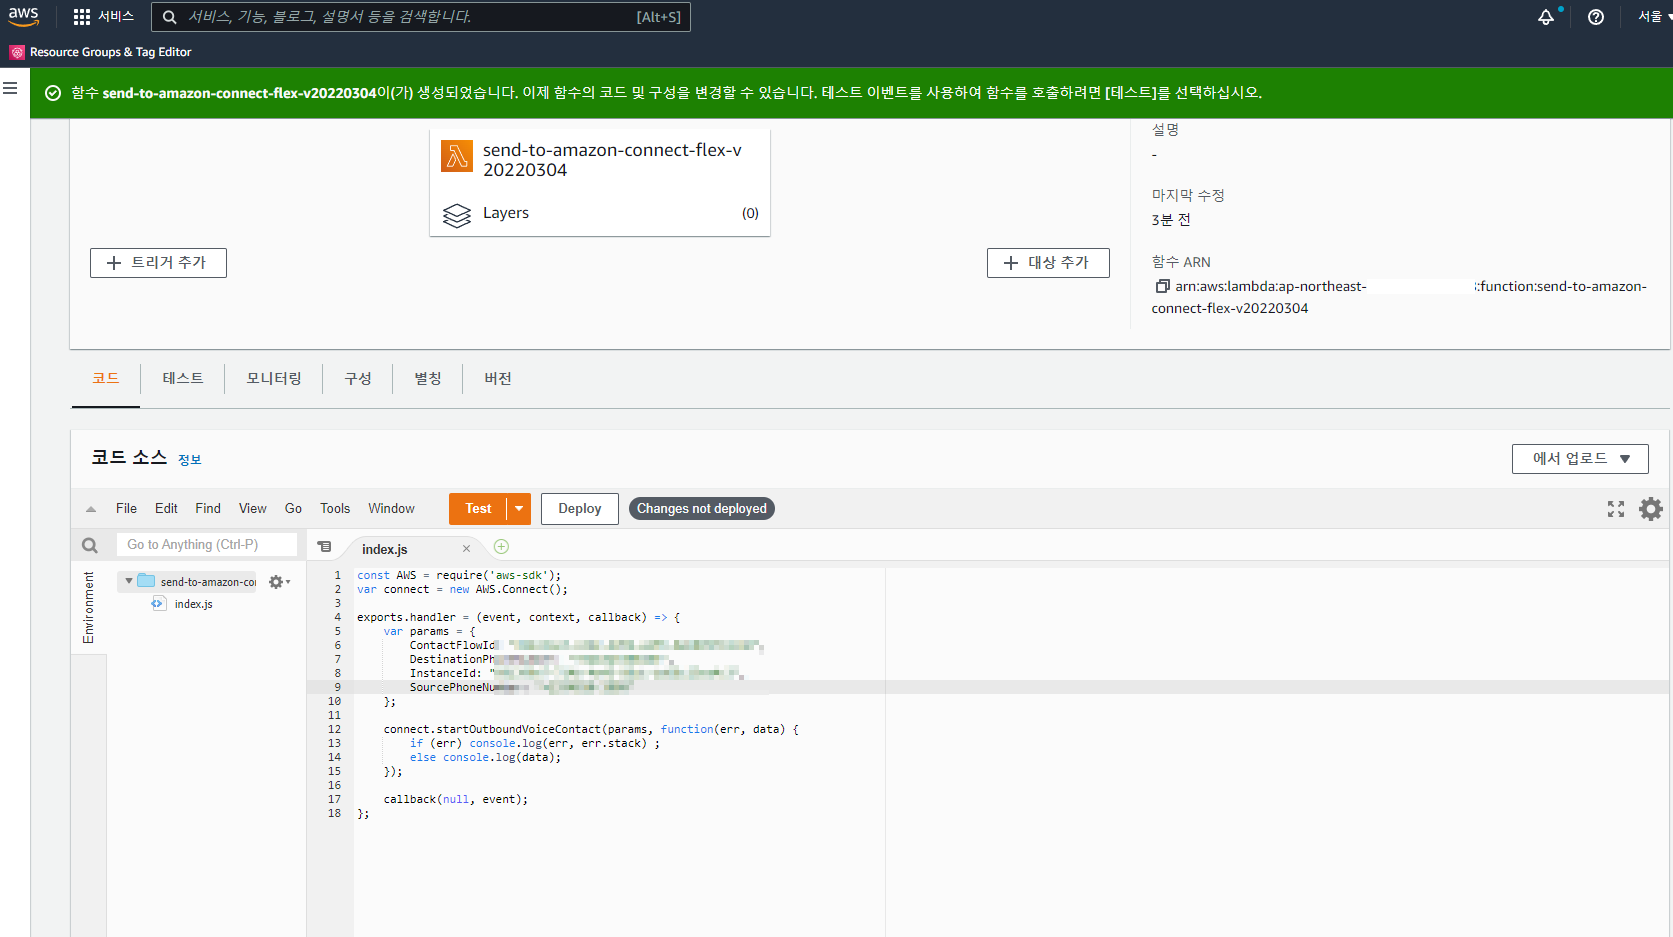
const AWS = require('aws-sdk');
var connect = new AWS.Connect();

exports.handler = (event, context, callback) => {
    //define parameter values to use in initiating the outbound call

    var params = {
        ContactFlowId: "3fae2ea0-4d77-4000-859d-1234567890", // 고유값. 아래 참조
        DestinationPhoneNumber: "+821012341234", // 수신자 전화 번호
        InstanceId: "49a9ba9c-cda0-4637-93d9-82f1234567890", // 고유값. 아래 참조
        SourcePhoneNumber: "+13348101880" // 아마존 커넥트에서 발급 받은 미국 전화번호
    };

    // method used to initiate the outbound call from Amazon Connect
    connect.startOutboundVoiceContact(params, function(err, data) {
        if (err) console.log(err, err.stack) ;
        else console.log(data);
    });

    callback(null, event);

};
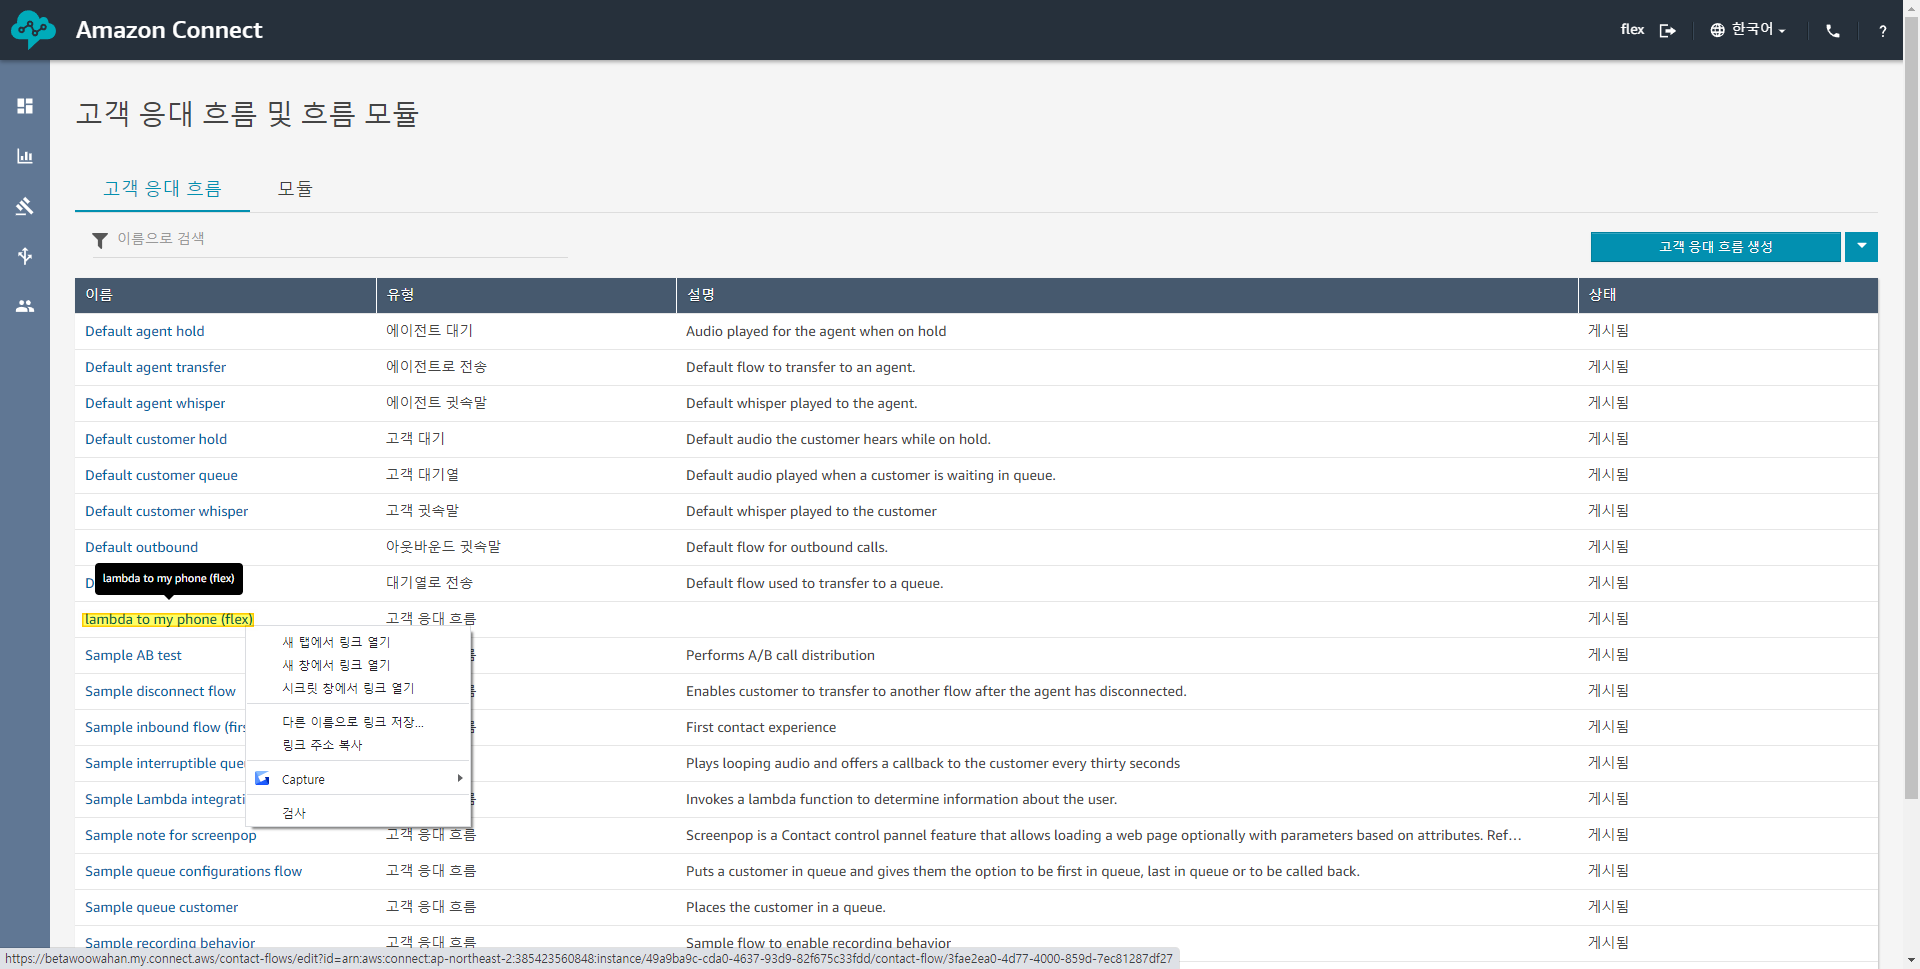
고객 응대 흐름 (예: lambda to my phone) > 우측 마우스 > 링크 주소 복사 > ContactFlowId, InstanceId 확인 및 코드 복붙
https://betahelloworld.my.connect.aws/contact-flows/edit?id=arn:aws:connect:ap-northeast-2:385423560848:instance/<InstanceId>/contact-flow/<ContactFlowId>
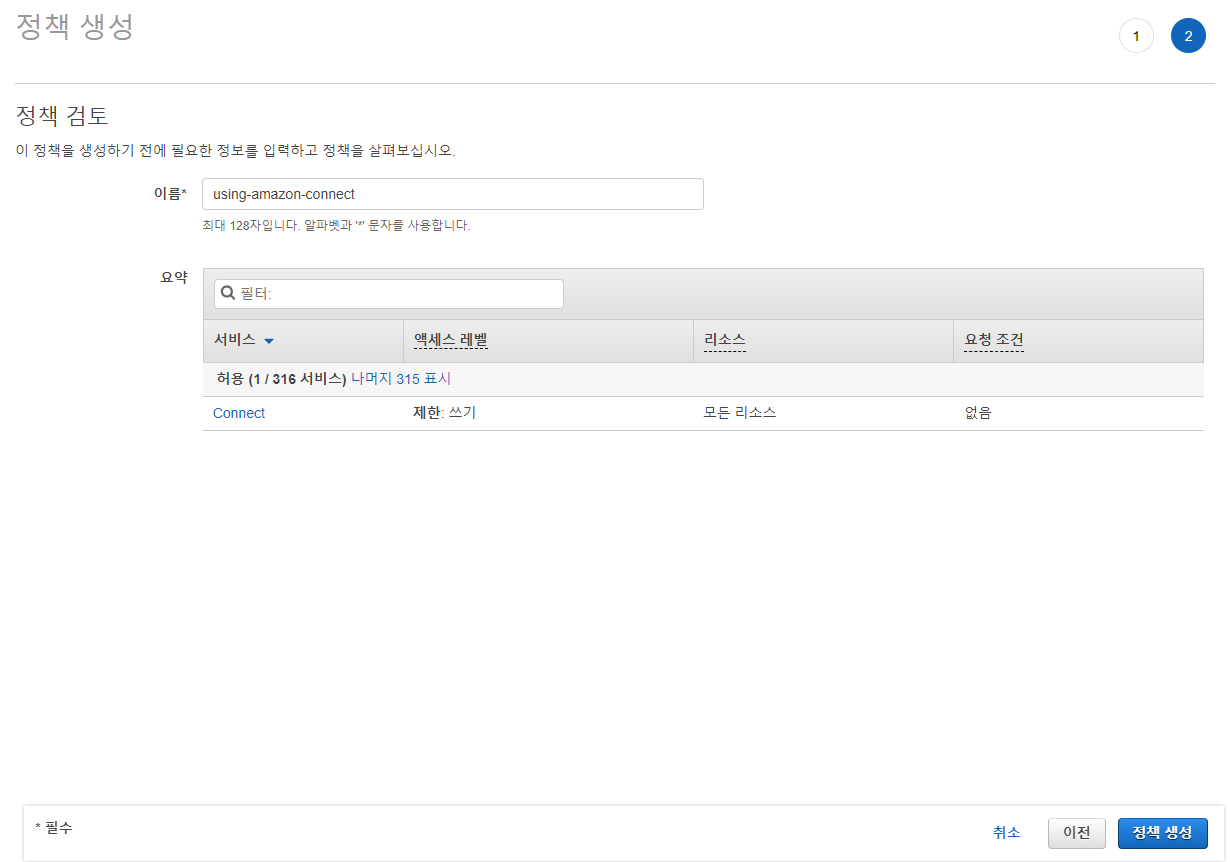
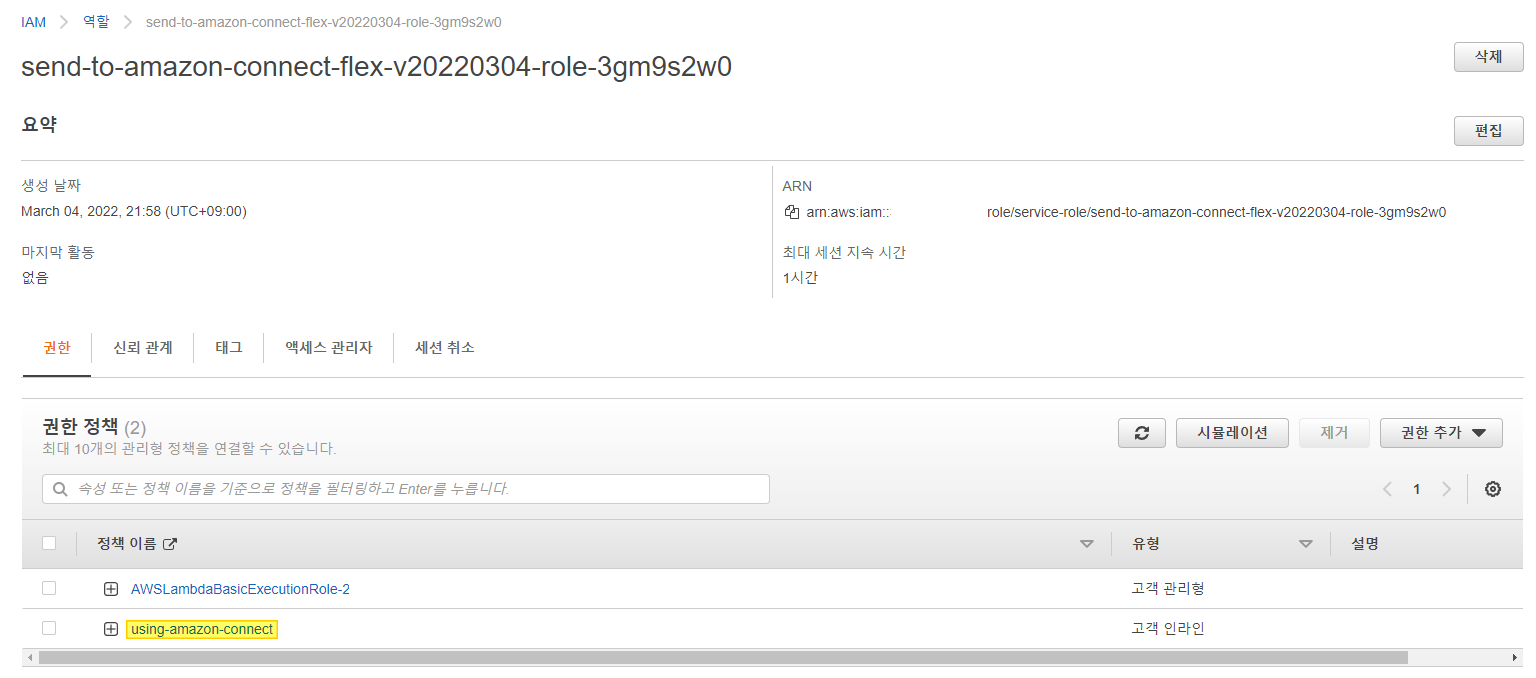
람다에서 아마존 커넥트를 실행하려면 추가로 권한 추가가 필요합니다. connect:StartOutboundVoiceContact
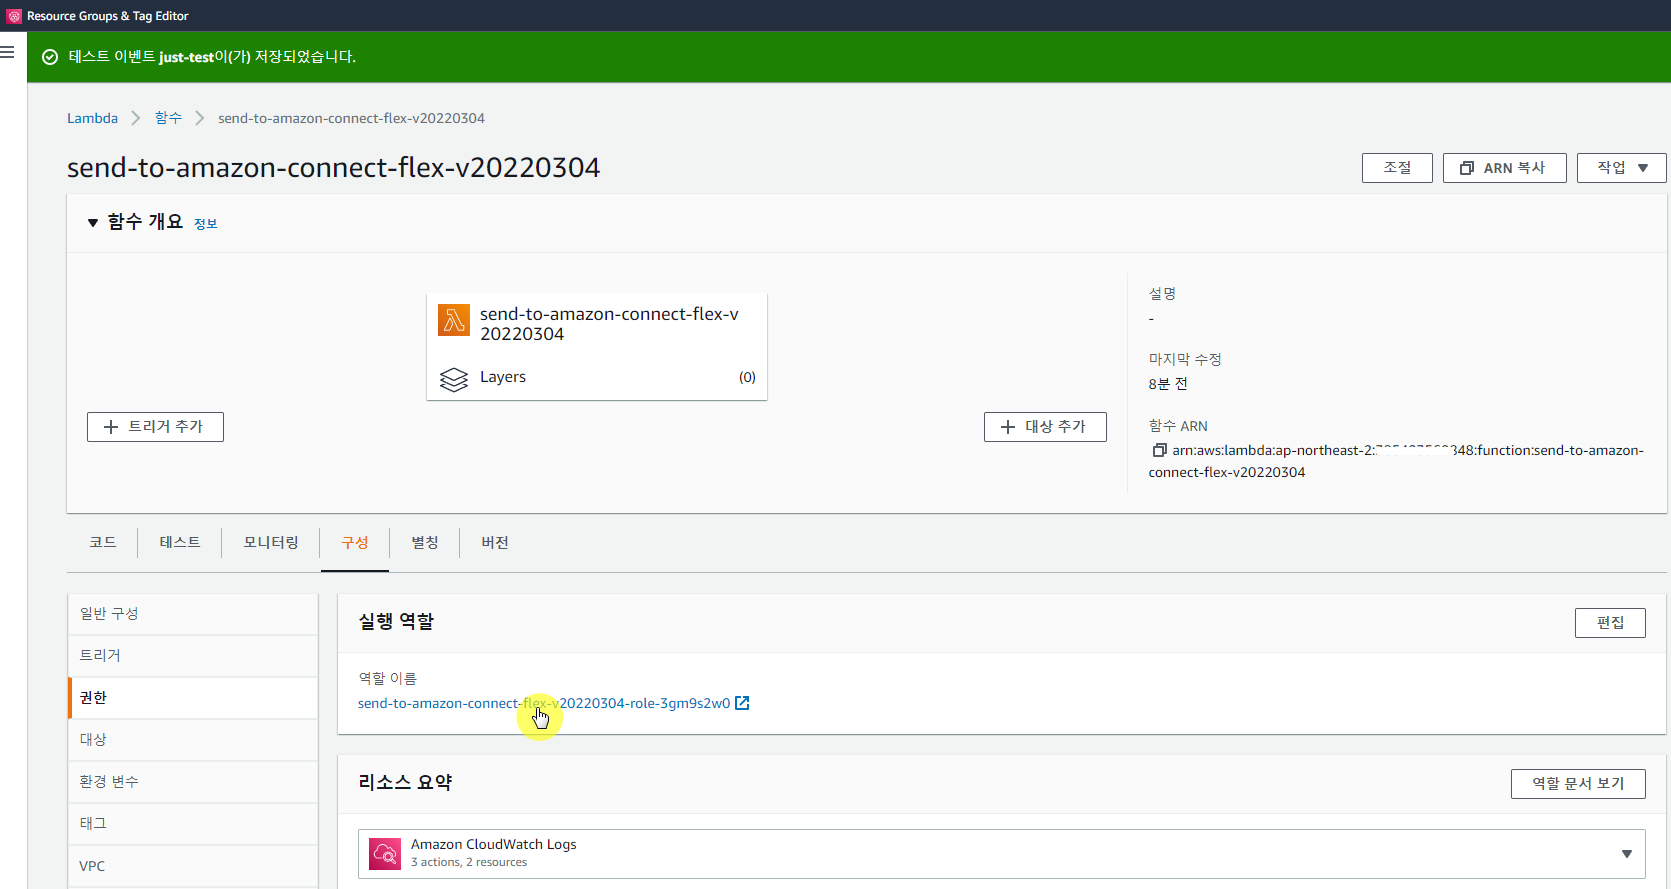
람다 > 구성 > 권한 > 역할 이름 클릭
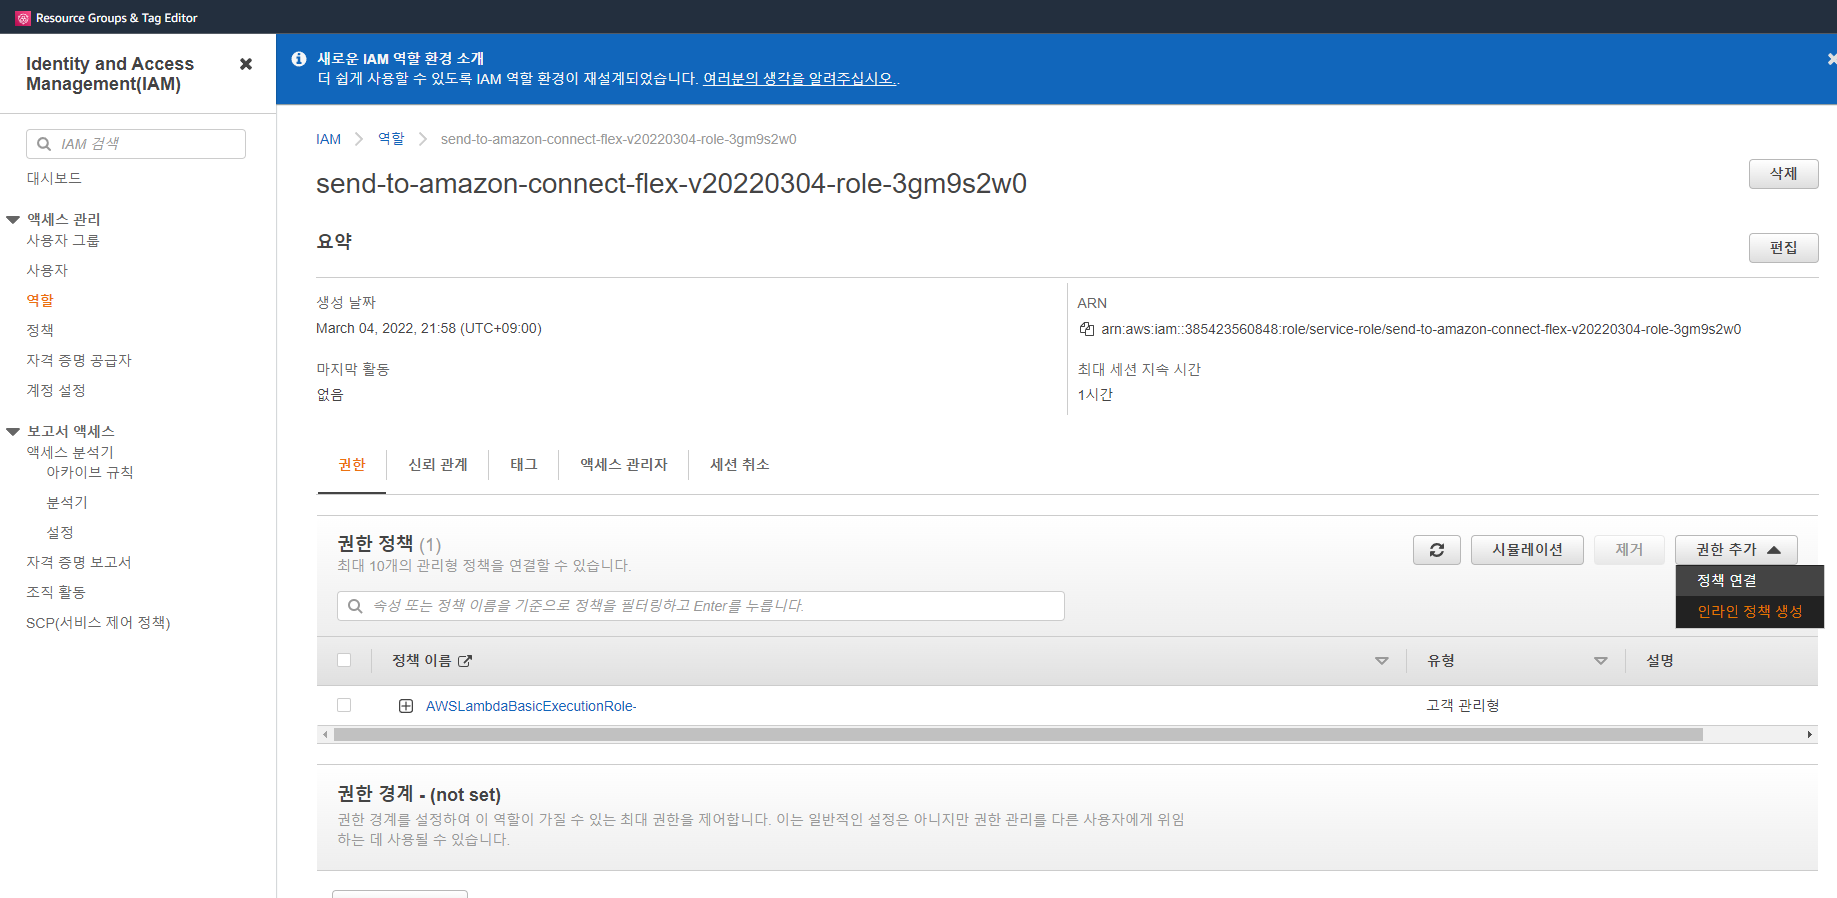
권한 추가 > 인라인 정책 생성 > JSON > 정책 검토 > 이름 입력 (예: using-amazon-connect) > 정책 생성 > 정책 추가됨 확인
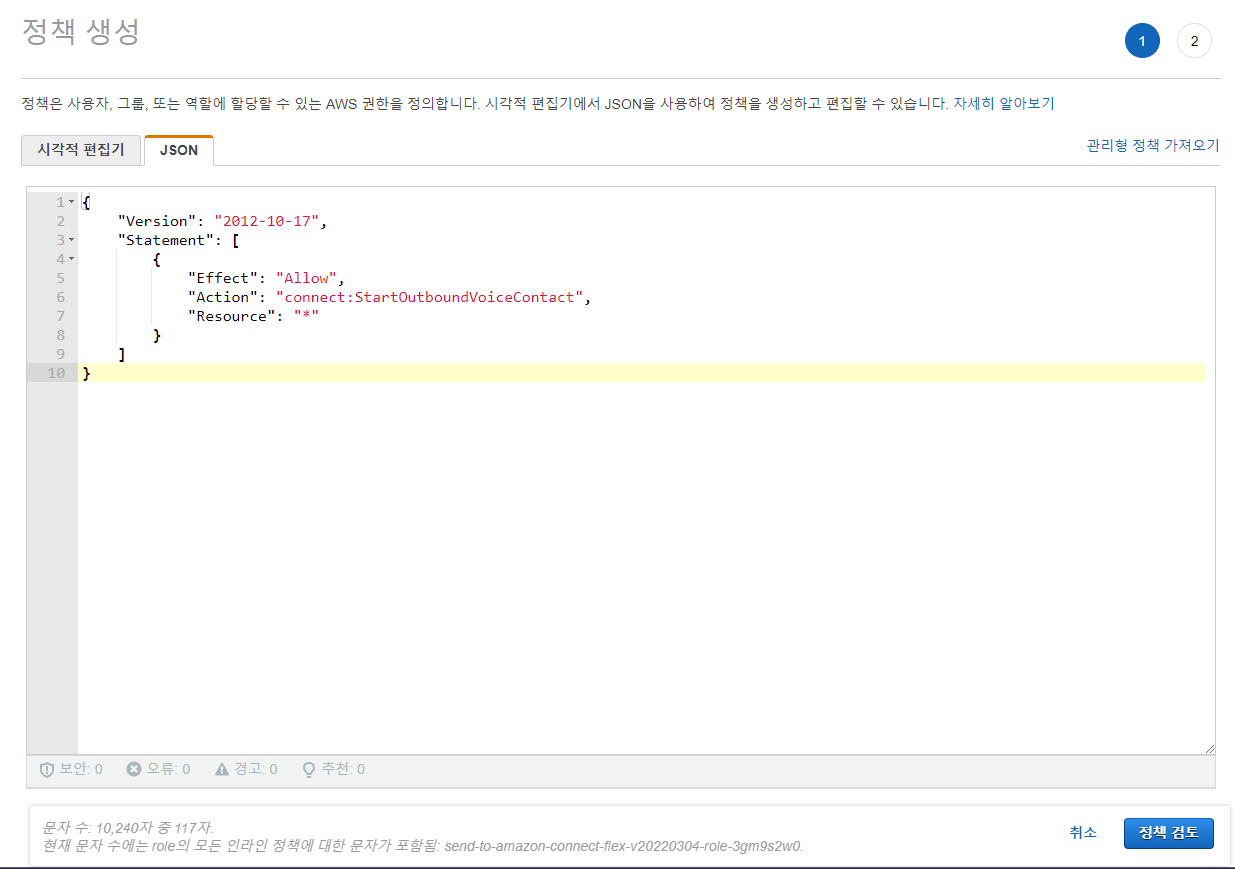
{
    "Version": "2012-10-17",
    "Statement": [
        {
            "Effect": "Allow",
            "Action": "connect:StartOutboundVoiceContact",
            "Resource": "*"
        }
    ]
}
이제 람다 설정도 모두 완료되었습니다.
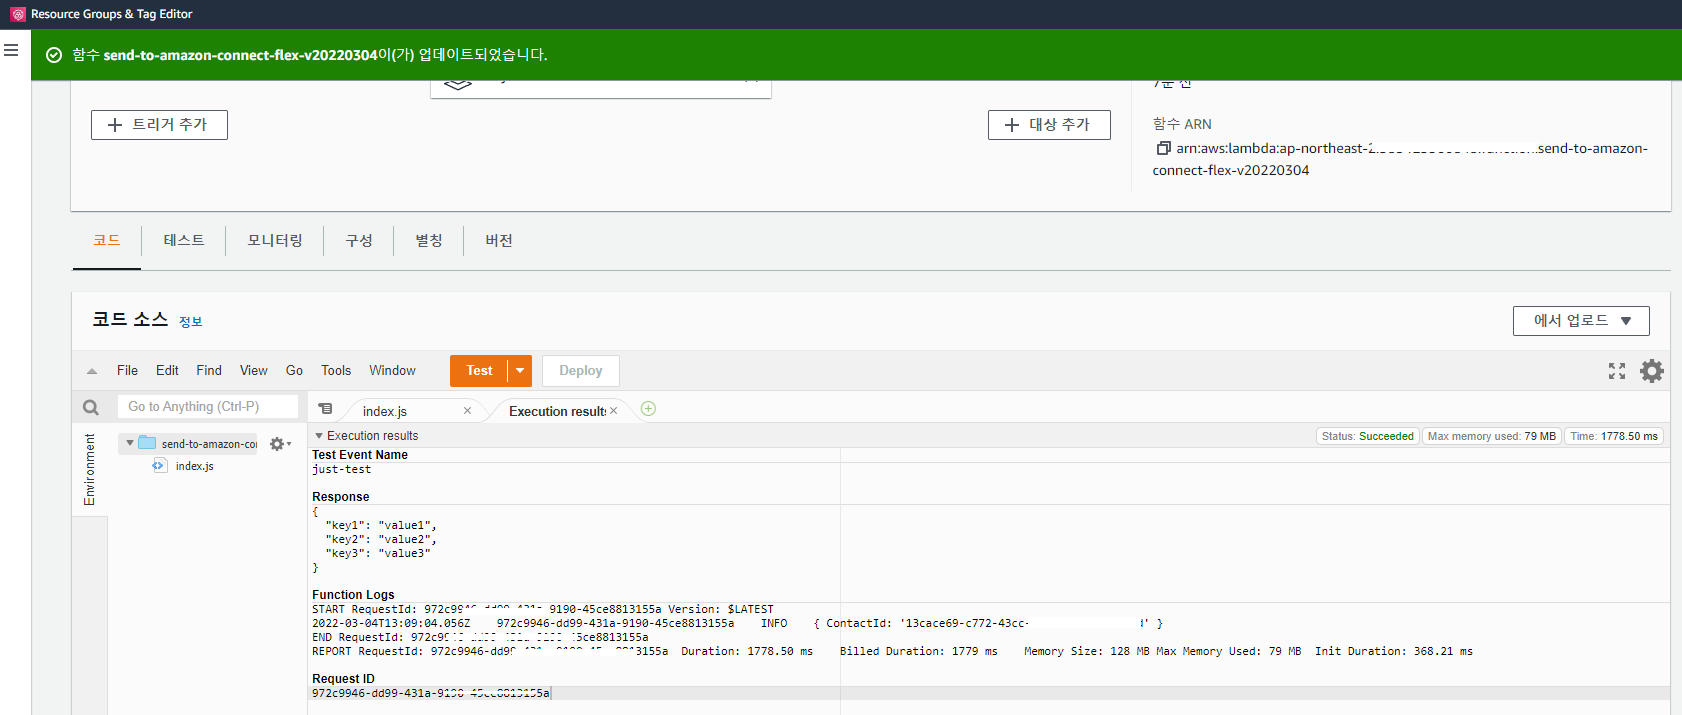
코드 > Test > Execution results 확인 > 정상 로그 확인 > 전화옴 ㅋㅋ
