完成形
圧縮用のコマンドをインストール
タイトルでは分かりやすいよう「TinyPNG」と書きましたが、実際にはTinyPNGが使っている「pngquant」というコンプレッサーを使います。
インストール
$ sudo apt install pngquant
使い方
下記オプションで圧縮&上書きします
$ pngquant --ext .png --force filename.png
アルファチャンネルありのPNGでも綺麗!
| Original (239.8kB) | Compressed (51.9kB) |
|---|---|
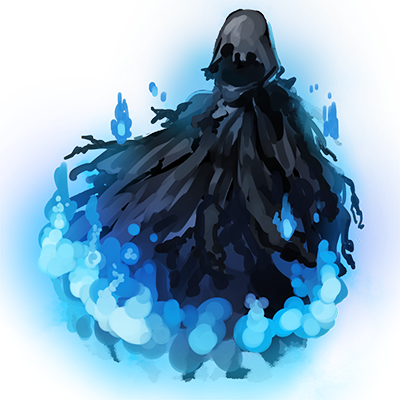 |
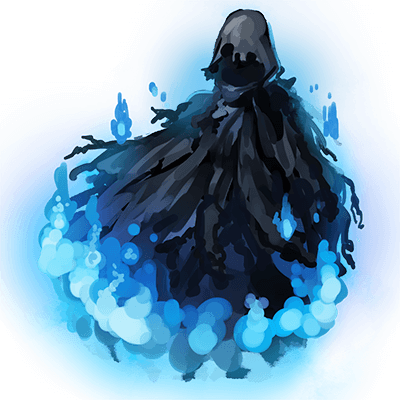 |
コンテキストメニューを拡張
Ubuntu 18
$ sudo add-apt-repository ppa:daniel-marynicz/filemanager-actions
$ sudo apt update
$ sudo apt install filemanager-actions-nautilus-extension
Ubuntu 19以降
$ sudo apt install filemanager-actions
追記: Ubuntu 20で試したところ、このextensionも必要でした。
$ sudo apt install nautilus-extension-fma
FileManager-Actionsでアクションを作成
色々項目がありますが、新規作成後、「Command」タブで実行したコマンドを設定すればひとまず動作します。
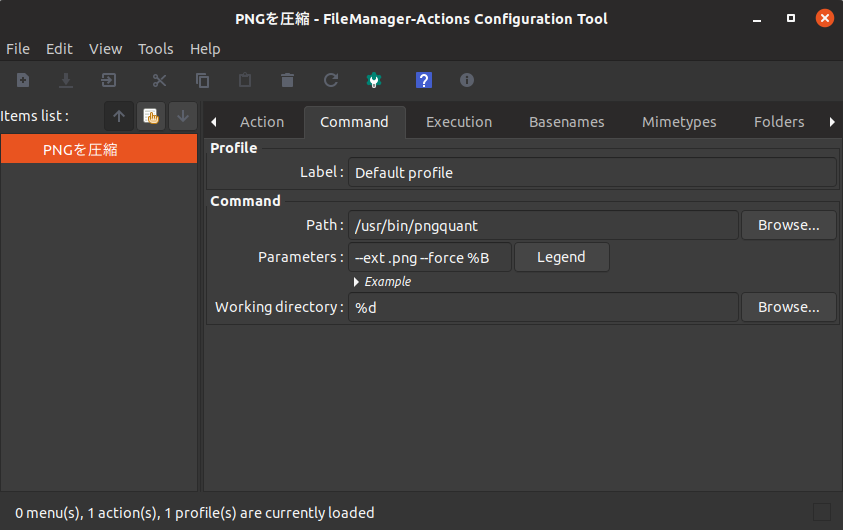
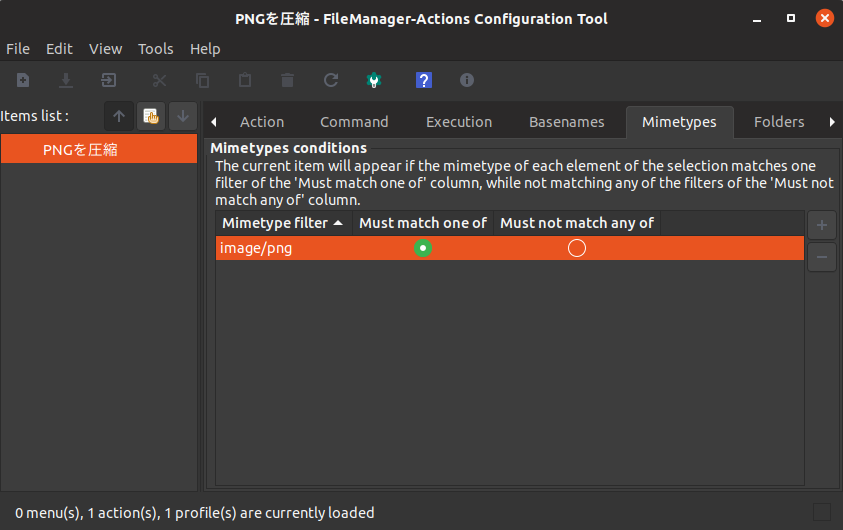
↓*.pngファイルを右クリックしたときだけに限定します。
ファイルマネージャーで*.pngファイルを右クリックしてみましょう。
FileManager-Actions actionsというメニューでラッピングされてPNGで圧縮が追加されているはずです。
出てこない場合はnautilus -qでNautilusを再起動してみてください。
それでもだめなら端末自体を再起動してみてください。
FileManager-Actions actionsのラッピングを取り除きたい場合、Edit > Preferences から Create a root 〜 を無効にしましょう。
参考
https://qiita.com/thanks2music/items/309700a411652c00672a
https://askubuntu.com/questions/1049111/add-open-with-vscode-to-context-menu-in-ubuntu